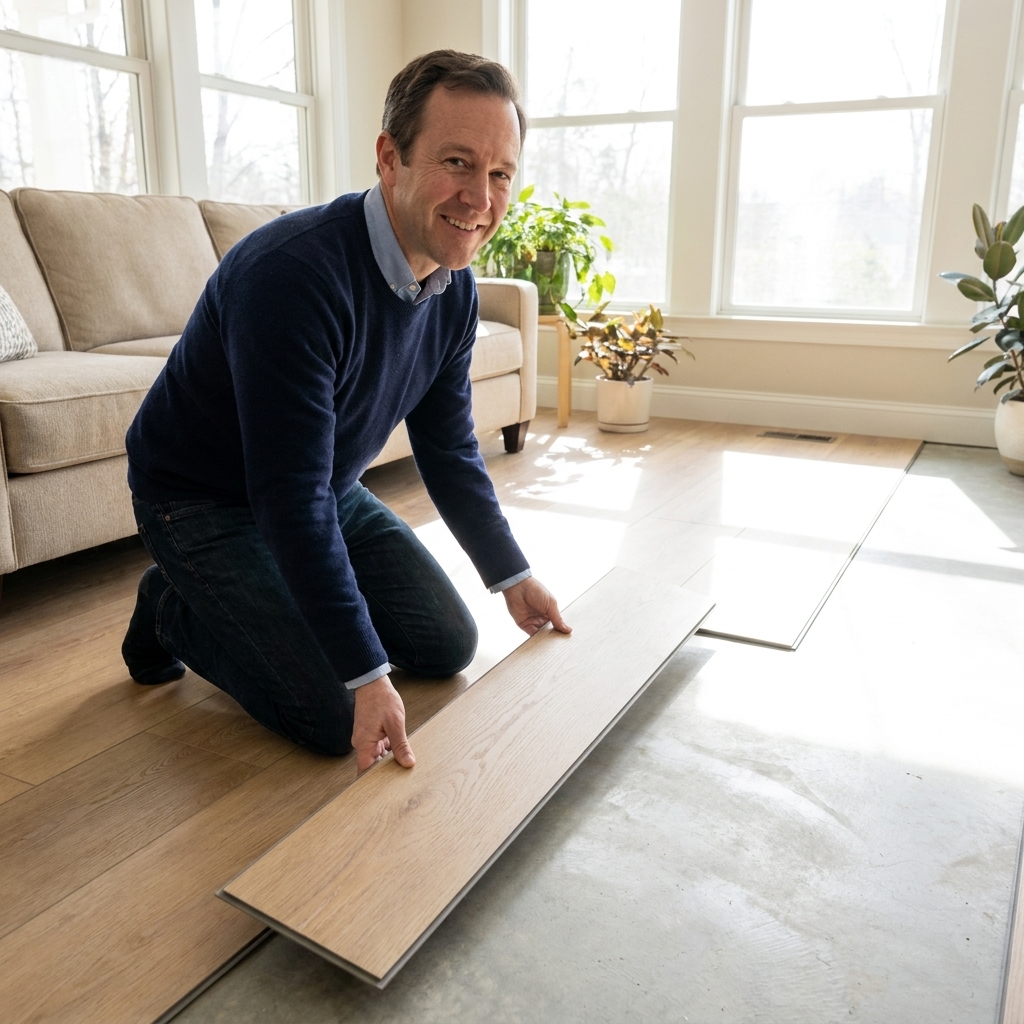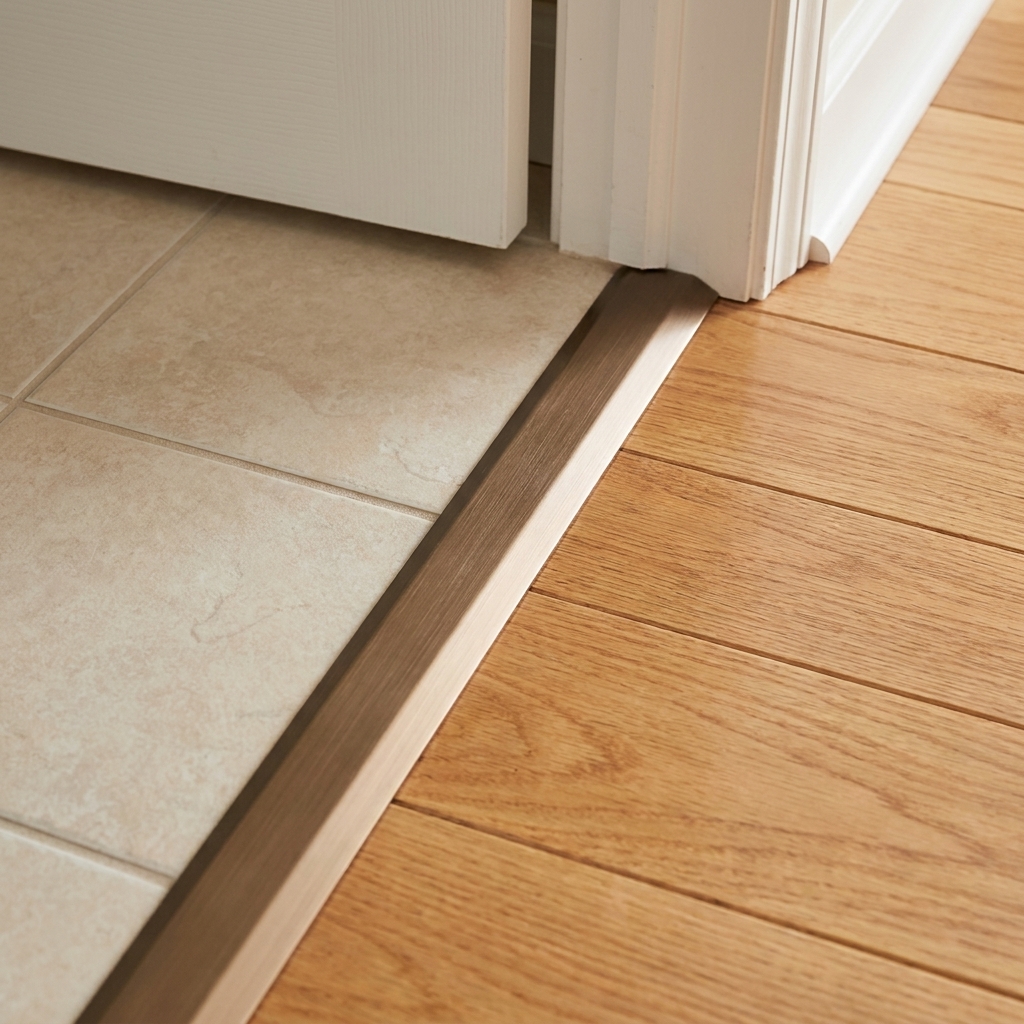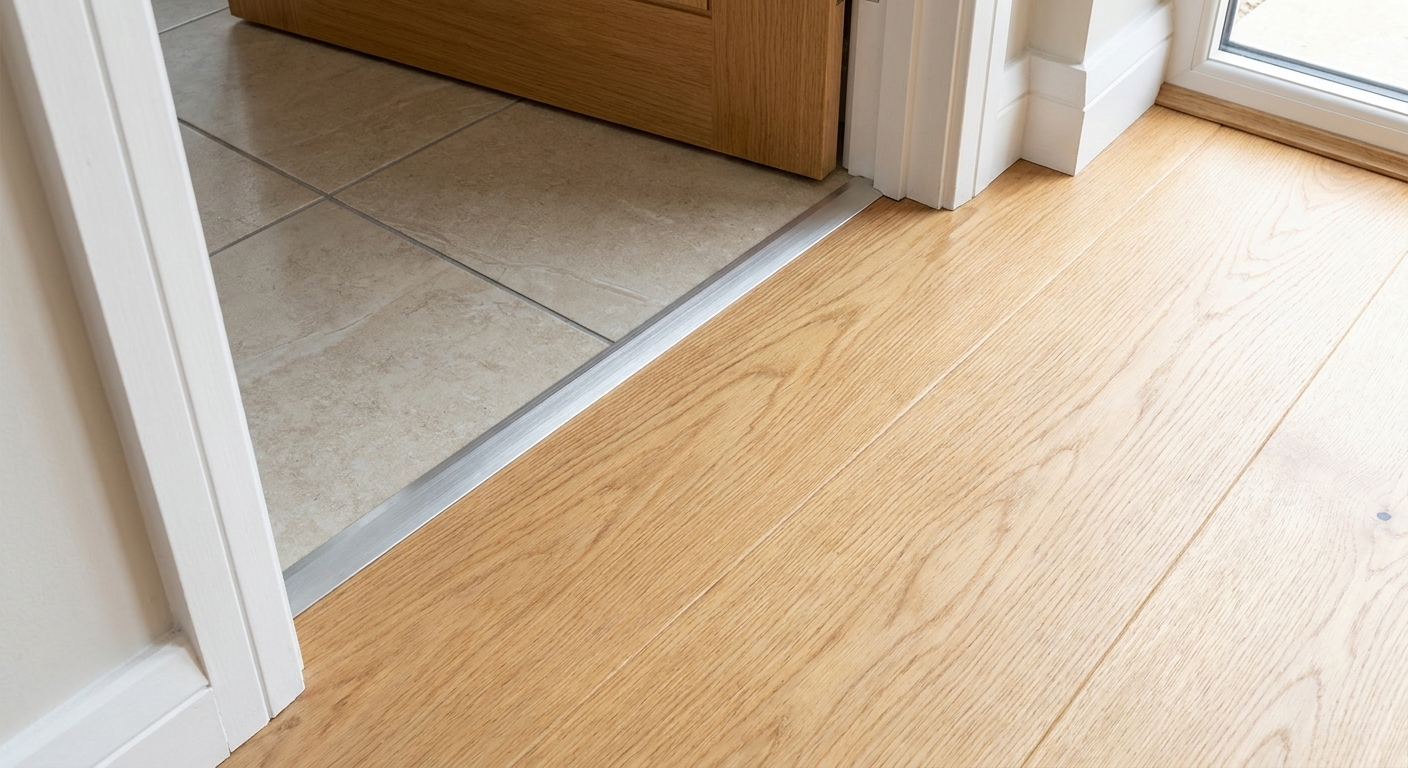
A step-by-step DIY guide to prepping concrete, testing moisture, choosing a vapor retarder, planning layout, and installing click-lock LVP with clean transit...
The Grout Nest
Updated October 17, 2026
10 Essential Tools for Flawless Laminate Flooring Installation
A practical checklist of the 10 must-have tools for installing laminate or luxury vinyl plank (LVP) flooring, plus pro tips for clean cuts, tight seams, and better results.

Ben Mitchell
Ben Mitchell is a former professional tile setter and passionate home renovator with over 12 years of experience in the flooring industry. After stepping away from commercial contracting, he founded Grout Nest to empower everyday homeowners to tackle their own flooring, tile, and backsplash projects with confidence. He believes that with the right tools, proper prep work, and a little patience, anyone can achieve a professional-grade finish.
I have set a lot of floors in my life, and I can tell you this with my whole chest: most “bad laminate installs” are really “bad tool choices” and “skipped prep.” Laminate and vinyl plank flooring are forgiving in some ways, but the seams, the cuts, and the expansion gap are not.
Below is the exact tool checklist I would hand a friend before their first click-lock laminate or LVP (luxury vinyl plank) install. If you own these (or rent a couple), you can get tight joints, clean edges, and transitions that do not scream DIY.
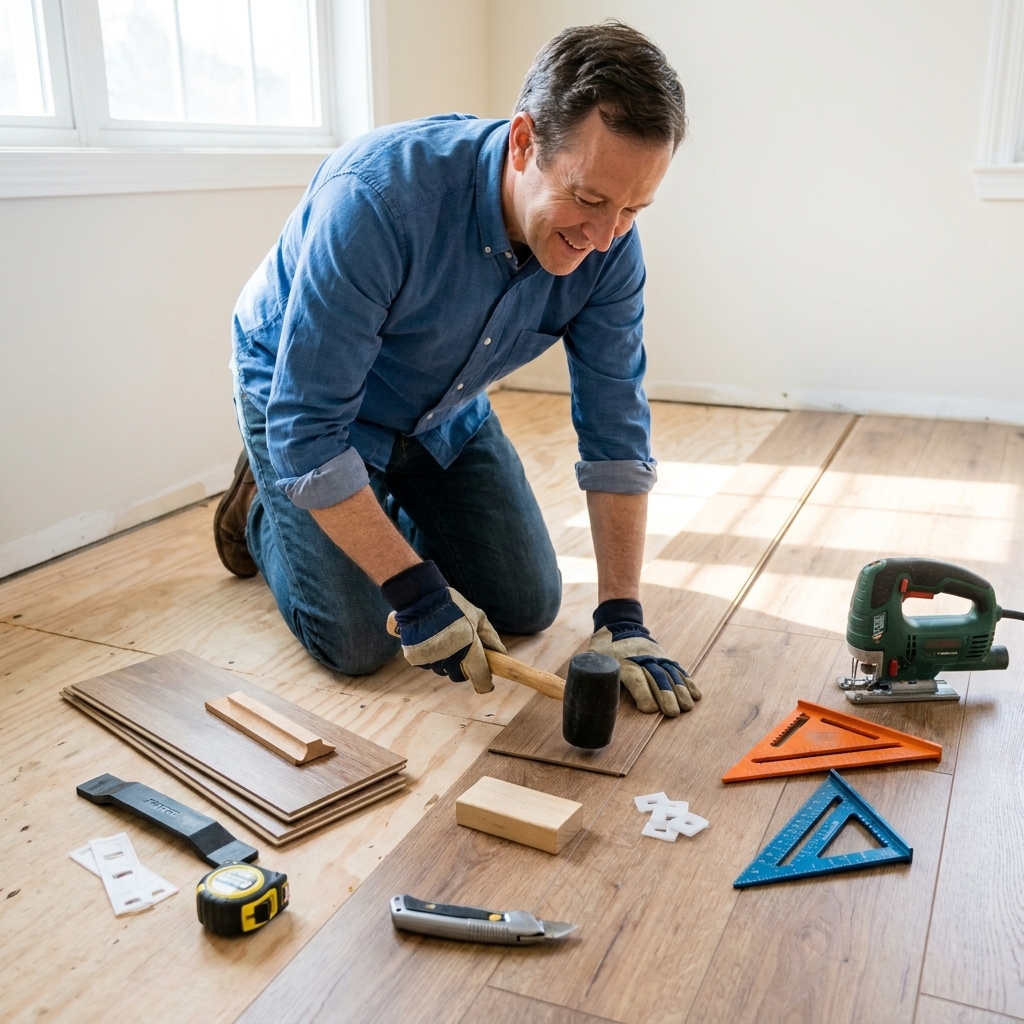
Before you start: two tool rules
- Match the tool to the cut. Crosscuts are easiest with a miter saw (or a laminate cutter). Rip cuts usually call for a circular saw with a straightedge guide or a table saw.
- Protect the click-lock edges. Anything metal-on-edge (like a hammer directly on the plank) can mushroom the tongue and create a permanent gap later.
1) Tapping block (for laminate or LVP)
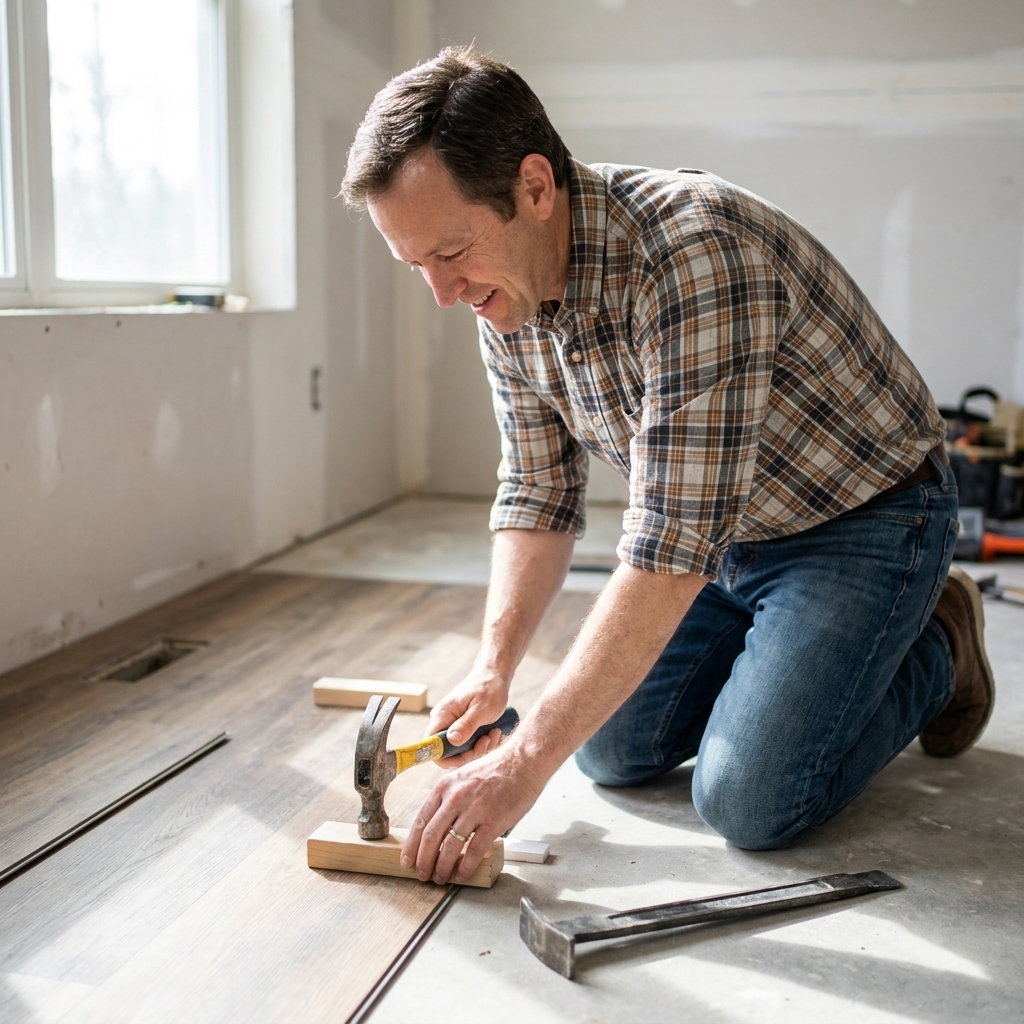
If I could pick only one “flooring-specific” tool, it is the tapping block. It lets you persuade planks together without damaging the locking profile. The right block has a lip that interfaces with the plank edge, not the fragile tongue itself.
What to look for
- Material: Dense plastic is ideal. Wood blocks and random scraps are more likely to splinter and can crush edges if you get heavy-handed.
- Compatibility: Some blocks are universal, some are profile-specific. If your floor brand sells one, it is usually worth the small premium.
Pro tip: When a joint refuses to close, do not escalate to “harder hits.” Stop and check for a crumb of debris in the groove, a slightly lifted plank, or a bowed board.
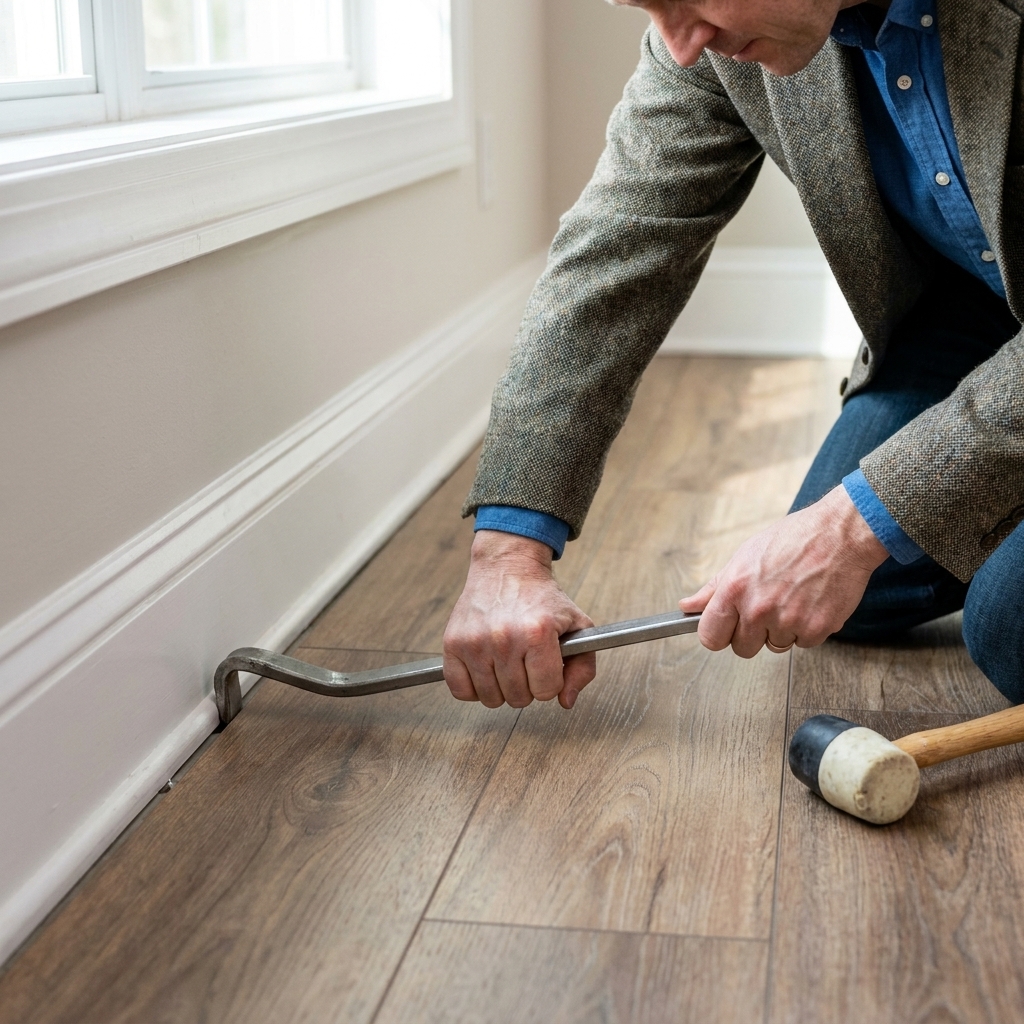
2) Pull bar (for tight spots)
A pull bar is the difference between a clean last row and a last row full of tiny gaps you will stare at forever. You hook it over the plank edge near a wall or cabinet toe-kick and tap the bar with a mallet to pull the joint tight.
Where it earns its keep
- Final row against the wall
- Under door jambs and toe-kicks
- Along a fireplace surround where swinging a mallet is awkward
3) Flooring spacers (expansion gap)
Laminate and most floating LVP need room to move. Spacers keep your expansion gap consistent so the floor can expand and contract without buckling or tenting.
What I recommend
- Use real spacers, not scraps. Scrap wood works until it does not, then you are redoing an entire wall run.
- Get a mixed pack. Wedges and fixed-size blocks cover more situations, especially around door casings.
Reminder: Your install manual is the boss. Many products land around 1/4 inch to 3/8 inch, but some call for 1/2 inch or more, especially in larger spans, at thresholds, and around fixed objects.
4) Rubber mallet (skip the hammer)
A rubber mallet gives controlled force without shattering the tapping block or chewing up plank edges. This is one of those tools that feels optional until you try using the wrong thing.
Mallet basics
- White rubber head can reduce black scuffs on light floors.
- Medium weight is plenty. Overly heavy mallets increase the odds you crack a corner.
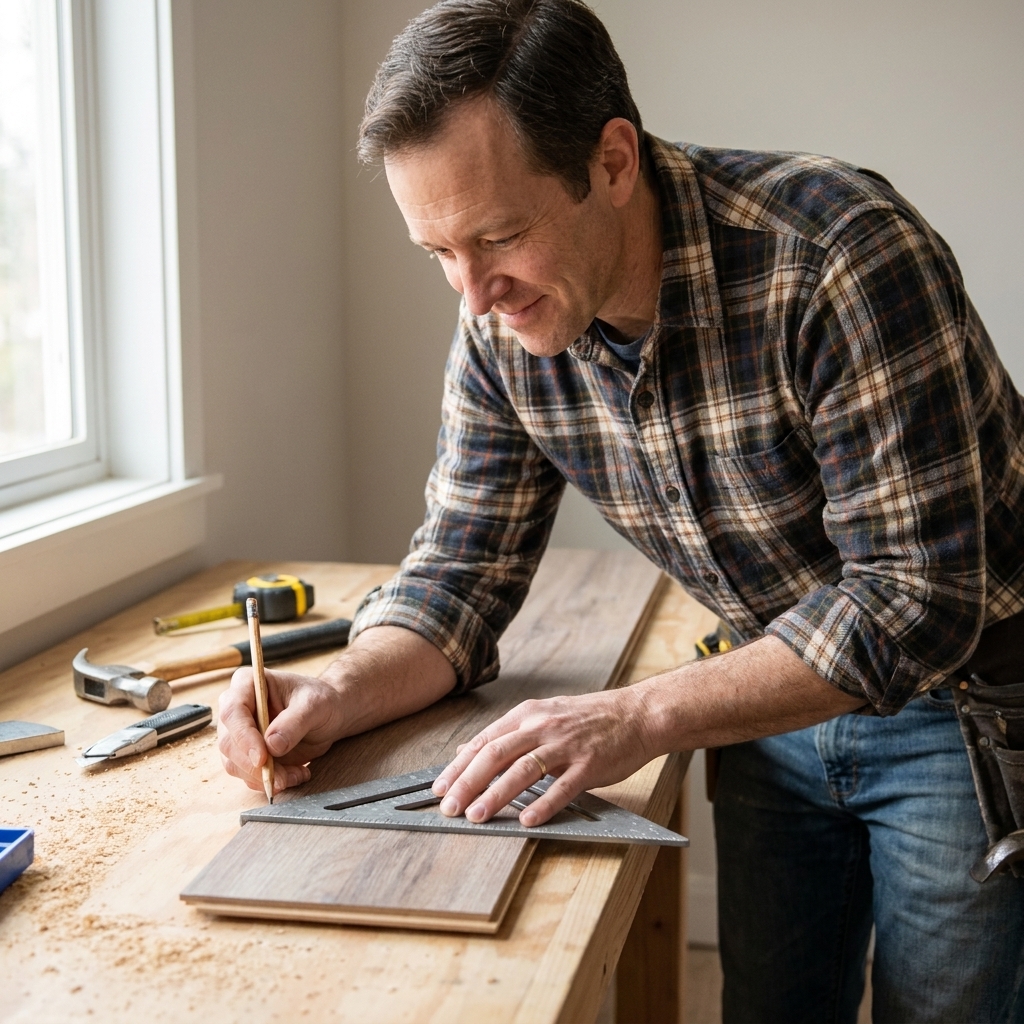
5) Tape measure and pencil
Boring tools, big impact. A laminate floor is basically a long series of repeated measurements and transfers. Cheap tape measures that “waggle” at the hook can create tiny inaccuracies that add up into a tapered last row.
How to measure smarter
- Measure twice: once at the wall, once 12 inches out. Walls are rarely straight.
- Label every cut: “top,” “wall side,” and the room name if you are juggling multiple areas.
6) Speed square (for square cuts)
Square cuts make tight joints. A speed square helps you mark fast, reliable 90-degree lines on planks for crosscuts and quick layout checks.
Why it matters
- If you start drifting out of square, the whole floor can walk, and your end joints stop lining up cleanly.
- Clean, square cuts reduce the chance of a tiny wedge-shaped gap at baseboards and transitions.
7) Utility knife (sharp blades)
A utility knife is essential for opening boxes, trimming underlayment, cutting tape, and scoring certain vinyl products. The keyword is sharp. Dull blades tear underlayment and fray vapor barrier seams.
Where it shines
- Trimming underlayment and vapor barrier
- Cleaning fuzz off cut edges (lightly)
- Scoring and snapping some thin, flexible vinyl products (if your manufacturer allows it)
Safety note: Keep a small container for used blades. Loose blades on the floor are how you learn new words.
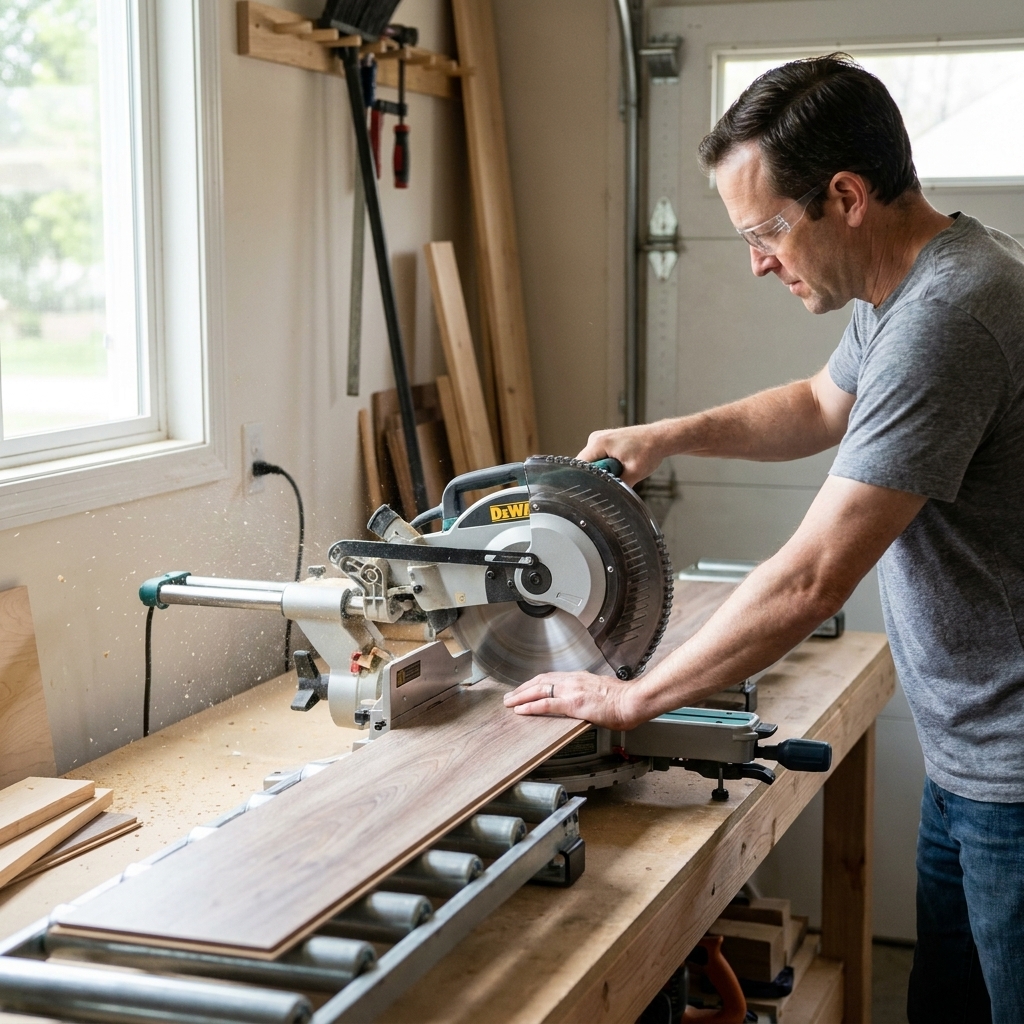
8) Saw setup (straight cuts)
You need a reliable way to make clean, repeatable cuts. The “best” choice depends on your space, budget, and the product thickness.
Pick your weapon
- Miter saw: Fast, accurate crosscuts for rows. Great if you are doing multiple rooms.
- Circular saw with a straightedge guide: Great for long rip cuts and the first and last row. Support the plank so it does not chatter.
- Laminate cutter: Quiet, dust-light crosscuts on many laminates and some LVP, mostly thinner or more flexible types. Rigid core planks (SPC or WPC) can crack or deform in some cutters, so test on an offcut first.
Blade tip: Use a fine-tooth blade designed for laminate or finish work. Fewer chips means tighter-looking baseboard lines and less touch-up.
9) Jigsaw (notches and vents)
Flooring installs are rarely just rectangles. Heat registers, door trim, and cabinet legs show up like uninvited guests. A jigsaw handles those shapes cleanly when paired with the right blade and patient cutting.
Make jigsaw cuts look clean
- Use a fine-tooth blade made for laminate or clean cuts. It reduces chipping on the face layer.
- Match tooth direction to the visible side. If your blade is up-cut, cut from the back so the cleanest edge lands on the face. If your blade is down-cut, cut from the face to keep the top surface crisp.
- Drill a starter hole for interior cutouts like vents, then cut to your line.
10) Oscillating tool (undercuts)
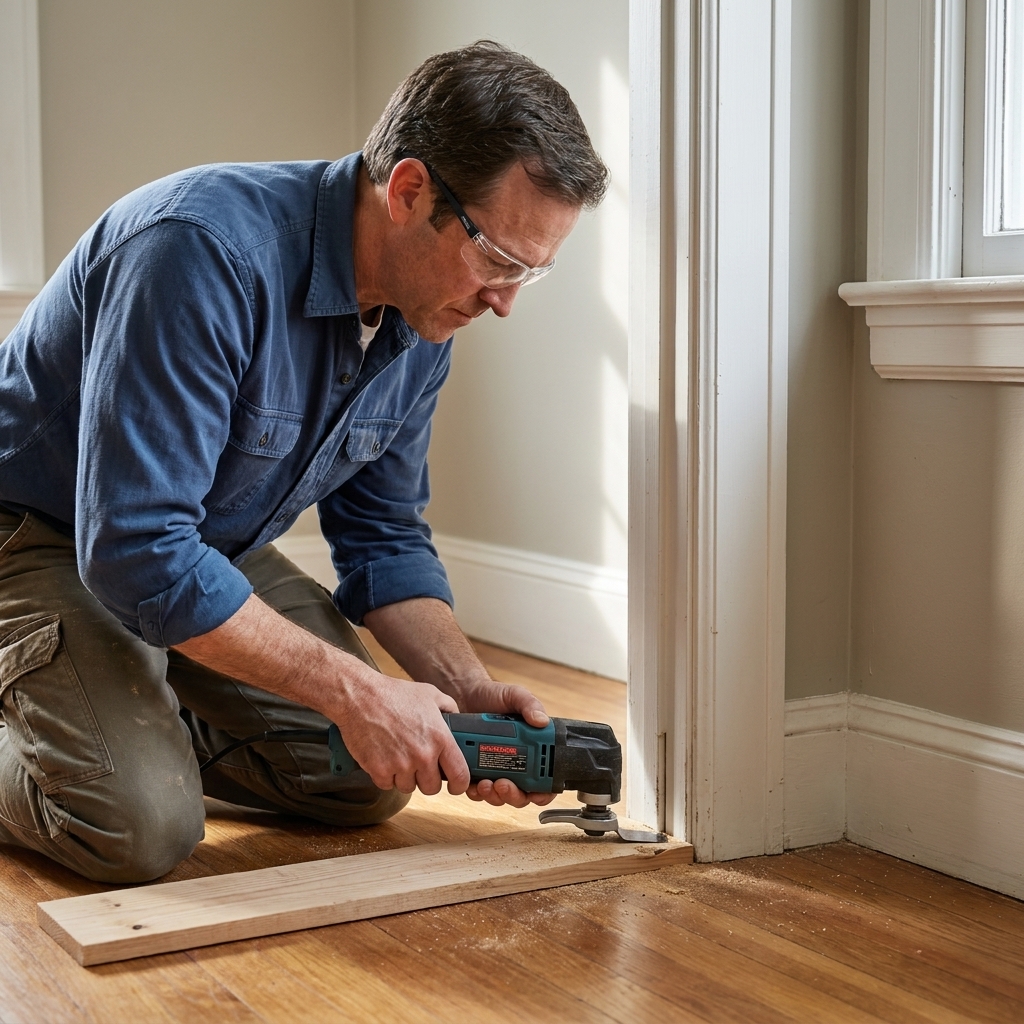
If you want that “how did they get it so clean?” look, undercut the door jambs and casings so the floor slides underneath. An oscillating tool makes controlled flush cuts without turning your doorway into a chew toy.
How to undercut cleanly
- Place a scrap piece of flooring plus underlayment next to the casing as a height gauge.
- Cut slowly and let the blade do the work.
- Vacuum the dust so the plank seats fully under the trim.
No oscillating tool? A manual undercut saw (jamb saw) also works. It is slower, but it is clean and predictable.
Two not-tools that save you
Shop vacuum
Click-lock joints hate grit. Vacuum often, especially if you are cutting in the same room. A tiny pebble under a plank can create a soft spot you will feel for a long time.
Knee pads
You can install a floor without knee pads the same way you can carry tile up stairs in flip-flops. You can do it, but it is a bad plan.
Do not skip this safety gear
- Safety glasses: especially with saws, jigsaws, and oscillating tools.
- Hearing protection: miter saw days add up fast.
- Dust mask or respirator: cutting laminate and underlayment can kick up a lot of fine dust.
Quick checklist: 10 essentials
- Tapping block
- Pull bar
- Flooring spacers
- Rubber mallet
- Tape measure and pencil/marker
- Speed square or combination square
- Utility knife and extra blades
- Saw setup for straight cuts (miter saw, circular saw, or laminate cutter)
- Jigsaw
- Oscillating multi-tool (or an undercut saw)
Common tool mistakes
- Using a hammer directly on the plank: Always use a tapping block or pull bar. Direct blows deform the locking edge.
- Measuring only once per row: Walls wander. Measure at both ends, especially for the first and last rows.
- Cutting with the wrong blade: A coarse blade chips the face and leaves fuzzy edges that look rough under baseboard.
- Skipping spacers “just for a minute”: Expansion gaps disappear fast. Then you are prying up three rows to fix it.
- Adding extra underlayment without checking the manual: Some LVP has an attached pad and may forbid additional underlayment, or require a specific type to avoid a bouncy feel and joint failure.
FAQ
Do I need a tapping block for vinyl plank flooring?
If it is click-lock floating LVP, yes, I strongly recommend it. Some products tolerate hand pressure for most joints, but a tapping block prevents edge damage when you hit a tight spot or a slightly bowed plank.
Can I install laminate without a pull bar?
You can, but the last row is where installs go sideways. A pull bar is cheap insurance against gaps along the wall side, especially in hallways and small rooms.
What is the best saw for laminate flooring?
For most DIYers, a miter saw plus a fine-tooth blade is the easiest path to fast, consistent crosscuts. For rip cuts, a circular saw with a straightedge guide is hard to beat. If dust and noise are a big concern, a laminate cutter can be a great add-on for crosscuts, but test it first if you are working with rigid core LVP.
Do I need different tools for laminate vs LVP?
The core toolkit is the same. The main differences are blade choice and cutting approach. Some thicker rigid-core LVP benefits from a saw rather than scoring, and some laminates chip more easily and want a finer blade.
If you want one final piece of dad-style trade advice: buy or borrow the right tools before you open the first box of planks. Once you start clicking rows together, the floor wants momentum. Stopping mid-install to run to the store is how you end up with a half-finished room and a golden retriever named Barnaby walking across your underlayment like it is a red carpet.