Step-by-step instructions for installing T-moldings and reducers between different flooring types, with pro tips on measuring, cutting, and fastening for lon...
The Grout Nest
Updated October 17, 2026
Flooring Transitions Between Rooms
Learn how to choose T-molding, reducers, and thresholds for clean, durable transitions between tile, hardwood, LVP, laminate, and carpet. DIY tips for height gaps, movement space, and waterproof spots.

Ben Mitchell
Ben Mitchell is a former professional tile setter and passionate home renovator with over 12 years of experience in the flooring industry. After stepping away from commercial contracting, he founded Grout Nest to empower everyday homeowners to tackle their own flooring, tile, and backsplash projects with confidence. He believes that with the right tools, proper prep work, and a little patience, anyone can achieve a professional-grade finish.
If you have ever walked from kitchen tile onto living room wood and thought, “Why does this feel like a tiny speed bump?” you have met the flooring transition. A good transition does three jobs at once: it protects the edge of each floor, it hides the expansion gap (because most floors need one), and it makes the change in material look intentional instead of accidental.
I set tile professionally for years, and the number one transition mistake I saw on DIY jobs was trying to “make it disappear” by skipping it entirely. That works for about three weeks, right up until the first season change, the first mopping session, or the first time someone catches a toe on an exposed edge.
Start with two measurements (before you buy anything)
Transitions are mostly math and patience. Measure these two things first and the right profile usually becomes obvious.
1) Height difference
Set a straightedge across both floors and measure the gap to the lower surface. Write it down in millimeters if you can. Common situations:
- Same height: best candidate for a T-molding or a slim threshold.
- Small difference (about 1 to 6 mm): reducer or a “ramp” style profile.
- Bigger difference (6 mm and up): a beefier reducer, a stair-nose style profile, or you may need to address the subfloor height, not just the trim.
2) Expansion and movement needs
Floating floors (most laminate and many LVP installs) must be able to move. That means you cannot pin them down under a nailed-through transition. Tile moves very little, but the framing around it sure does. Your transition should cover the gap without locking the wrong thing in place.
Transition types, in plain English
Manufacturers love naming these like they are spaceship parts. Here is what they actually do.
T-molding (best when floors are the same height)
A T-molding looks like a capital “T” in cross section. The top cap covers the gap and the stem drops into it.
- Use it for: wood to wood, LVP to LVP, laminate to laminate, or tile to wood when heights are truly flush.
- Pros: clean look, minimal trip edge, great for doorways and open transitions.
- Watch out: if one floor is even slightly higher, the T-molding can rock or leave a sharp edge on the high side.
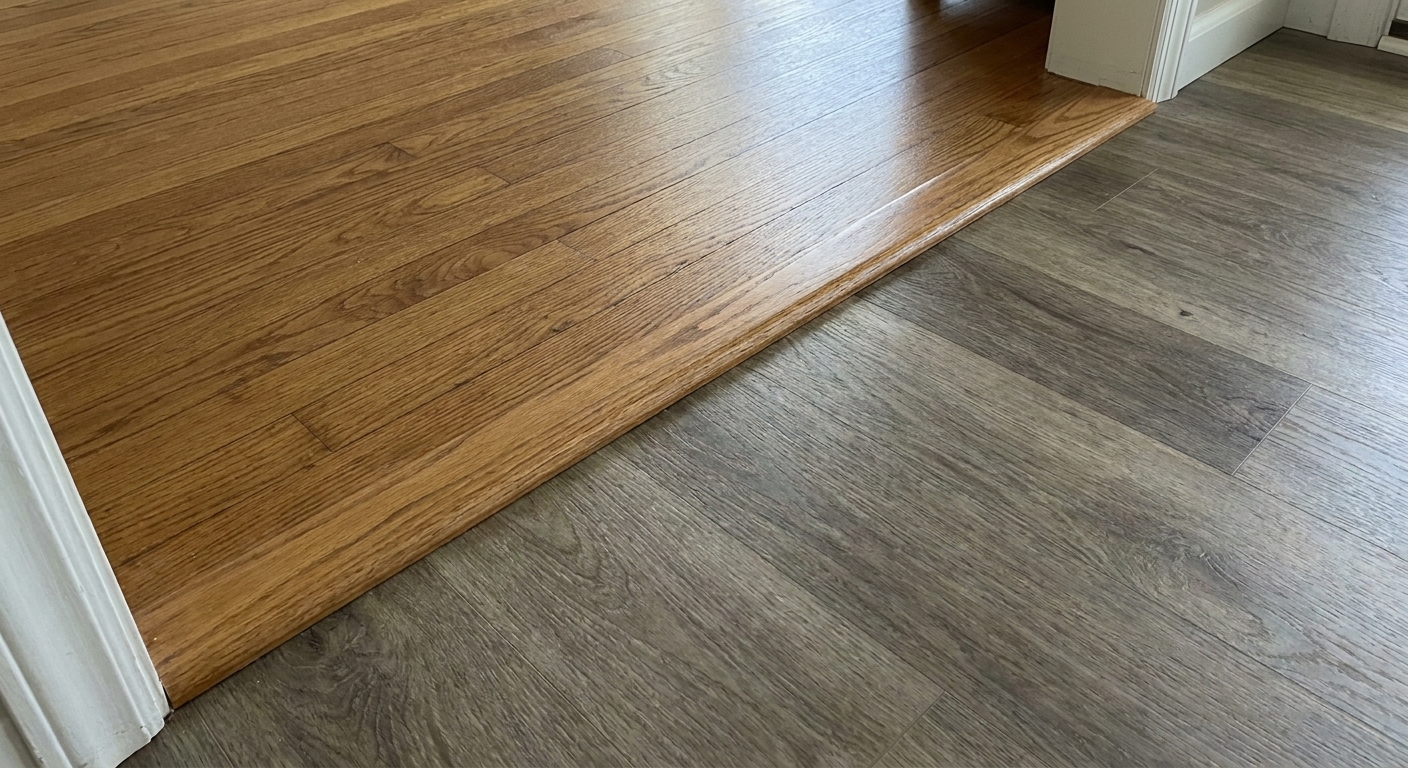
Reducer (best when one floor is lower)
A reducer is a gentle ramp from a higher floor down to a lower one. This is the profile I reach for most often in real houses, because real houses rarely land perfectly flush.
- Use it for: hardwood to vinyl, tile to LVP, laminate to tile (when tile is higher), any transition with a noticeable step.
- Pros: safer underfoot, protects the vulnerable edge of the higher floor.
- Watch out: reducers are directional. Install it so the thicker side supports the higher floor edge.
Thresholds and saddles (best for doorways and wet areas)
“Threshold” gets used as a catch-all word, but typically it means a flat or slightly beveled piece that spans a doorway, sometimes made of wood, stone, marble, or metal. Tile setters also call a stone threshold a “saddle.”
- Use it for: bathrooms, exterior doors, laundry rooms, and anywhere you want a clear boundary or water break.
- Pros: durable, looks classic, gives you a clean stop line for tile.
- Watch out: stone thresholds need solid support. If there is a void under it, it can crack.
End cap (when a floor ends without another floor meeting it)
An end cap, sometimes called a square nose, finishes the edge of a floor where it drops to carpet, meets a sliding door track, or ends at a hearth.
- Use it for: floating floors ending at carpet, fireplaces, sliding doors.
- Pros: covers the expansion gap while giving a clean “stop.”
- Watch out: do not glue it to the floating floor. You want the floor to move under it.
Stair nose (for steps and landings)
This one is not optional. A proper stair nose protects the edge and gives you a safe, consistent tread line.
- Use it for: any step down or up, including sunken rooms and landings.
- Pros: safety and durability.
- Watch out: use the correct fastening method for your stair construction. Loose stair noses are toe snatchers.
Common pairings (and what usually works best)
Tile to hardwood
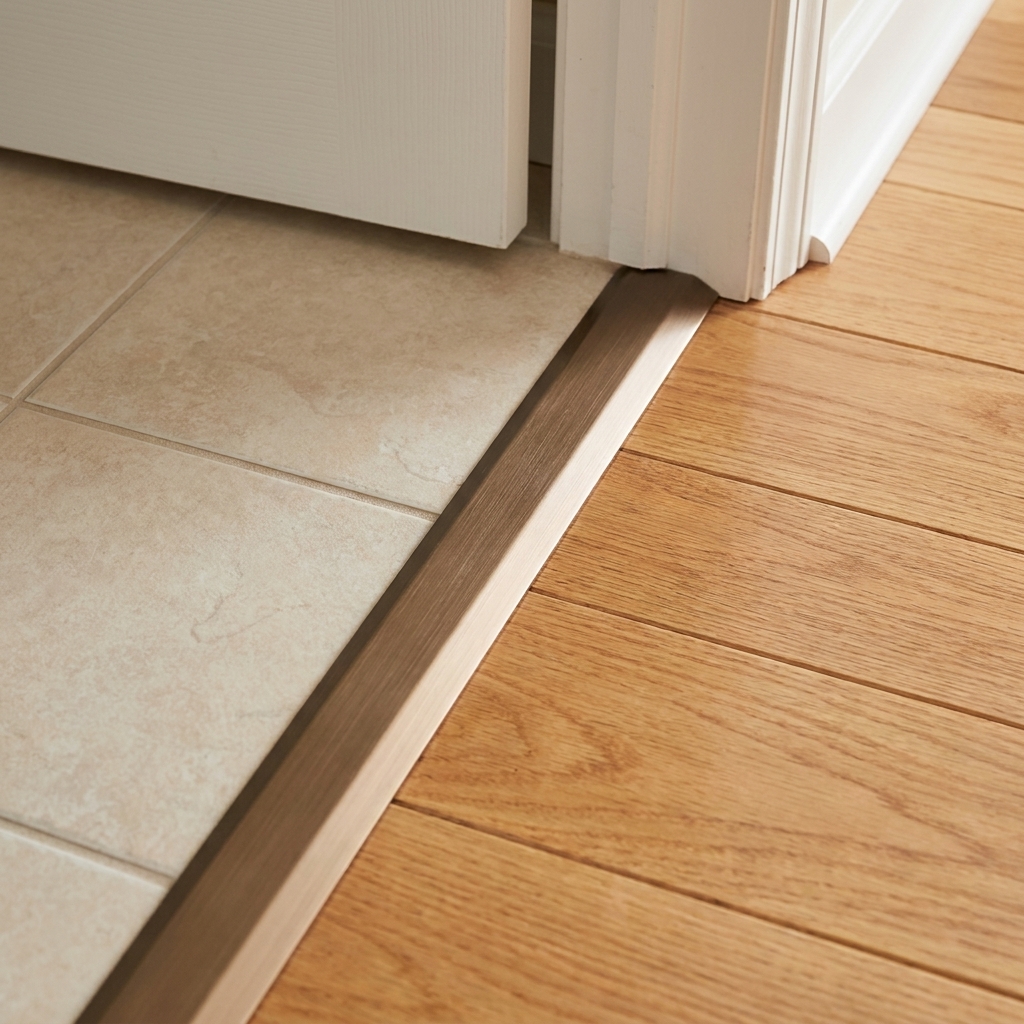
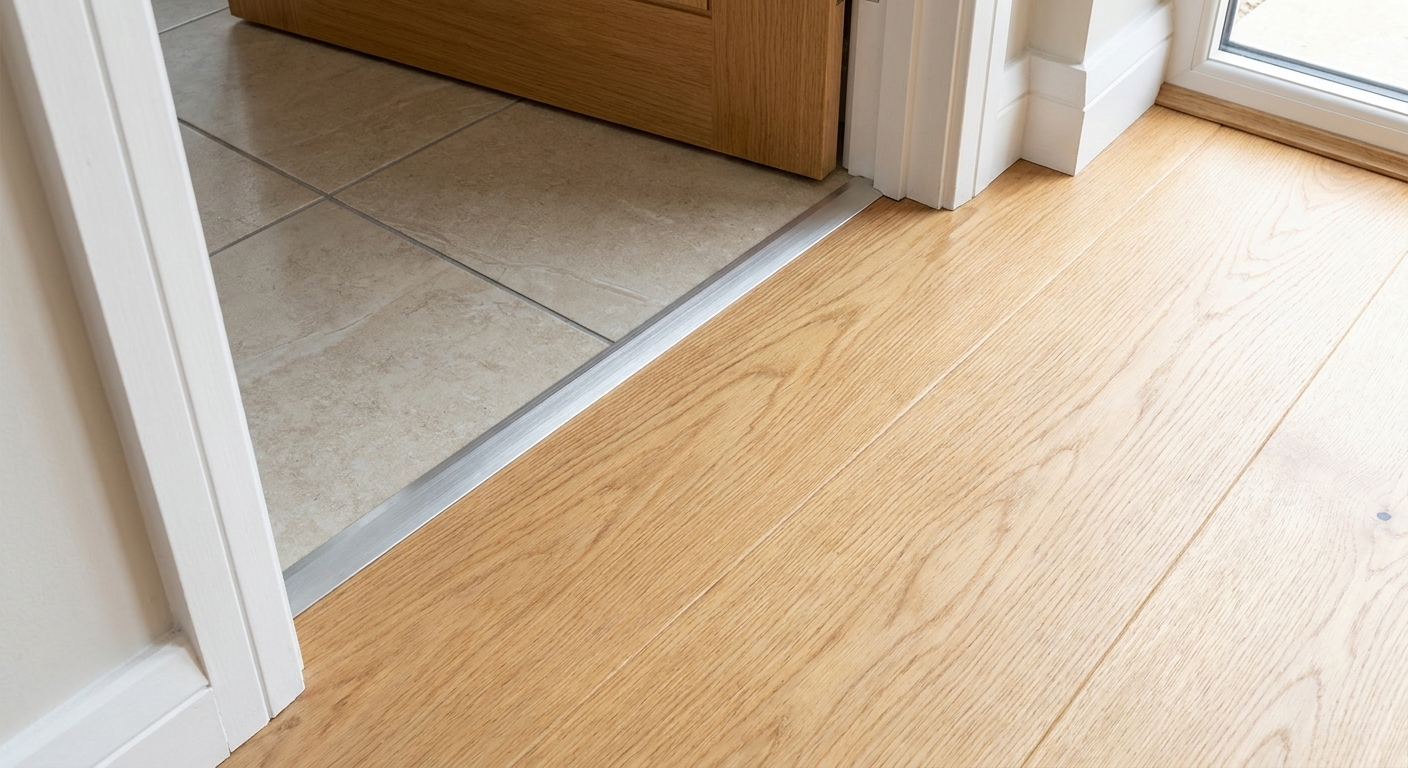
- If heights match: T-molding or a slim metal profile.
- If tile is higher: reducer, or a tile edge profile that transitions down to wood.
- Pro tip: tile edges hate impact. Make sure the tile edge is protected by a profile or the transition cap, not left exposed.
Tile to LVP or laminate (floating floor)
- Most common: reducer or a multi-purpose profile with a track that is anchored to the subfloor, not the floating floor.
- Key detail: leave the manufacturer required expansion gap for the floating floor under the transition.
- Extra caution: if the tile is on concrete and the LVP is on underlayment, the height difference is often bigger than you expect.
Hardwood to carpet
- Best look: a dedicated carpet reducer or Z-bar style setup (often sold with carpet supplies) that tucks the carpet edge down cleanly.
- DIY-friendly option: a wood threshold with carpet tucked and stretched to meet it.
- Key detail: the carpet must be stretched and secured. A loose carpet edge at a transition will fray fast.
LVP to carpet
- Most common: end cap on the LVP side plus a carpet tuck, or a purpose-built LVP to carpet transition.
- Key detail: keep fasteners out of the floating field of the LVP.
Hardwood to hardwood (or LVP to LVP) between rooms
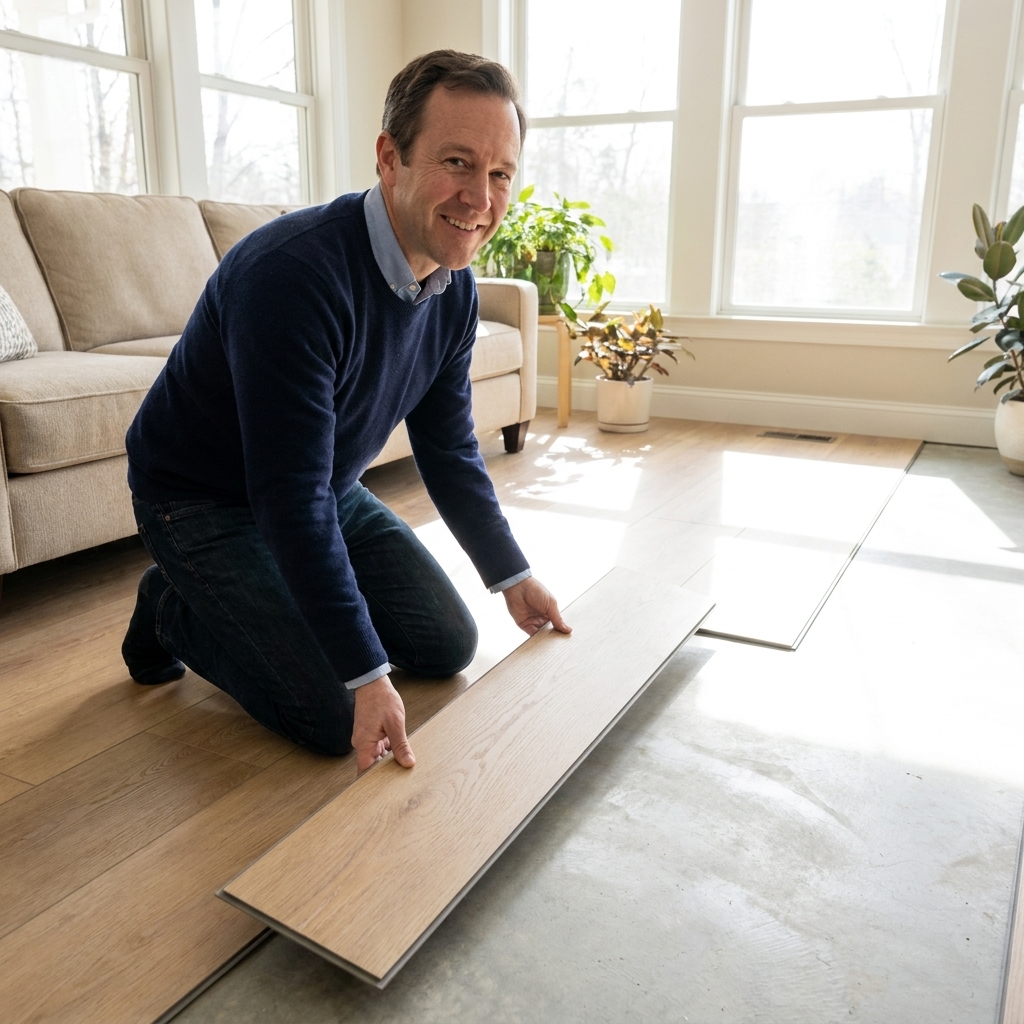
- Same product, continuous install: skip the transition if the manufacturer allows continuous runs and your layout supports it.
- Different product or direction change: T-molding is usually the cleanest.
Material choices: wood, metal, vinyl, and stone
Wood transitions
Wood looks great with hardwood and can be stained to match. It can also look sharp next to tile if the color is intentional.
- Best for: hardwood, engineered wood, laminate.
- Not ideal for: constantly wet entries or showers-adjacent spots unless it is sealed well.
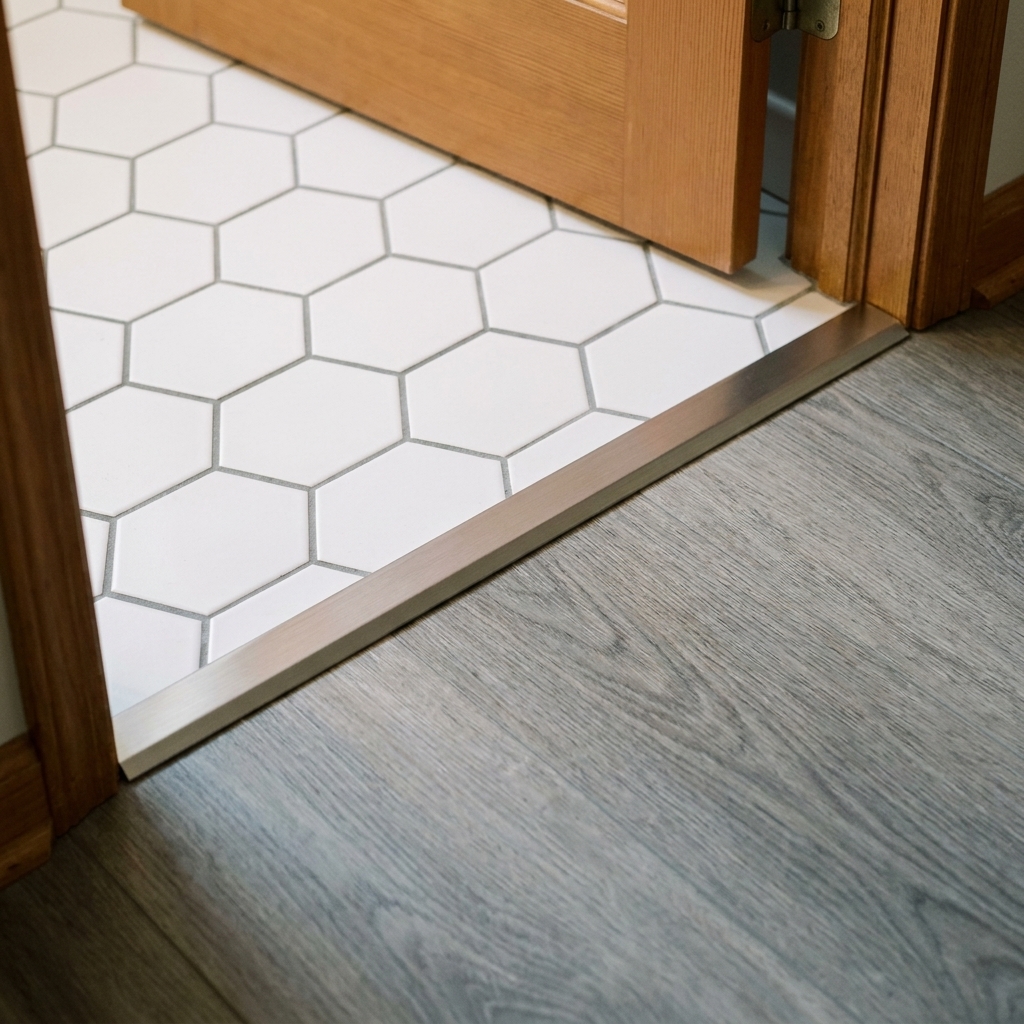
Metal transitions (aluminum, brass, stainless)
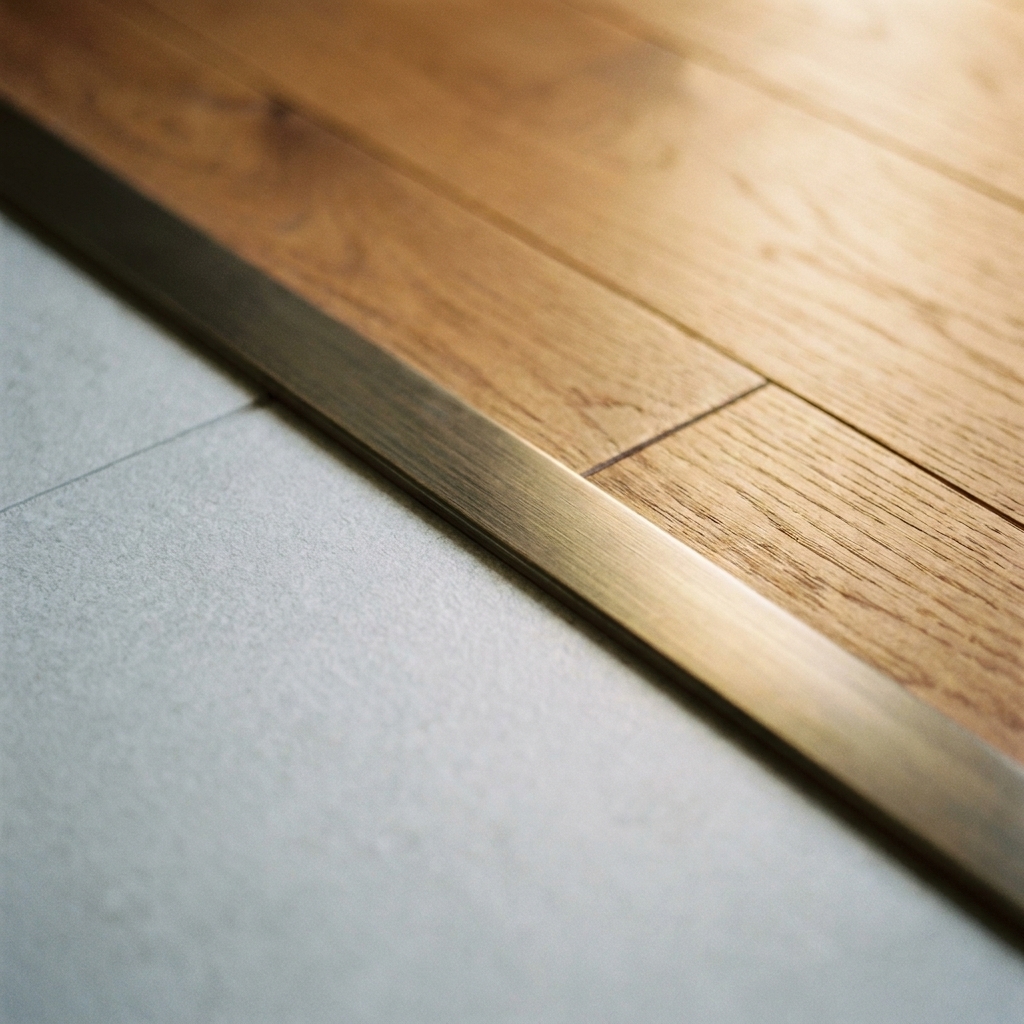
Metal is my go-to when I want crisp lines and durability, especially around tile.
- Best for: tile edges, modern homes, heavy traffic.
- Watch out: some metal profiles show scratches. Matte finishes hide wear better.
Vinyl or rubber transitions
These are common in rentals and commercial spaces. They are forgiving and water tolerant, but can look a little “builder basic” if you are aiming for high-end.
- Best for: utility rooms, basements, budget installs.
- Watch out: cheap vinyl transitions can shrink slightly over time.
Stone thresholds (marble, granite)
A stone threshold between a bathroom and hallway is classic for a reason. It is also a nice visual break between tile and wood.
- Best for: bathrooms, exterior doors, high-moisture transitions.
- Watch out: support it fully and leave room for movement at the edges with a flexible sealant where appropriate.
Where to place the transition in a doorway
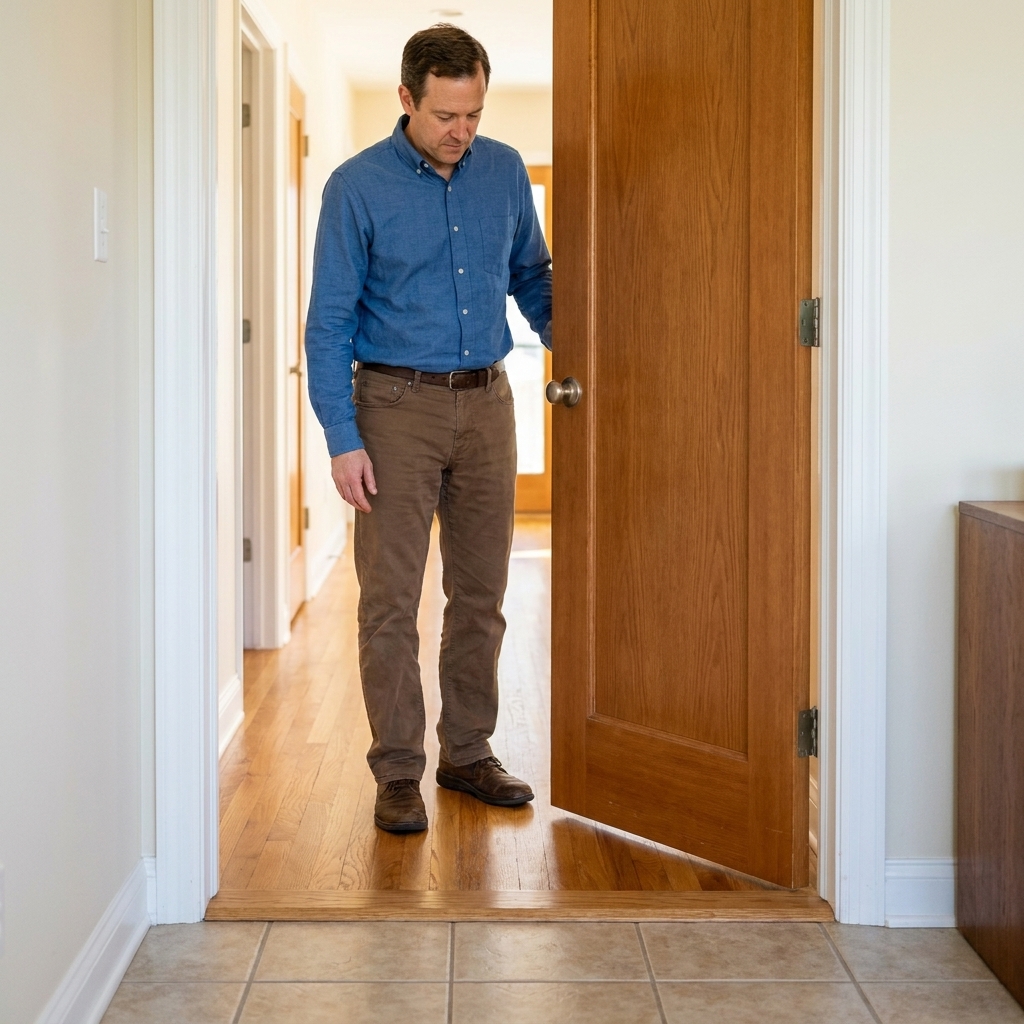
If you only remember one placement rule, make it this: center the transition under the door when the door is closed. That way each room reads as having its own flooring, and you do not see the “wrong” material from down the hall.
For bathrooms and laundry rooms, I also like the transition to act like a psychological waterline. It should be exactly where you would want water to stop if someone steps out with dripping feet.
Fastening methods (and when each is safe)
Track-and-snap systems
Common for laminate and LVP. You screw or glue a track to the subfloor, then snap the molding into the track.
- Good for: floating floors because the molding can bridge the gap without pinning the floor.
- Tip: predrill if you are near tile. One slipped drill bit can turn a clean transition into a vocabulary lesson.
Construction adhesive
Adhesive works well on concrete and in spots where you cannot or should not drill.
- Good for: metal profiles, stone thresholds, reducers on slab.
- Tip: keep adhesive away from the floating floor edge. Bond the transition to the subfloor, not to the moving floor.
Nails or finish screws
These are fine for nailed-down hardwood transitions going into wood subfloors.
- Good for: solid wood floors, traditional thresholds.
- Not good for: floating laminate or LVP unless the fasteners only go into the subfloor and do not clamp the floor.
How to keep transitions looking seamless (the design part)
Match the undertone, not just the color name
Two “medium brown” products can clash if one is warm (red or orange) and the other is cool (gray or green). When you pick a transition, compare undertones in the same lighting the floor will live in, not under the aisle spotlight at the store.
Decide whether you want the transition to disappear or to frame
- Disappear: match the transition to the dominant floor (often the hallway or main living area).
- Frame: use metal or stone intentionally to create a crisp break, especially with tile.
Keep widths consistent
If you have multiple transitions in sightlines, using the same general width helps everything feel planned. Mixing a skinny metal strip in one doorway and a wide oak saddle in the next can look accidental unless there is a reason.
Grain direction matters with wood transitions
If the wood transition runs across a doorway, that is fine. Just avoid odd grain direction changes in open areas where you will notice it from ten feet away.
Tricky situations (and how I handle them)
Uneven subfloors at the meeting point
If one floor slopes into the transition, do not force the molding to bend into place. Fix the flatness first if you can. For small dips, a patching compound on the low side can make a reducer sit correctly instead of teetering.
Tile edge is already installed and slightly proud
This is common with DIY tile because thinset ridges build up near edges. If the tile is higher than planned, a reducer is usually safer than a T-molding. You can also choose a metal profile designed to transition down from tile.
Radiant heat floors
If you have wires or hydronic tubing, avoid screws in the heated zone unless you are 100 percent sure of the layout. Adhesive-set transitions or tracks placed outside the heated area are usually the safer play.
Wide openings (no door)
For open concepts, I prefer either:
- A clean straight transition aligned with a wall corner or cabinet edge, or
- A deliberate design break like a stone strip or metal inlay that looks architectural.
What I try to avoid is a random transition line floating in the middle of a walkway with no visual reason.
My quick “buying checklist” at the store
- Measured height difference written down
- Know which floor is floating (if any)
- Correct length plus extra for mistakes (I buy one extra piece if it is a high-visibility doorway)
- Finish that matches undertone in home lighting
- Fastening method you can actually do on your subfloor (concrete versus wood)
- Enough coverage to hide the expansion gap on both sides
FAQ
Do I always need a transition strip between rooms?
No, but you often need one. If you are running the same flooring continuously and the manufacturer allows the run length without a break, you can sometimes skip it. The moment you change material, change height, or need to honor an expansion gap, a transition is usually the right call.
Can I butt tile directly against hardwood?
I do not recommend it. You need a movement joint between materials. At minimum, leave a gap and fill it with a color-matched flexible sealant, but most doorways look and perform better with a proper profile or threshold protecting the tile edge.
How big should the expansion gap be under a transition?
Follow the flooring manufacturer for laminate or LVP. Common numbers are around 1/4 inch, but it varies. The transition should cover that gap without compressing the floor tight to the track or to the adjacent material.
What is the cleanest transition from tile to LVP?
Usually a low-profile metal reducer or a color-matched reducer in a track system, depending on the height difference. The cleanest look is the one that sits flat, protects the tile edge, and does not pinch the floating LVP.
Should the transition match the tile or the wood?
If you want it to disappear, match the dominant floor you see most often, usually the hallway or main room. If you want it to look intentional, choose a material that acts like trim, like brushed aluminum next to tile or a stone threshold at a bathroom.
Final thought from a guy who has stubbed every toe possible
Transitions are not the flashy part of a flooring project, but they are the part you feel every single day. Take ten minutes to measure, pick the profile that matches the height difference, and install it so your floors can move the way they are designed to move. That is how you get the “pro finish” feeling without paying pro money.