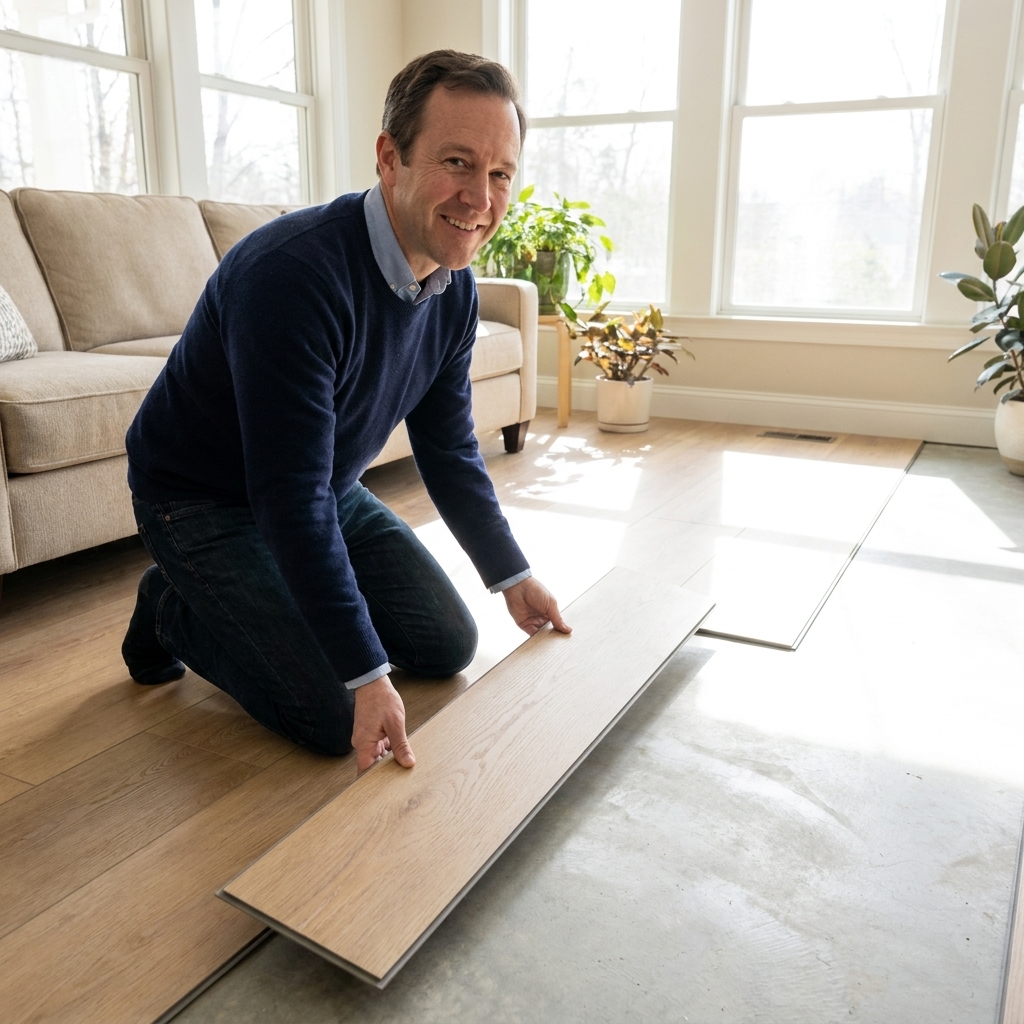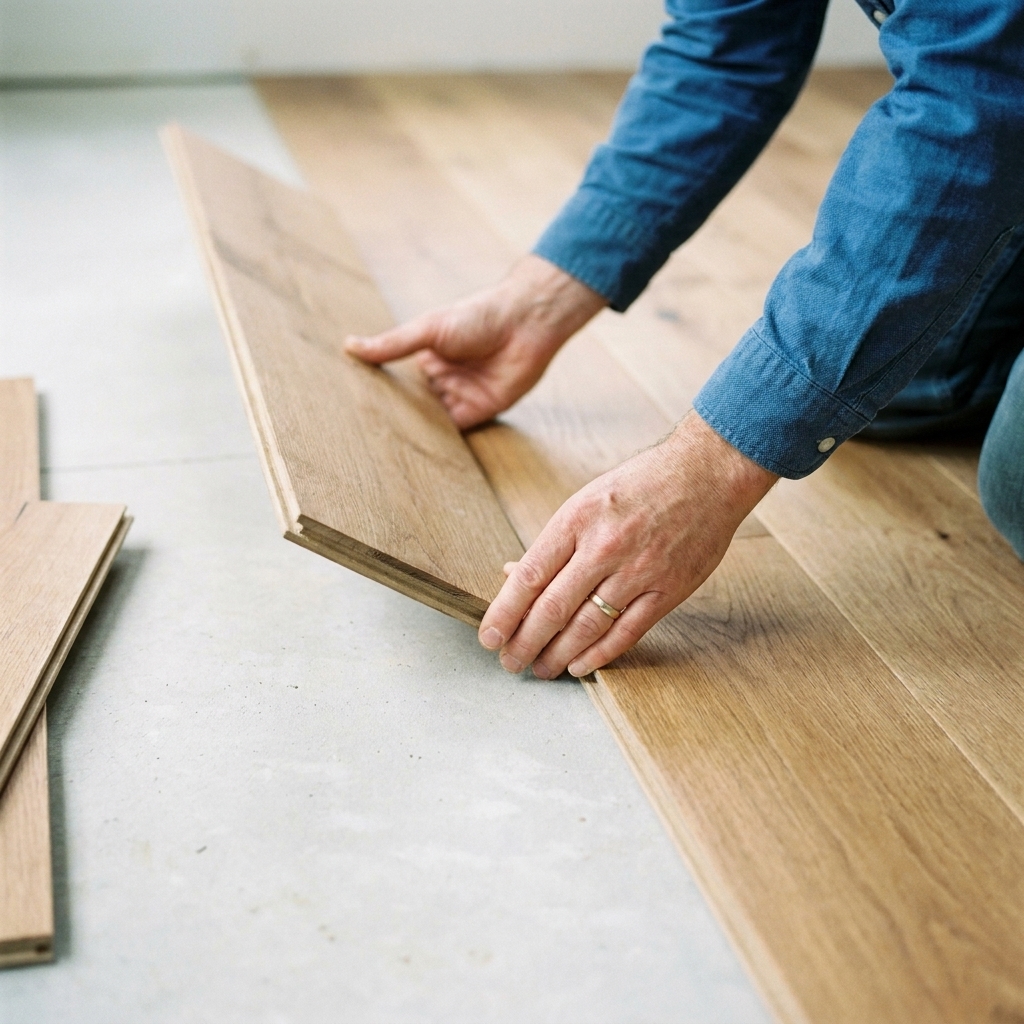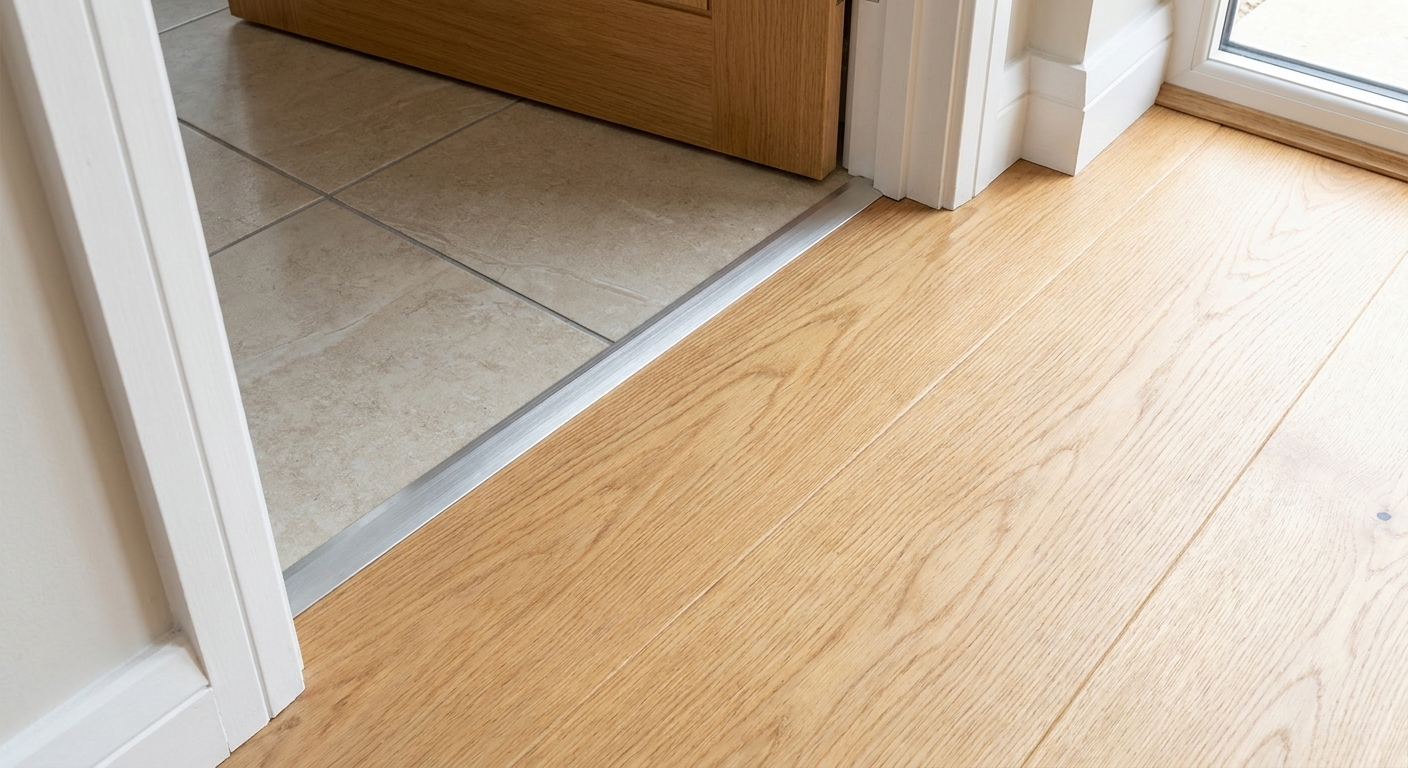
A DIY-friendly guide to picking the right T-molding, reducer, or threshold so mixed flooring looks intentional, stays flat, and holds up to daily traffic.
The Grout Nest
Updated October 17, 2026
Install Floor Transition Strips
Learn how to measure, cut, and install floor transition strips like T-moldings and reducers between tile, hardwood, laminate, vinyl, and carpet for a clean, safe finish.

Ben Mitchell
Ben Mitchell is a former professional tile setter and passionate home renovator with over 12 years of experience in the flooring industry. After stepping away from commercial contracting, he founded Grout Nest to empower everyday homeowners to tackle their own flooring, tile, and backsplash projects with confidence. He believes that with the right tools, proper prep work, and a little patience, anyone can achieve a professional-grade finish.
If you have ever stubbed a toe on a “temporary” raw edge between two floors, you already understand why transition strips matter. A good transition does three jobs: it covers the expansion gap, it protects vulnerable edges, and it keeps you from catching a shoe on a height change.
I set tile professionally for years, and I will tell you the same thing I told customers when they wanted to skip transitions to save a few bucks: the transition is not trim. It is part of the floor system. Done right, it looks intentional and it lasts. Done wrong, it squeaks, pops loose, or turns into a toe trap.
Pick the right transition type
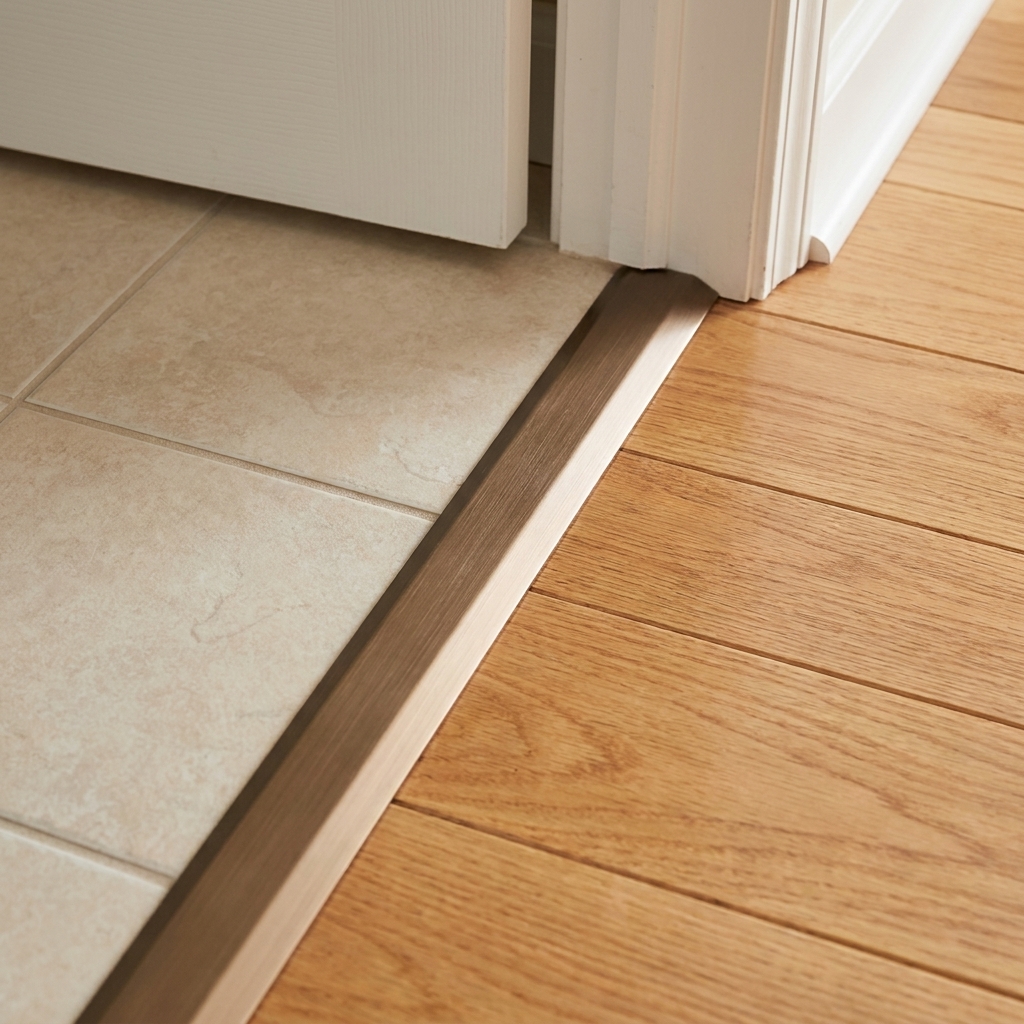
The biggest mistake I see DIYers make is buying the first strip that matches the color. Start with function, then match the finish.
T-molding (same height floors)
Use a T-molding when two floors are roughly the same thickness and you need to cover a gap between them. Common examples:
- Hardwood to hardwood (or LVP to LVP) in a doorway
- Tile to LVP when the tile is set flush with the other floor
- Laminate to laminate between rooms
Reducer (one floor higher than the other)
Use a reducer when one side is higher and you want a gentle ramp down. Common examples:
- Tile to hardwood where tile sits higher due to underlayment and thinset
- Tile to LVP where the LVP is thinner
- Hardwood to vinyl sheet goods
Carpet transitions (carpet to hard surface)
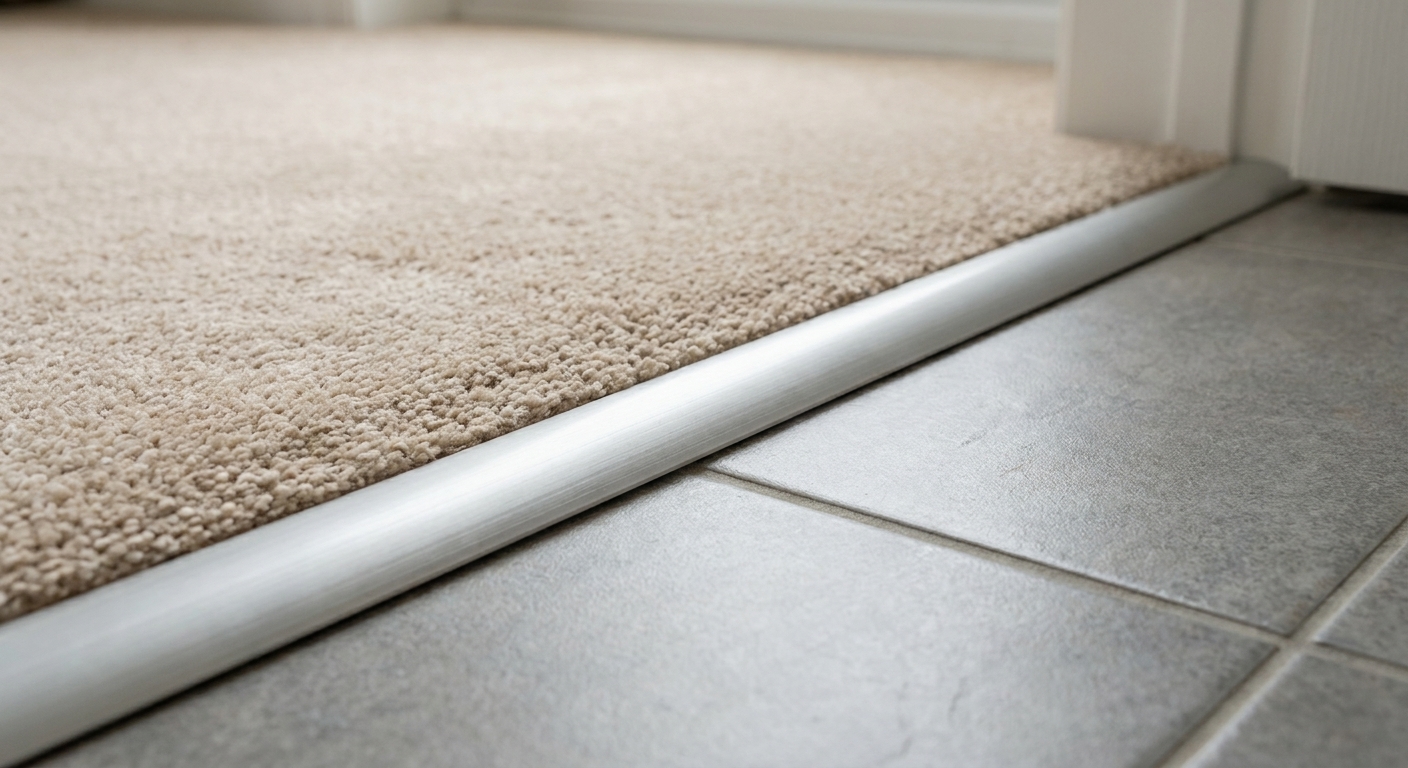
For carpet, you typically need a carpet to hard surface transition (you may also see it sold as a “carpet edge,” “carpet reducer,” or “carpet trim”). Many are two-part: a track plus a top piece that clamps or tucks the carpet edge. If your carpet is loose or fraying at the doorway, do not try to “pin it down” with a wood T-molding. It will look okay for a week, then the carpet edge starts misbehaving again.
End caps and thresholds (exposed edges)
An end cap (sometimes called a square nose) finishes a floor edge where there is nothing to transition to, like at a sliding door track or around a raised hearth. A threshold is usually wider and flatter, often used at exterior doors. Different job, different profile.
Pick the right width
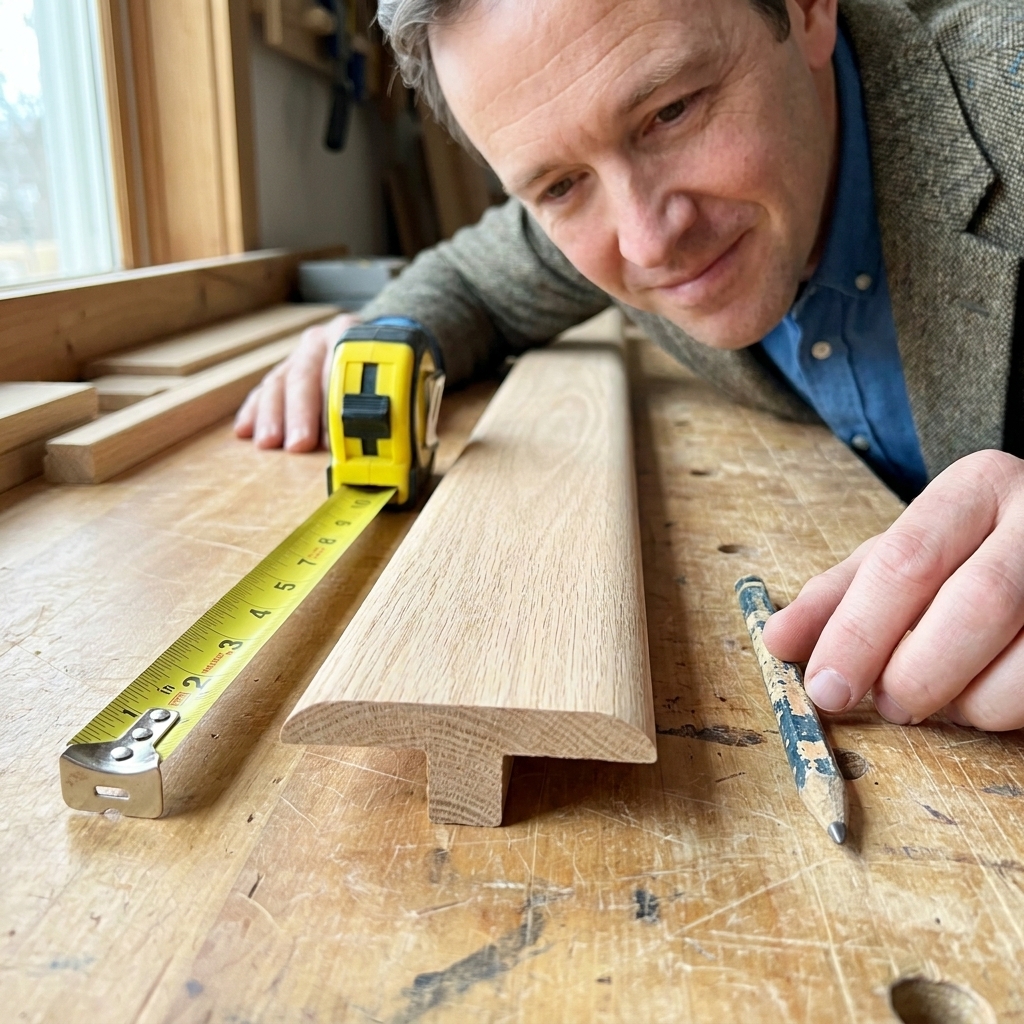
Before you buy, check that the top of the transition will actually cover what it needs to cover. You want it to span:
- The full expansion gap
- Both finished edges (including a slightly chipped tile edge)
- A little wiggle room for real life, not perfect drawings
If your gap is too wide: do not “hope” a narrow T-molding will hide it. Look for a wider profile, a threshold style, or a metal transition with broader coverage.
If your gap is too tight: do not force a bulky profile into a joint that cannot accept it. Open the gap where allowed (especially for floating floors), or switch to a slimmer profile designed for tight joints.
Tools and materials
You do not need a truck full of contractor tools, but you do need clean cuts and solid fastening.
Tools
- Tape measure and pencil
- Combination square or speed square
- Miter saw with a fine-tooth blade (best) or a hacksaw for metal trims
- Oscillating multi-tool or flush-cut saw (for undercutting door jambs if needed)
- Rubber mallet
- Vacuum
- Safety glasses and hearing protection
Materials
- Transition strip (T-molding, reducer, or carpet transition)
- Track/channel (if your system uses one)
- Fasteners: construction adhesive, screws, or nails depending on subfloor
- Shims (thin plastic or composite) for uneven subfloors
My rule: if the manufacturer includes a track, use it. If it is designed for adhesive, do not get creative with nails through the face unless the instructions say it is allowed.
Before you measure
1) Find the real transition line
Doorways love to lie to you. The center of the closed door is often the cleanest visual break, but not always. If one room is tile and the other is wood, I typically aim to hide the transition under the door slab when it is closed so each room “owns” its own floor.
2) Confirm the expansion gap
Floating floors (laminate and most click-lock LVP) need an expansion gap at transitions. Commonly that is 1/4 to 3/8 inch, but follow your flooring manufacturer. The transition covers that gap, it does not eliminate it. If your floor is jammed tight to tile or a threshold, fix that first or you may get buckling later.
3) Measure height difference accurately
Lay a short straightedge across the joint and measure the difference. If it is close to flush, a T-molding works. If you have a noticeable step, use a reducer. If you try to force a T-molding over a step, it will rock, squeak, and eventually pop out at the worst possible moment.

Measure and mark
Measure the opening
Measure the width of the doorway or the run of the transition where it will sit. If your door casing is already installed, you may need to undercut it so the transition slides underneath for a clean look.
Leave end clearance
Wood and laminate transitions can swell seasonally. I like to leave a hair of clearance at each end, especially if the strip butts into painted jambs. You are aiming for “just fits” without having to hammer it in like you are driving fence posts.
Mark for the cut
Mark the cut line with a square. For prefinished wood transitions, put painter’s tape over the cut area to reduce splintering, then mark on the tape.
Cut cleanly
Wood transitions
- Best: miter saw with a fine-tooth finish blade
- Cut slowly and support the piece so it does not chatter
- Keep the finished face up for most miter saws to reduce tear-out
Metal transitions
- Use a hacksaw with a fine-tooth blade, or a miter saw with a proper non-ferrous metal blade
- Clamp or secure the metal so it cannot grab or kick
- Wear eye protection and hearing protection, and keep hands well clear
- Deburr sharp edges with a file
LVP/laminate transitions
These are often MDF core with a finish wrap. They cut like wood, but they chip easier. Tape helps. Go slow and you will be happier with the result.

Install method 1: Track and snap-in
Many click-floor transitions use a metal or plastic track that gets fastened in the transition zone, then the top piece snaps in.
Step 1: Dry fit everything
Set the track in place and lay the transition on top without snapping it in. Confirm you have the correct gap coverage and that the profile sits flat.
Step 2: Fasten the track the right way
- Plywood/OSB: screws are my first choice. They hold better than nails and do not loosen as easily.
- Concrete: use concrete screws (with a pilot hole) or the adhesive method approved by the transition manufacturer.
Important: do not fasten through a floating floor plank just to “catch” the subfloor. The track should be anchored where the system intends, usually in the gap area or to the subfloor at the transition line. If your layout leaves no exposed subfloor in that zone, follow the manufacturer’s instructions, which may mean adhesive-only or a different transition system.
Step 3: Shim low spots
If the track crosses a dip, the snapped transition will flex and squeak. Use thin shims under the track where needed, then fasten. Vacuum first so you are not shimming on top of grit.
Step 4: Snap the transition in
Start at one end and work across. Use a rubber mallet and a scrap block to protect the finish. If it refuses to snap, stop and check for:
- Track not centered over the gap
- Fasteners proud of the track
- Debris in the channel
- Wrong profile (it happens more than people admit)
Install method 2: Glue-down
Some reducers and end caps are designed to be adhered directly to the subfloor or to the tile edge zone. This method can be rock solid when done neatly.
Step 1: Prep the surfaces
- Vacuum thoroughly
- Wipe dusty concrete with a damp rag and let it dry
- Remove any old adhesive lumps that would hold the transition up
Step 2: Use the right adhesive
Use the adhesive recommended by the transition maker when possible. If you are choosing your own, stick with a high-quality polyurethane or MS polymer construction adhesive rated for flooring and compatible with vinyl/PVC and nonporous surfaces like tile. Some adhesives can attack plastic, fail to bond well to glossy tile, or telegraph through thin materials, so read the label and do not assume “any tube of construction adhesive” is the same thing.
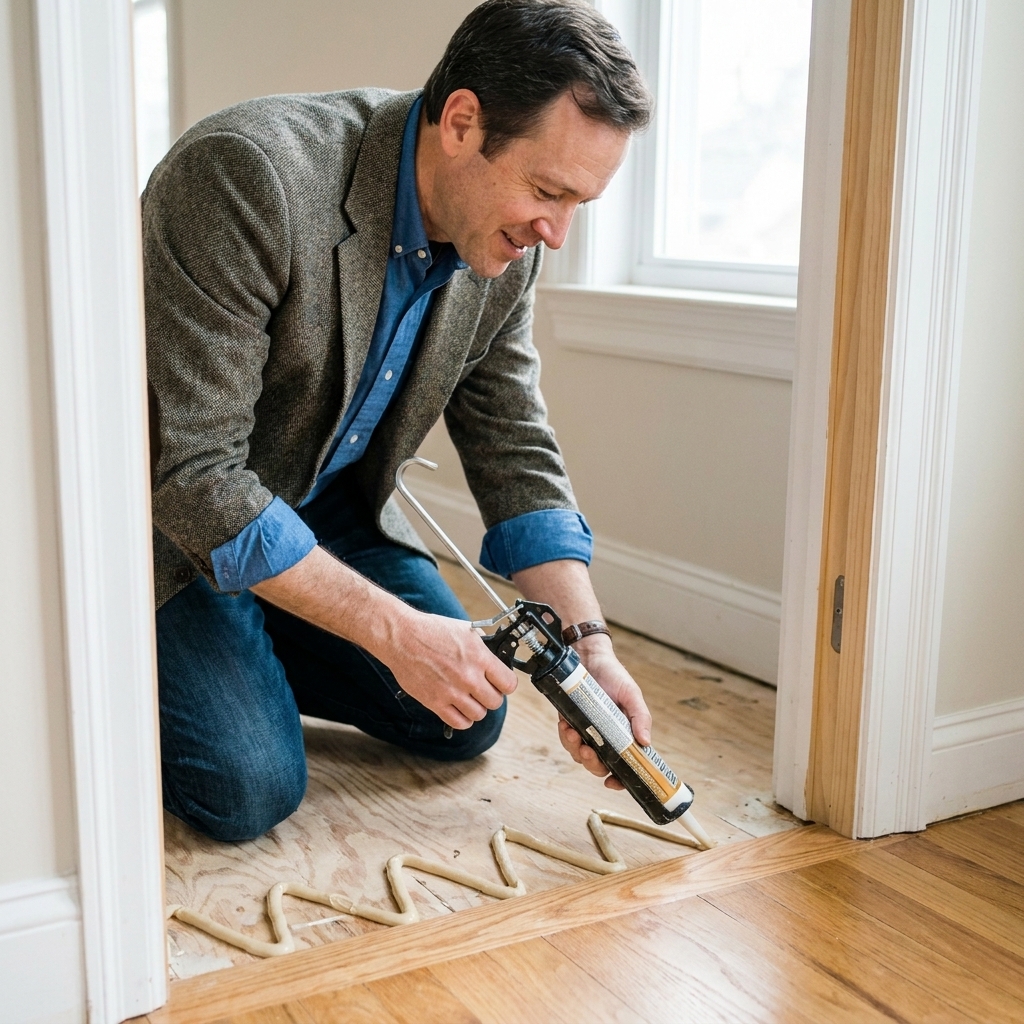
Step 3: Apply controlled beads
Do not butter the entire area like you are frosting a cake. Run a few beads so you get solid contact without a mess. Keep adhesive away from the visible edges where it can ooze up onto the finished face.
Step 4: Set and weight it
Press the transition into place, confirm alignment, then weight it evenly. Let it cure the full time. If you step on it early, it can drift.
Install method 3: Screw-down or nail-down
Some wood thresholds and reducers are designed to be face-fastened. This is common at exterior doors and sometimes in older homes.
Tips for a clean install
- Pre-drill to prevent splitting, especially near ends
- Countersink fasteners so heads sit flush
- If you are staining or using color-matched putty, test it in an inconspicuous spot first
If you are transitioning over tile, be careful. Drilling tile is doable, but it is also an easy way to crack a perfectly good piece. If you can avoid drilling into tile by fastening to the subfloor side, do it.
Moisture and doors
Bathrooms, laundry rooms, mudrooms, and exterior doors are hard on transitions. Water and swelling are the main enemies.
- Avoid MDF-wrapped transitions in wet-prone spots if you can. They look great until they do not.
- Metal, solid wood, or composite transitions usually hold up better around water and heavy traffic.
- Exterior thresholds often need sealant or a bedding compound, but only when the threshold system calls for it. Do not caulk a floating floor transition like it is a bathtub.
Tile to hardwood
This is the most common “help, my floors don’t meet nicely” situation.
Scenario A: Flush
Use a T-molding or a sleek metal transition designed for flush floors. Make sure you still have the expansion gap on the wood side.
Scenario B: Tile is higher
Use a reducer with the high side against tile. The reducer should cover the tile edge and ramp down onto the wood side without pinning the wood floor tight.
Pro detail: protect the tile edge
If your tile edge is exposed and sharp, confirm your reducer fully covers it. Chipped tile edges at doorways are heartbreakingly common, and they almost always start with an unprotected edge that takes repeated impacts from shoes, vacuums, and rolling loads.
Tile to carpet
Carpet transitions are part trim, part upholstery, part wrestling match.
What you want
- Carpet edge is tucked or clamped cleanly
- No fuzzy raw edge visible
- No gap big enough to snag a vacuum head
Common systems
- Z-bar or metal carpet edge (often used by pros)
- Two-piece track transitions sold for carpet to hard surface
- Rubber transitions in basements or utility spaces
If you are not comfortable stretching carpet, you can still DIY the transition, but plan to borrow a knee kicker or call a carpet pro to re-stretch just the doorway area. A loose carpet edge will make any transition look sloppy.
Door jambs and casings
Nothing screams “DIY weekend” like a transition strip that stops short because it could not fit under the trim.
Undercut the casing
Use an oscillating multi-tool and a scrap piece of flooring as a height guide. Cut the bottom of the casing so the transition can slide underneath with a small clearance. Vacuum the sawdust, dry fit, then install.
My mantra applies here: prep work is 90% of the job. Five minutes undercutting trim can save you an hour of fussy caulking and regret.

Troubleshooting
Out-of-square doorways
If your jambs are not parallel, measure both ends and the middle. Cut the transition to the smallest measurement, then fine-tune the ends. If the difference is big, you may need to scribe the ends so it fits tight without bowing.
High tile lippage at the edge
If one edge tile sits proud, do not force a rigid transition over it. Knock down the high spot if possible, or choose a profile that can tolerate the height change without rocking. A reducer can sometimes hide small sins that a T-molding will broadcast.
Bowed trim or wavy edges
If the transition rocks, fix the support. Shim under tracks, spot-fill low areas under glue-down pieces, and make sure you are not installing over crumbs of grout or thinset.
Top of stairs
Do not use a reducer as a stair nosing. Stairs need a proper stair nose profile that is made for that edge and that matches your flooring system. This is one place where “close enough” turns into a safety issue fast.
Avoid these failures
- Pinning a floating floor: do not trap laminate or click-lock LVP tight under a reducer or threshold. Keep the expansion gap and use the correct channel system.
- Installing over debris: one grain of thinset or grout under a track can create a squeak you will hear forever.
- Wrong profile for the height: a T-molding over a step will rock. A reducer when floors are flush looks bulky.
- No dry fit: always check the fit before adhesive or fastening.
- Rushing cure time: if you glue it, weight it, then leave it alone.
When to call a pro
- Big height differences that need custom milling or specialty profiles
- Transitions that require drilling through tile you cannot afford to crack
- Carpet that needs stretching and you do not have the tools
- Exterior door thresholds where water management is part of the system
FAQ
Do transition strips need to be centered over the gap?
Most of the time, yes. For T-moldings especially, you want the stem centered so the top covers evenly. Reducers are different because they are meant to favor the lower side, but you still want full coverage of the gap and edges.
Can I install a transition strip over grout lines or a slightly uneven tile edge?
You can, but you should not force it. Knock down high spots first. If the tile edge is wavy, choose a transition with a bit more width and flexibility, or use shims under the low areas so it does not rock.
What is the best way to transition from tile to LVP?
If heights match, use a T-molding designed for LVP. If the tile is higher, use a reducer. The critical part is allowing the LVP to expand, so avoid fastening through the floating floor and use the manufacturer’s transition track if provided.
Should I caulk along a transition strip?
Usually no. Caulk collects dirt and can restrict movement on floating floors. The exception is some wet-area or exterior threshold situations where the manufacturer calls for sealant, or where water management is part of the design.
Final checklist
- Transition sits flat with no rocking
- No fasteners are proud and no track is bowed
- Floating floor still has an expansion gap and is not pinned
- Ends die cleanly into jambs or are tucked under undercut casing
- Walk across it in socks and shoes to confirm no snags
If you hit all five, you are in the sweet spot where the transition disappears. That is the goal. Nobody should notice it, except when they realize they are not tripping over it anymore.