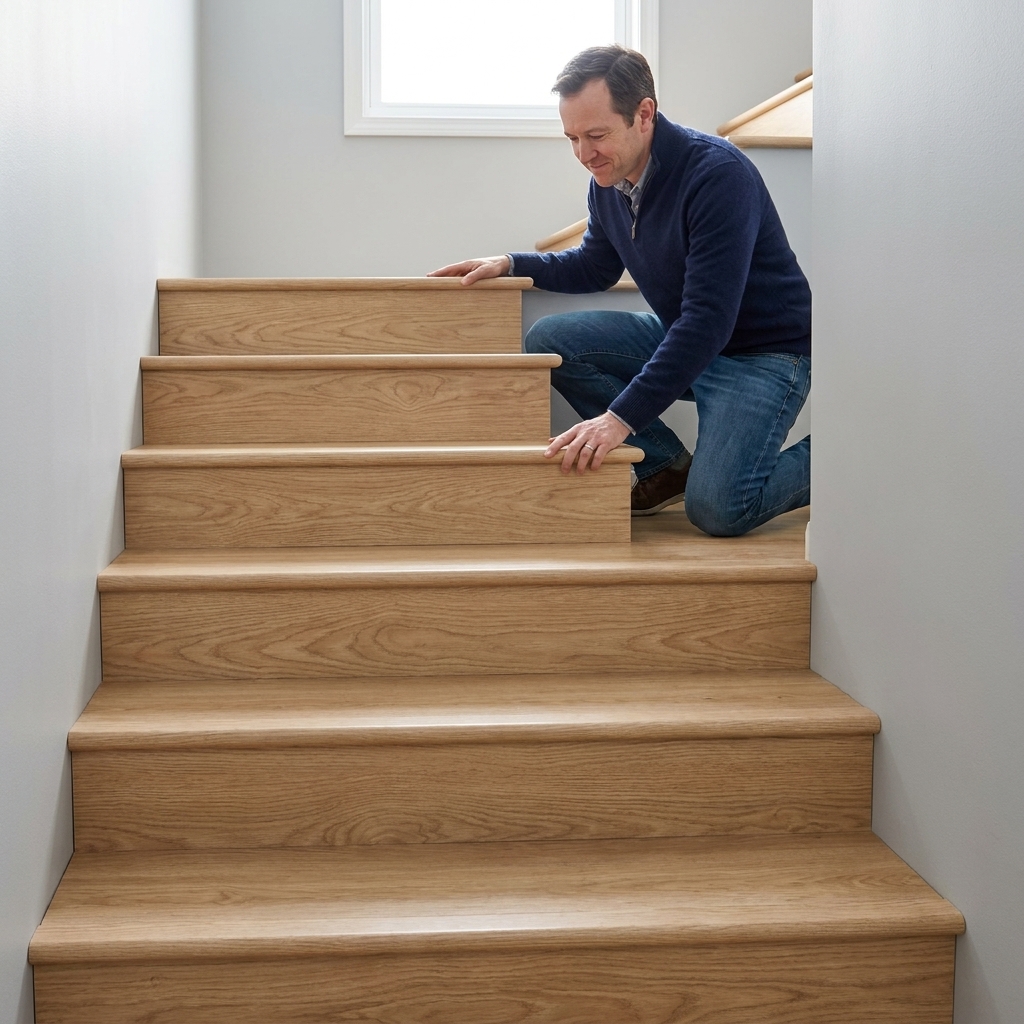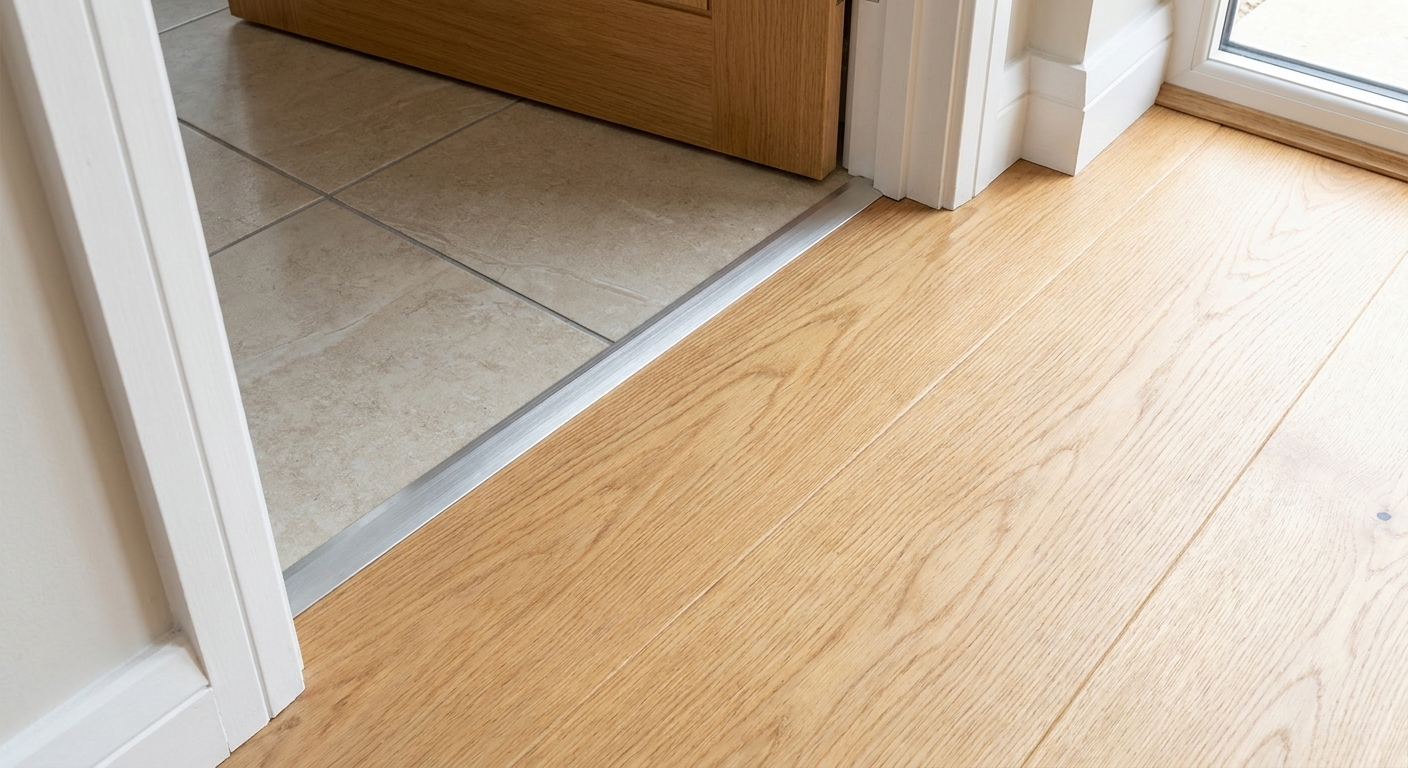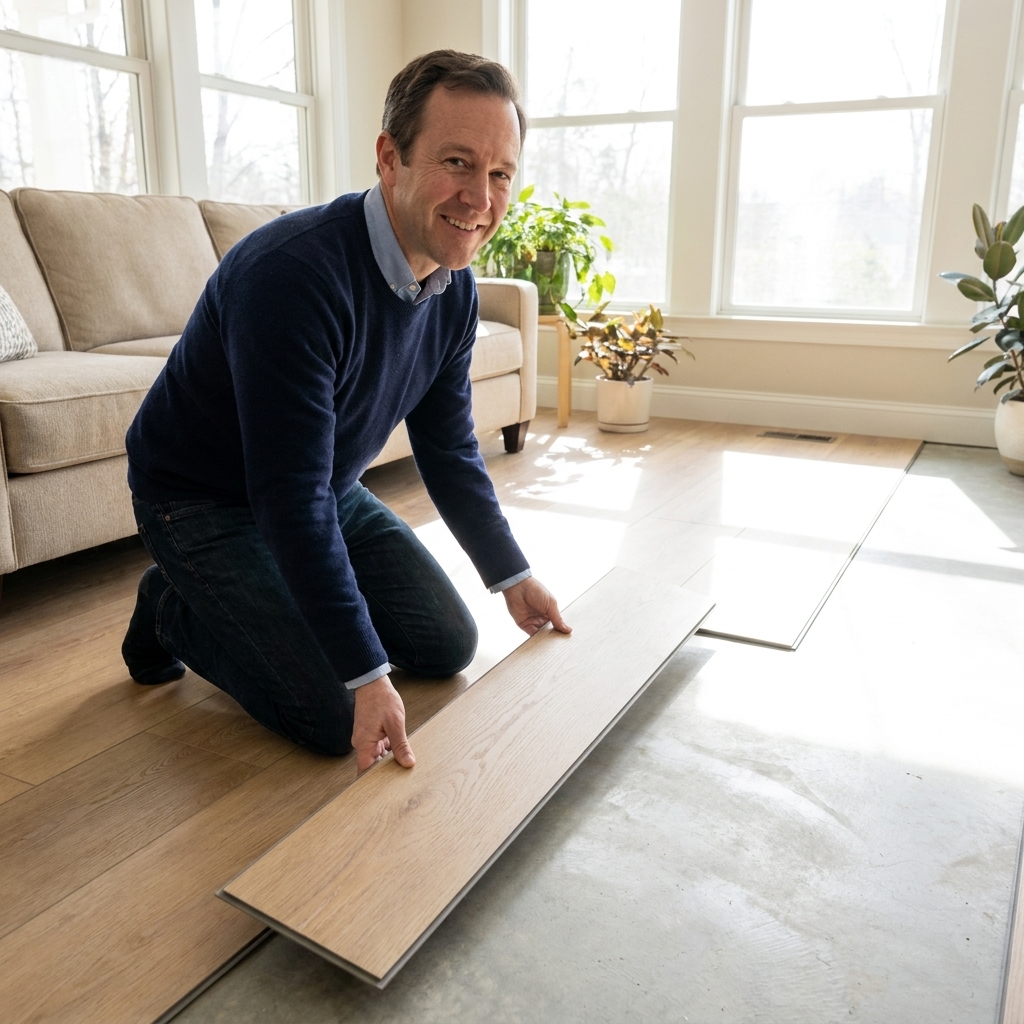
A practical, DIY-focused breakdown of LVP versus laminate, including waterproof claims, wear layers, subfloor prep, comfort, and where each option makes the ...
The Grout Nest
Updated October 17, 2026
Installing Laminate Flooring on Stairs
A step-by-step DIY guide to installing laminate flooring on stairs, including measuring, cutting treads and risers, choosing and fastening stair nosing, adding returns, and finishing safely for a clean, durable result.

Ben Mitchell
Ben Mitchell is a former professional tile setter and passionate home renovator with over 12 years of experience in the flooring industry. After stepping away from commercial contracting, he founded Grout Nest to empower everyday homeowners to tackle their own flooring, tile, and backsplash projects with confidence. He believes that with the right tools, proper prep work, and a little patience, anyone can achieve a professional-grade finish.
Stairs are where “pretty good” flooring work goes to get humbled. A laminate floor in a bedroom can hide a lot. A laminate stair tread that is even 1/16 inch short will stare at you every time you walk past it, usually while making an annoying click. The good news is that laminate stairs are absolutely a DIY-able project if you slow down, measure like you mean it, and treat stair nosing like a structural part, not trim.
I spent years setting tile where every edge is permanent, so I’m a little intense about prep. On stairs, that intensity pays off. This guide walks you through the measuring, cutting, and fastening approach I use to get tight seams, consistent overhangs, and a staircase that feels solid underfoot.
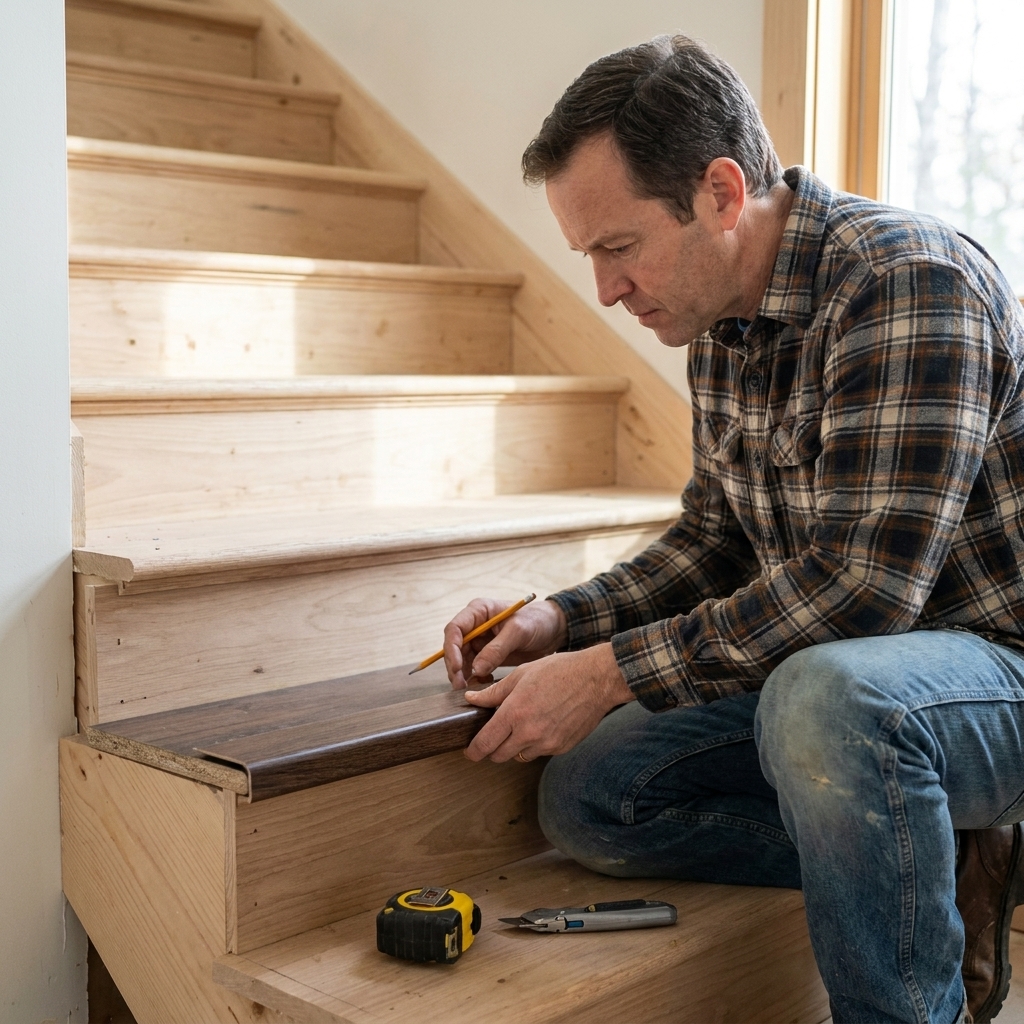
Before you start
Laminate works great on stairs when:
- Your stair structure is solid. No loose treads, no spongy landings, no bounce.
- You use the correct stair nosing system. This is not optional. The nosing takes the abuse.
- You accept that stairs are not a floating installation. Laminate on floors “floats.” Laminate on stairs is typically glued and mechanically secured per the system, which may mean a track with screws, brads in specific locations, or an adhesive-only profile that is engineered for it.
Laminate is not a great choice when your steps are badly out of square and you do not want to scribe and custom-fit each tread, or if you need maximum traction for small kids, pets, or elderly family members. You can improve traction with textured nosing and approved tread strips, but you cannot make glossy laminate magically grippy.
Tools and materials
Tools
- Tape measure and a sharp pencil
- Speed square
- Oscillating multi-tool (for undercutting trim and cleaning corners)
- Miter saw (best for straight, clean crosscuts)
- Jigsaw (helpful for notches and wonky corners)
- Table saw (optional, but great for ripping tread depth)
- Utility knife and extra blades
- Caulk gun
- Drill/driver
- 18-gauge brad nailer (optional but very helpful)
- Clamps (for holding nosing while adhesive cures)
- Vacuum
Materials
- Laminate planks (and extra for stairs, you will waste more than on floors)
- Matching stair nosing or stair edge molding recommended by the laminate manufacturer
- Construction adhesive rated for flooring (solvent-free is usually safer for foam-backed products)
- High-quality wood glue (for some nose systems or return pieces)
- 1 1/4 inch to 1 1/2 inch brad nails or finish nails (as needed and allowed)
- Wood filler or color-matched laminate putty
- Sandpaper (80 and 120 grit)
- Shims (thin wood or composite)
- Painter’s tape
Compatibility note: Laminate stair noses are not universal. Buy the nose that matches your product line, thickness, and locking profile. “Close enough” at the store becomes “why is this edge lifting?” two weeks later.
Safety and code basics
Stairs are one of the few DIY projects where minor inconsistencies can become a fall hazard.
- Keep nosing projection consistent. If you add a thick nose to one step but not others, you can change the feel of the stair rhythm.
- Mind riser and tread consistency. Many jurisdictions follow IRC-style rules where the maximum variation within a flight of stairs is 3/8 inch from the tallest riser to the shortest, and likewise for tread depth. Your finish materials can affect those numbers. Measure first, then check your local code or inspector if anything is close.
- Do not improvise the nosing fastening. Never rely on adhesive alone unless your manufacturer’s system is explicitly designed for adhesive-only installation. Some profiles want a screwed-down track, some allow brads, some prohibit fasteners through the face. Follow the method your profile is engineered for.
Step 1: Tighten the stairs
Your laminate is only as good as the wood underneath.
Fix squeaks and movement
- Walk every step and listen. If it squeaks, it is moving.
- From above: drive screws into the tread to tie it to the stringers. Pre-drill if the wood is old and split-prone.
- From below (if you have access): add construction adhesive along tread to stringer seams and screw blocks under the tread edges.
Decide what to do with the front edge
The front edge where the nosing sits must be solid and fairly flat. Here is the simple decision tree:
- If your treads are already square at the front: great. Clean and proceed.
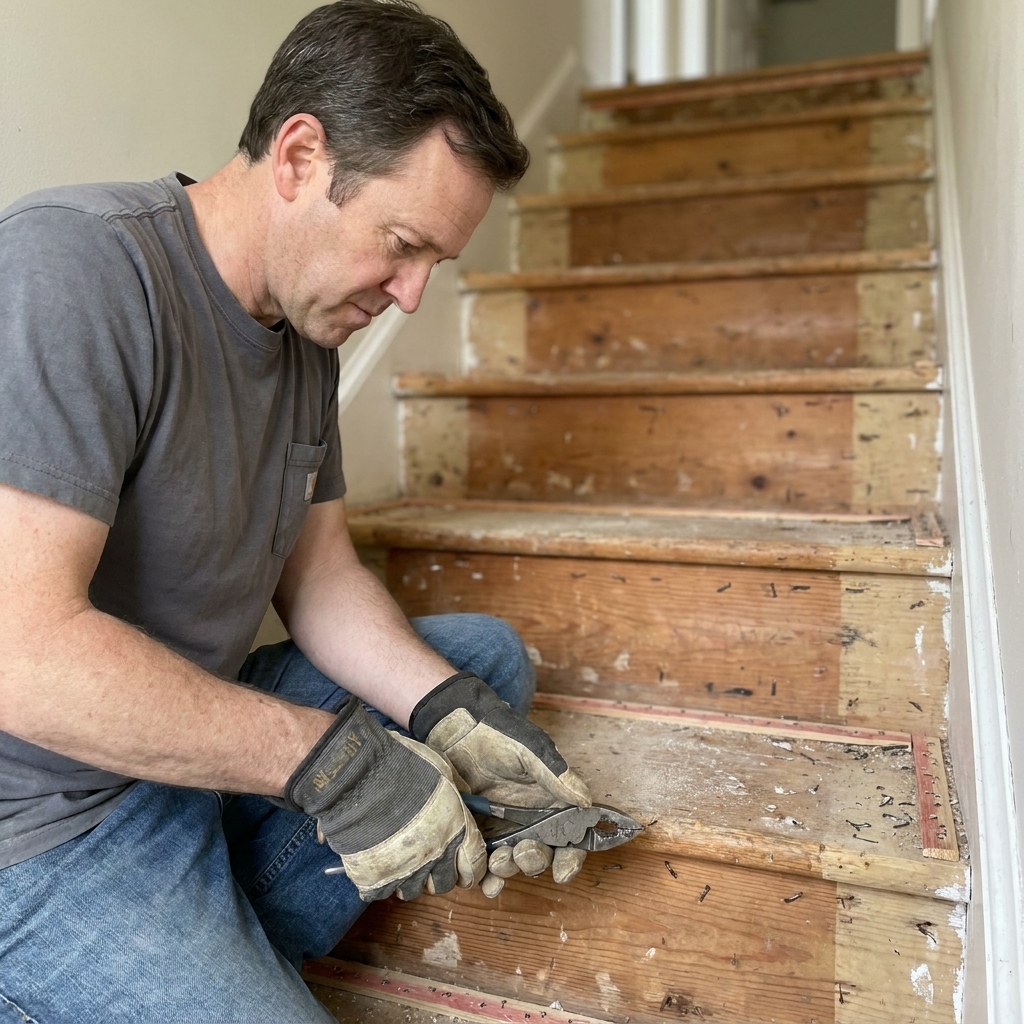
- If your treads have a rounded bullnose: you usually need to cut it off and square the front so the nosing system has a flat seat.
- If the tread front is damaged or inconsistent: either overlay with plywood to create a clean, square face, or replace the treads if they are too far gone.
- If you are thinking “I’ll just glue to the curved bullnose”: that is the path to a loose, creaky nose. Most systems are not designed for it.
If your staircase is carpeted now, pull the carpet, pad, staples, and tack strips. Then vacuum like you are getting paid by the crumb.
Step 2: Pick your system
You can laminate stairs two common ways:
Tread caps
These are purpose-built stair treads with an integrated nose. They are typically sturdier and faster to make look “factory,” but cost more and limit style choices.
Planks plus stair nosing
This is what most DIYers do to match the rest of the house. It looks great when done right, but you must be precise with cuts and you must install the nosing correctly.
This guide focuses on standard planks plus a separate stair nose, with notes where tread caps differ.
Step 3: Measure every step
Stairs are almost never identical. A house can be off by 1/8 inch step-to-step and still look perfectly normal until you try to install rigid flooring.
What to measure
- Tread width: left stringer to right stringer.
- Tread depth to the riser: from the back of the tread to the front edge where the nosing seats.
- Riser height: top of tread to bottom of tread above.
- Out-of-square: check with a speed square at both back corners.
My “no-regrets” measuring trick
I like making a quick template for each tread using stiff cardboard or thin underlayment scraps:
- Cut a rectangle slightly oversized.
- Scribe it to each side wall or stringer if the stair is tight to drywall.
- Label it: “Step 4 tread” and arrow for “front.”
This takes longer upfront, and saves you from burning through expensive planks later.
Step 4: Plan the layout
Laminate on stairs looks best when the “grain” runs left to right across each step, same direction as you walk across the tread. That usually means you are crosscutting planks to width and possibly ripping for depth.
Avoid skinny front strips
If your tread depth forces you to use a thin strip at the front edge behind the nosing, it can look busy and can be weaker. Aim for:
- One solid piece per tread when possible, or
- Two pieces with a seam closer to the back, not right at the nose.
If you must seam pieces, stagger seams from step to step so you do not create a “ladder” visual line.
Step 5: Prep for glue
Most laminate-on-stairs installs fail because the installer treated laminate like trim. Adhesives do not bond well to dust, old paint chips, or glossy finishes.
- Vacuum thoroughly.
- Scuff sand glossy painted risers and tread fronts with 80 to 120 grit.
- Remove protruding staples and nails.
- Fill dips and damage at tread fronts where the nosing will sit. Let fillers cure fully.
Ben’s rule: If you can scrape it off with your fingernail, your adhesive can too. Prep until the substrate feels solid and clean.
Adhesive choice matters
Use an adhesive rated for flooring and compatible with your specific product. In real life, the main pitfalls are:
- Solvent-based adhesives that can attack foam or attached pads.
- Adhesives that skin over too fast while you are still fussing with a tight fit.
If your planks have an attached pad, confirm the adhesive is approved for it. If it is not, pick a different adhesive or a different stair product. Do not guess.
Step 6: Install risers
I like to install risers first, then treads, working from the top of the staircase down. Starting at the top keeps you from trapping yourself on the wrong floor while adhesive is wet.
Cutting risers
- Measure height and width for each riser.
- If the riser is slightly bowed or the walls pinch, scribe your piece for a tight fit.
- Dry-fit every riser before glue.
Fastening risers
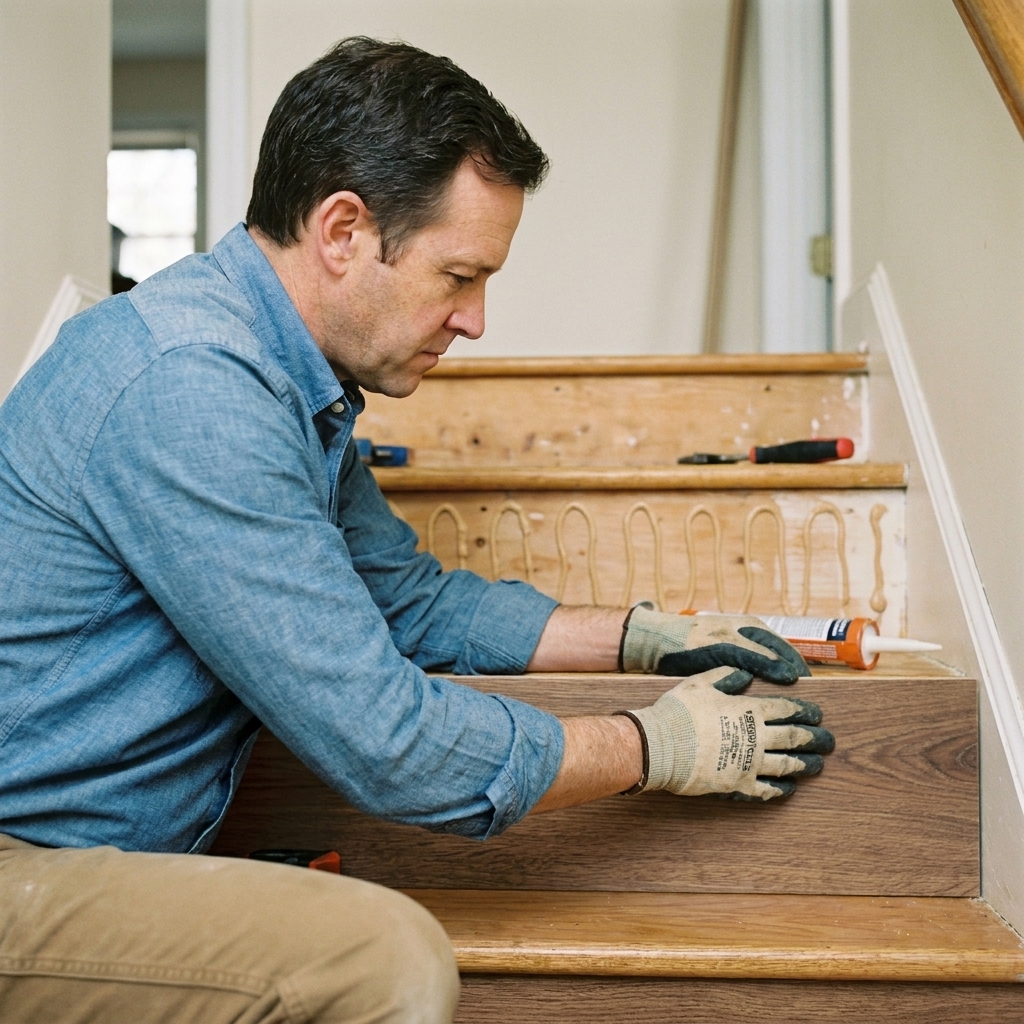
- Apply construction adhesive in a serpentine pattern.
- Press riser in place and add a few brads to hold it while curing, especially at edges.
- Wipe squeeze-out immediately.
Cure reality check: Most adhesives grab faster than they cure. Do not assume “it feels stuck” means it is ready for heavy traffic. Treat cure times like a rule, not a suggestion.
Step 7: Cut and dry-fit treads
Dry-fit is not optional
Before adhesive touches anything, dry-fit the tread pieces and the stair nose together on the step. You are checking:
- Side-to-side fit without forcing
- Back edge tight to the riser
- Nosing alignment across the front
- No rocking or hollow spots
Cutting tips that prevent chip-out
- Use a fine-tooth laminate blade on your miter saw.
- Cut with the finished face up on a miter saw, face down on a table saw, and test on scraps because saws vary.
- For notches, drill a small relief hole at inside corners before jigsawing to reduce cracking.
Expansion gaps on stairs
On floors, laminate needs expansion space at the perimeter. On stairs, you are generally gluing pieces down, so you are not relying on the click system to float. Still, you should avoid binding pieces hard against side walls. If your step is boxed in by drywall, leave a small gap at the sides and finish it with appropriate trim or a neat bead of paint-grade caulk where it makes sense.
Step 8: Install stair nosing
The stair nose is the part that gets kicked, stepped on, vacuumed, and generally bullied daily. Treat it like a structural component.
Know your nosing system
Stair nosing varies by brand and profile. Common systems include:
- Overlapping nose that sits on top of the laminate tread edge.
- Flush nose that meets the laminate edge cleanly, often with a track.
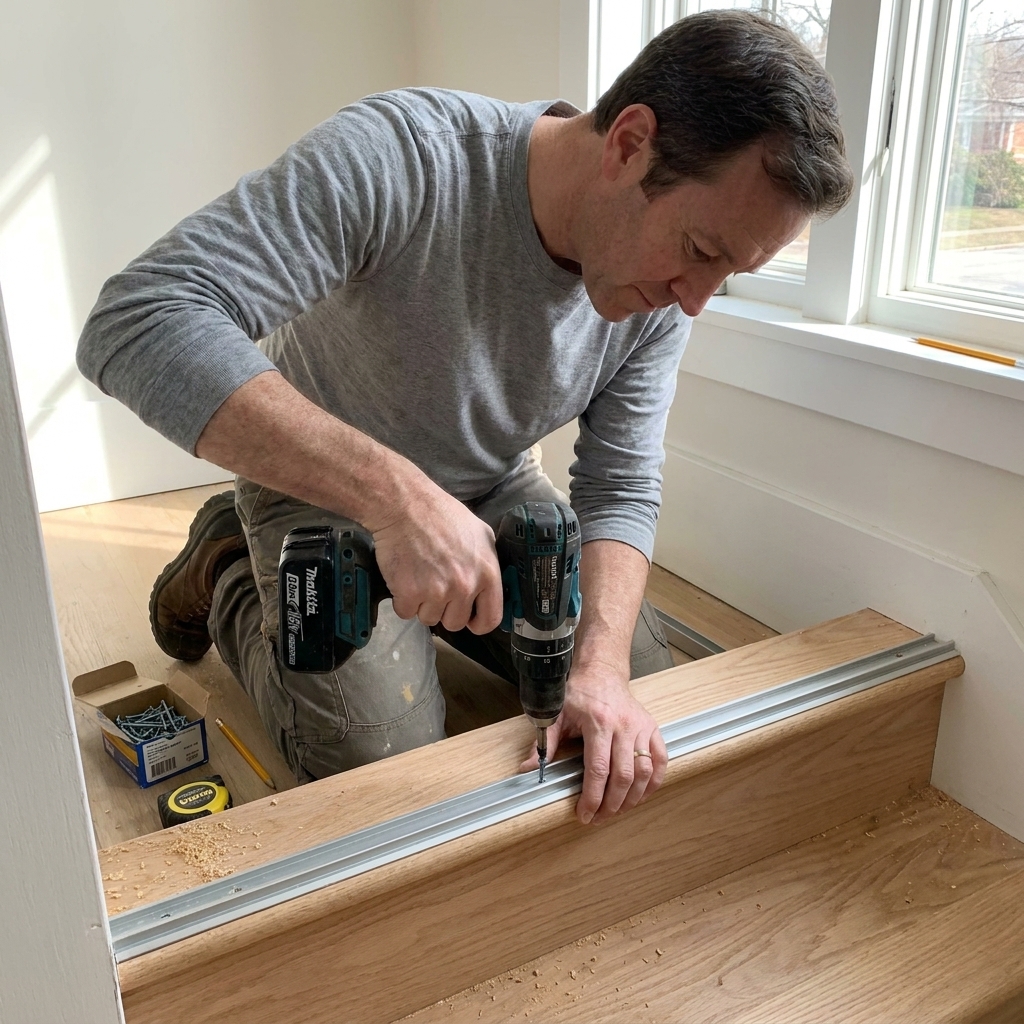
- Track-mounted nose where a metal or plastic track is screwed down first, then the nose snaps or slides in.
- One-piece tread caps with an integrated nose (a different product category, but worth calling out).
- Specialty profiles that glue into a groove or channel on the tread edge.
Use the instructions for your exact profile. The wrong adhesive or skipped track screws is where callbacks are born.
Best-practice fastening
- Dry-fit the nose and mark its position with painter’s tape.
- If using a track, screw the track into solid wood. Pre-drill if needed.
- Apply adhesive where specified, then set the nose and clamp or tape it tight while it cures.
- If face-nailing is allowed, nail where holes will be least visible and fill carefully.
Consistency tip: Make the nosing overhang identical on every step. Pick a reference point and stick with it. Your eyes and feet will notice if step 3 sticks out farther than step 4.
Step 9: Glue and fasten treads
Once your riser is on and your tread and nose are cut and proven in a dry-fit, it is time to commit.
Two common sequences
The right order depends on the nose profile. These are the two sequences you will see most often:
- Track or flush systems: install track or nose first (per instructions), then cut and fit the tread up to it.
- Overlap systems: glue down tread first, then install the overlapping nose over the front edge.
If your profile specifies an order, follow it. If you fight it, you will lose.
Adhesive pattern
- Run construction adhesive in a serpentine pattern across the tread surface.
- Add a bead near the front edge if your system calls for it, but avoid huge globs that prevent the laminate from sitting flat.
Set the tread
- Place the laminate tread piece(s) into position.
- Press firmly, then shift slightly back and forth to bed into adhesive.
- If allowed, add a few brads in inconspicuous spots to prevent drift while curing.
Repeat step-by-step, working down the staircase. Keep a clean rag handy and wipe squeeze-out immediately.
Open ends and returns
If your staircase has an open side, that exposed nosing end is where DIY installs often look unfinished. You usually need a return, which is a small piece that wraps the nosing back to the skirt board or the side of the tread.
How to do a simple return
- Cut the nosing to length for the step.
- Miter a small return piece (often 45 degrees) so the end grain is hidden.
- Glue the return piece to the nosing using wood glue or the adhesive approved for that profile.
- Use painter’s tape or a clamp to hold it tight until it cures.
Take your time here. A clean return reads like finish carpentry. A sloppy one reads like “I ran out of patience.”
Landings and transitions
Landings can be treated like a small floor, but do not assume you can float laminate on a landing that ties into glued stair pieces without planning.
- If the landing is part of a continuous laminate floor upstairs, maintain the product’s expansion requirements at walls and transitions.
- If you are ending laminate at the top of stairs, use the recommended transition profile or a flush stair nose at the edge.
- At the bottom step, plan how the last nosing meets the lower floor. You may need a reducer, a T-mold, or a flush edge depending on height differences.
Traction and slip safety
If your stairs are a main traffic path, treat traction as part of the design, not an afterthought.
- Choose finish wisely: matte and textured surfaces usually feel less slick than glossy ones.
- Keep it clean: dust, pet hair, and cleaner residue can make any hard surface feel slippery.
- Tread strips or grip tape: use only products approved for laminate and test adhesion first. Some aggressive tapes can damage the wear layer or leave permanent adhesive behind.
- Textured nosing: if your manufacturer offers a higher-traction nosing, it is often the best upgrade because it targets the edge where your foot lands.
Finishing details
Side gaps and trim
If your stairs run between walls, you will likely have tiny side gaps. You can finish them with:
- Shoe molding or quarter round (paint to match trim)
- Caulk, only if the gap is small and the area is paint-grade
Do not caulk where movement will crack it repeatedly. Trim is usually the cleaner long-term answer.
Filling nail holes
Use color-matched putty and apply sparingly. Too much filler draws the eye more than the hole did.
Clean-up
Wipe adhesive squeeze-out immediately. Dried construction adhesive on laminate is a special kind of misery.
Common problems
Nosing feels loose or clicks
- Cause: insufficient mechanical anchoring for that system, wrong adhesive, dust under the nose, or a track not secured to solid wood.
- Fix: remove and reinstall using the correct method. If the system is track-based, add screws into solid framing and replace the nose if its locking lips are damaged.
Gaps at risers
- Cause: riser not flat, tread depth cut short, or stair out of square.
- Fix: scribe tighter on the next step. For small gaps, trim or paint-grade caulk can help, but do not use caulk as a substitute for correct cuts at the nose seam.
Hollow sound on treads
- Cause: adhesive not making full contact, high spots under the laminate, or uneven substrate.
- Fix: identify high spots and sand them down, then reinstall with adequate adhesive coverage.
Chipped edges
- Cause: wrong blade, rushing cuts, or unsupported laminate during jigsaw cuts.
- Fix: replace the piece. For future cuts, use a fine-tooth blade, painter’s tape over cut lines, and support the workpiece fully.
FAQ
Can you install laminate on stairs without stair nosing?
Not if the step has an exposed front edge. You need a proper stair edge solution, either a matching stair nose or a one-piece tread cap with an integrated nose. The edge is where impact happens, and laminate’s core will not hold up if it is left unprotected.
Do laminate stairs need underlayment?
Usually no, because stair installs are typically glued down for solid contact. That said, some tread-cap products include a backing, and some manufacturers specify a particular backer or adhesive for planks with attached pads. Do not add underlayment or foam unless your product explicitly allows it, and confirm your adhesive is compatible.
Should I glue or nail laminate on stairs?
Most systems use construction adhesive as the primary bond, with mechanical fastening depending on the nosing profile: track screws, approved brads, or adhesive-only profiles designed for that use. If your manufacturer prohibits nails through a certain profile, respect that.
Do I start at the top or bottom of the stairs?
I recommend starting at the top and working down. It keeps you from stepping on freshly installed pieces to reach the next step, and it helps you maintain clean lines at the upstairs flooring transition.
How much extra laminate should I buy for stairs?
More than you think. Stairs involve more offcuts and more “that piece was perfect until I nicked the corner.” For stairs, 15 to 20 percent extra is a safer starting point, especially with notches, open-end returns, or boxed-in walls.
Final checklist
- Every step feels solid with no rocking.
- Nosing is tight and consistent, with no flex at the front edge.
- All seams are tight and aligned.
- Adhesive squeeze-out is cleaned.
- Trim is installed cleanly and does not bind the treads.
- You let adhesive cure before heavy traffic, per the label.
- You checked riser and tread consistency and did not accidentally create a weird step at the top or bottom.
If you take nothing else from me, take this: slow down on the cuts and obsess over the nose. That’s the difference between “I installed laminate on my stairs” and “wow, those stairs look like they came with the house.”