A practical, DIY-focused breakdown of LVP versus laminate, including waterproof claims, wear layers, subfloor prep, comfort, and where each option makes the ...
The Grout Nest
Updated October 17, 2026
Top 5 Budget-Friendly DIY Flooring Options That Look Expensive
Want luxe-looking floors without a luxe budget? Here are five DIY-friendly flooring options that mimic hardwood, stone, and tile, plus pro install tips to make them look high-end.

Ben Mitchell
Ben Mitchell is a former professional tile setter and passionate home renovator with over 12 years of experience in the flooring industry. After stepping away from commercial contracting, he founded Grout Nest to empower everyday homeowners to tackle their own flooring, tile, and backsplash projects with confidence. He believes that with the right tools, proper prep work, and a little patience, anyone can achieve a professional-grade finish.
If you have ever walked through a model home and thought, “Sure, I love these floors. I also love not taking out a second mortgage,” you are my people.
I spent years installing floors for a living, and now I spend a suspicious amount of my free time testing budget products in my own 1970s fixer-upper. Here is the honest truth: a lot of affordable DIY flooring looks genuinely expensive when you pick the right product and treat prep work like it is your job. Because on this one, prep is not 90% of the job. Prep is 90% of the look.

Below are my top five budget-friendly DIY flooring options that can convincingly mimic hardwood, stone, and designer tile. I will also call out where each one shines, where it can go wrong, and the small details that make it look high-end instead of a rushed “landlord special.”
Quick rules for a high-end look
Before we get into specific materials, here are the upgrade moves that matter across the board.
- Start flatter than you think you need. Many floating floors call for something like 3/16 inch variation over 10 feet and/or 1/8 inch over 6 feet (always check your product specs). High spots can cause click joints to separate, and low spots make floors feel hollow and cheap.
- Go wider and longer when you can. Wide planks and longer boards read more “custom” and less “budget,” especially in open floor plans.
- Choose a believable pattern and repeat. Cheap products give themselves away with obvious repeating grain or identical stone “freckles.” Buy from a line with more unique print faces.
- Use the right transitions, not the cheapest. A solid reducer or T-mold that matches well beats a flimsy, too-shiny strip every day of the week.
- Mind the baseboards. Pulling and reinstalling baseboard (or adding shoe molding cleanly) is one of the fastest ways to make DIY look professional.
- Do a quick moisture reality check. On slabs and below-grade spaces, follow the flooring’s moisture testing and vapor barrier requirements. This is where “looks great today” turns into “why is it curling” six months from now.
1) Peel-and-stick vinyl (the good kind)
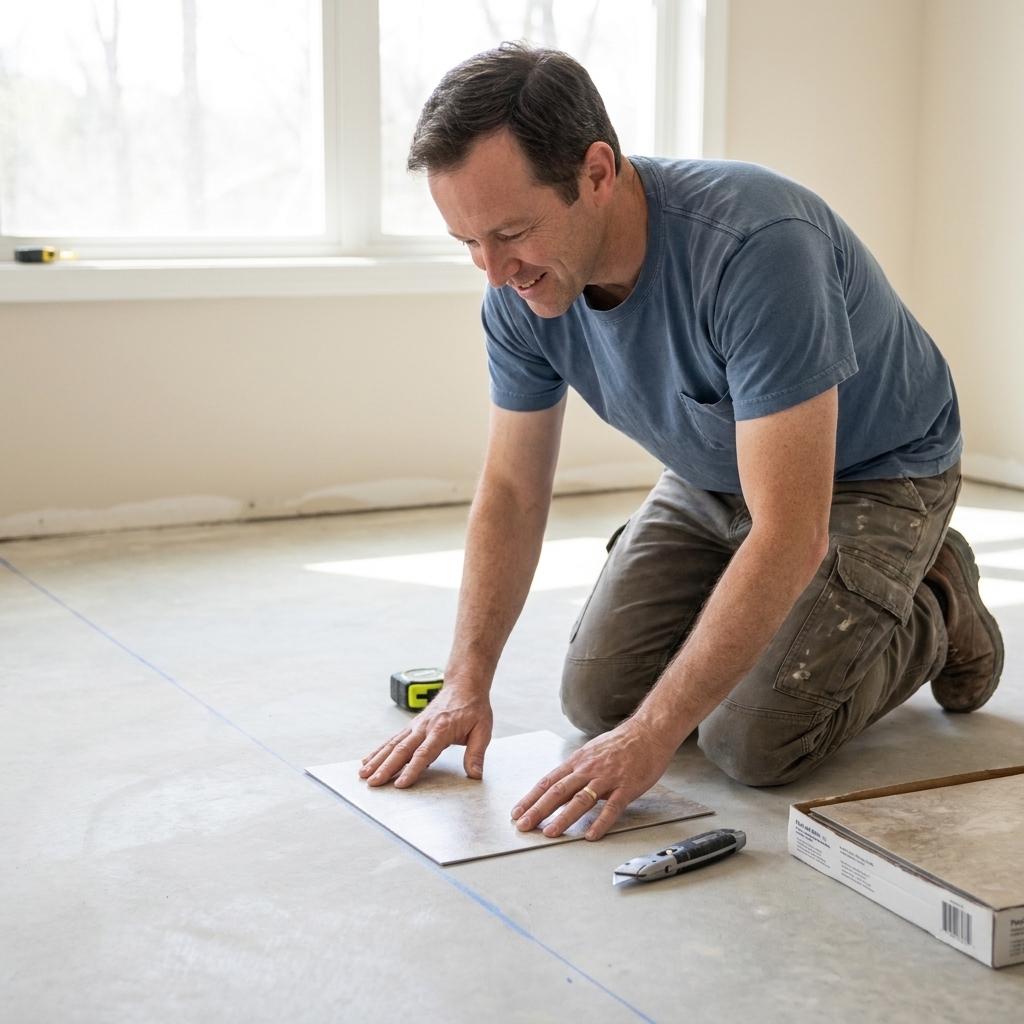
Peel-and-stick vinyl gets mocked because the bottom-shelf versions deserve it. But the better modern options can look surprisingly upscale, especially for small spaces like a laundry room, mudroom, pantry, or a quick bathroom refresh.
Why it can look expensive
- Great for checkerboard, parquet, or patterned looks that feel “designer” without designer money.
- Some lines have realistic matte finishes that mimic stone or encaustic-style tile.
- Thin profile means fewer door trimming headaches.
Where DIY installs go wrong
- Dirty or glossy subfloors. Adhesive hates dust, wax, and anything shiny.
- Laying over texture. Vinyl will telegraph seams, embossing, and low spots. That is how you get the “every bump is a spotlight” effect.
- Skipping acclimation. Many manufacturers still recommend acclimating peel-and-stick in the room before install so it handles and sticks consistently.
Pro moves for a high-end finish
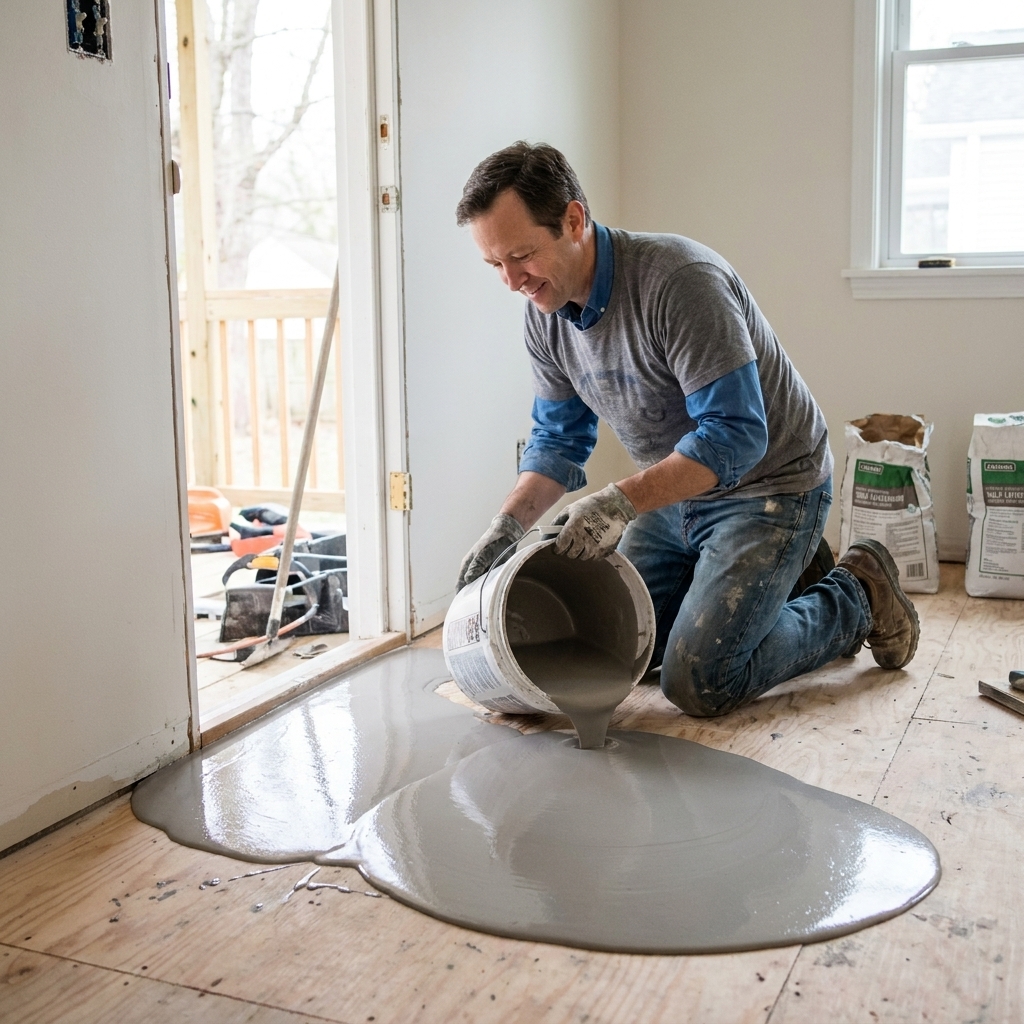
- Skim coat first. If you are over plywood seams or old vinyl embossing, a skim coat of floor patch makes a night-and-day difference.
- Prime when required. Some patches and porous subfloors need primer for best bond. Follow the flooring and patch manufacturer instructions here.
- Roll it. Use a 75 to 100 lb floor roller if you can rent one (per manufacturer), or at least a hand roller. Pressure is what locks in the adhesive evenly.
- Set a crisp layout line. Snapping a couple of chalk lines and centering the pattern prevents tiny slivers at the edges, which screams DIY.
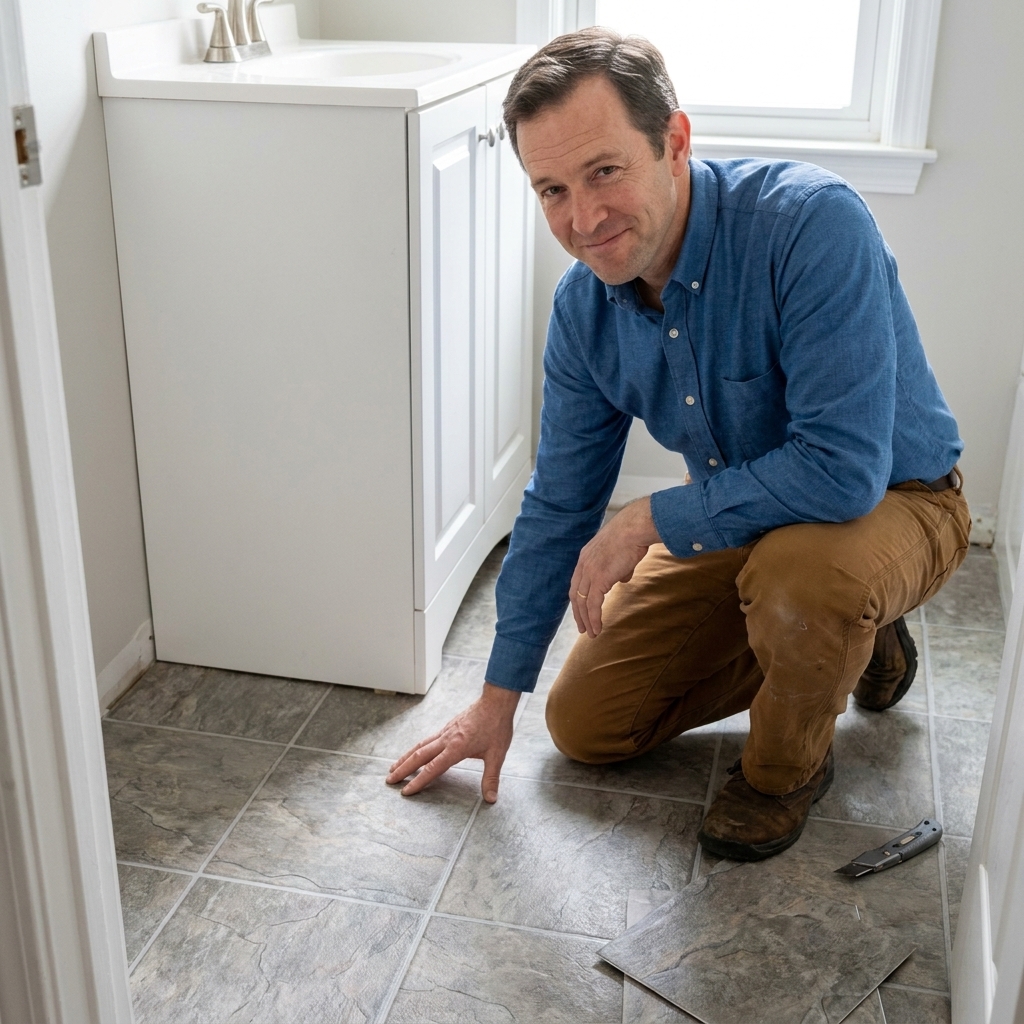
Best for: quick upgrades, rentals (with permission), low-traffic rooms.
Not my first pick for: busy kitchens, heavy rolling loads, or areas that see lots of standing water.
2) LVP with a real wear layer
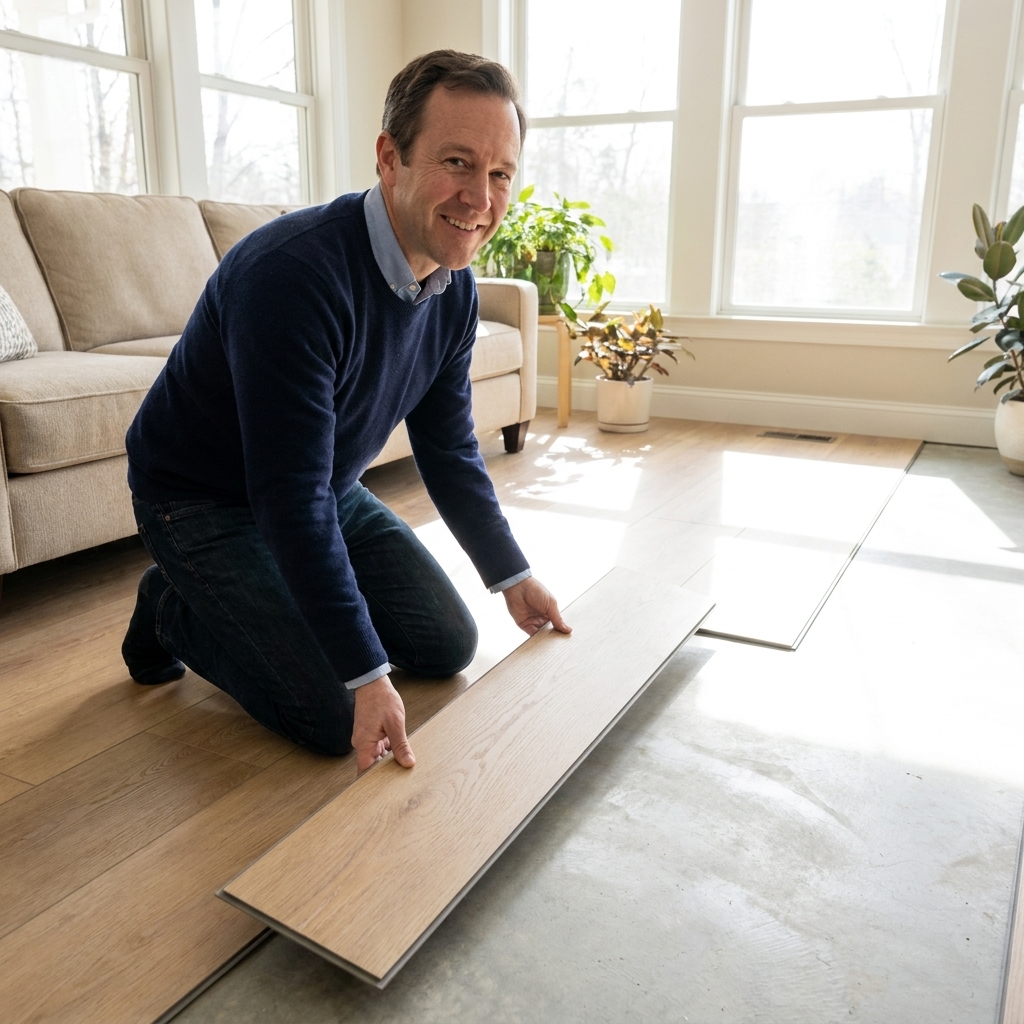
If you want the “new house” look on a real-world budget, luxury vinyl plank (LVP) is the current workhorse. It is DIY-friendly, water-resistant, and the better lines look shockingly close to hardwood once it is down and trimmed out.
Why it can look expensive
- Modern printing and embossing can mimic oak, maple, and even wire-brushed textures.
- Wide-plank LVP gives you that “custom renovation” vibe fast.
- Works in basements and on slabs where real wood gets fussy.
What to look for
- Matte or low-sheen finish. Too much shine tends to read plastic under bright light.
- Wear layer you can live with. As a rough shopping shortcut, 12 mil can work for lighter-to-average traffic, while 20 mil is a common step-up for busy homes, big dogs, and anything you want to forget about.
- Core and thickness that match the space. SPC (stone-plastic composite) can feel stiffer and more dent-resistant; WPC (wood-plastic composite) can feel a touch warmer and quieter. Overall thickness and a quality pad matter as much as wear-layer marketing.
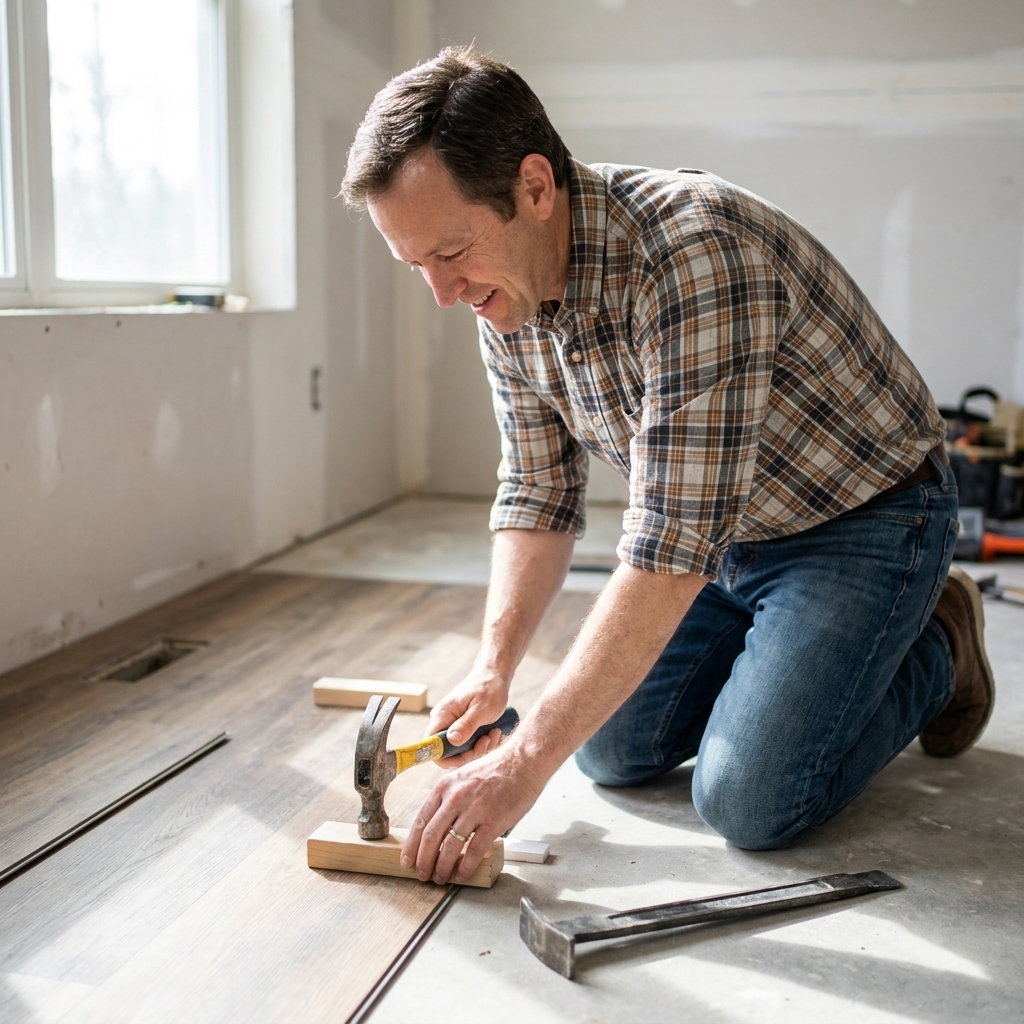
- A reputable locking system. A good click joint is half the battle.
- Beveled edges (subtle). Too deep can look fake, but a small bevel can hide tiny height changes.
Pro moves for a high-end finish
- Fix the waves before you click. LVP over a wavy subfloor can feel like a trampoline, and no one calls that “luxury.”
- Stagger seams thoughtfully. Avoid the predictable “H” pattern. Randomize within the manufacturer’s limits.
- Do not double-pad it. Some LVP has an attached pad and does not want extra cushion. Too soft underfoot can stress joints.
- Moisture matters on slabs. If the product calls for a 6-mil poly or a specific vapor barrier underlayment, do it. Skipping this is how you end up with weird cupping, moldy smells, or adhesive issues at transitions.
- Use color-matched caulk at trim. Tiny gaps at baseboard corners are what give DIY away.

Best for: kitchens, living areas, basements, rentals you want to baby less.
Not my first pick for: homeowners who want a floor that can be refinished.
3) Water-resistant laminate
Laminate used to mean shiny boards and swelling edges if someone looked at it with a wet mop. The newer water-resistant laminates are a different animal. If you want a hardwood look with a hard, scratch-resistant surface, laminate is back in a big way.
Why it can look expensive
- Some laminates nail the “real wood” look better than vinyl, especially the texture.
- Many have strong scratch resistance that helps them keep the new-floor look longer (ratings vary, so check the specs).
- Long, wide boards look high-end in open rooms.
Where it shines
- Shines: living rooms, bedrooms, offices, and hallways.
- Use caution: full bathrooms and laundry rooms. Water-resistant does not mean waterproof at seams forever.
Pro moves for a high-end finish
- Buy for your traffic level. If you can, look for higher durability ratings (often marketed as AC4 or AC5) in busy homes.
- Dial in expansion gaps. Too tight and you get buckling. Too big and you are hiding it with chunky trim.
- Match the floor to the light. In bright rooms, avoid overly repetitive grain prints.
- Cut clean. Use a fine-tooth blade and support the plank to prevent chipping. Ragged cuts near door jambs are painfully visible.

Best for: busy households that want a wood look with strong scratch resistance.
Not my first pick for: rooms with frequent standing water.
4) Engineered hardwood
If you want the real thing underfoot, engineered hardwood can be a sweet spot. You get a real wood veneer on top with a layered core that is often more dimensionally stable than solid hardwood in everyday conditions. Some engineered floors are DIY-friendly as floating click-lock systems, but plenty are designed for glue-down or nail-down installs, so read the box twice.
Why it can look expensive
- Because it is real wood. The grain and color variation are naturally convincing.
- It photographs like a million bucks and feels warm underfoot.
- It pairs beautifully with simple upgrades like taller baseboards and modern door casing.
What to watch on a budget
- Veneer thickness. Thicker veneer often means better longevity and sometimes the ability to refinish lightly. Thin veneers are usually “install it and live with it.”
- Factory finish quality. A tough finish is what keeps it from looking worn after two years.
- Plank quality and milling. Cheap milling equals gaps, lippage, and frustration.
- Moisture and slab rules. Engineered can still have strict moisture limits, and below-grade installs often require specific underlayments or adhesives.
Pro moves for a high-end finish
- Acclimate properly. Wood moves. Let it sit in the room per the manufacturer’s instructions.
- Plan your transitions. Engineered hardwood looks best with fewer breaks. Think through doorways and direction changes ahead of time.
- Use the specified underlayment. The right one makes the floor feel solid, not clacky, and it can be part of the vapor control plan.

Best for: living spaces where you want authentic wood without solid hardwood drama.
Not my first pick for: damp basements or rooms with frequent spills unless the product is specifically rated for it.
5) Large-format porcelain tile
Want the “fancy hotel lobby” look at home? Porcelain tile is where you can cheat the system in your favor. You can get marble-look, slate-look, and polished concrete vibes without the maintenance and price tag of the real materials. Just remember: even when the tile is easy, the substrate is not optional.
Why it can look expensive
- Porcelain can be incredibly realistic, especially in large-format sizes.
- Fewer grout lines instantly reads higher-end.
- It is durable and water-friendly for entryways, kitchens, and baths.
The catch
Tile is less forgiving than floating floors. If your subfloor is not flat, tile will show it. Also, large-format tile requires the right trowel, the right mortar, and usually some form of leveling system if you want crisp results. And no, you cannot just tile over anything and hope for the best. Make sure you are using an approved tile underlayment like cement board or an uncoupling membrane, installed the way the manufacturer calls for.
Pro moves for a high-end finish
- Get serious about flatness. Large-format tile typically wants tighter flatness than floating floors. Check your tile and mortar requirements before you start.
- Use a leveling system. Clips and wedges help reduce lippage so the floor feels sleek, not wavy.
- Choose grout intentionally. A close match can make marble-look porcelain read more like slab. High-contrast grout can look amazing too, but it reads more graphic and less “stone.”
- Remember grout maintenance. Porcelain itself is low-maintenance, but grout still needs cleaning, and some grouts benefit from sealing depending on what you use.
- Upgrade your baseboards. Tile with taller baseboards looks finished and intentional.

Best for: entryways, bathrooms, kitchens, and anywhere you want maximum durability.
Not my first pick for: a rushed weekend if you are brand new to tile and your floor needs major flattening work.
Where to spend a little more
If you only have a little extra room in the budget, I would put it here first.
- Floor prep materials: self-leveler, floor patch, the right primer, quality underlayment. A flatter floor makes every surface look better.
- Moisture control: vapor barrier film, moisture-rated underlayment, or the correct adhesive system when required. It is not glamorous, but it prevents expensive failures.
- Trim and transitions: solid, well-matched transition pieces and clean baseboards elevate the whole room.
- Better visuals: for LVP and laminate, pay for more realistic print, more unique faces, and a low-sheen finish. That is what your eye reads every day.
- Tools you can reuse: a jamb saw, a good tapping block, a sturdy straightedge, and if you tile, a quality trowel and mixing setup.
Quick picks by room
- Kitchen: LVP or porcelain tile
- Bathroom: porcelain tile, or peel-and-stick for a temporary refresh
- Basement: LVP (with the right vapor control for your slab)
- Bedrooms: laminate or engineered hardwood
- Entryway: porcelain tile or tough LVP
FAQ
What is the cheapest flooring that still looks high-end?
Peel-and-stick vinyl is usually the lowest cost, but it only looks high-end if the subfloor is smooth and the pattern is laid out carefully. For a bigger “wow” across a whole house, entry-level LVP often hits the best balance of cost, durability, and realistic visuals.
Does luxury vinyl really look like hardwood?
Good LVP can look very close once it is installed, especially in matte finishes with wider planks and clean trim work. Up close, real wood is still real wood, but most guests will not clock the difference from across the room.
What flooring adds the most value on a budget?
Engineered hardwood and well-chosen LVP tend to have broad appeal. But the bigger value play is a clean, professional install: a flat floor, tight joints, consistent cuts, and crisp transitions.
What is the number one DIY mistake that makes floors look cheap?
Skipping prep and installing over a floor that is not flat. The runner-up is messy edges: wavy cuts at jambs, too much gap at baseboards, and mismatched transitions.
Final word
If you want expensive-looking floors on a budget, pick a material that fits the room, then put your effort into the unglamorous stuff: flattening, layout, moisture control, and finish details. Nobody posts a viral photo of “proper subfloor prep,” but everyone notices when a floor feels solid, looks crisp at the edges, and has clean lines that land where they should.
And if Barnaby, my golden retriever, sprints across your fresh install before you are ready, just know you are not alone. It is basically a rite of passage.