Step-by-step DIY fixes for curling edges, peaking seams, and separation gaps in click-lock and glue-down luxury vinyl plank floors.
The Grout Nest
Updated October 17, 2026
Installing Peel-and-Stick Vinyl Tile That Won’t Lift
Get peel-and-stick vinyl tiles to stay put for years. Learn meticulous subfloor cleaning, when to use primer, temperature and acclimation basics, concrete moisture testing, and rolling techniques to prevent lifting.

Ben Mitchell
Ben Mitchell is a former professional tile setter and passionate home renovator with over 12 years of experience in the flooring industry. After stepping away from commercial contracting, he founded Grout Nest to empower everyday homeowners to tackle their own flooring, tile, and backsplash projects with confidence. He believes that with the right tools, proper prep work, and a little patience, anyone can achieve a professional-grade finish.
Peel-and-stick vinyl tile has one job: stay stuck. When it lifts, curls at the corners, or gaps at seams, it is most often not because the tile is “bad.” It is because something got between that pressure-sensitive adhesive and the subfloor. Dust. Residual cleaner. Old wax. Humidity. A slightly chalky concrete slab. A little flex in the underlayment. Even a cold room can do it. And yes, occasionally you do run into defective, expired, or heat-damaged stock, so it is worth checking lot numbers, packaging condition, and storage history if problems show up fast and everywhere.
I set tile professionally for years, and I still love peel-and-stick for quick makeovers in laundry rooms, entryways, basements, and rentals. But I treat it like any other flooring: prep work is 90% of the job. If you want a floor that will not lift, you have to be a little obsessive about cleaning, flatness, and pressure.
One rule before we start: defer to your tile manufacturer’s installation guide for temperature ranges, acclimation time, rolling requirements, primers, and wet-area rules. This guide shows you what works in real homes, but the paperwork wins if there is a conflict.
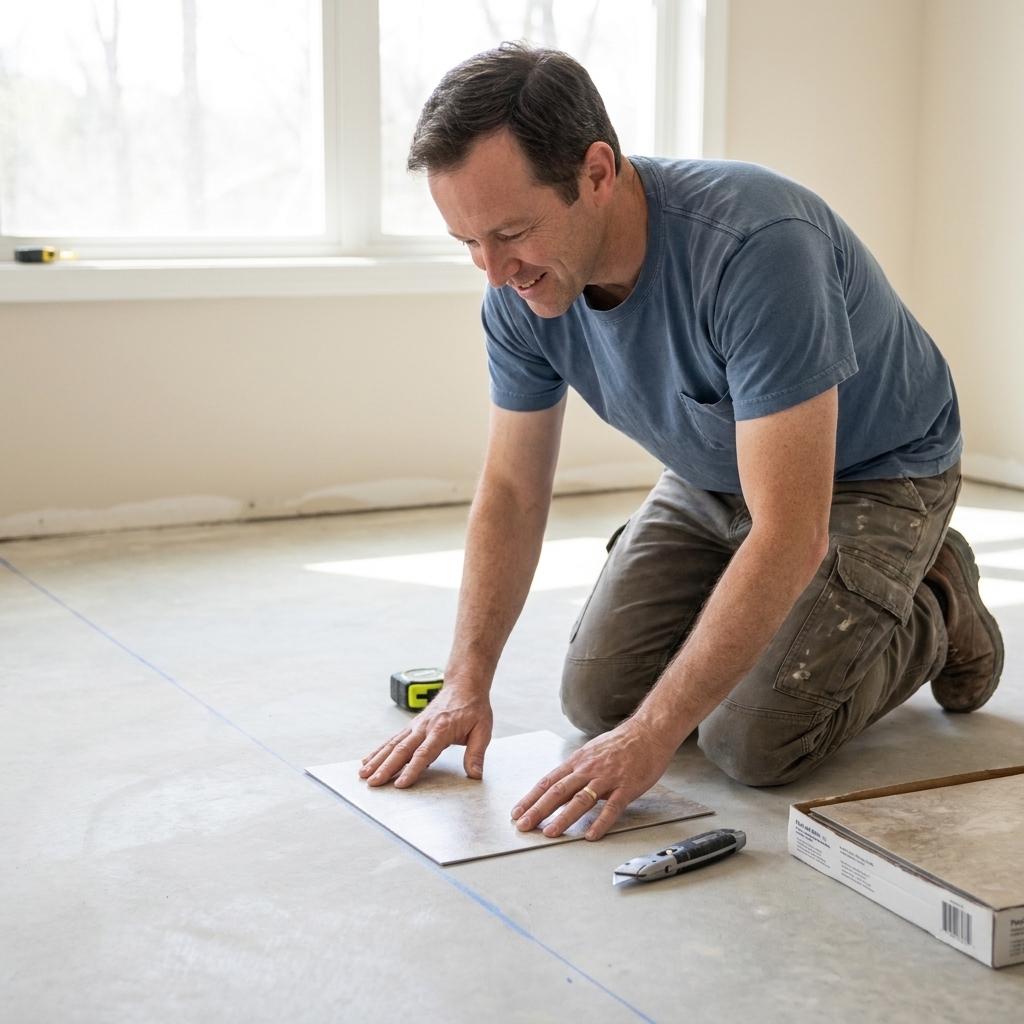
This guide walks you through the methods that make peel-and-stick tile last, including meticulous subfloor cleaning, primer where it matters, and rolling techniques that lock in adhesion.
Before You Start
Peel-and-stick vinyl tiles use a pressure-sensitive adhesive. Think of it like a high-tack sticker that becomes stronger with clean contact and firm pressure. It does not like:
- Dust (even “looks clean” dust)
- Oils from hands, cooking, or old polishes
- Moisture vapor coming through concrete
- Textured or porous surfaces that reduce real contact area
- Movement in the subfloor or underlayment
- Cold temperatures that stiffen adhesive
If you build your process around removing those problems, you get the kind of bond that makes you forget you ever worried about corners lifting.
Tools and Materials I Use
- Vacuum with a hard-floor head (not a beater bar)
- Microfiber mop and clean white rags
- Bucket, sponge, and a scrub pad
- Neutral cleaner or residue-free degreaser approved for floors (avoid “shine” products)
- Isopropyl alcohol (70% or higher) for a final wipe on certain non-porous surfaces
- Painter’s tape and a pencil
- Chalk line (or laser line)
- Utility knife with fresh blades
- Straightedge or framing square
- 100 lb floor roller (rental) or a hand roller for tight areas if allowed
- Vinyl tile primer recommended by the flooring manufacturer (when needed)
- Floor patch or self-leveling underlayment (as needed)
Pro tip: A 100 lb roller is common best practice for resilient flooring, and many peel-and-stick products require it. Some brands allow hand rolling for small installs. Either way, the point is the same: uniform pressure is what locks in adhesion.
Pick the Right Surface
Best subfloors
- New, clean plywood underlayment (not sheathing), installed correctly
- Smooth concrete that is dry and not dusty or chalky
- Existing vinyl only if it is fully bonded, flat, and not cushioned (more below)
Surfaces that cause lifting
- Particleboard (swells, crumbles, and moves with moisture)
- Textured OSB (often problematic unless covered with an approved underlayment)
- Heavily painted floors with peeling or soft paint
- Old vinyl with embossing, loose spots, or a soft cushion backing
- Any floor with wax, polish, or “shine” products
Over existing vinyl
Sometimes, yes. Here is my rule: if the existing vinyl is rock-solid, flat, and non-cushioned, and you can clean it to a squeaky, residue-free surface, peel-and-stick can work.
Be careful with modern no-wax and urethane wear layers. Some surfaces are very non-porous, and some have years of maintenance products baked in. Adhesion can become unpredictable. Do not start scuff-sanding or chemically etching a floor unless your tile manufacturer approves it, because that can create compatibility issues and can void warranties.
If the existing floor has a soft feel, bubbles, lifting edges, peel-and-stick over peel-and-stick layers, or deep embossing, you are stacking problems. Remove it or cover it with a proper underlayment designed for resilient flooring.
Do Not Install Over
- Cushioned vinyl or any floor that flexes underfoot
- Old ceramic tile grout lines unless you skim-coat and smooth them first
- Loose layers of any kind (curling vinyl edges, flaking paint, crumbling patch)
- Waxed or polished floors
- Wet slabs or concrete that fails moisture testing
Safety on Older Floors
If you are scraping, sanding, or removing older flooring or adhesive, slow down and think about what you are disturbing. Some older vinyl products and black cutback adhesives can contain asbestos.
- If you suspect older materials, get them tested and follow local regulations.
- Avoid aggressive sanding or grinding of unknown adhesives.
- If you are not sure, hire a qualified pro. The cheapest floor upgrade is the one that does not create a health problem.
Step 1: Acclimate
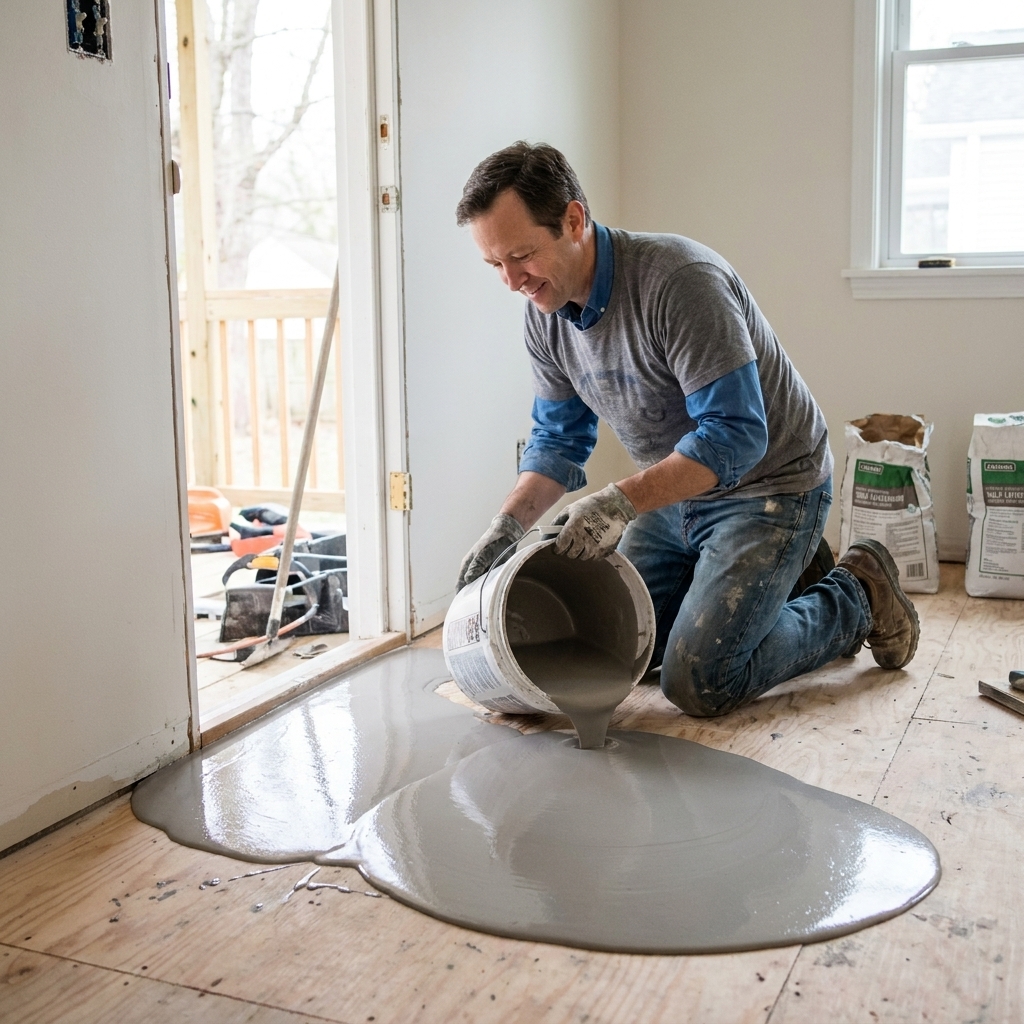
Adhesive performance changes with temperature. Do not install straight out of a cold garage.
- Bring tiles into the room 24 to 48 hours before installation, or whatever your manufacturer requires. Some products want longer acclimation, especially in cold climates.
- Keep the room within the manufacturer’s range. Many specify at least 65°F (18°C) during install and for a period after, but some require higher minimums.
- Turn off radiant heat during installation and follow the system manufacturer’s recommendations for ramping temperature back up.
If the tiles feel stiff and springy when you bend one slightly, they are usually too cold. Warm tile conforms better and bonds better.
Step 2: Get It Flat
Peel-and-stick tile hates edges that float. If your floor has dips or ridges, corners become tiny diving boards. You step on one side, the other side flexes, the adhesive breaks contact, and that corner starts its slow journey upward.
Aim for:
- No abrupt ridges at seams, patches, or old adhesive
- No dips that let tiles bridge a void
Use a straightedge. Mark high spots and low spots.
- High spots: sand or scrape them down (wear a mask, and treat older materials with caution).
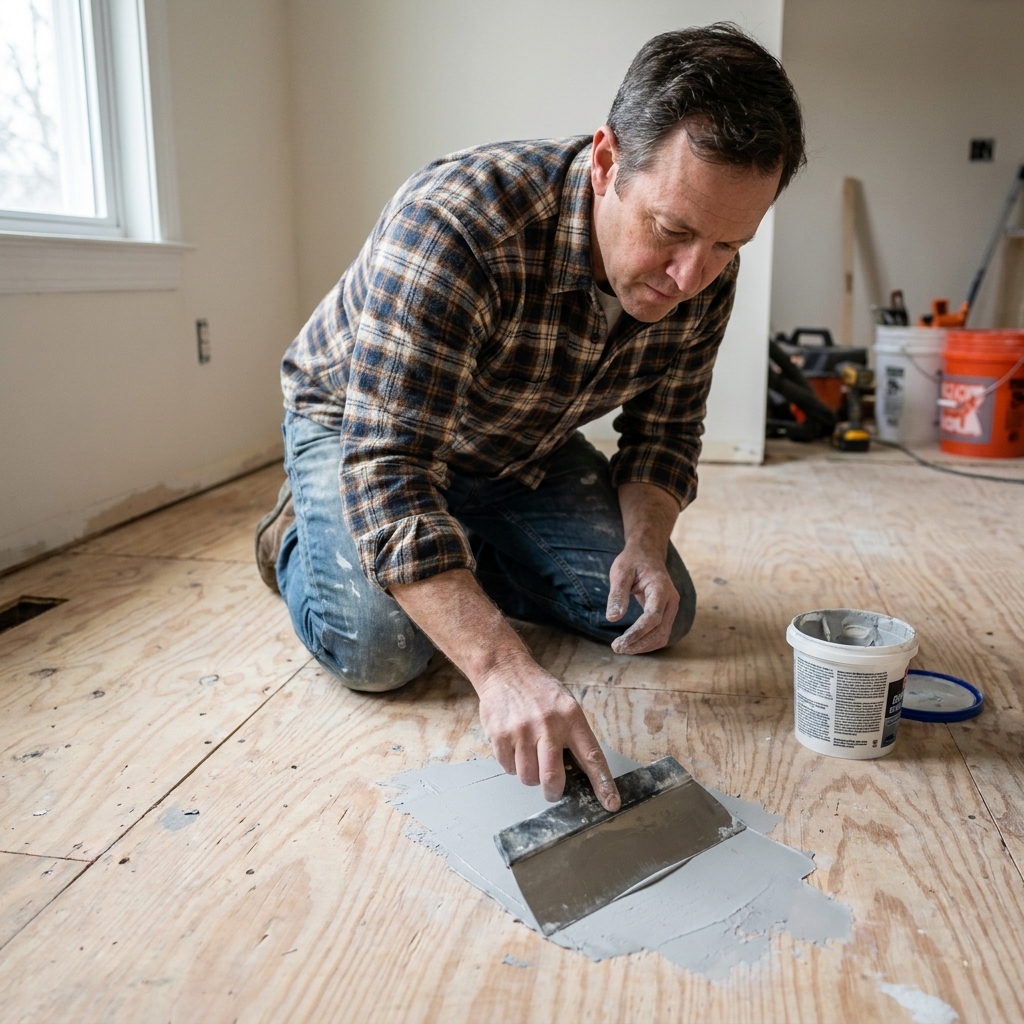
- Low spots: fill with a floor patch rated for resilient flooring, feathered smooth.
- Plywood seams and fasteners: set fasteners slightly below flush and skim coat seams if needed.
Step 3: Deep Clean
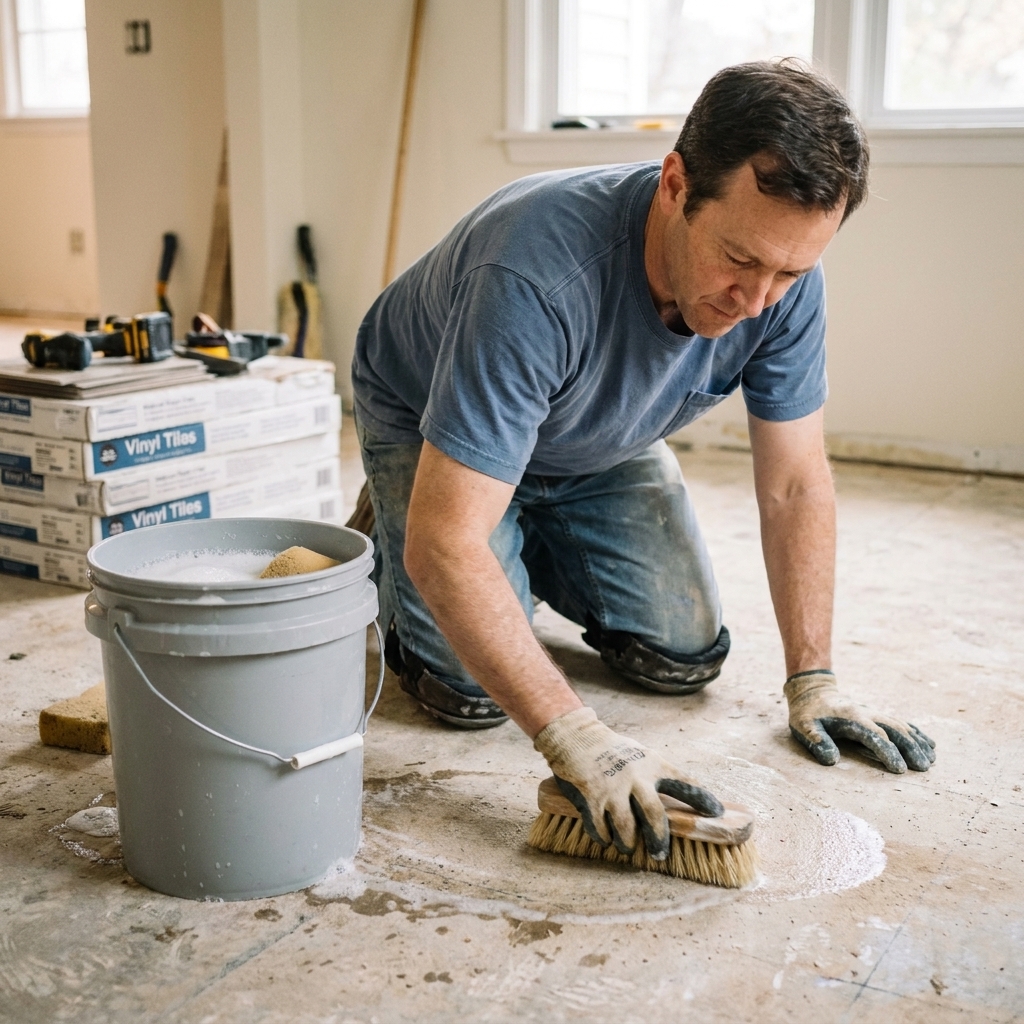
If you remember one thing from this guide, make it this: vacuuming is not the same thing as cleaning. Vacuuming removes loose debris. It does not remove oily residue, old cleaner film, or fine dust that acts like powder between adhesive and subfloor.
The sequence I trust
- Dry scrape anything stuck on the floor (paint drips, drywall mud, old glue ridges) without gouging the surface.
- Vacuum slowly, including corners and along baseboards.
- Wet wash with a neutral cleaner or residue-free degreaser appropriate for floors. Use a damp, not soaking, mop. Change water often.
- Rinse with clean water if you used anything with surfactants or soap. This step matters.
- Let it dry fully.
- Final wipe where appropriate: on non-porous surfaces like existing vinyl, a light wipe with isopropyl alcohol on a clean white rag can remove last traces of oily film. Do not flood the floor. Ventilate.
Cleaner warnings
Avoid harsh solvents unless the flooring manufacturer explicitly allows them. Acetone, mineral spirits, and other strong chemicals can soften vinyl, smear old finishes, or leave residues that create long-term bond issues. Also avoid ammonia-based cleaners if your product literature prohibits them.
The white rag test
After the floor looks clean and dry, wipe a 2 ft by 2 ft area with a damp white rag.
- If the rag comes up gray or brown, you are not done.
- If it comes up slick, you have residue. Rinse again with clean water and let dry.
Concrete dust
Concrete can look clean but still be dusty. Rub your hand across it. If you get powder on your skin, the adhesive will bond to the dust, not the slab. That is a recipe for lifting. In those cases, primer is usually your friend.
Concrete Moisture Testing
If you are installing over a slab, do not rely on “it looks dry.” Moisture vapor can move through concrete and weaken adhesives over time.
- Check your tile and adhesive requirements for acceptable moisture levels. Limits are product-specific and are commonly expressed as a maximum %RH (relative humidity) and or a maximum lbs/1000 sq ft/24 hours (MVER).
- When in doubt, test using recognized methods like ASTM F2170 (in-slab relative humidity) or ASTM F1869 (calcium chloride). A “passing” result only matters if it falls within your specific product’s limits.
- If the slab fails, pause and use an approved moisture mitigation system, or choose a different flooring approach.
Visible signs like efflorescence, damp spots, or musty smells are red flags, but the best answer is a real test.
Step 4: Prime
Primer is not a substitute for cleaning. It is a bonding assistant for specific surfaces, especially:
- Dusty or porous concrete
- Skim coats and patches that are slightly porous
- Subfloors that tend to powder even after cleaning
Use a primer recommended by your tile manufacturer or a reputable flooring primer made for resilient flooring. Follow the label for coverage and dry time.
How I apply primer
- Pour into a paint tray and use a microfiber roller.
- Apply a thin, even coat. Puddles are trouble.
- Let it dry exactly as instructed and install within the primer’s recommended working window.
Reality check: If your floor has wax, polish, peeling paint, or movement, primer will not rescue the install. Fix the cause first.
Step 5: Layout
Most peel-and-stick tile failures start at corners and seams. Layout affects both.
Find your lines
- Measure the room and snap a chalk line down the approximate center in both directions.
- Dry lay a row along each line to see what size cuts you will get at the walls.
- Avoid skinny slivers. Adjust your start lines so perimeter cuts are larger and more uniform.
Stagger clean
If your tile is designed for a staggered layout, keep consistent offsets and avoid stair-step seams that create weak lines across the floor. For square tiles, a 50% offset is common, but follow the pattern your product calls for.
Leave a gap
Even though peel-and-stick is thin, vinyl still moves with temperature. Leave the recommended gap at walls and fixed vertical surfaces (covered by baseboard or shoe molding). Do not jam tiles tight to the drywall.
Step 6: Set Tiles
Place carefully
Pressure-sensitive adhesive grabs better than you think. Once it touches, sliding it around can weaken the bond, stretch adhesive, or contaminate the sticky surface with dust you did not know was there.
- Peel backing off just before placement.
- Set the tile down along your line, then lower the rest into place.
- Butt seams snug. Do not overlap. Do not force so hard that tiles tent.
Cut clean
Use a sharp utility blade. Score with a straightedge, then snap if the tile allows it, or score multiple passes and cut through. Replace blades often. I would rather burn through blades than stare at sloppy seams for the next five years.
Roll as you go
Before you move on, press the tile firmly from center outward. A small hand roller works well for corners, edges, and around obstacles.
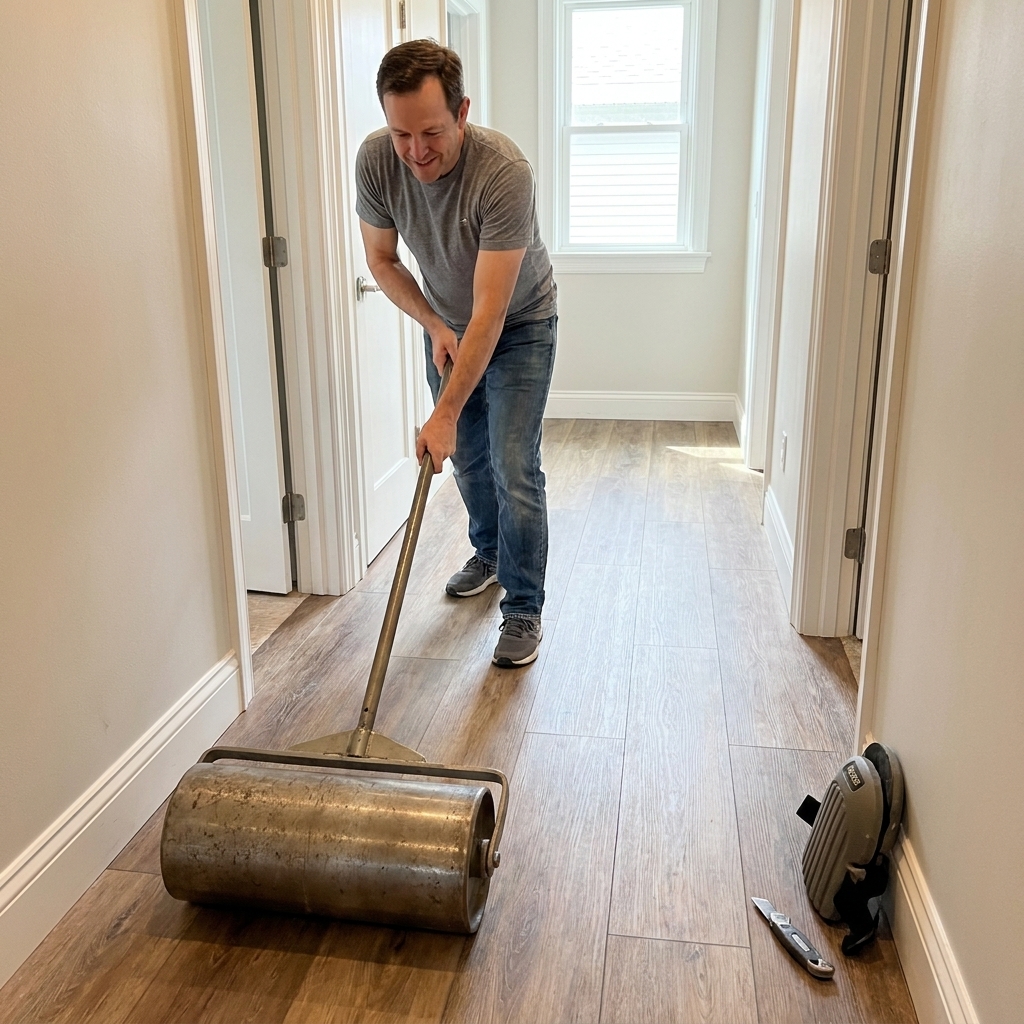
Step 7: Roll the Floor
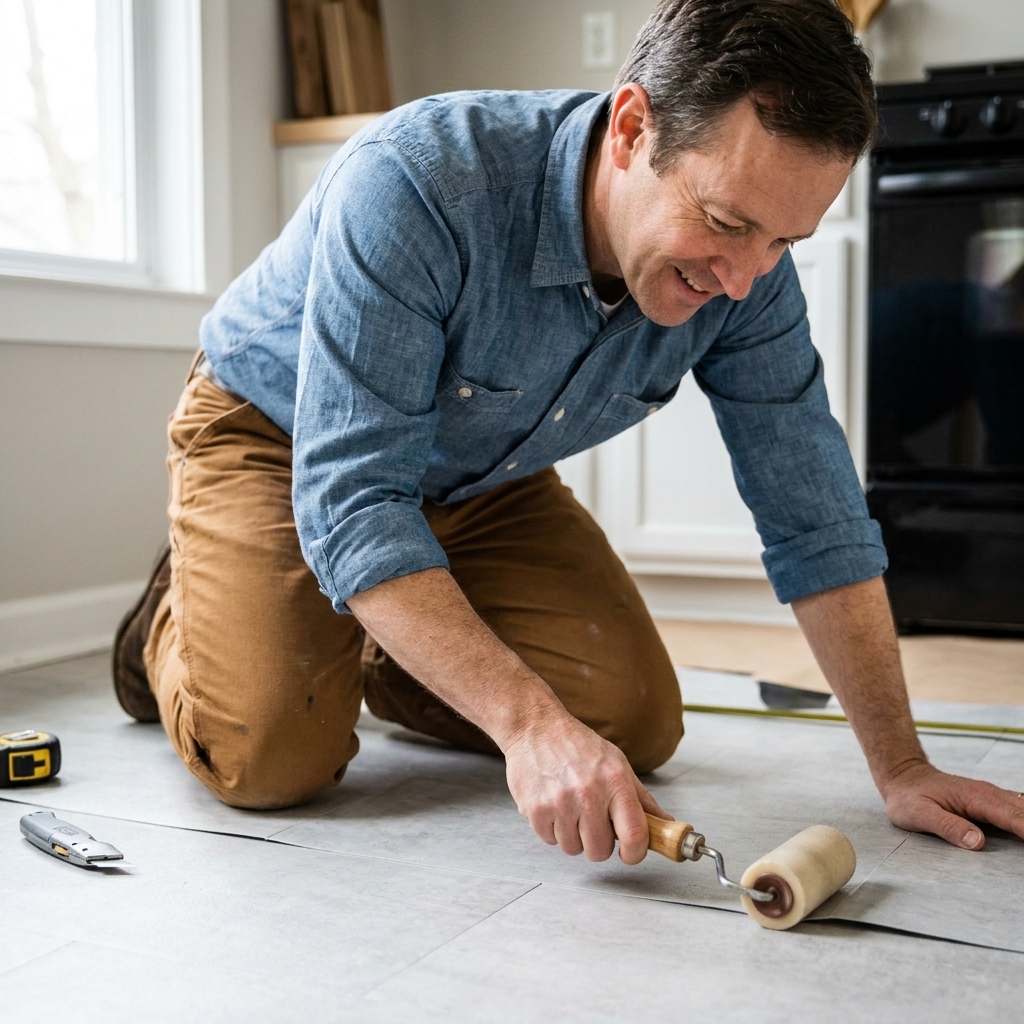
If you want peel-and-stick to stay down long-term, rolling is one of the biggest difference makers. Even when it is not explicitly required, it is the safest way to get full contact, especially at edges where lifting starts.
Best practice
- Use the roller weight your product calls for. 100 lb is common for resilient flooring.
- Roll in both directions: north-south, then east-west.
- Pay special attention to seams, doorways, and along the perimeter.
Timing
I like to roll once immediately after install, then roll again after 30 to 60 minutes if the product allows, especially in high-traffic areas. The concept is simple: more uniform pressure equals better bond.
Seams and Edges
Doorways, around toilets, in front of the fridge, and at exterior entries are where I see lifting first. Here is how to stack the deck.
Control dirt and water
- Use a proper doormat system at exterior doors.
- Fix leaks and sweating appliances before installing.
- In bathrooms, follow your product’s wet-area guidance. Caulk where appropriate (like at a tub edge) without creating a dam that traps water under the floor.
Transitions and trim
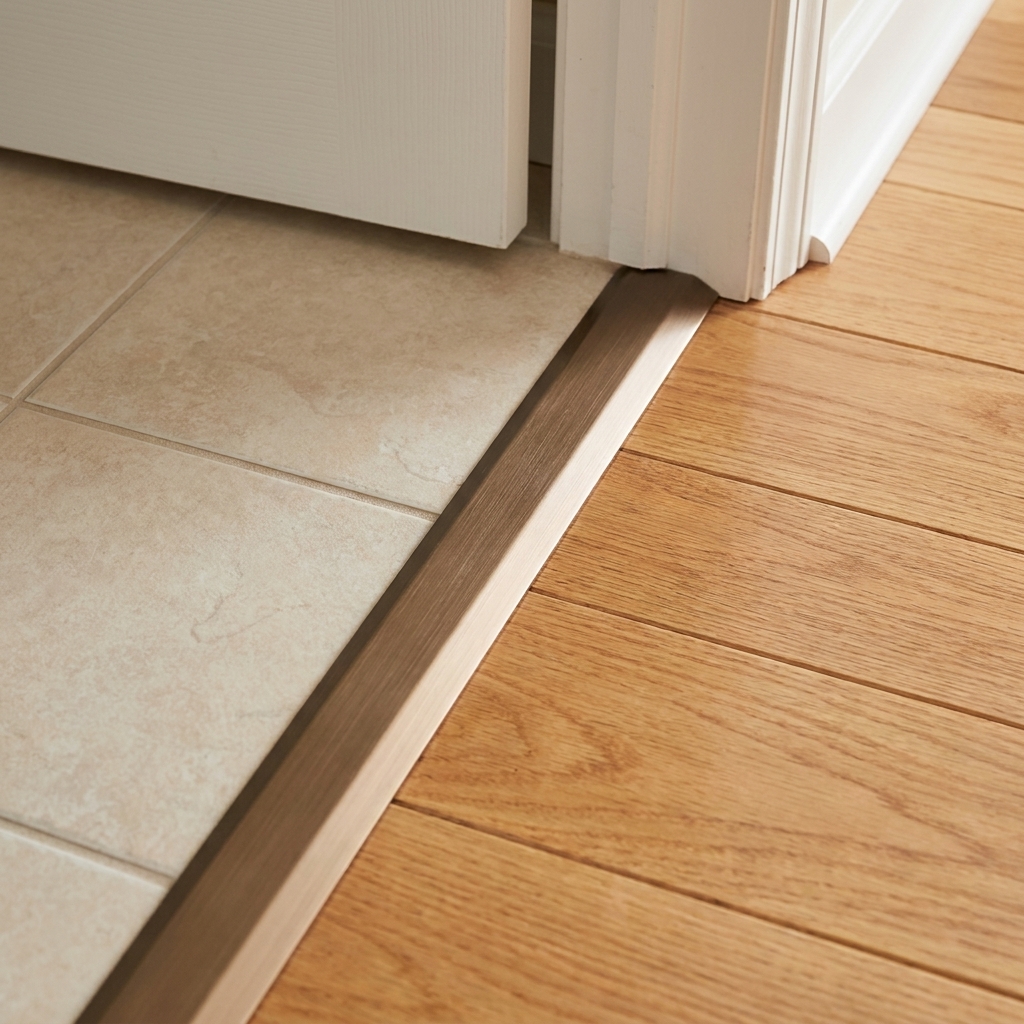
A bad transition can catch a tile edge and slowly pry it up. Use a transition strip designed for vinyl tile height changes, and fasten it per instructions without pinching the tile.
Same idea at the walls: baseboard and shoe molding should cover the expansion gap, not clamp down on the tile. If trim pins the floor, seasonal movement shows up as peaking, gapping, or stressed seams.
Protect weak cuts
Skinny perimeter cuts and small pieces at door casings are the most likely to get disturbed. Make your layout so those pieces are as large as possible, and when you roll, apply firm, even pressure without trying to crush the edge into submission.
Seam sealers
Some manufacturers offer seam sealer products for vinyl. If your product line recommends one for wet areas, use it. If not, do not invent a chemistry experiment with random glues. Certain solvents can soften vinyl or create long-term bond issues.
First 48 Hours
- No wet mopping for at least 24 to 48 hours (longer if your product requires it).
- Limit heavy traffic. Gentle walking is usually fine, but avoid dragging anything.
- Do not place heavy appliances immediately unless the product allows it. Use plywood runners if you must move heavy items.
- Add felt pads to furniture. Hard chair legs can torque corners.
If you are the type who wants to “test it” by trying to lift a corner, I get it. I am also that type. Do not do it. You can break the bond before it has fully settled.
Troubleshooting
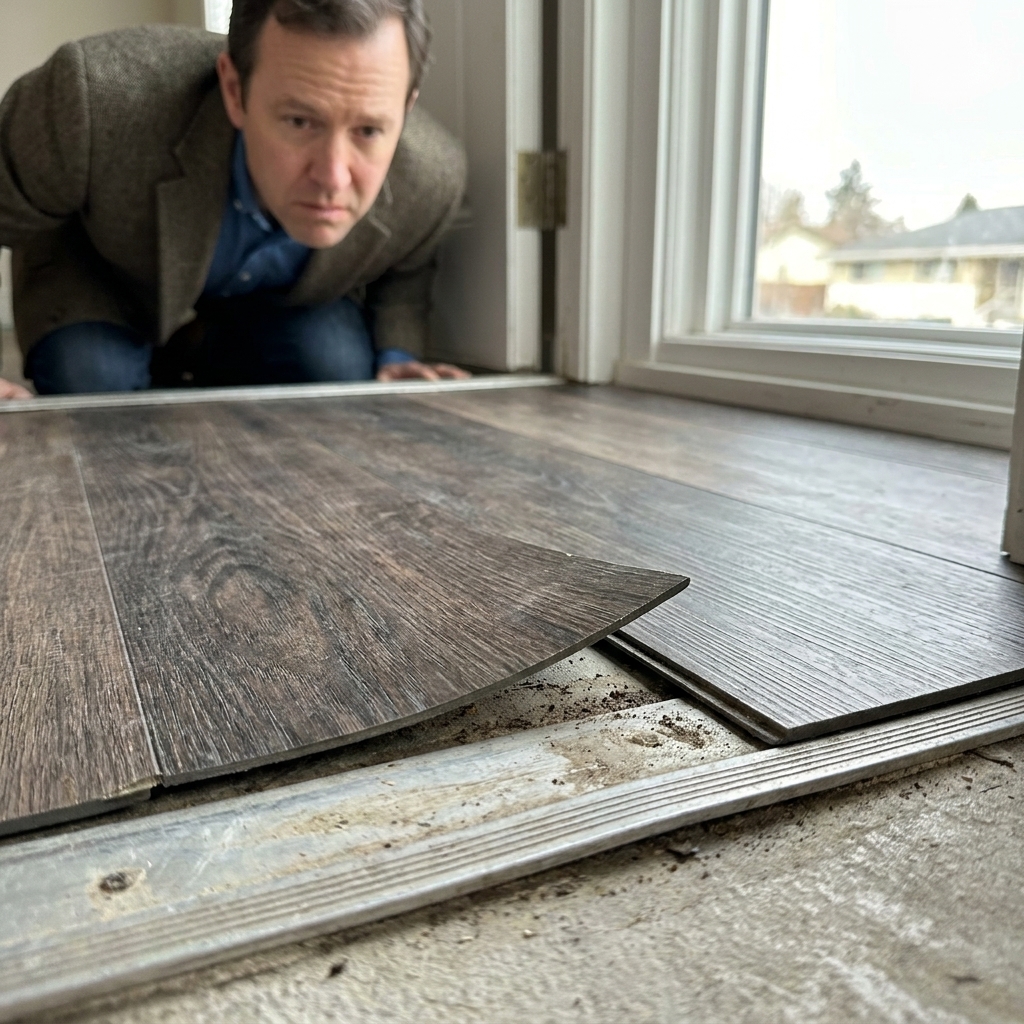
Corners curl
- Likely causes: dust or residue, not enough rolling pressure, cold install, subfloor dip, or tile installed over texture. Less common, but real: bad or heat-damaged tile stock.
- Fix: if it is minor and recent, warm the room and re-roll with firm pressure. If it persists, lift that tile, clean the subfloor thoroughly, consider primer, and replace the tile. Reusing a tile is hit-or-miss because the adhesive may be compromised or contaminated.
Seams gap
- Likely causes: tiles not butted properly, layout tension, subfloor movement, or installing without acclimation.
- Fix: replace affected tiles and confirm the subfloor is stable and flat. Make sure you are not forcing tiles tight to walls, and make sure transitions and trim are not pinning the floor.
Tiles feel loose
- Likely causes: primer not ready, floor still damp, cleaner residue, or oily contamination.
- Fix: stop and address moisture and residue. You cannot pressure-roll your way out of a wet or contaminated surface.
Adhesive stays on backing
- Likely causes: dusty subfloor, chalky concrete, old powdery patch, or tiles that are too cold. It can also be a product age or storage problem (expired stock, heat exposure).
- Fix: clean aggressively, then prime with a compatible primer if the surface is porous or dusty. Warm the room and materials into range. Reinstall with fresh tiles if the adhesive is compromised.
Common Questions
Do I need underlayment?
Only if your existing subfloor is not smooth enough, stable enough, or appropriate. Peel-and-stick likes a smooth, rigid underlayment rated for resilient flooring. Check what your product allows.
Also watch for lauan (often sold as luan mahogany). Some manufacturers prohibit it because of oils, resins, voids, and fastener holding issues that can lead to bond problems. Use an underlayment panel recommended for vinyl flooring and fasten it correctly, then patch seams and fasteners.
Can I install in a bathroom?
Yes, with caution. Bathrooms are moisture and movement tests. The floor must be flat and clean, and you should control water around toilets and tubs. Follow your product’s wet-area instructions. If your household is hard on floors, a click-lock LVP with a waterproof core can be a better fit.
Do I need to seal peel-and-stick tile?
Usually no, and many manufacturers do not recommend coatings. Some products can be waxed or finished, but only if the manufacturer approves it. The most important “seal” is keeping water from living at seams.
What if my slab has moisture issues?
If you have known moisture vapor coming through concrete, peel-and-stick may not be the right product unless you address it with an approved moisture mitigation system. Moisture can weaken adhesives over time. Moisture testing (ASTM F2170 or F1869) is only useful when you compare results to your specific product limits and use the right mitigation if you fail.
No-Lift Checklist
- Tiles acclimated per manufacturer, room in approved temperature range (many require at least 65°F or 18°C, some higher)
- Subfloor flat, solid, and rated for resilient flooring
- Scrape, vacuum, wash, rinse, dry, and white-rag test passes
- Concrete meets your product’s moisture limits (verify with ASTM F2170 or F1869 when needed)
- Primer used only when the surface needs it, applied thin and used within its working window
- Layout avoids sliver cuts, seams are tight and consistent
- Hand pressure on every tile, then roll per product spec (often 100 lb) in two directions
- Transitions and trim do not pinch the tile or clamp the perimeter
- No wet cleaning and no dragging furniture for the product’s cure window (commonly 48 hours)
If you follow that list, you are not hoping the adhesive works. You are giving it everything it needs to bite hard and stay that way.