A step-by-step DIY guide to prepping concrete, testing moisture, choosing a vapor retarder, planning layout, and installing click-lock LVP with clean transit...
The Grout Nest
Updated October 17, 2026
Fixing Lifting or Peeling LVP Flooring
Learn why luxury vinyl plank (LVP) edges lift, curl, or gap, and how to fix click-lock and glue-down planks with proper prep, flatness checks, and manufacturer-approved adhesives.

Ben Mitchell
Ben Mitchell is a former professional tile setter and passionate home renovator with over 12 years of experience in the flooring industry. After stepping away from commercial contracting, he founded Grout Nest to empower everyday homeowners to tackle their own flooring, tile, and backsplash projects with confidence. He believes that with the right tools, proper prep work, and a little patience, anyone can achieve a professional-grade finish.
If your luxury vinyl plank floor is lifting at the edges, curling at the ends, or opening up into little “smile” gaps, you are not alone. LVP is tough stuff, but it is still a layered product that reacts to temperature swings, moisture, subfloor flatness, and installation shortcuts. The good news is most lifting and gapping issues are fixable without ripping out the whole room.
I am going to walk you through how I troubleshoot LVP like I would on a jobsite, then give you step-by-step repairs for both click-lock floating floors and glue-down planks. My one mantra up front: prep work is 90% of the job. If you skip cleaning, flattening, or acclimation, the plank will usually come back up to remind you.
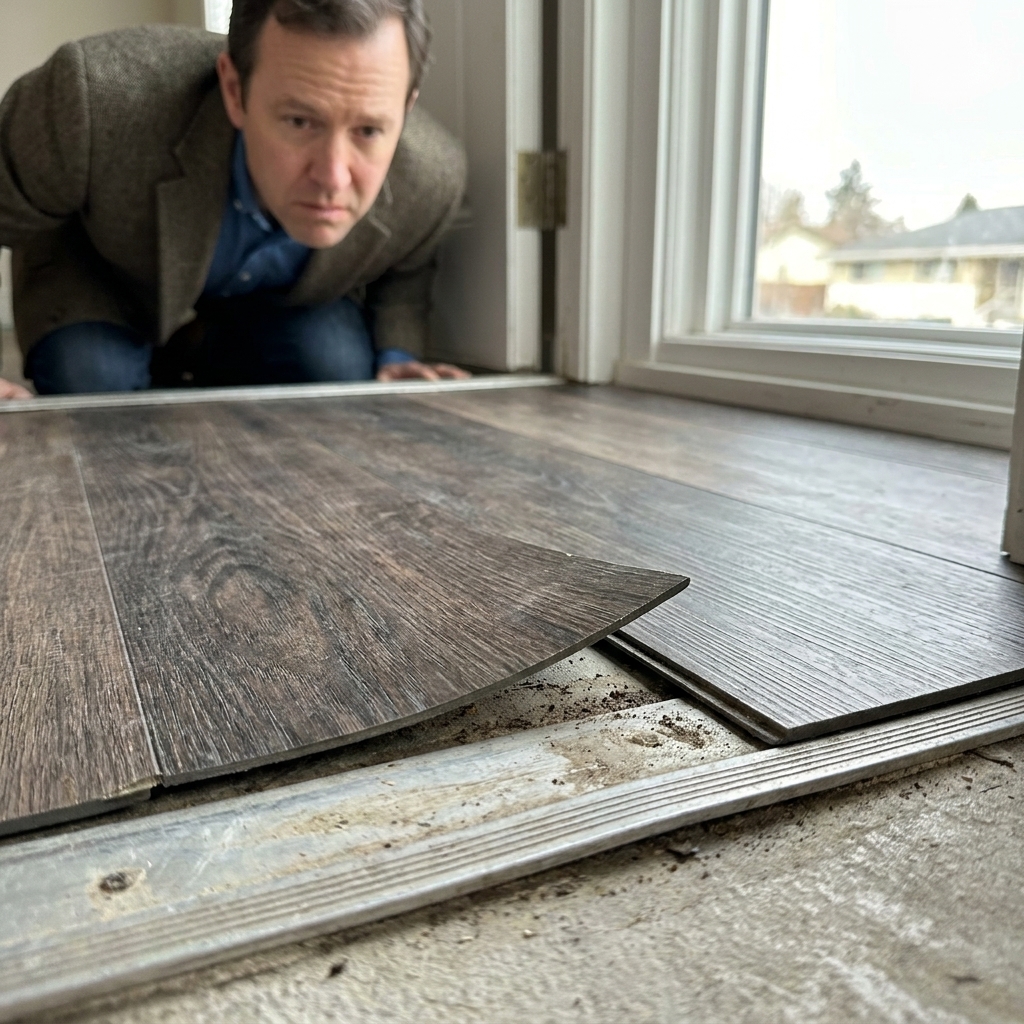
First: identify your LVP type
Your fix depends on whether the floor is floating (click-lock) or glued down. A lot of DIY frustration comes from using a glue-down repair method on a floating floor, or trying to “tap it tight” when the real problem is adhesive failure.
Click-lock floating LVP
- Common clues: planks click together, no adhesive under planks, floor feels slightly “drummy” when tapped.
- Typical failures: end-gap separation, peaking ridges, unlocked joints, buckling from no expansion gap, edges lifting over a low spot.
Glue-down LVP (dry-back or pressure-sensitive)
- Common clues: planks feel firmly bonded, no movement, you may see adhesive residue if you lift a loose edge.
- Typical failures: edges curling (adhesive not grabbing), corners peeling in traffic lanes, bubbles from moisture or poor rolling, adhesive contamination (dust, overspray, old wax).
Quick test: pick a heat register or doorway where you can carefully lift a corner that is already loose. If it wants to flex up and you can see a clean underside with no glue, it is probably click-lock. If you see sticky residue or trowel marks, it is glue-down.
What causes lifting, curling, or gaps?
Here are the usual culprits, in plain English.
1) Not enough expansion space (floating floors)
Floating LVP needs room at the walls, cabinets, and thresholds. If it is pinched, the floor has nowhere to go when it warms up, so it pushes upward and edges can peak or joints can unlock.
Typical expansion gap: many manufacturers call for about 1/4 inch to 3/8 inch at walls and fixed objects, sometimes more for big rooms or temperature-heavy spaces. Check your specific installation guide, because this is one of those details that varies by product.
2) Subfloor is not flat
LVP is flexible, but click-lock joints hate being asked to bridge dips and humps. A low spot can leave an edge “hanging,” and foot traffic slowly works the seam upward.
Common flatness targets: a lot of LVP specs use something like 3/16 inch over 10 feet or 1/8 inch over 6 feet. Do not take those numbers as universal. They are typical benchmarks, not a promise. Your brand wins.
3) Temperature swings and sunlight
Direct sun through a big slider can heat LVP dramatically. Expansion and contraction can open gaps or cause tenting, especially if the floor is pinned at the edges.
4) Adhesive failure (glue-down floors)
Glue-down planks can peel if the adhesive was the wrong type, the open time was missed, dust was not cleaned, or the floor was not rolled with enough pressure.
5) Moisture issues
Moisture from a slab, a leak, or repeated wet mopping can cause adhesive breakdown, moldy odors, or bubbling. Many LVP planks are marketed as waterproof, but the flooring system still relies on a dry, stable subfloor, and glue-down installations rely on adhesives that have limits.
My rule: If you see staining, persistent dampness, or multiple planks lifting across a wide area, pause the repair and confirm you do not have a moisture problem first. Otherwise you will be redoing this in a month.
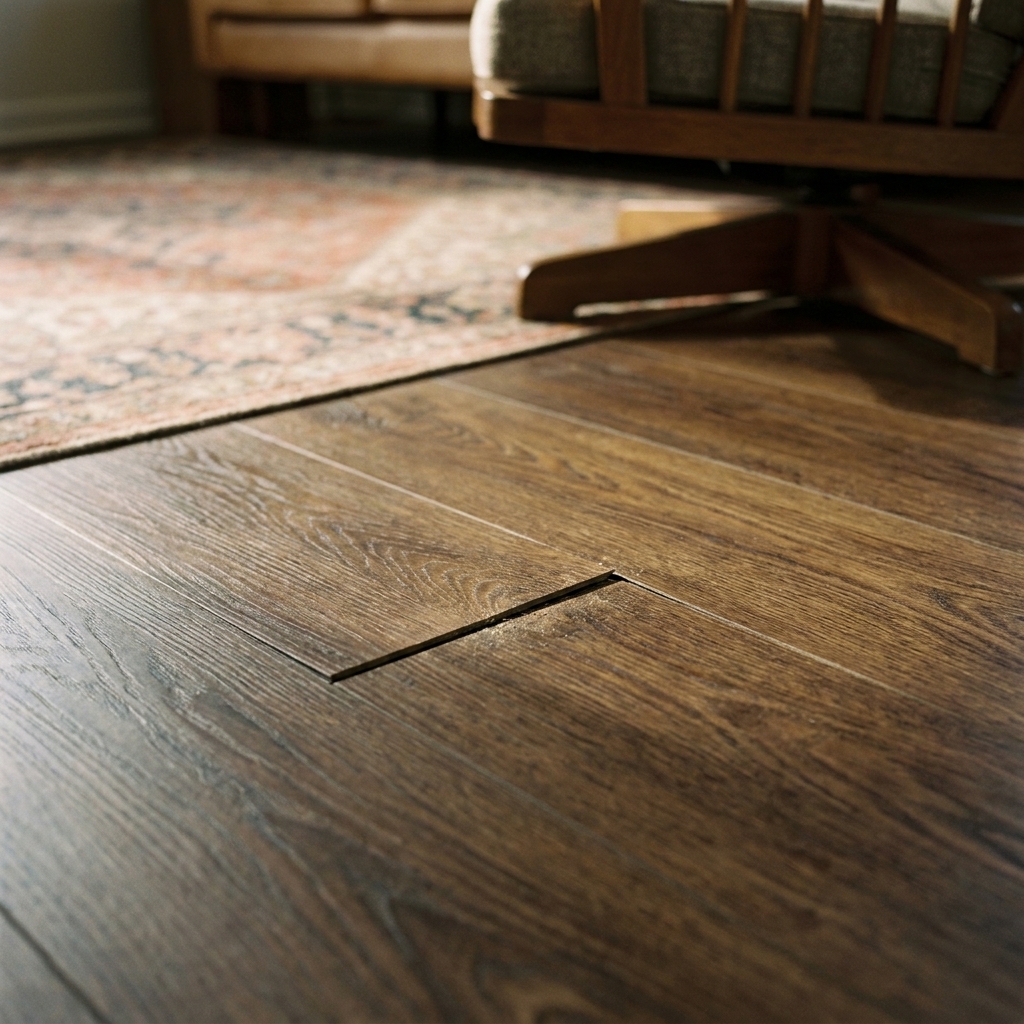
Tools and materials that help
You do not need a truck full of specialty tools, but a few items make the repair cleaner and longer-lasting.
- Painter’s tape (to hold edges down while adhesive cures)
- Clean rags (keep a few, because adhesive cleanup happens fast)
- Cleaner recommended by your adhesive or LVP manufacturer (often includes specific prep cleaners or primers)
- Isopropyl alcohol (commonly used for spot cleaning, but do not flood seams, and follow manufacturer guidance first)
- Flat pry bar or stiff putty knife (gentle lifting and scraping)
- Heat source (hair dryer or heat gun on low, used carefully)
- Hand roller (J-roller is best for glue-down; a small seam roller works for spot fixes)
- Weight (a stack of books, a full paint can, or a flat board with weight on top)
- Adhesive matched to the floor type (more on this below)
- Vinyl seam sealer (optional, and only where manufacturer allows)
Adhesive warning: Do not guess. LVP manufacturers specify adhesive type for glue-down products, often a pressure-sensitive acrylic. Using the wrong glue can leave hard ridges, stay gummy, or fail over time. It can also void a warranty.
Fix #1: Re-bond a lifting edge (glue-down)
This is the classic “corner is curling up and catching my sock” problem. The goal is simple: get the underside and subfloor clean, get the right adhesive under there, and press it like you mean it.
Step-by-step
Check for moisture or contamination first. If the area smells musty, feels damp, or you see white powdery residue on concrete, stop and investigate moisture. If someone used a waxy cleaner or polish, you may need deeper cleaning or a manufacturer-approved primer before anything will stick.
Actionable moisture checks: for a concrete slab, a proper RH test or calcium chloride test is the standard route. For wood subfloors, a moisture meter can help spot a problem area. If you are seeing wide-area lifting or recurring moisture, that is when I bring in a pro.
Gently lift the loose area. Use a putty knife to lift the edge only as far as it wants to go without creasing. LVP can kink if you fold it too hard.
Clean both surfaces. Vacuum out grit. Clean the underside of the plank and the exposed subfloor using the adhesive manufacturer’s recommended cleaner. If your system allows isopropyl alcohol, use it lightly and let everything fully dry. The goal is clean and dry, not soaked.
Remove uneven old adhesive (if needed). If you have thick ridges or clumps, carefully scrape them smooth. You are aiming for flat contact, not a mountain range under the plank.
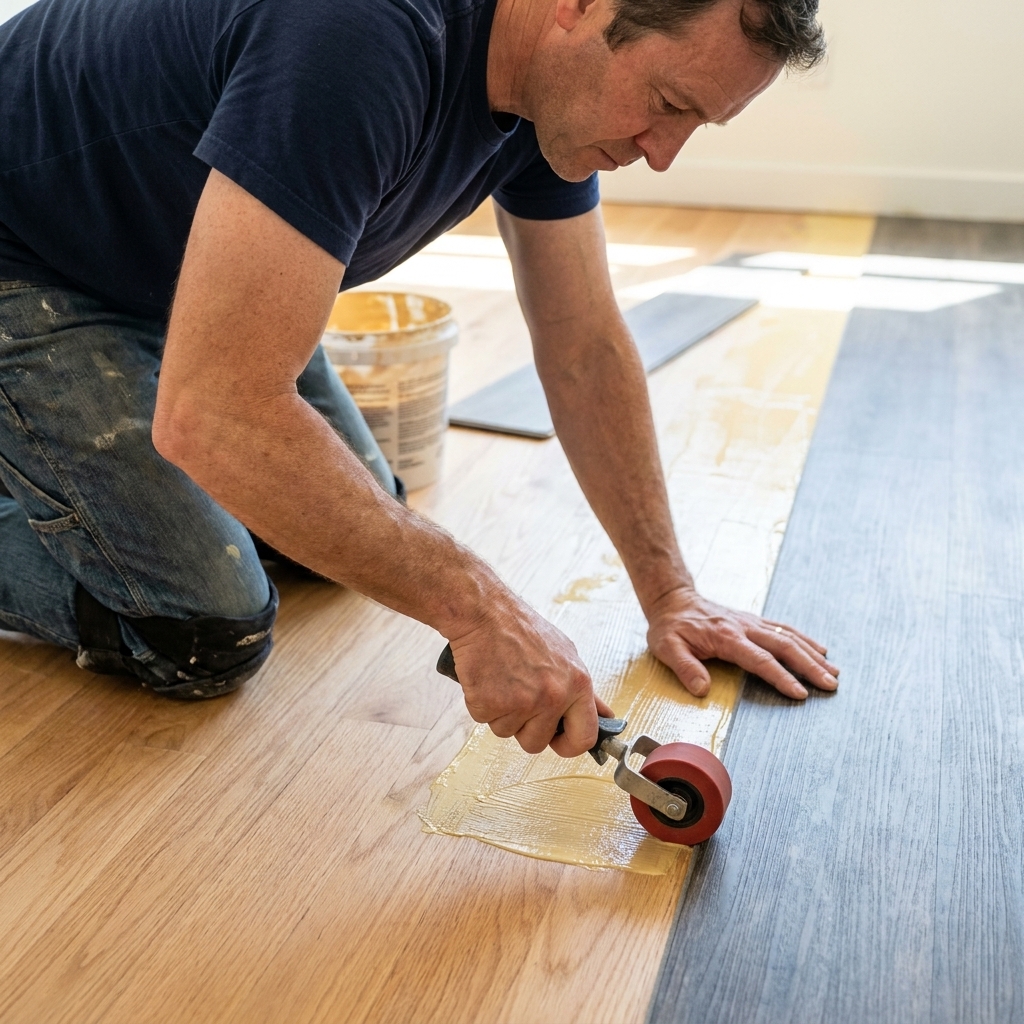
Apply the correct adhesive. For many dry-back LVPs, a pressure-sensitive acrylic adhesive is standard. For a small repair, use the manufacturer’s recommended adhesive in a small quantity. Spread a thin, even layer where the plank will land, and follow the label for open time and set time.
Warm the plank slightly. A hair dryer for 30 to 60 seconds makes the vinyl more flexible and helps it relax back down. Keep the heat moving and do not overheat the wear layer. If you use a heat gun, use low heat, keep it moving, and ventilate the space.
Press and roll. Push the plank down from the center out toward the edge, then roll firmly with a hand roller. Rolling is what forces full contact and helps prevent bubbles.
Tape and weight it. Use painter’s tape to hold the edge tight, then place a flat board and weight over the area for the cure time recommended by the adhesive.
Clean squeeze-out immediately. If adhesive oozes out, wipe it right away per the adhesive cleanup instructions. Dried adhesive is a lint magnet.
If the edge pops back up: that usually means one of three things: the subfloor is dusty or oily, the adhesive was wrong or past its open time, or the subfloor is not flat so the plank is being stressed every time you step there.
Fix #2: Close gaps on click-lock LVP
Click-lock gaps usually show up at the short ends first, especially in doorways and high-traffic routes. The joint can separate if the floor was installed too tight to the walls, if the subfloor dips, or if the locking profile got damaged during install.
Before you bump anything
- Confirm it is floating. Do not glue random spots on a floating floor unless the manufacturer specifically approves a repair method.
- Look for pinching. If baseboards were installed tight or the plank is jammed under trim, the floor may be bound up.
- Check for debris in the joint. A single grain of drywall mud can keep a click joint from fully seating.
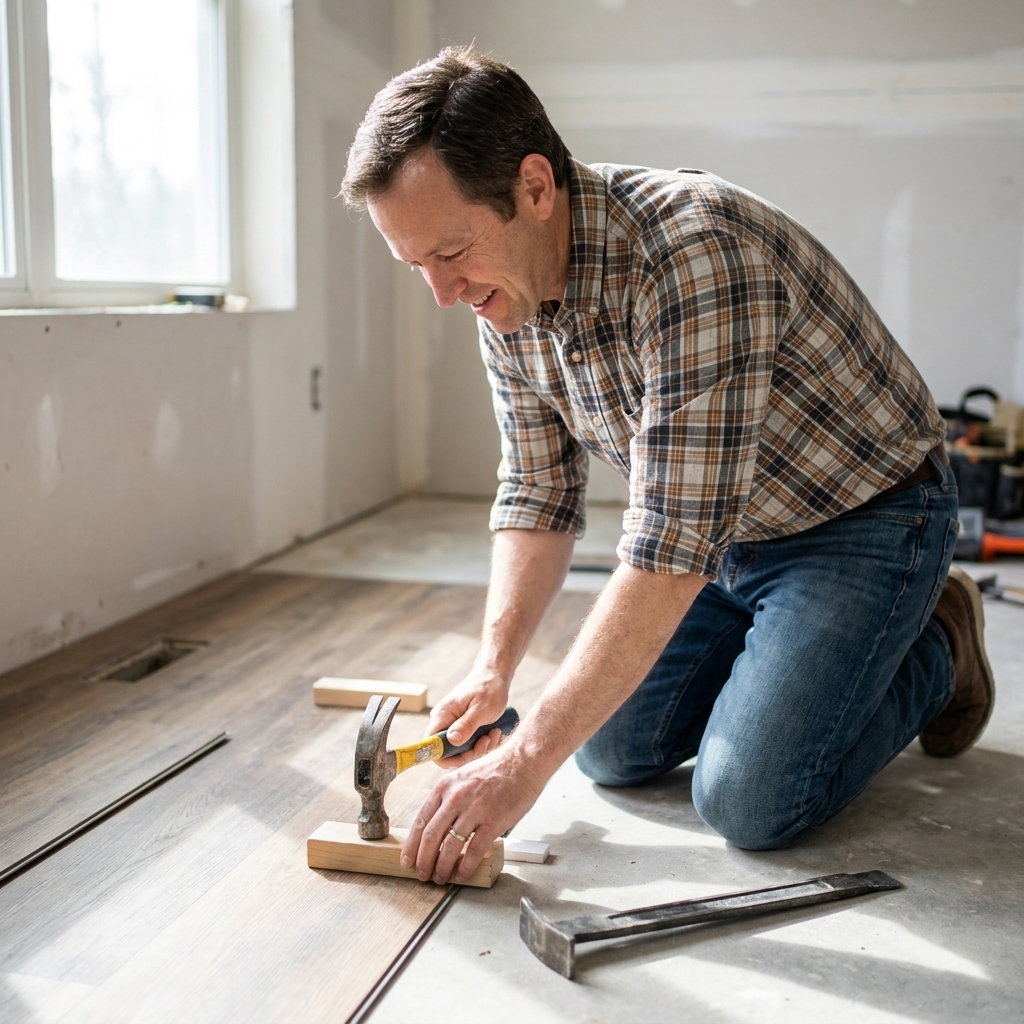
- Go easy with force. If you hammer on a click profile like it owes you money, you can crack the lock or dent the wear layer. Small taps, frequent checks.
Method A: The taped block bump
Clean the area. Vacuum and wipe the plank surface so tape sticks well.
Stick down a strip of strong tape. Place it on the plank that needs to move, leaving a tail you can grab.
Attach a wood block to the tape area. Tape a small scrap block down as a striking surface. The idea is to spread the impact so you do not dent the plank.
Bump it toward the gap. Use your palm or a rubber mallet to nudge the plank in small taps. Check the joint after each set of taps.
Remove tape slowly. Pull low and slow to avoid leaving adhesive residue.
When this works: when the click joint is still intact and the plank simply walked over from traffic.
When this will not work: when the locking tab is cracked, the gap is caused by a hump or dip, or the whole floor is under tension from being pinched at the perimeter.
Method B: Relieve perimeter pinch
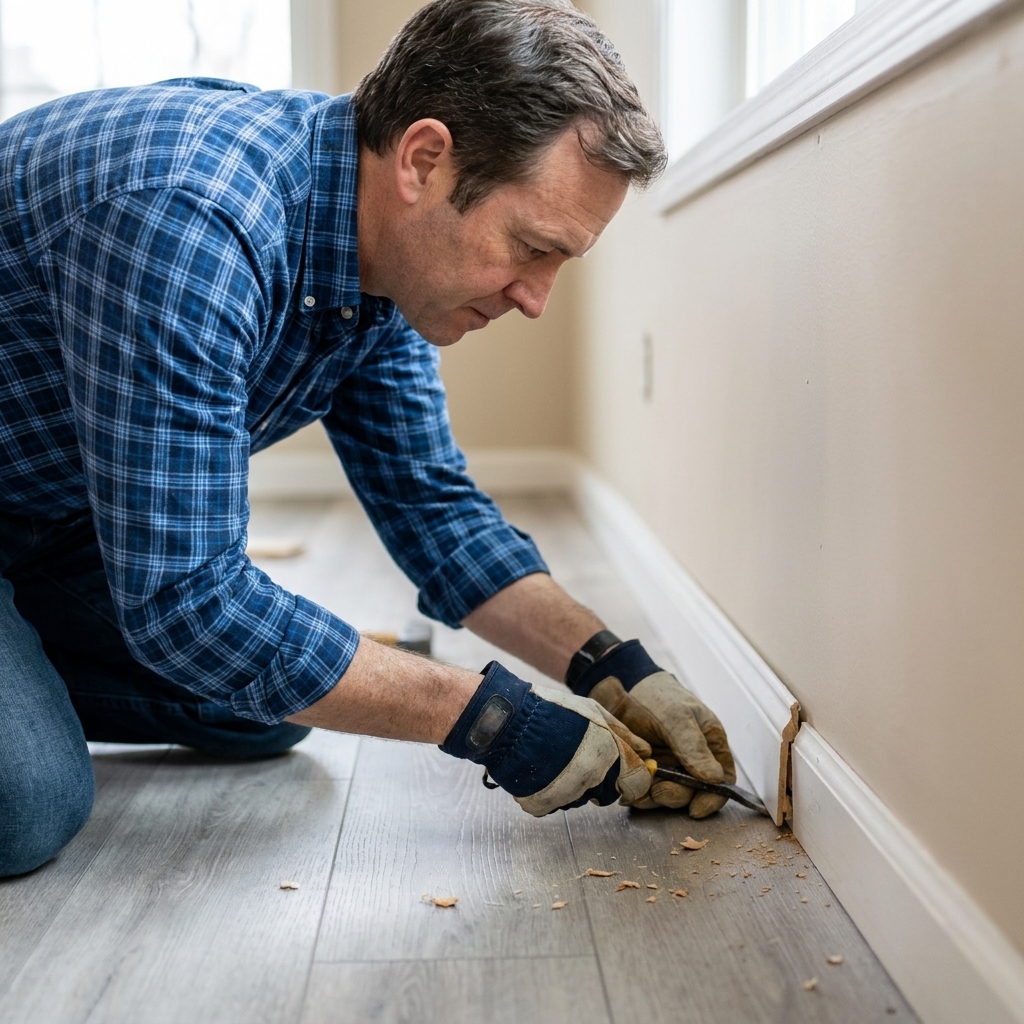
If multiple rows show gapping or peaking, you may need to pull baseboard or shoe molding on one side of the room and confirm you have proper expansion space. If the LVP is tight to drywall or trapped under heavy cabinetry, it can shove joints apart elsewhere.
Fix #3: Lifted seam from a dip or hump
This is where my “prep work is 90%” speech usually starts. If your LVP edge is lifting because the subfloor is not flat, you can press it down today, but it will often come back up once the joint is stressed again.
How to confirm it
- Put a straightedge (4 to 6 feet is ideal) over the problem area.
- If you can slide a coin or stack of business cards under the straightedge near the seam, you have a dip.
- If the straightedge rocks like a teeter-totter, you have a hump.
Repair options
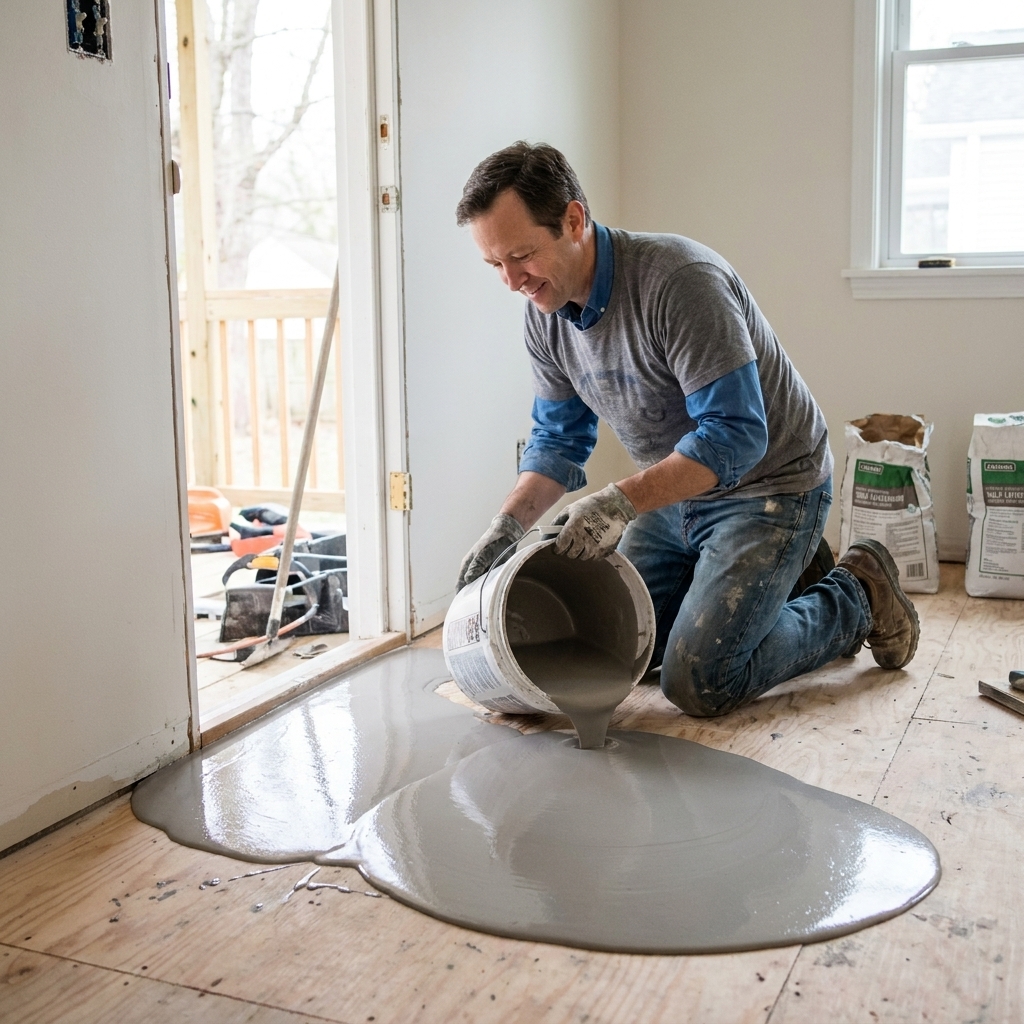
- Minor dip, click-lock: disassemble back to the problem area, skim the subfloor with an appropriate patching compound, then reinstall.
- Minor hump: sand or plane the high spot (wood subfloor) or grind (concrete) if safe and appropriate, then reinstall.
- Glue-down lifting over a dip: lift the plank, flatten the substrate with patch, then re-adhere with the correct adhesive and rolling.
Real talk: spot-gluing a floating plank edge can hide the symptom while the stress spreads. Fixing flatness is the long-term win.
Fix #4: Curling after water or heat
If the lifting started right after a leak, a soaking wet mop session, or a heat event like direct sun plus closed curtains, treat this like a cause-first repair.
What to do
Dry the area thoroughly. Run a fan and dehumidifier. If water got under a floating floor, you may need to pull planks to dry the underlayment and subfloor.
Inspect the lock or the bond. Swollen subfloor edges can force planks to lift. Adhesive can turn weak and chalky when repeatedly wet.
Only then do the mechanical fix. Re-click, re-adhere, or replace planks that have permanently deformed.
Replacement is sometimes the right call: If the wear layer is creased, the plank is kinked, or the click profile snapped, you can fight it for hours and still lose. Swapping one plank is often faster and cleaner.
When to replace a plank
- Click-lock tongue or groove is cracked and the joint will not hold tight after reassembly.
- Plank is creased from being bent upward too far.
- Edges are swollen or deformed from heat or moisture.
- Repeated lift in the same spot after two repair attempts, especially over a known subfloor issue.
If you have extra planks from the original install, this is their moment. If not, check a closet or under appliances first. I have “borrowed” a plank from under a fridge more times than I care to admit.
How plank replacement works
Click-lock floating floors
The cleanest replacement is to disassemble from the nearest wall to the damaged plank, swap it, and reassemble. If the bad plank is in the middle of the room, you can sometimes do a “surgery” patch, but it is easy to make it worse and it is not always approved by the manufacturer. If you go that route, follow your brand’s repair instructions to the letter.
Glue-down floors
Replacement usually means warming the plank slightly, carefully lifting it, scraping the substrate smooth, patching low spots if needed, then re-adhere with the correct adhesive and roll it. Give it the cure time it asks for. Glue-down repairs fail when people get impatient and walk it too soon.
Common DIY mistakes
- Using construction adhesive or super glue on LVP edges. It can discolor or etch finishes, create hard ridges you feel forever, and fail unpredictably.
- Skipping the roller on glue-down repairs. Pressing with your hands is not the same as rolling.
- Fixing gaps without checking expansion space. You end up chasing gaps around the room like a dog chasing a laser pointer.
- Forcing click-lock joints. If it does not want to seat, stop and look for debris or a damaged profile.
- Ignoring the subfloor. If the floor is not flat, the joint is doing gymnastics all day.
FAQ
Can I glue down a lifting edge on a click-lock floating floor?
Usually, no. A floating floor needs to move as a system. Spot-gluing can create a stuck point that causes peaking or new gaps nearby. There are manufacturer-approved repair adhesives for specific situations, so check your brand’s instructions before you bond anything.
What if my LVP is lifting near a doorway threshold?
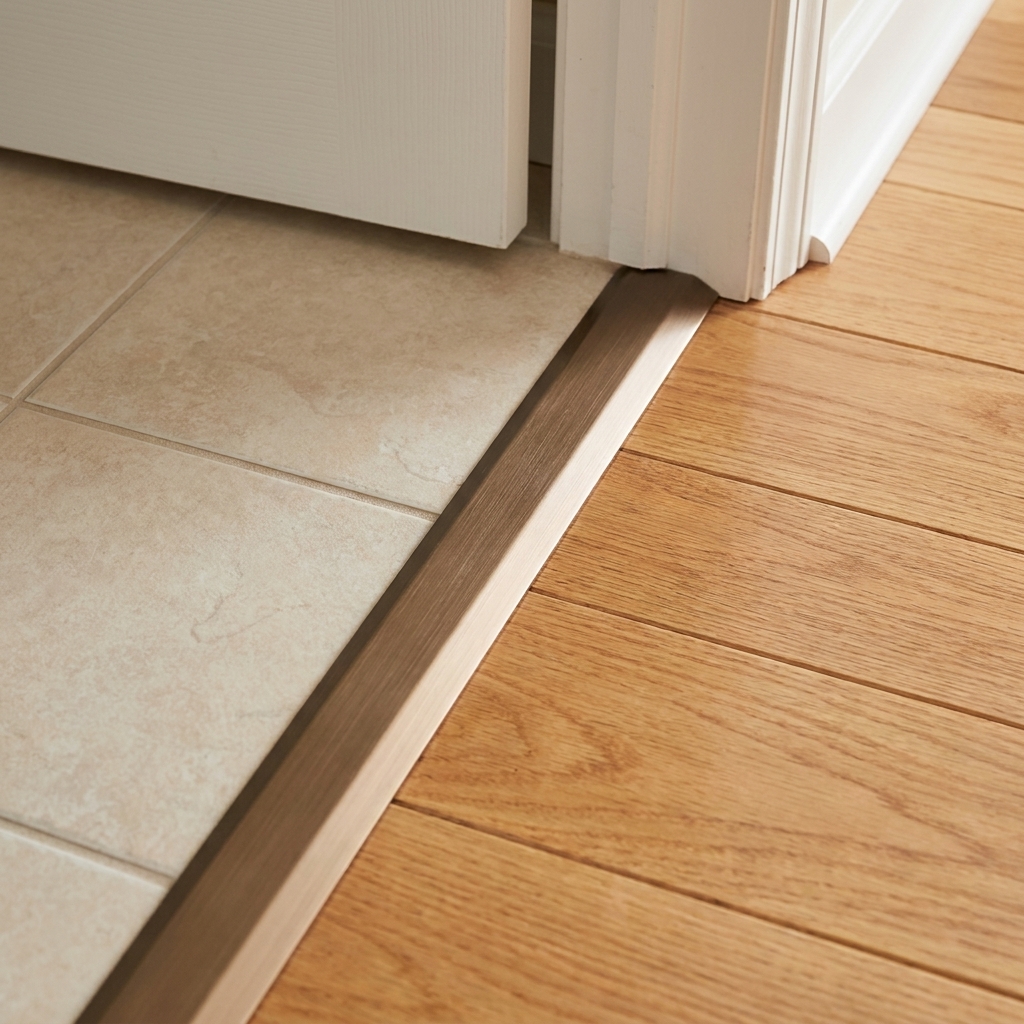
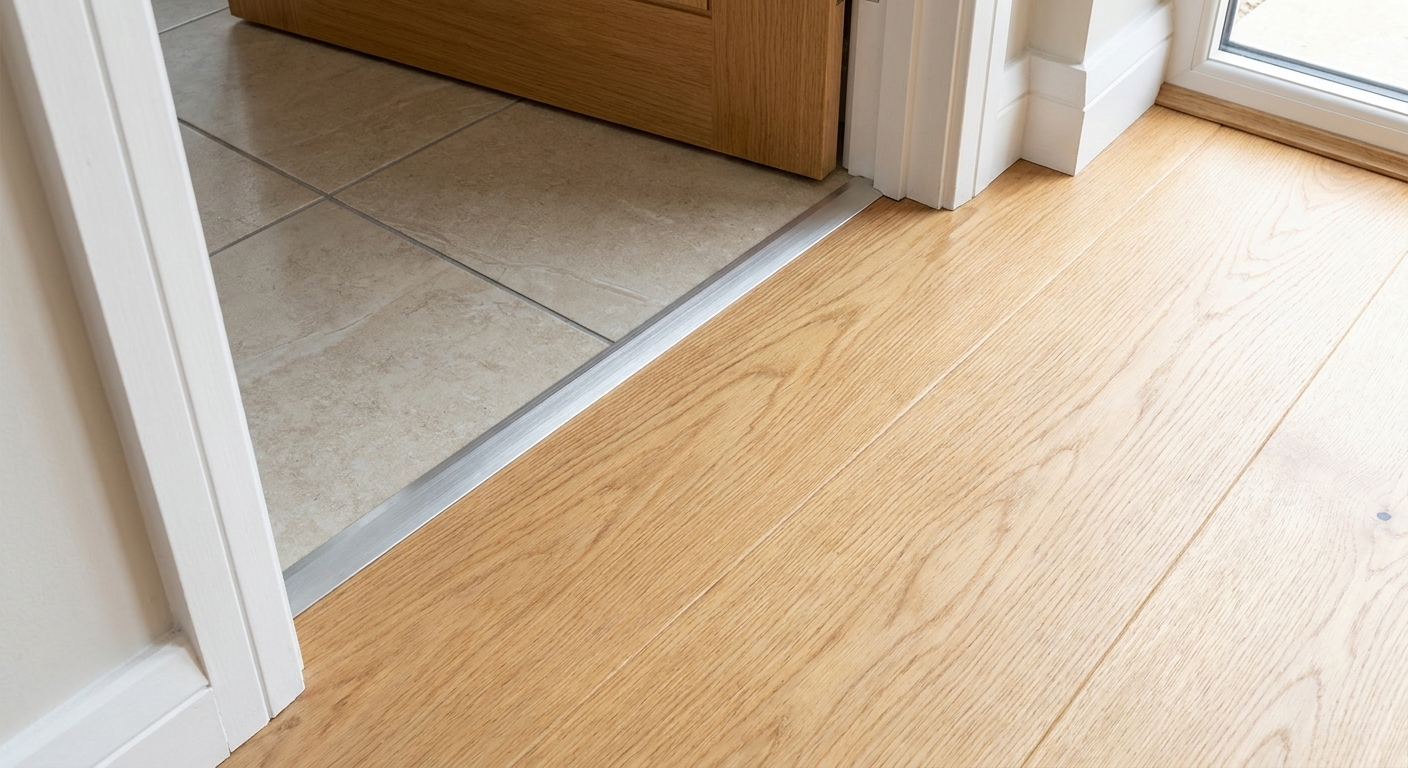
Doorways are prime trouble spots: transition strips can pinch the floor, and subfloors often change height there. First confirm the transition is not clamping the LVP too tightly. Then check for a dip right at the threshold.
Why do my planks keep separating at the end seams?
The most common causes are an uneven subfloor, a damaged locking profile, or the floor being bound at the perimeter so stress shows up elsewhere. If it is always the same seam, suspect lock damage or a subfloor dip under that joint.
Do I need a 100-pound roller for a small glue-down repair?
For a small edge peel, a hand roller plus firm weighting is usually enough. For installing an entire glue-down floor, a heavy roller is commonly required by adhesive manufacturers, but not always. Check the adhesive data sheet and your flooring instructions.
Will repairs void my warranty?
Sometimes. Adhesives, seam sealers, patch compounds, and even cleaning products can all fall under manufacturer rules. If your floor is new or still under warranty, it is worth reading the install and repair guidelines before you start.
Final checklist
- Surface is clean and dry, with no grit at the seam
- Correct adhesive type used for glue-down repairs
- Edge is rolled and held down for full cure time
- Click-lock joints are fully seated and not pinched at walls or thresholds
- Problem area feels flat underfoot with no rocking or hollow spots
If you get stuck, take a close photo of the lifted area and the nearest wall or transition. Nine times out of ten, the surrounding details tell you why that plank is misbehaving. And yes, my dog Barnaby has personally tested my patience by sprinting across fresh repairs, so I am not judging anybody’s “how did this happen?” story.