A practical, DIY-focused breakdown of LVP versus laminate, including waterproof claims, wear layers, subfloor prep, comfort, and where each option makes the ...
The Grout Nest
Updated October 17, 2026
How to Install LVP Over a Concrete Slab
Install luxury vinyl plank flooring over concrete the right way. Learn slab prep, moisture testing (ASTM options), vapor retarder choices, layout tips, and step-by-step click-lock installation.

Ben Mitchell
Ben Mitchell is a former professional tile setter and passionate home renovator with over 12 years of experience in the flooring industry. After stepping away from commercial contracting, he founded Grout Nest to empower everyday homeowners to tackle their own flooring, tile, and backsplash projects with confidence. He believes that with the right tools, proper prep work, and a little patience, anyone can achieve a professional-grade finish.
Concrete slabs make a solid base for luxury vinyl plank, but they come with two built-in gotchas: moisture and flatness. Get those under control and LVP is one of the most forgiving DIY floors you can install. Skip them and you will be chasing squeaks, gaps, and peaking joints for the next few years.
This guide walks you through the whole job, from testing the slab and flattening it, to laying a vapor retarder (what most people casually call a “vapor barrier”), to clicking planks together without telegraphing every little hump underneath.

Before you buy: confirm it is slab-approved
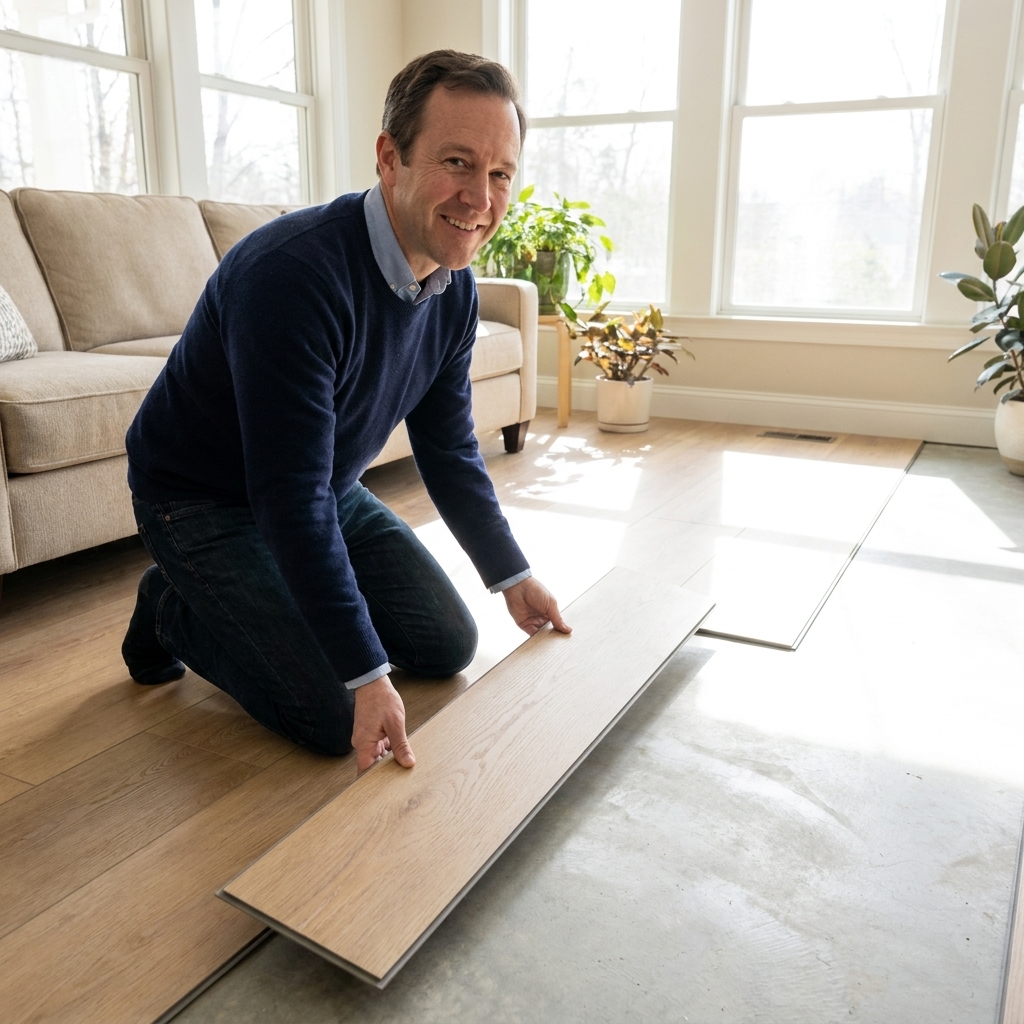
Most floating click-lock LVP can go over concrete, but the details matter. Pull up the manufacturer install instructions (not just the box copy) and look for:
- Moisture limits (often stated as % RH with an in-slab test, or lbs/24 hr with a calcium chloride test).
- Flatness requirement (commonly 3/16 inch over 10 feet or similar, but some call for 1/8 inch over 6 feet).
- Underlayment rules: some LVP has an attached pad and specifically says “no additional foam underlayment.” Others require a separate underlayment or a specific vapor retarder.
- Expansion gap requirement (often 1/4 inch, but many rigid-core floors want 3/8 to 1/2 inch, and large continuous runs may require transitions or field expansion joints).
If your slab has chronic moisture issues and the product does not allow a manufacturer-approved moisture mitigation system, pause here. LVP is water resistant on top, but vapor coming up through concrete can still create odor, encourage mold in underlayment, and stress locking joints over time.
Tools and materials
Tools
- Shop vac and broom
- 4 to 6 foot level or a straightedge (10 foot is even better)
- Moisture test supplies (see next section)
- Utility knife with extra blades
- Tape measure and pencil
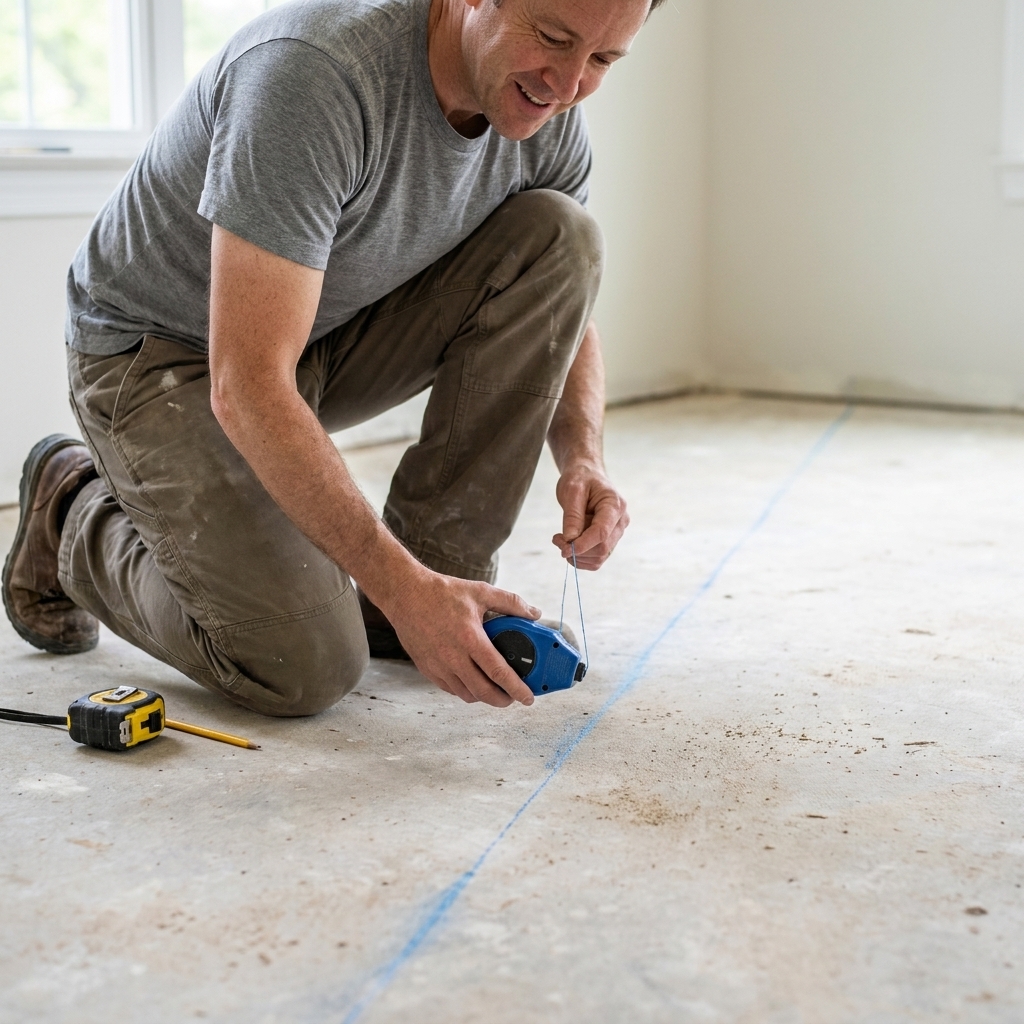
- Chalk line
- Spacers for expansion gap
- Tapping block (rated for vinyl), rubber mallet
- Pull bar and a set of install wedges
- Jigsaw or miter saw (for cuts), and an oscillating multi-tool (for door jamb undercuts)
Materials
- LVP (buy 5 to 10% extra for waste, more for diagonals or herringbone)
- Vapor retarder system approved for your flooring (often 6 mil poly or a manufacturer underlayment with an integrated vapor retarder)
- Concrete patch or self-leveling underlayment (SLU) as needed
- Primer for SLU if required
- Painter’s tape or underlayment seam tape (if required)
- Transitions: T-moldings, reducers, end caps, stair nosing
- New baseboards or quarter round (optional, but often cleaner than trying to reuse)
My bias, earned the hard way: spend your “nice tools” money on a good straightedge, a quality shop vac, and a sharp blade. Good knee pads are also not a bad life choice.
Step 1: Test slab moisture
Concrete can look bone dry and still be pushing moisture vapor up through the slab. You have a few options, and which one you choose depends on how strict you want to be and what your flooring warranty expects.
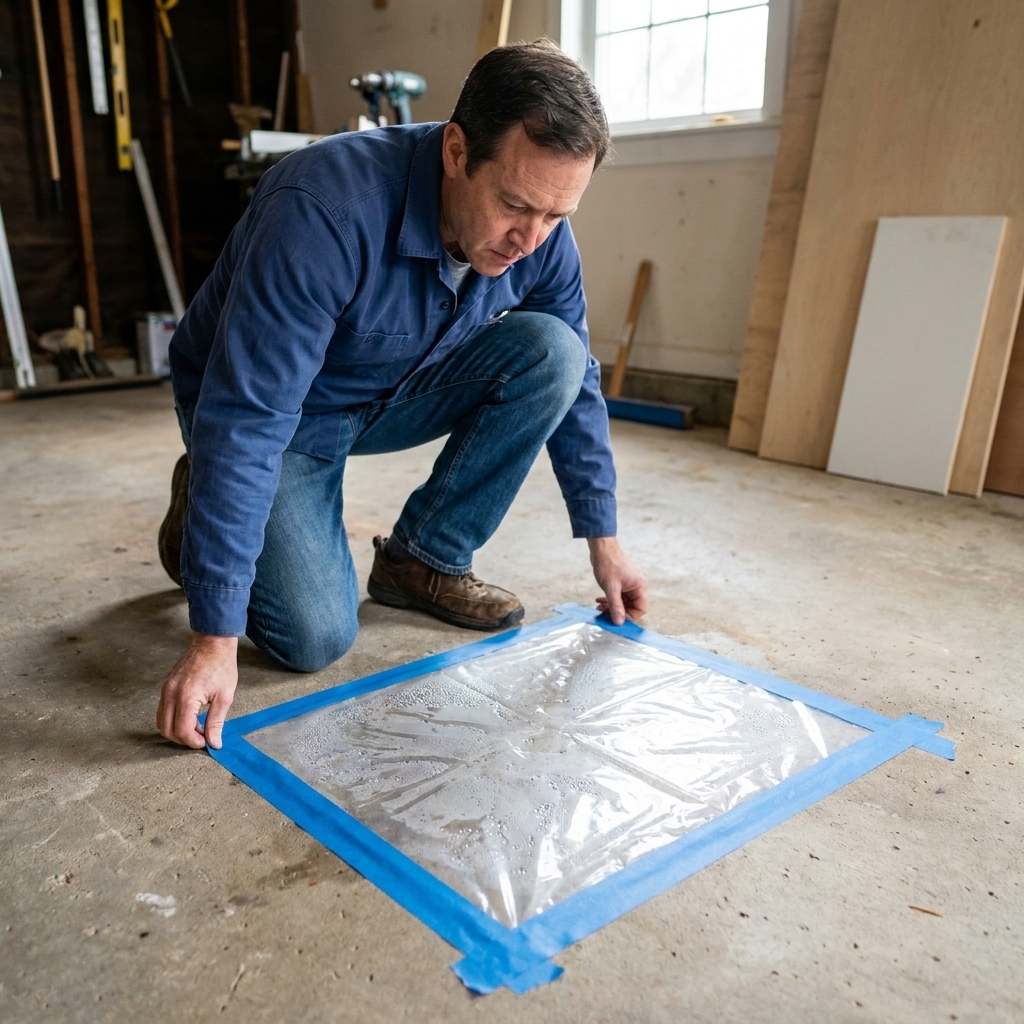
Quick DIY screen: plastic sheet test
- Sweep and vacuum a 2 foot by 2 foot area.
- Tape down a square of clear plastic (a trash bag works) on all four sides so it seals to the slab.
- Wait 24 to 48 hours.
- If you see condensation under the plastic or the concrete darkens, you have a moisture concern.
This is not an ASTM-validated acceptance test for flooring, but it is a good early warning that you should dig deeper.
Warranty-grade tests: RH probe or calcium chloride
For basements, newer slabs, or anything below grade, I recommend a real test. The standards you will commonly see in flooring manuals are:
- ASTM F2170: in-situ relative humidity (RH) probes inserted into the slab. Many manufacturers prefer this method, especially for slabs below grade.
- ASTM F1869: calcium chloride (MVER) test. This is still used, but it is generally intended for on-grade or above-grade normal-weight concrete, and it is not recommended for some slab types (including lightweight concrete). Some manufacturers also do not accept it for below-grade conditions.
If your moisture readings are above the flooring manufacturer’s limits, the fix is not wishful thinking. You will need a manufacturer-approved moisture mitigation system (often an epoxy moisture barrier) or a different flooring plan.
Step 2: Prep the slab
My old commercial foreman used to say “prep work is 90% of the job.” I hated hearing it when I was 19 and covered in thinset dust, but he was right.
2A: Remove anything in the way
- Pull baseboards if possible. It is easier to maintain a true expansion gap and the finished job looks cleaner.
- Remove carpet tack strips, staples, and glue blobs.
- Scrape paint overspray or drywall mud.
2B: Clean like you mean it
Vacuum thoroughly. Grit left on the slab can hold planks up and create tiny high points that telegraph through the floor and stress the locking joints.
2C: Check flatness (not level)
Floating floors care about flat, not “perfectly level.” Use a long straightedge and slide it around the room. Mark:
- High spots (the straightedge rocks)
- Low spots (you see daylight under the straightedge)
Many LVP products call for around 3/16 inch variation over 10 feet, but some are tighter. This is one of those lines where you do not want to guess. Verify your exact spec and prep to that number.
2D: Fix high spots
For small high areas, you can grind them down with a concrete grinder and a dust shroud (or rent one). If you do this indoors, control dust aggressively. Concrete dust gets everywhere, including places it should not be, like your lungs.
2E: Fill low spots
For shallow dips, a cement-based patch compound works. For bigger waves across a large area, a self-leveling underlayment is often the better move.
- Use the primer the SLU manufacturer specifies.
- Dam doorways so the pour does not escape.
- Mix exactly to spec. Too much water makes it weaker and can lead to crumbling.
2F: Treat cracks and joints realistically
Hairline shrinkage cracks are common and not automatically a deal-breaker for floating LVP. What matters is whether the crack is active (movement) or shows vertical displacement (one side higher than the other). If you have displacement, you must flatten it and consider calling a pro to evaluate slab movement.
Also look for saw-cut control joints. Many manufacturers want you to honor expansion and control joints with an appropriate transition or joint cover, especially if there is movement or differential height. Do not assume you can bridge every joint with a floating floor. Check your manual, because this can affect warranty.

Step 3: Plan your layout
This is the calm, mathy part of the job. Put on some music, drink your coffee, and measure twice.
Pick a direction
- Most people run planks parallel to the longest wall or toward the main light source (big windows).
- If you are connecting rooms, think about sight lines through doorways. Consistent direction often looks best.
- Check your product instructions. Some brands have recommendations for large spans, and some require transitions after a certain run length.
Balance the first and last row
Measure the room width (perpendicular to plank direction). Divide by the plank width to see what the last row will be. If the last row would be too narrow (I try to avoid anything under 2 inches), rip the first row narrower so both sides look intentional.
Stagger rules
Most LVP needs end joints staggered by a minimum amount (often 6 to 8 inches). Follow the manual. Random stagger looks more natural than a repeating pattern.
Step 4: Add the right vapor retarder
This is where DIY installs go sideways, because people combine layers that were never meant to go together.
In flooring manuals, you will see terms like “vapor barrier” and “vapor retarder” used loosely. The practical takeaway is simple: most manufacturers require some form of moisture protection over concrete unless the product or system specifically says otherwise.
If your LVP has an attached pad
Many products want only a vapor retarder over concrete, not extra foam underlayment. Common options:
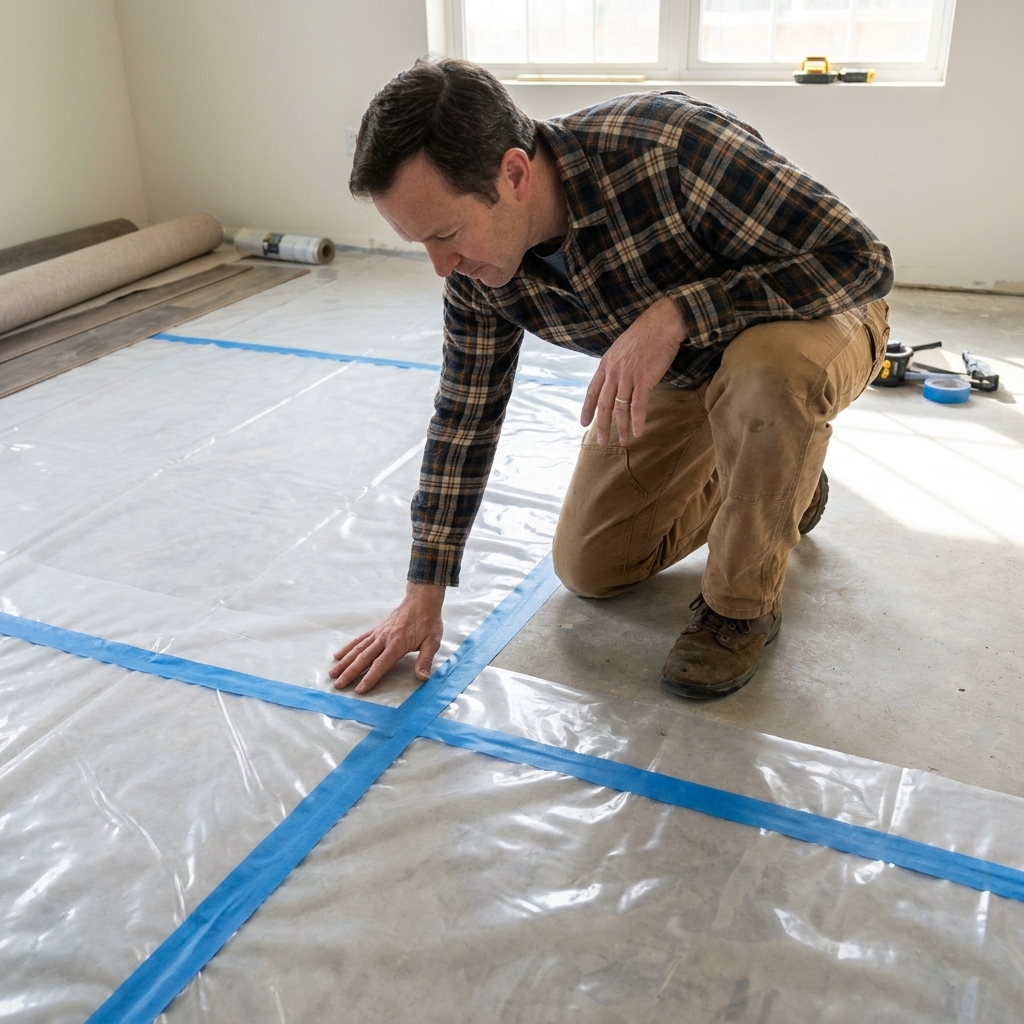
- 6 mil polyethylene with seams overlapped 6 to 8 inches and taped, running a couple inches up the walls (trim later).
- Manufacturer-approved vapor retarder underlayment designed for LVP.
Some products claim no additional layer is required under specific conditions. If your manual says that, follow it. If it does not say that, do not invent your own system.
If your LVP does not have an attached pad
You may need an underlayment that includes a vapor retarder, or you may need poly plus a specific underlayment. Follow the system the manufacturer approves. More cushion is not better with click-lock vinyl. Too much squish can stress the joints and cause separation.
How to lay poly correctly
- Roll out poly flat with minimal wrinkles.
- Overlap seams 6 to 8 inches.
- Tape seams with a compatible tape so they stay sealed.
- Run poly up the wall slightly. Trim it flush after the floor is in and before baseboards go on.
Step 5: Door jambs and transitions
If you want the install to look like a pro did it, this is a big part of it.
Undercut jambs
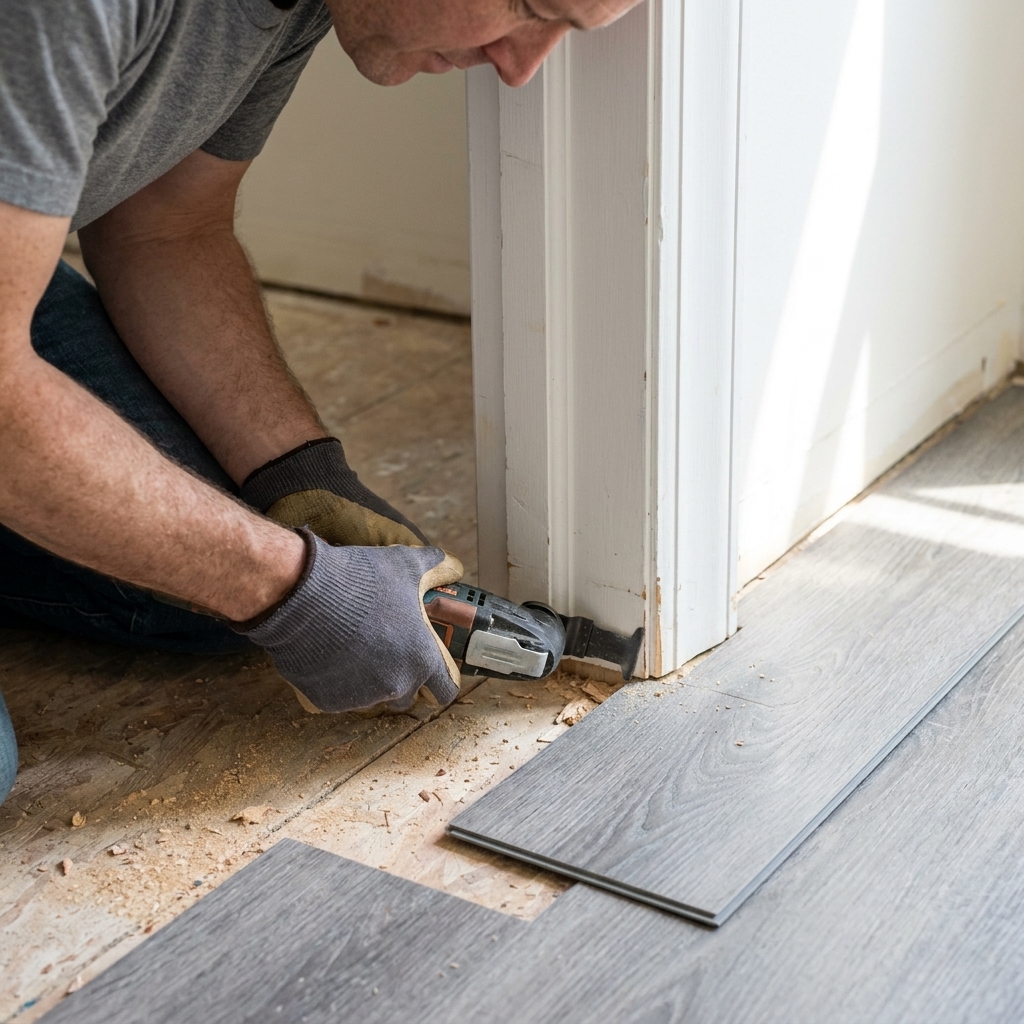
Instead of notching planks around door trim (which always looks like a DIY apology), undercut the casing so the plank slides underneath.
- Place a scrap piece of LVP (plus underlayment thickness if you are using any) next to the jamb.
- Use an oscillating tool to cut the casing at that height.
- Vacuum the dust, test fit with a scrap.
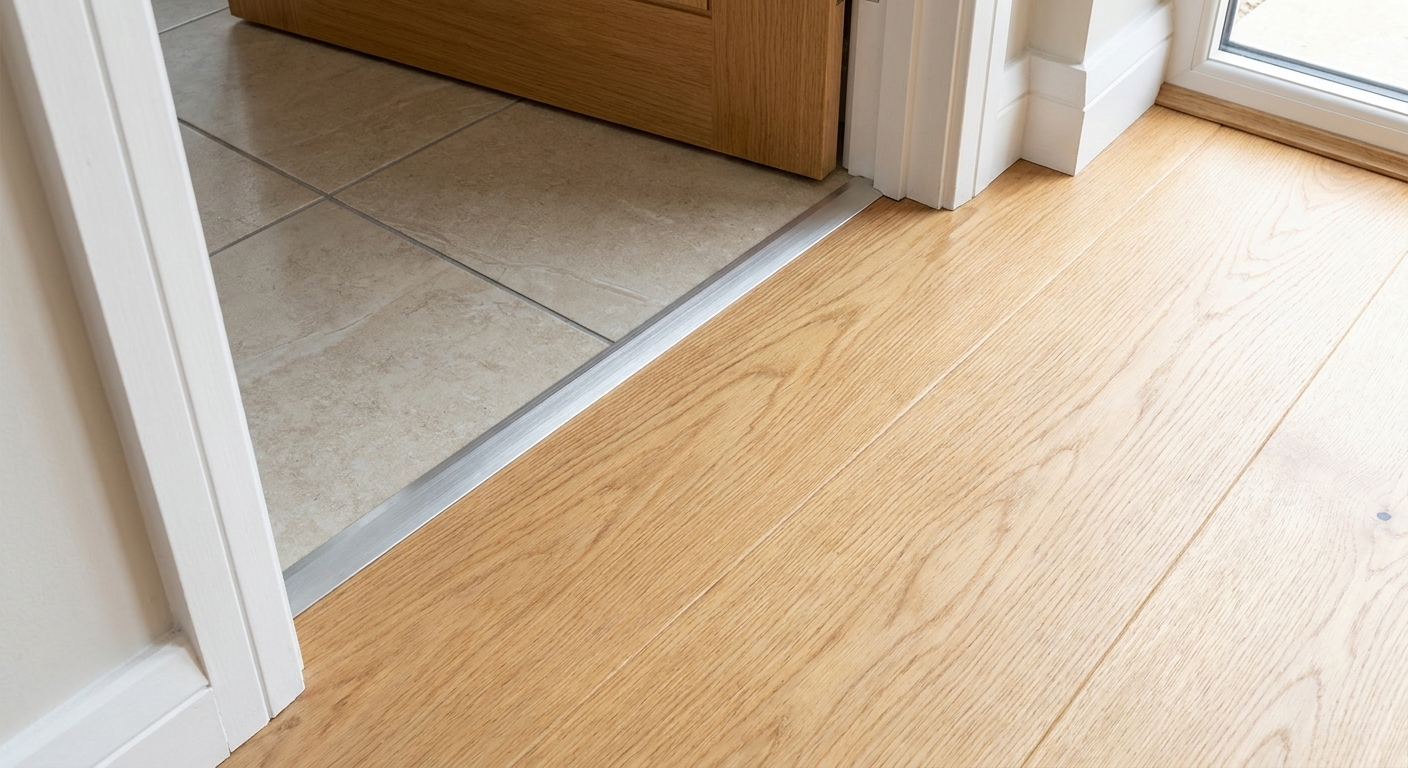
Transitions and movement
Decide how you will finish:
- Doorways: T-molding or reducer depending on height difference.
- To carpet: reducer or carpet transition strip designed for floating floors.
- To tile: reducer or end cap based on height and edge condition.
- Stairs: use a stair nosing specifically made for LVP and installed per manufacturer instructions.
Important: floating floors need room to move. Do not pin the floor down with transitions that screw through the planks unless the transition system is designed for floating installs and allows movement.
Step 6: Set room conditions
Before you click your first plank, get the space into “living conditions.” A lot of LVP failures blamed on “bad flooring” are really temperature and humidity swings.
- Run HVAC (or your normal heating and cooling plan) and keep the room within the manufacturer’s temperature range before, during, and after install.
- If you are in a basement, run a dehumidifier if needed to keep humidity in the recommended range.
- Acclimation rules vary. Some rigid-core products say no acclimation is needed, but still require the material to be stored flat in the room and the space to be at service temperature. Others want 24 to 48 hours. Follow your manual.
Step 7: Install the first row
The first row is the steering wheel for the whole floor. If it is crooked, every row after will try to drift.
- Establish a straight reference. If your wall is wavy (many are), snap a chalk line and start off that line rather than trusting the drywall.
- Set spacers to maintain the required expansion gap along the starting wall.
- Start with the correct edge. Some installs start with the tongue to the wall, some with the groove. Read your instructions.
- Click the first row together carefully and keep it aligned to your reference line.
My personal rule: if the first row takes you an extra 45 minutes, that time comes back to you with interest later.
Step 8: Click and lock the field
Once the first row is true, the middle of the room goes quickly.
Clicking technique
- Angle the plank into the long side joint and click it down.
- Engage the end joint according to the lock style (some angle in, some drop and tap).
- Use a tapping block made for vinyl if you need persuasion. Do not beat on the locking edge directly.
Stagger and mix boxes
Pull planks from multiple boxes to blend pattern variation. Stagger end joints based on the minimum requirement and avoid repeating patterns.
Keep joints clean
Vacuum debris off the underlayment and out of the grooves. A single grain of grit in a locking joint can keep it from closing fully, and that gap will stare at you forever.
Watch for end lift
If you notice a plank end sitting slightly high:
- Check for debris in the joint.
- Confirm the slab is flat in that spot.
- Make sure you did not trap the floor tight against a wall, post, or doorway.

Step 9: Last row and finish work
Rip the last row
Measure the gap to the wall at several points (walls are rarely straight), subtract the expansion gap, and rip the planks to width.
Some rigid-core planks (many SPC and WPC) can be scored and snapped for crosscuts, but long rips are usually cleaner with a saw. If your core is thick or your cut needs to be dead straight, use a table saw or circular saw with the right blade and good dust control.
Use a pull bar
The last row usually cannot be angled in normally. A pull bar helps draw joints tight without destroying the edge.
Trim poly and reinstall baseboards
Trim any poly sheeting flush with the top of the floor, then install baseboards. If you add quarter round, nail it to the baseboard, not into the floor. The floor must be able to expand and contract.
Install transitions last
Follow the transition manufacturer’s method. Most floating-floor transitions use a track that anchors to the slab, then the molding snaps in, leaving the floor free to move underneath.
Common mistakes
- Installing over a wet slab: test moisture and follow the product limits. If readings are high, use a manufacturer-approved mitigation system or pick a different floor.
- Ignoring flatness: LVP is flexible, but the joints are not magic. Flatten the slab to spec.
- Using extra foam underlayment: too much cushion can cause joint failure. Only use what the manufacturer allows.
- No expansion gap: tight to the walls can cause buckling when the floor moves.
- Starting off a crooked wall: snap a line and start straight, even if the wall is not.
- Not planning for control joints and large runs: some floors need transitions or specific treatment at slab joints. Check the manual before you trap yourself.
- Installing under fixed cabinets or heavy islands: most floating floors should not be pinned under permanent cabinetry. Install to the cabinet toe kick, or follow the manufacturer’s approved method.
- Not mixing boxes: you can end up with noticeable pattern clusters.
FAQ
Do I need underlayment under LVP on concrete?
On concrete, most manufacturers require a vapor retarder unless your specific product or approved system says otherwise. If your LVP has an attached pad, many manufacturers do not want additional foam underlayment. Always follow the instructions for your exact floor and warranty.
Can I install LVP over a slightly rough slab?
Slight texture is usually fine, but flatness is the real requirement. Any bumps, ridges, or dips that exceed the manufacturer tolerance should be ground down or filled. If you can see it under a straightedge, your LVP can probably feel it too.
Should I glue down LVP on concrete or float it?
Most DIYers choose floating click-lock because it is cleaner and easier to repair later. Glue-down LVP can be excellent on concrete, but it requires a slab that meets adhesive moisture limits, careful trowel technique, and the right adhesive. If you are new, floating is the friendlier option unless your situation demands glue-down.
How long does LVP last on a slab?
Installed over a dry, flat slab with proper expansion gaps, quality LVP can last many years. The early failures I see are rarely “bad planks.” They are almost always moisture, uneven slab prep, too much softness under the floor, or a space that was never kept at stable living conditions.
Final checklist
- Moisture test completed and within spec (ASTM method required by your manufacturer)
- Slab clean and flat to manufacturer tolerance
- Correct vapor retarder or underlayment selected
- HVAC and humidity under control
- Door jambs undercut and transitions planned
- Layout measured to avoid narrow starter or last rows
- Expansion gaps accounted for everywhere, including around posts and hearths
- Plan for control joints and long continuous runs per the manual
If you knock out that list, the rest of the job is mostly patience and keeping your locking joints clean. Take your time, keep your lines tight, and you will get that satisfying professional-grade finish without paying someone else to do the clicking.