A step-by-step DIY guide to prepping concrete, testing moisture, choosing a vapor retarder, planning layout, and installing click-lock LVP with clean transit...
The Grout Nest
Updated October 17, 2026
Floating vs. Glue-Down Engineered Hardwood
Floating and glue-down engineered hardwood can both look pro, but they install very differently. Learn the tools, steps, subfloor rules, and which method makes sense for your DIY room.

Ben Mitchell
Ben Mitchell is a former professional tile setter and passionate home renovator with over 12 years of experience in the flooring industry. After stepping away from commercial contracting, he founded Grout Nest to empower everyday homeowners to tackle their own flooring, tile, and backsplash projects with confidence. He believes that with the right tools, proper prep work, and a little patience, anyone can achieve a professional-grade finish.
Engineered hardwood is one of my favorite “best of both worlds” floors. You get real wood up top, more stability than solid hardwood, and install options that range from weekend-warrior friendly to “okay, we are committing to this.”
The big fork in the road is floating versus glue-down. They can look identical when finished. They feel different underfoot, react differently to subfloor issues, and they demand different levels of patience, mess tolerance, and prep discipline. And yes, prep work is where most of the job lives, or at least where most problems come from, even when the box says “easy install.”
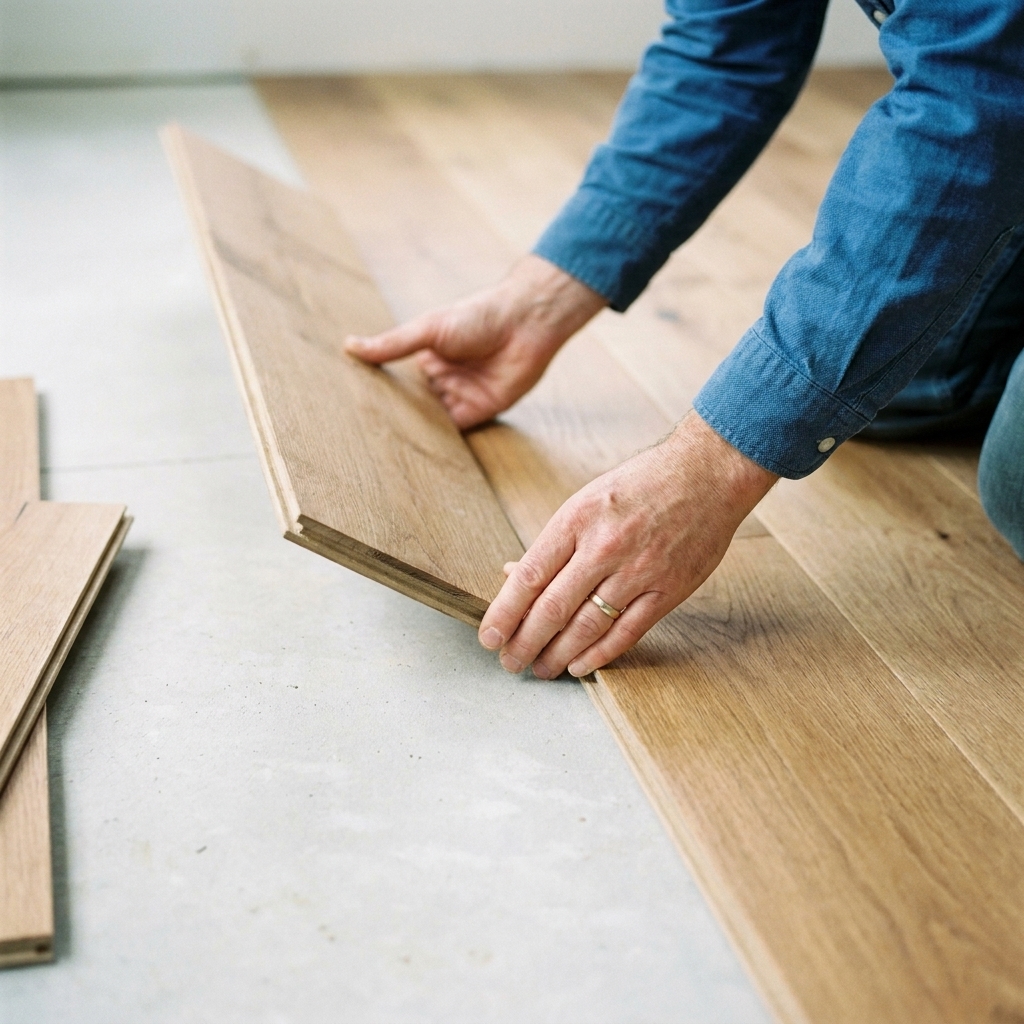
Below is how I’d walk a friend through choosing a method, then installing it without the classic DIY headaches: hollow spots, squeaks, gapped joints, and the dreaded last-row panic.
Quick comparison
Floating engineered hardwood
- Best for: DIYers, condos, and some basements if the product is approved for below-grade installs and you have a real moisture plan.
- How it works: Planks lock together (click-lock) or are glued at the tongue and groove (less common today). The floor “floats” over underlayment, not attached to the subfloor.
- Big strengths: Faster, less messy, easier to remove or replace later.
- Big weaknesses: Can feel slightly bouncier or sound hollower if the subfloor is not flat, and heavy fixed cabinets are often a no-go on top of a floating floor unless the manufacturer specifically allows it.
Glue-down engineered hardwood
- Best for: Concrete slabs, larger open areas, plank products that require it, and homeowners who want the most “nailed-down hardwood” feel without nails.
- How it works: Planks are set into a layer of flooring adhesive spread with a notched trowel.
- Big strengths: Solid feel, less hollow sound, great for wide planks when the manufacturer approves it.
- Big weaknesses: Messy, less forgiving, harder to DIY-correct once adhesive sets, and removing it later can be a workout.
How to choose
1) What does the manufacturer require?
Start with the installation instructions for your exact product. Some engineered hardwood is rated for floating and glue-down. Some is glue-down only. Some click-lock products specifically forbid glue. If you do the “wrong” method, you can void the warranty and create problems that no amount of trim will hide.
2) What is your subfloor?
- Plywood or OSB over joists: Floating is common and DIY-friendly. Glue-down can work too, but it demands flatter prep and careful adhesive selection.
- Concrete slab: Floating is possible with the correct vapor control approach. Glue-down is also common, but you must take moisture seriously.
- Existing floor (vinyl, tile, old hardwood): Sometimes you can float over it if it is flat and stable. Glue-down over an old surface is usually not my first choice unless the manufacturer explicitly allows it and the surface prep is right.
3) How flat is the floor, really?
Engineered hardwood is picky about flatness, especially wide planks. “Level” does not matter nearly as much as flat.
- Typical manufacturer tolerances are around 3/16 inch over 10 feet or 1/8 inch over 6 feet. Check your instructions.
- If you have waves and ridges, floating floors can telegraph that as bounce and noise. Glue-down floors can develop hollow spots or poorly bonded areas.
4) Sound and feel expectations
If you hate a hollow, clicky sound, glue-down tends to win. A floating floor can be very quiet too, but it relies heavily on flatness and the right underlayment.
5) Future plans
Floating floors are easier to remove if you think you might remodel again, deal with a slab moisture issue later, or want an easier repair path. Glue-down is a longer-term commitment.
6) Radiant heat (if you have it)
Radiant heat is not a casual add-on. Only install engineered hardwood over radiant systems if the flooring is rated for it and you can follow the system rules, including maximum surface temperature limits and gradual heat-up schedules. This is one of those situations where skipping the manual turns into expensive education.
Tools and materials
Floating install kit
- Underlayment (and vapor barrier if required)
- Spacers for expansion gap
- Tapping block and pull bar (made for engineered hardwood)
- Rubber mallet
- Jigsaw or miter saw for cuts
- Table saw or track saw for ripping the last row
- Chalk line and tape measure
- 6 foot straightedge or level (for checking flatness)
- Moisture meter (highly recommended)
Glue-down install kit
- Flooring adhesive approved for engineered hardwood (match the product, subfloor type, and any moisture needs)
- Correct notched trowel size (adhesive manufacturer will specify)
- Floor roller (commonly 75 to 100 pounds) if specified by the adhesive or flooring manufacturer
- Painter’s tape or blue tape (to keep seams tight while adhesive grabs)
- Manufacturer-approved adhesive remover or cleaner and plenty of rags (do not assume solvents are safe on your adhesive or finish)
- Scraper
- Knee pads you actually like
- Moisture meter and, on slabs, a concrete moisture test method as required
Safety basics (do not skip)
- Eye and hearing protection for cutting and grinding.
- Dust control: If you are grinding concrete or sanding patch, use a proper respirator and a vacuum setup designed for fine dust.
- Adhesive ventilation: Follow the adhesive label for airflow, gloves, and any respirator requirements.
One pro tip from too many sticky afternoons: have cleanup supplies open and within reach before you spread any glue. Adhesive on a prefinished surface is not a fun surprise.
Subfloor prep rules
If I could tattoo one sentence onto every DIY flooring carton, it would be this: Flat, clean, dry, and solid beats fancy tools every time.
Acclimation
Follow the product instructions. Some engineered hardwood wants 48 to 72 hours in the room. Some click products are more flexible. Do not guess. Keep HVAC running at normal living conditions.
Moisture management
- Wood subfloors: Use a moisture meter. You are generally looking for subfloor and flooring to be within a few percentage points of each other (check your product spec).
- Concrete slabs: Moisture is the boss. Your flooring and adhesive will specify allowable moisture levels and testing methods. If you skip this, you can end up with cupping, adhesive failure, or moldy underlayment.
- Below grade: Even if you are using engineered hardwood, some products are not warranted in basements. If your paperwork says “no,” it means no.
Flattening
- High spots: grind or sand (carefully) and vacuum thoroughly.
- Low spots: use a patch or self-leveling underlayment that is compatible with your plan (floating underlayment or glue-down adhesive).
Cleanliness
Vacuum like you are prepping for a paint booth. Grit under a floating floor can cause noise. Dust under glue can weaken the bond.

Floating install steps
Step 1: Plan your layout
Measure the room and dry-plan your plank direction. Most people run planks parallel to the longest wall or toward the main light source. The “right” direction is also the one that avoids a 1 inch sliver on your last row.
- Snap a reference line if your starting wall is wavy (older houses love wavy).
- Check that your first and last rows will be at least a few inches wide. If not, rip the first row narrower so both sides look intentional.
Step 2: Install underlayment and vapor layer (if required)
Roll out underlayment per the manufacturer. Tape seams as instructed. On slabs, you may need a specific vapor barrier thickness or a 2-in-1 product. Do not double up layers unless allowed. Too much cushion can stress click joints.
Step 3: Set expansion gaps
Engineered hardwood still moves with seasons. Use spacers to leave the required gap around all walls, posts, and fixed objects. Common gaps are 3/8 inch to 1/2 inch, but follow your product.
Step 4: Know your max run rules
Some floating floors have a maximum continuous span and require a break, often using a T-molding or expansion joint at certain distances or at doorways. If your instructions call for expansion breaks, treat that like a structural requirement, not a decorative suggestion.
Step 5: Install the first row dead straight
This is the row that decides how your entire weekend goes.
- Start with the tongue side facing the room (varies by brand, check the instructions).
- Use a straightedge or chalk line to keep the row straight even if the wall is not.
- Stagger end joints according to the spec, commonly 6 to 8 inches minimum.
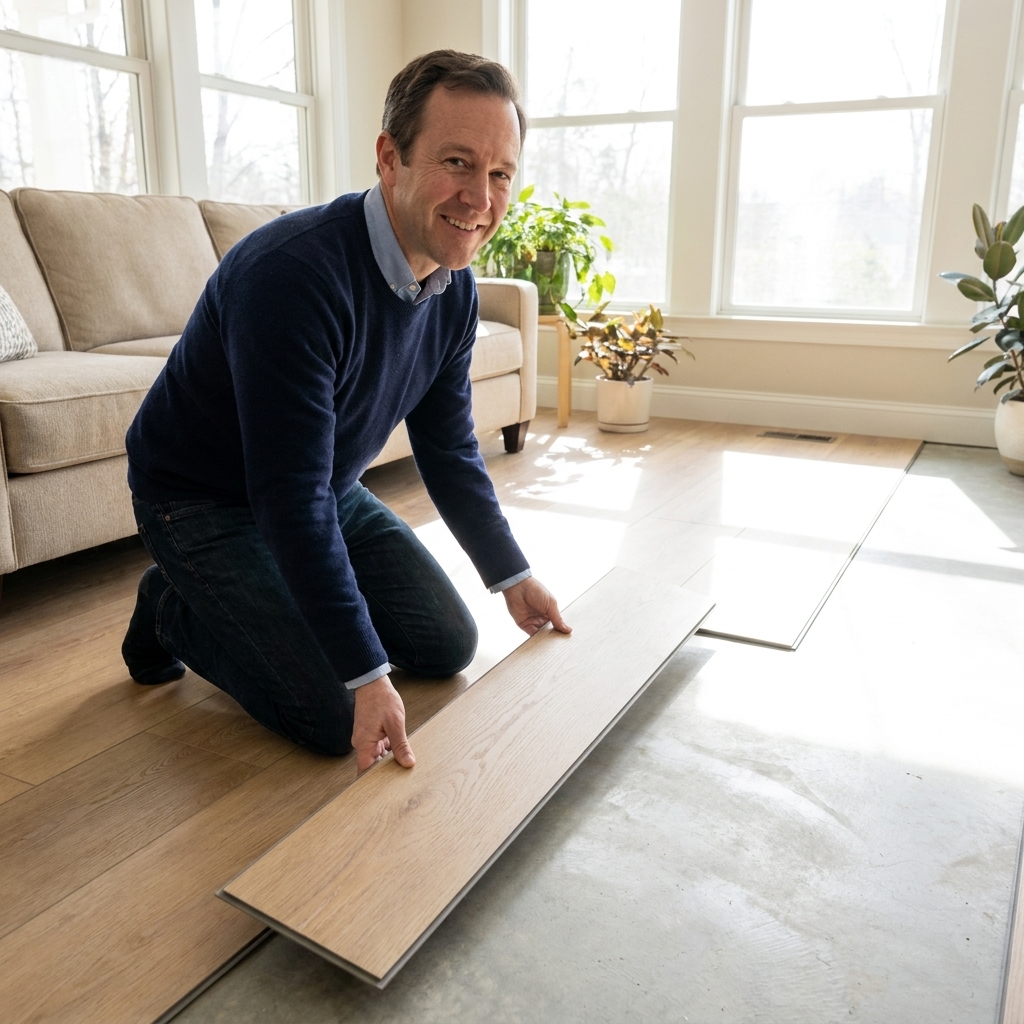
Step 6: Click and lock, row by row
- Angle the plank, click it in, then lower it gently.
- Use a tapping block made for click floors when needed, and never hit the plank edge directly.
- Keep checking for tight seams. If a joint will not close, look for debris in the groove or a slightly lifted plank holding the lock open.
Step 7: Cut around door jambs the clean way
Undercut jambs so the flooring slides under for a pro finish. A flush-cut saw or jamb saw makes this easy. Leave the proper expansion gap under trim areas too, just hidden.
Step 8: The last row and thresholds
You will likely need to rip the last row lengthwise. Measure each plank position since walls are rarely parallel. Use a pull bar to lock the final pieces without smashing your new baseboard area.
Step 9: Reinstall trim correctly
Baseboards and shoe molding should cover the expansion gap, but they should be fastened to the wall, not the floor. Pinning trim into a floating floor is a classic way to create buckling later.
Glue-down install steps
Glue-down can be very DIY-friendly if you are organized. It is also the method most likely to punish you for rushing. Think of it like setting tile: once you spread adhesive, the clock starts.
Step 1: Confirm slab or subfloor readiness
- Test moisture per the flooring and adhesive requirements.
- Patch and flatten. Adhesive does not fix humps and dips.
- Prime the substrate if the adhesive system requires it.
Step 2: Dry lay a starter section and pick your starting line
Instead of trusting a wall, I often snap a chalk line that represents the edge of my first row or a control line a plank width off the wall. This keeps the field straight even when the room is not.
Step 3: Spread adhesive in manageable sections
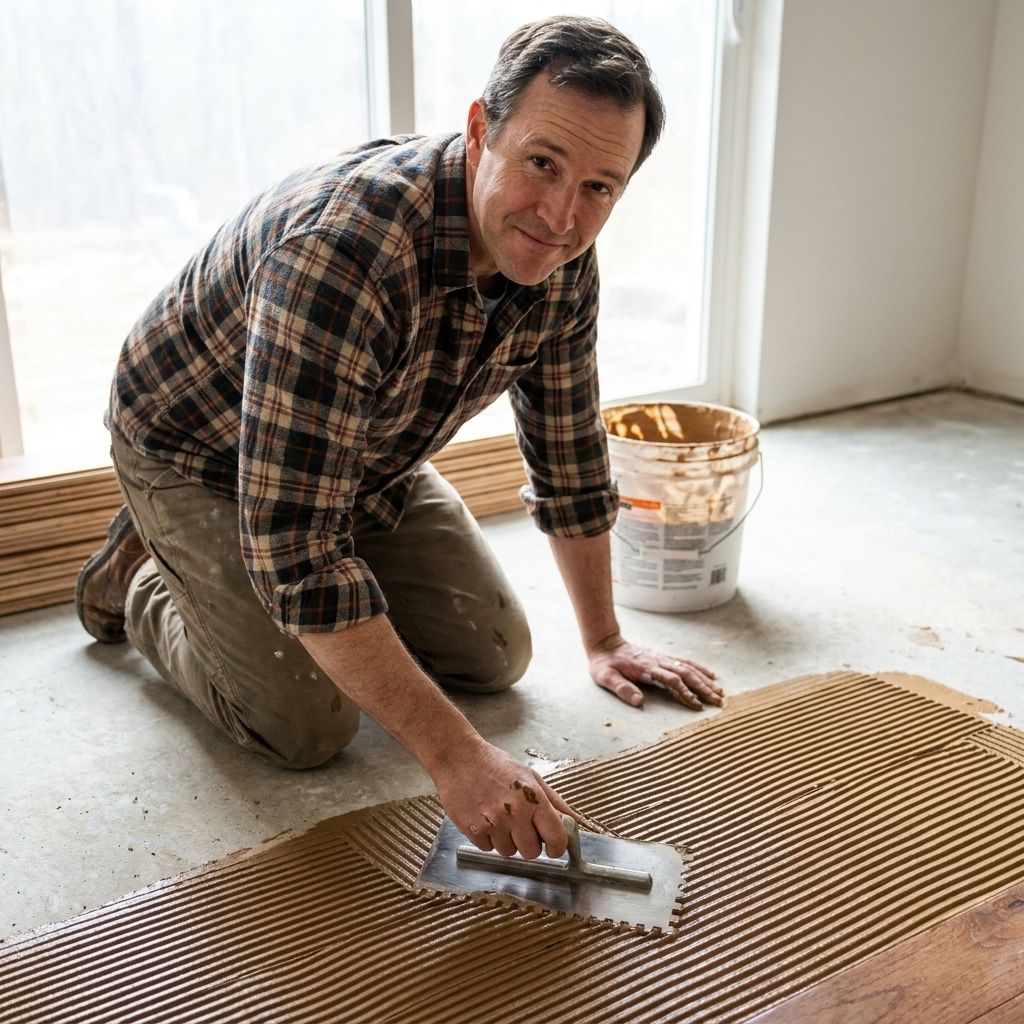
Use the correct trowel notch and hold the trowel at the right angle so you get consistent ridges. Only spread as much as you can cover within the adhesive’s working time.
- Too much open time: adhesive skins over and you get weak bond or hollow spots.
- Too little spread area: you waste time constantly stopping to trowel.
Step 4: Set planks and keep seams tight
- Lay planks into the adhesive and slide slightly to collapse ridges (per adhesive instructions).
- Use painter’s tape across seams if boards want to drift.
- Wipe adhesive squeeze-out immediately with the manufacturer-approved cleaner. Do not “get it later.” Later is when it becomes part of the floor.
Step 5: Roll the floor (if required)
Some adhesives require rolling with a heavy roller to ensure full transfer. If your adhesive or flooring instructions call for rolling, this step is not optional. Full transfer equals fewer hollow spots.
Step 6: Manage traffic and cure time
Respect cure time. Keep kids, pets, and heavy furniture off the floor as instructed. Adhesive that has not cured can let boards shift, creating gaps that never quite disappear.
Step 7: Transitions and trim
Install transitions at doorways and perimeter trim once the adhesive is ready. If you are installing baseboards, same rule as floating: fasten to the wall, not through the floor surface.
One more option
Nail or staple-down (quick note)
Some engineered hardwood can also be nail-down or staple-down over a wood subfloor. It is common when you want a more traditional hardwood feel without full-spread adhesive, and when the product thickness and construction are rated for fasteners. I am not going deep on it here, but if your product instructions list nail-down as an approved method, it is worth considering, especially on plywood over joists.
Pros and cons
Floating: the good
- Speed: No adhesive spreading, less downtime.
- Cleaner install: Lower mess factor for first-timers.
- Repair-friendly: Many click floors allow plank replacement by unlocking back to the damaged area (still work, but doable).
- Often budget-friendly: You trade adhesive cost for underlayment cost, and labor is usually simpler for DIY.
Floating: the not-so-good
- Subfloor flatness is everything: Minor dips can become squeaks or movement.
- Sound: Can be louder without the right underlayment and a flat base.
- Heavy fixtures: Fixed cabinets and some islands can pin the floor and restrict movement. Some manufacturers allow floating around cabinets with proper breaks, others do not. Follow your product instructions.
Glue-down: the good
- Solid feel: Less “floating” sensation underfoot.
- Sound control: Often quieter and less hollow.
- Great on concrete: With the correct adhesive and moisture plan, it is a strong solution for slabs.
Glue-down: the not-so-good
- Mess and stress: Adhesive is unforgiving.
- Harder DIY fixes: Pulling up a board can damage surrounding boards and subfloor.
- Removal later: Scraping adhesive is nobody’s favorite Saturday.
Common DIY mistakes
Skipping flatness checks
A quick walk across the subfloor is not a flatness test. Use a long straightedge. Mark highs and lows. Fix them before you open the first box.
Using the wrong underlayment
Thick, squishy underlayment can feel nice, then quietly destroy click joints. Use what the manufacturer approves, especially for click-lock engineered hardwood.
Not leaving expansion space
If you install tight to walls because “trim will cover it,” the floor has nowhere to go when humidity rises. That is when you see peaking or buckling.
Letting adhesive cure on the finish
Glue-down installs require constant cleanup. Keep rags and the right cleaner nearby like you are on a cooking show with a ticking timer.
Forgetting transitions and height differences
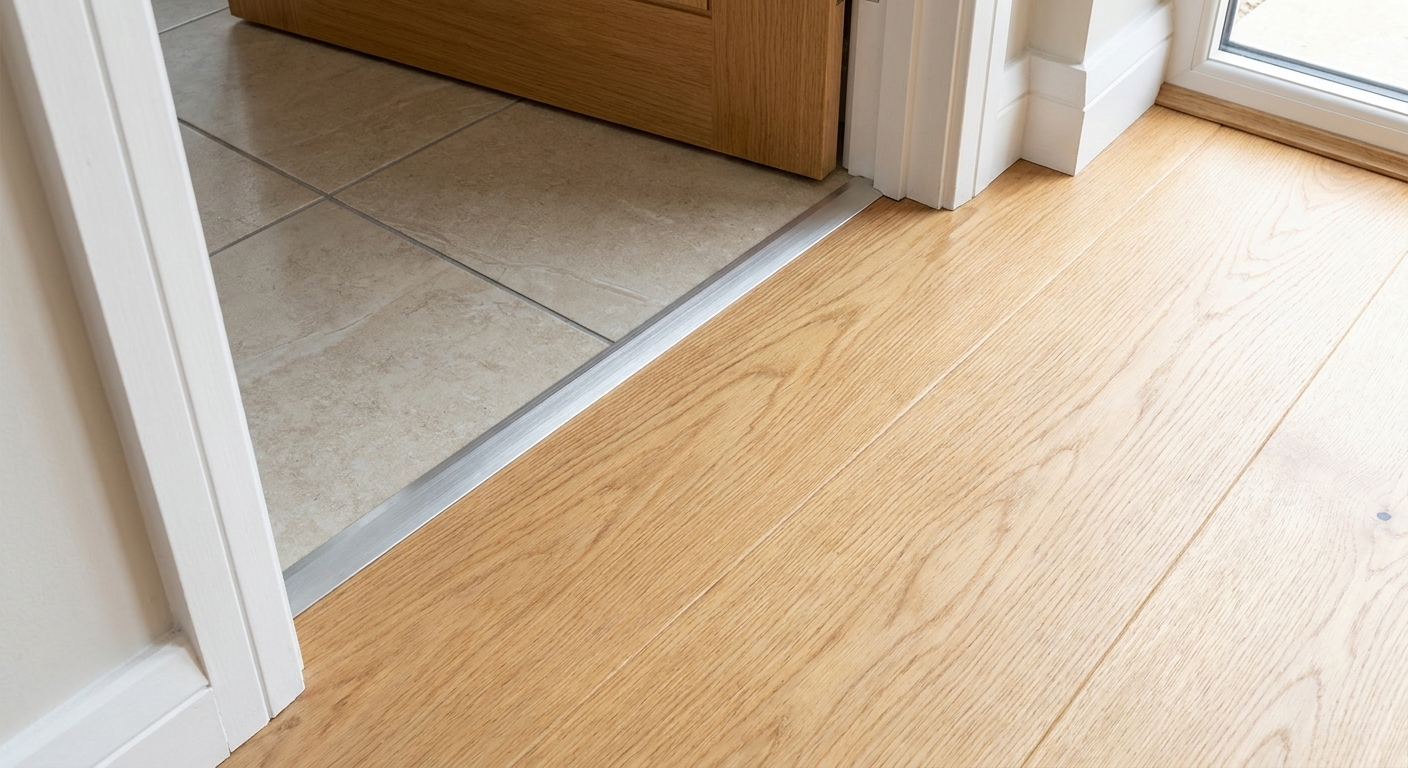
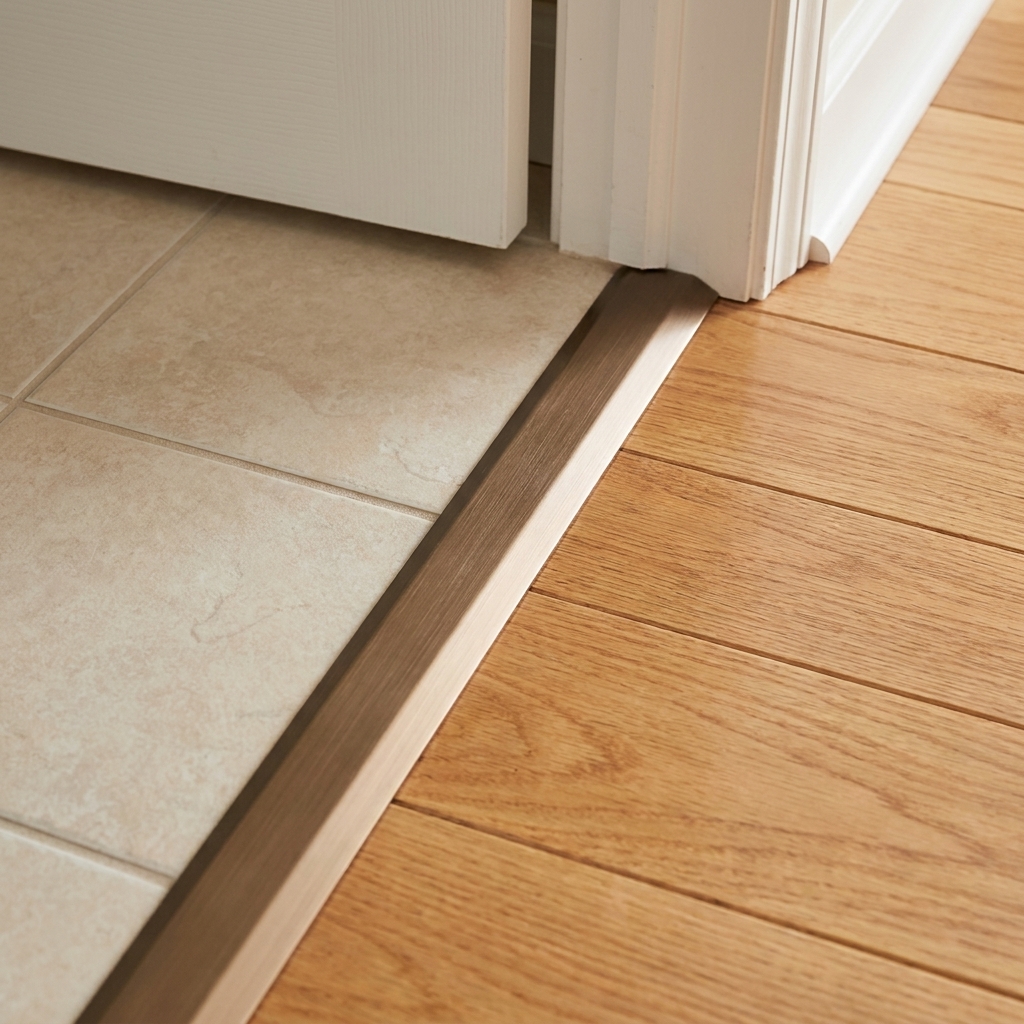
Plan how you will meet tile, carpet, or vinyl ahead of time. Buy the correct reducers and T-moldings early so you are not improvising with a table saw at 9:30 p.m.
Best method for DIY?
If you are installing engineered hardwood in a bedroom, living room, hallway, or a smaller space over a reasonably flat wood subfloor, a floating click-lock install is usually the most DIY-friendly path.
If you are on a concrete slab, installing wide planks, dealing with a large open floor plan, or you care deeply about a more solid, quiet feel, glue-down can be worth the extra prep and mess, as long as you are comfortable following adhesive timing and moisture rules to the letter.
My bias, as a former installer: I love the feel of glue-down. But when a friend calls me because their first DIY floor is “making crunchy noises,” it is almost always a floating floor installed over a subfloor that was not flat enough. The method is not the villain. The prep is.
FAQ
Can I glue down click-lock engineered hardwood?
Only if your manufacturer explicitly allows it. Many click-lock products are designed to float and should not be glued. Some products allow a full-spread glue method even with a locking profile. Do not assume.
Can I float engineered hardwood over concrete?
Often yes, but you need the right vapor control plan. That might be a separate vapor barrier, a 2-in-1 underlayment with an integrated vapor layer, or a manufacturer-approved system. Concrete moisture testing is still important.
Which is quieter: floating or glue-down?
Glue-down is typically quieter and feels more solid. A floating floor can be very quiet too, but it depends on subfloor flatness, underlayment selection, and proper expansion gaps.
Do I need to remove baseboards?
You can undercut door casings either way. For the cleanest look, remove baseboards and reinstall them after. If you do not want to remove them, you can add shoe molding, but you still need the correct expansion gap behind it.
Can I install kitchen cabinets on top of a floating floor?
Usually not recommended. Floating floors need to move. Heavy fixed cabinets can pin the floor and lead to buckling. Some manufacturers have specific guidance for islands or floating around cabinets with proper breaks. Follow your product instructions.
Can I install engineered hardwood over radiant heat?
Only if the product and underlayment or adhesive system are rated for radiant heat. Follow the specified maximum surface temperature, moisture limits, and heat-up and cool-down schedule. If your manual has a whole page on radiant rules, that is your hint that it matters.
Before you start
Buy a little extra flooring (most folks do 7 to 10% waste, more for tricky layouts), read the installation PDF twice, and do a dry run in the corner before you commit to a full row.
If you want the smoothest DIY experience, pick the method that matches your comfort level and your subfloor reality. You can muscle through a lot of things in home improvement. A wavy subfloor is not one of them.