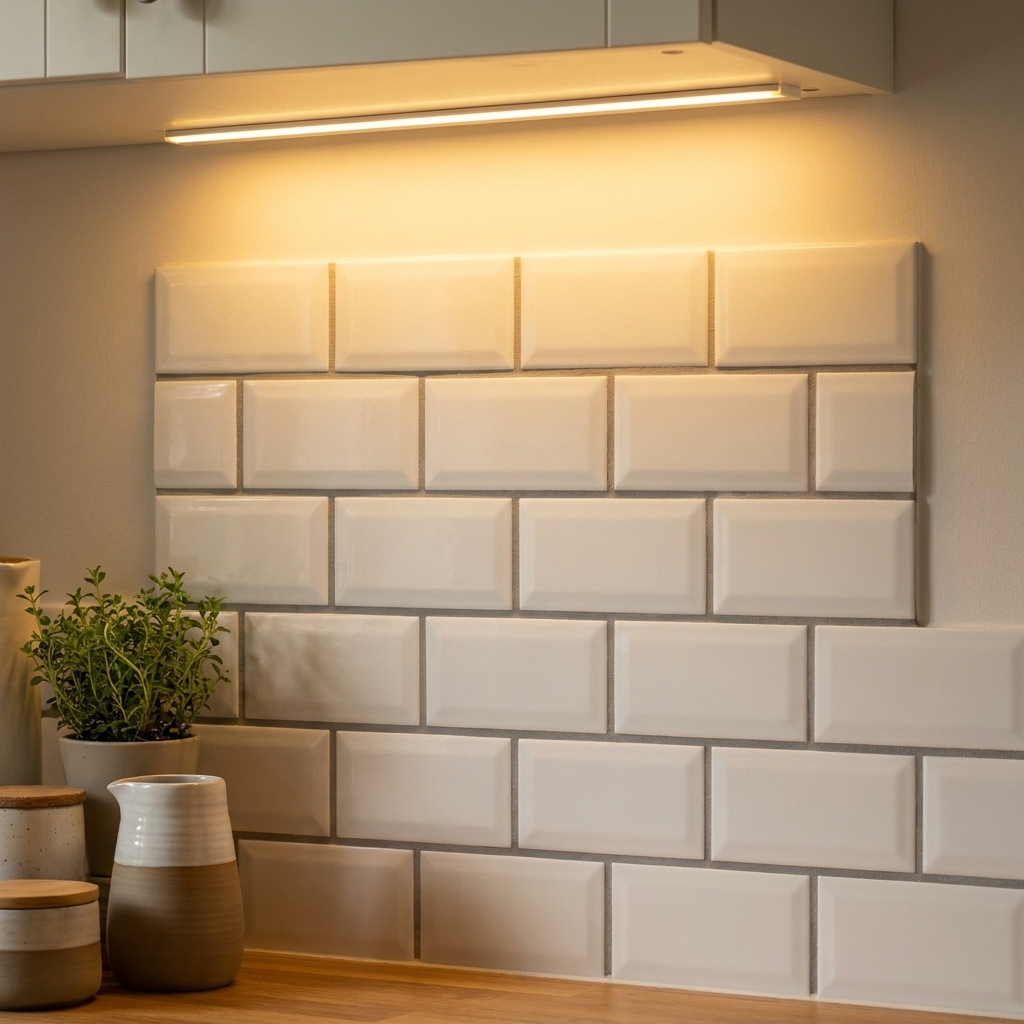
Learn how to install a subway tile backsplash the right way: prep, layout, adhesive choice, coverage checks, cuts around outlets, spacing, grouting, and fini...
The Grout Nest
Updated October 17, 2026
10 Essential Tools for a Flawless DIY Tile Install
From wet tile saws to leveling systems, here are the 10 tile tools I consider non-negotiable for clean cuts, flat floors, and crisp grout lines, plus exactly when to use each one.

Ben Mitchell
Ben Mitchell is a former professional tile setter and passionate home renovator with over 12 years of experience in the flooring industry. After stepping away from commercial contracting, he founded Grout Nest to empower everyday homeowners to tackle their own flooring, tile, and backsplash projects with confidence. He believes that with the right tools, proper prep work, and a little patience, anyone can achieve a professional-grade finish.
I have set tile in shiny new commercial lobbies and in my own slightly cursed 1970s fixer upper where nothing is square, nothing is level, and the previous owner apparently believed caulk was a structural material. If there is one truth that follows you everywhere, it is this: your tile will only look as good as your prep and your tools allow.
You do not need a trailer full of contractor gear to get a pro-looking result. You do need a few specific tools that solve the most common DIY problems: crooked layouts, chipped cuts, lippage, hollow spots, and grout joints that wander like a shopping cart with a bad wheel.
Below are the 10 essential tools I recommend for a flawless DIY tile installation, plus exactly when to grab each one.
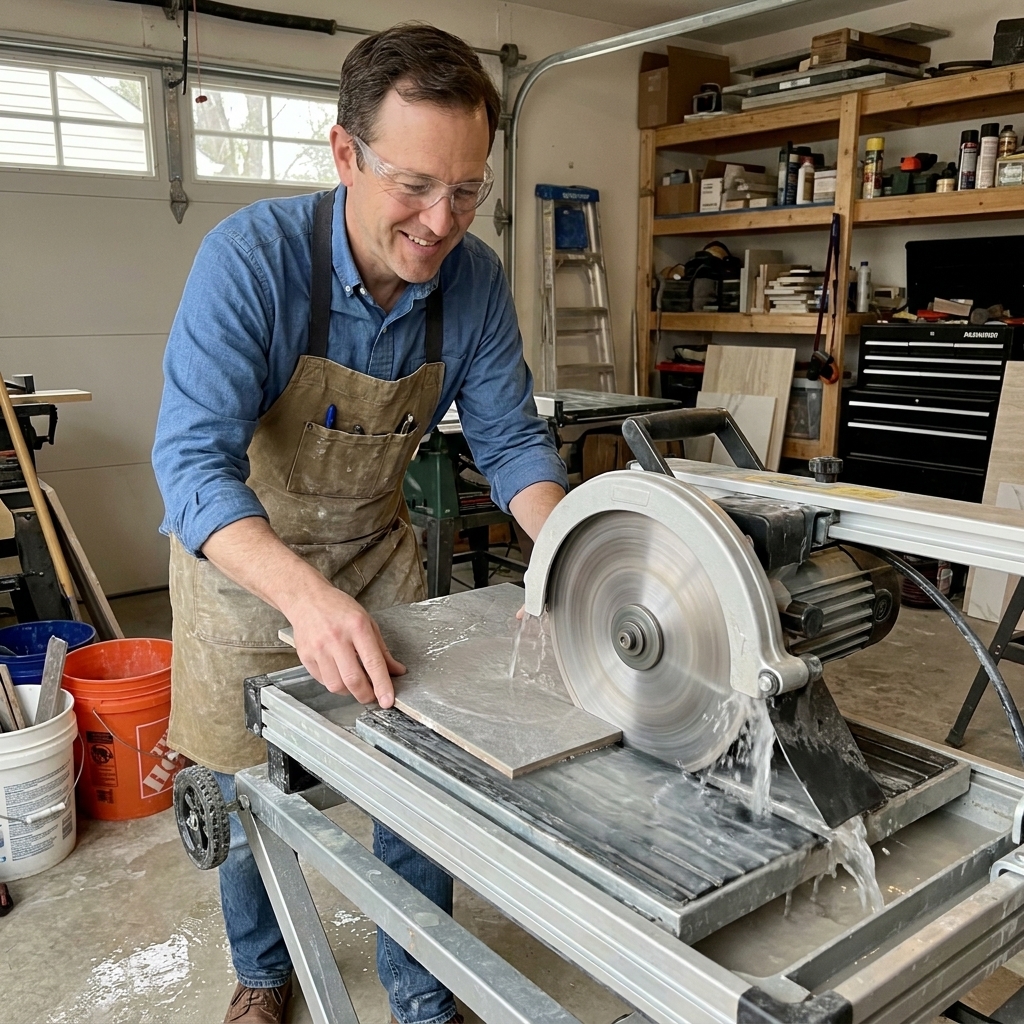
1) Wet tile saw
If you are installing porcelain, stone, large-format ceramic, or you need a lot of clean cuts (especially L-cuts and rips), a wet saw is the tool that keeps your edges crisp and your sanity intact. The water cools the blade, keeps dust down, and helps reduce chipping.
How to use it (without wrecking tiles)
- Mark the cut clearly with a pencil or fine-tip marker, and align the mark with the blade path before turning the saw on.
- Feed the tile slowly. Most chipped cuts happen because people rush. Let the diamond blade do the work.
- Support both sides of the tile so it does not flex near the end of the cut.
- Dress the blade if cuts start chipping. Run a dressing stone or a soft brick through the blade a few times.
Ben tip: Renting a wet saw for a weekend is often cheaper than buying a bargain saw that fights you on every cut. A decent rental and a calm Saturday can save you a lot of “why does this look like a beaver chewed it” moments.
2) Score-and-snap cutter
For straight cuts on ceramic and some porcelains, a manual cutter is fast, clean, and does not require water or an extension cord. On a floor with a lot of repetitive cuts, it can be your best friend.
How to use it
- Score once with one consistent pass. Too many passes can chip, and too much pressure can also blow out the glaze. You want firm and steady, not “bend the handle” force.
- Snap confidently using the breaker foot centered on the score line.
- Test your tile. Some dense porcelains laugh at cheap cutters. If it takes a gorilla grip to score, move to the wet saw.

3) Angle grinder and diamond blade
This is your problem-solver for notches, L-cuts, weird scribe cuts, and shaving a hair off a piece that is just barely too tight. It is also the fastest way to make a dusty mess, so treat it with respect.
Where it shines
- Cutting around door jambs and trim returns
- Shaping around floor vents
- Shaving down an edge that is slightly proud
- Curves and arcs when a hole saw will not work
Use it safely and cleanly
- Cut outdoors when possible. If you must cut inside, use a vacuum shroud and a HEPA vac.
- Wear eye and ear protection and a respirator rated for silica dust. Tile and mortar dust are not a “walk it off” situation.
- Make shallow passes. Forcing a deep cut increases chipping and blade wander.
Ben tip: For cleaner edges, finish the last little bit of the cut from the face side, not the back. That is often where chips like to pop.
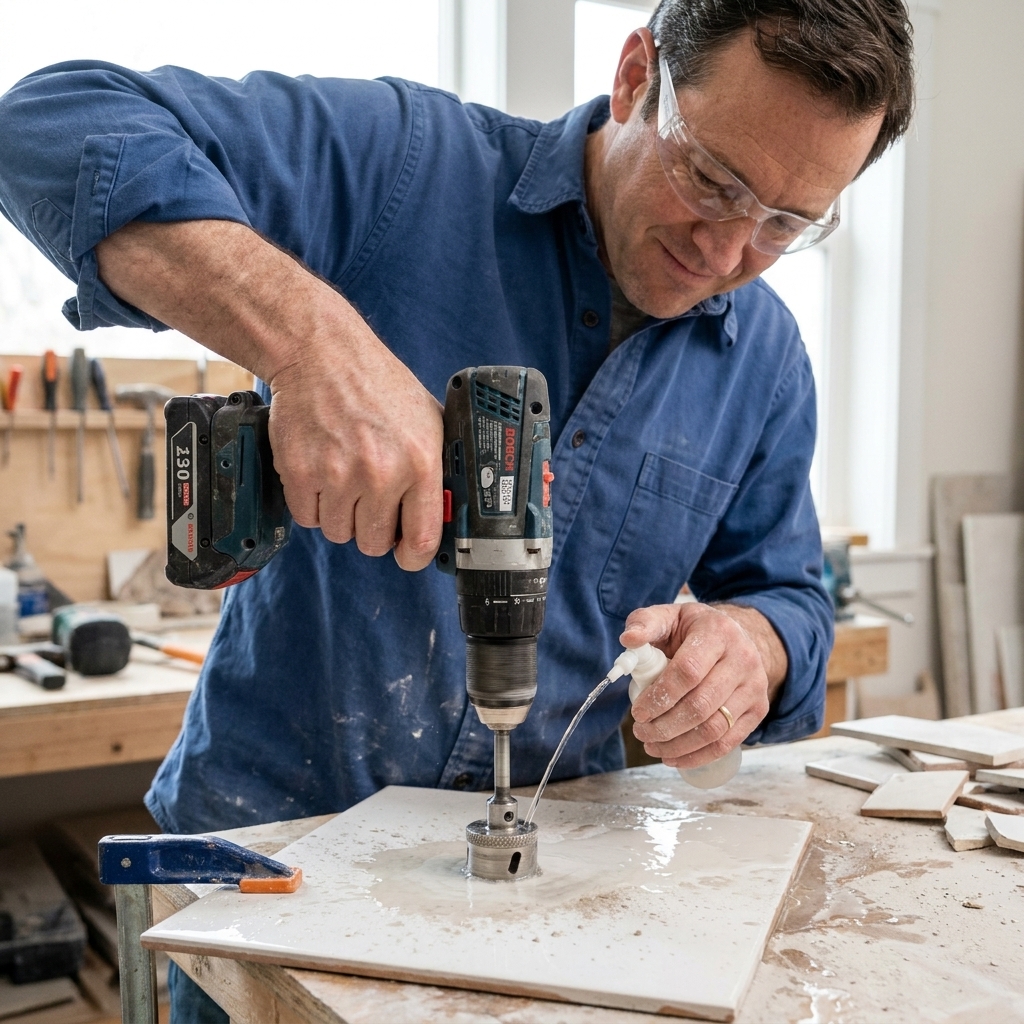
4) Diamond hole saw kit
Any tile project involving plumbing needs clean holes for supply lines, shower heads, tub spouts, or toilet flange bolts. A diamond hole saw makes a round hole that looks intentional, not like you chewed through it with a screwdriver.
How to drill a clean hole
- Use water. Keep the bit cool with a spray bottle, sponge, or a small dam of plumber’s putty filled with water.
- Start at an angle to establish the groove, then bring the drill upright.
- Go slow. High speed overheats the diamonds and bond, shortens bit life, and can increase chipping on brittle tile.
- Back the bit out occasionally to clear slurry.
5) Notched trowels and margin trowel
Thinset coverage is the difference between a rock-solid floor and tiles that sound hollow two weeks later. You need the right notch size for your tile, and you need a margin trowel for mixing, scraping buckets, and buttering.
Picking the right notch
- Small wall tile (like 3x6 subway): often 1/4 x 1/4 in or 1/4 x 3/8 in square notch
- Typical floors (12x12, 12x24): often around 1/2 in square notch, depending on flatness and tile back texture
- Mosaics: smaller notches to avoid squeeze-through
These are starting points. The real rule is coverage. In wet areas, you want as close to 100% coverage as you can reasonably achieve with no meaningful voids.
How to use them correctly
- Key in thinset with the flat side first, pressing it into the substrate.
- Comb in one direction. Straight ridges collapse better than swirls.
- Back-butter large format tile to fill the factory texture and improve bond.
Ben tip: Pull up your first few tiles and look at the back. If you are not getting coverage, change your technique or your trowel before you set half the room.
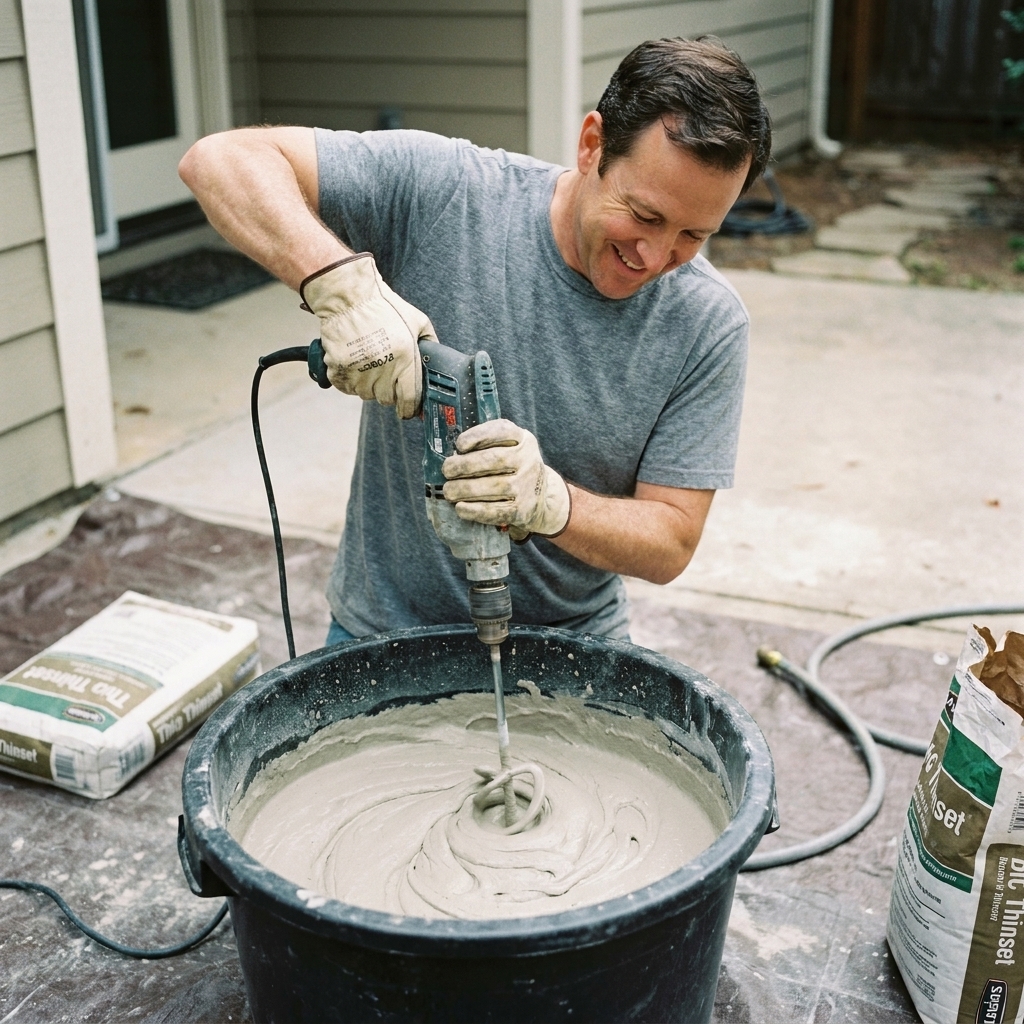
6) Mixing drill and paddle
Hand-mixing thinset is how shoulders get angry and thinset gets lumpy. A mixing drill and paddle gives you consistent mortar, which means consistent bed height, which means flatter tile.
How to mix thinset properly
- Measure water first, then add powder. Guessing leads to soup or peanut butter on random days.
- Mix, then slake (rest) for 5 to 10 minutes, then remix. This step matters because it lets the polymers hydrate.
- Keep buckets clean. Old chunks cause ridges and keep your trowel from riding smoothly.
7) Tile leveling system
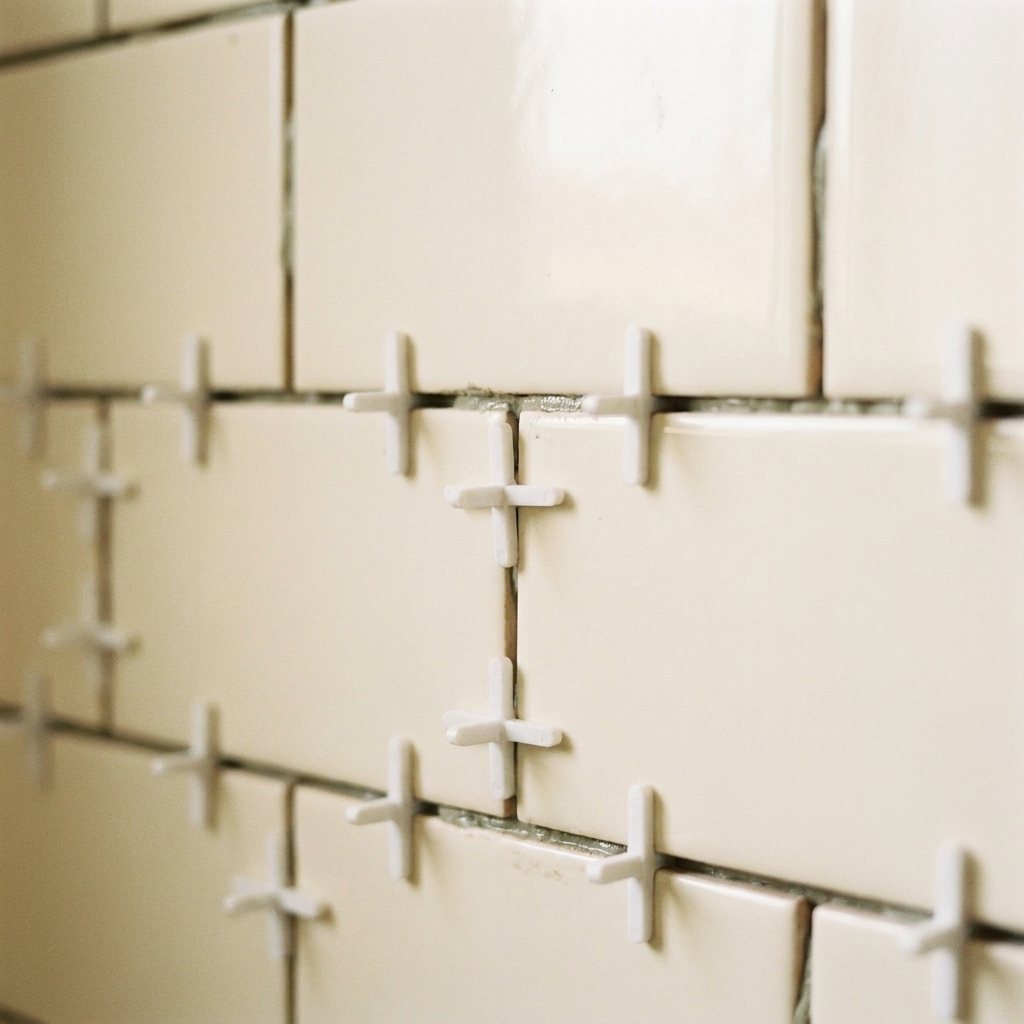
If you are installing large-format tile, a leveling system is the closest thing to a cheat code we have. It does not replace a flat subfloor, but it does help pull neighboring tiles into plane while the thinset cures.
When you need it most
- 12x24 and larger floor tile
- Planks that love to teeter
- Walls where light hits at an angle and highlights lippage
How to use it
- Set the tile into fresh thinset.
- Slide clips under the tile edges.
- Use at least a couple on the long edges for many large tiles, then add more as tile size, warpage, or a less-than-perfect substrate demands.
- Insert wedges or tighten caps until the faces align. Do not over-crank and starve the joint of mortar.
- After cure, kick or tap the clips in the direction of the joint to break them off cleanly.
Ben tip: If you are leveling like crazy just to get two tiles to behave, that is a sign your substrate needs more love. Remember the mantra: prep work is 90% of the job.
8) Tile spacers
Spacers are not just about grout width. They are about keeping your layout honest. I like hard T-spacers for grids, and wedge spacers for walls and for tiny adjustments when a tile is slightly oversized or undersized.
How to use spacers without creating problems
- Do not bury soft spacers in thinset where they can interfere with grout depth.
- Keep joints consistent even if the tile is not. If your tile is wildly inconsistent, consider a slightly wider grout joint to hide it.
- Check for drift every few rows with a straightedge or laser line. Spacers help, but they do not think for you.
9) Layout tools
Beautiful tile work starts long before thinset hits the floor. Layout tools help you avoid slivers at the edges, keep lines straight through doorways, and maintain clean symmetry at focal points like a shower niche or stove backsplash.
How I use them on real jobs
- Tape measure: measure the room in multiple places. Walls lie.
- Framing square: check corners for square and establish a true 90-degree reference line.
- Chalk line: snap your main control lines on floors so you can keep the pattern locked in.
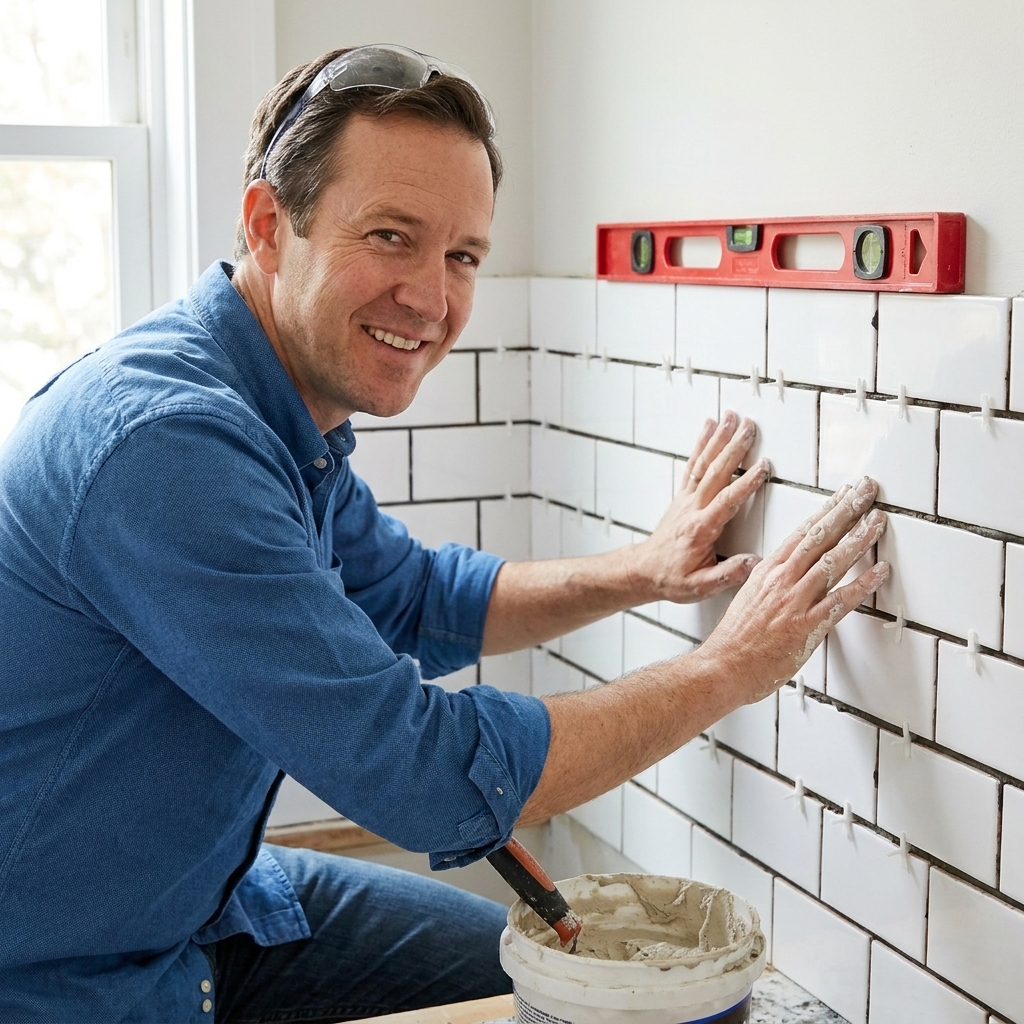
- Laser level: on walls, it is gold for keeping rows dead-straight, especially with subway tile and stacked patterns.
Ben tip: Dry-lay a row with spacers before you commit. Nothing is more annoying than realizing your layout leaves you with a 1/2-inch strip behind the toilet after you have already set a third of the floor.
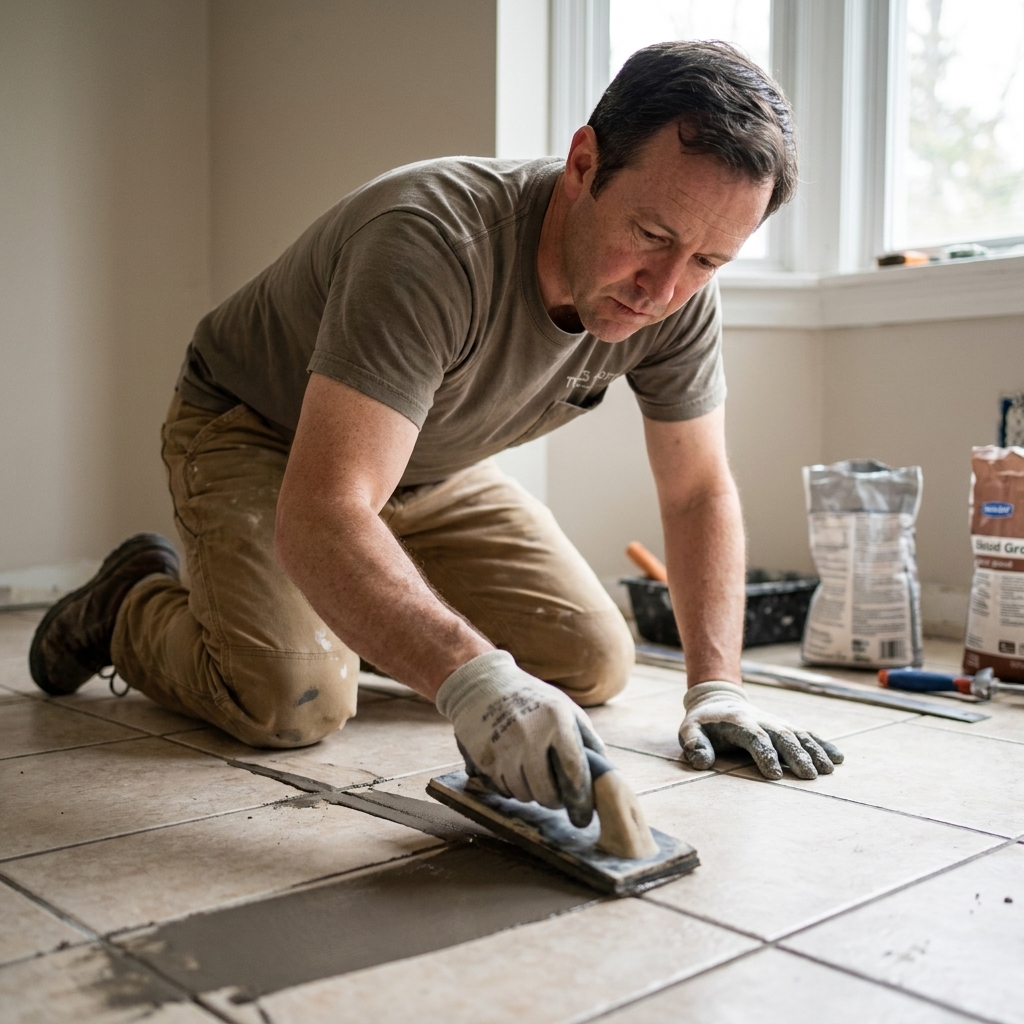
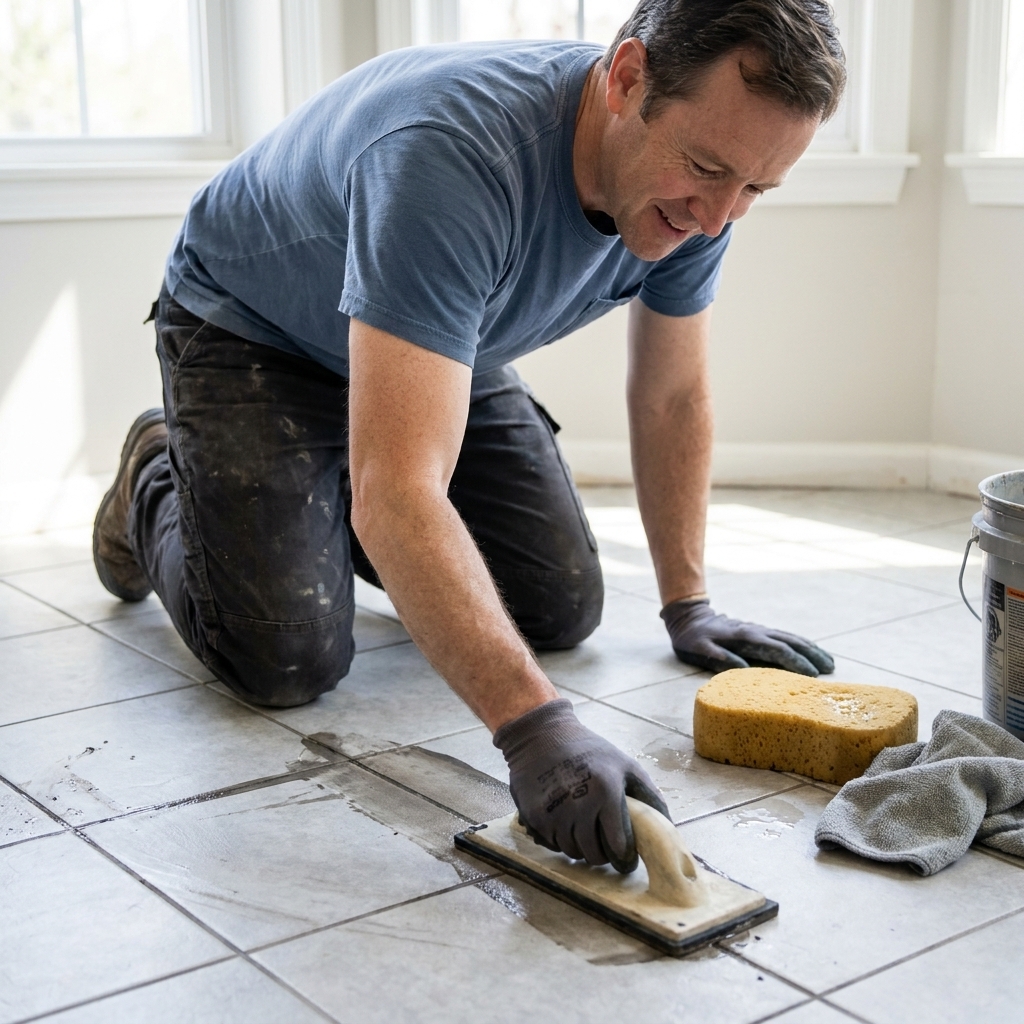
10) Grout tools
Setting tile gets all the glory, but grout is what your eye reads. The right grout tools keep joints full and consistent without washing the color out or leaving a haze that makes you question your life choices in the morning light.
How to grout cleanly
- Rubber grout float: pack grout diagonally across joints, then scrape diagonally to remove excess.
- Grout sponges: use a well-wrung sponge and light pressure. Too much water can weaken grout and cause blotchy color.
- Microfiber towel: after the initial sponge wipe, buff lightly to remove haze as it forms.
Reality check: flat wins
I know this article is about tools, but I would be doing you a disservice if I did not say it plainly. If your floor is wavy or your wall is bowed, no gadget will magically make the finished tile look perfect.
Before you set a single tile, check the surface with a 6 to 10 ft straightedge. Knock down high spots, fill low spots, and get it flat enough for your tile size. Your future self, and your bare feet, will thank you.
My rule of thumb: If you are thinking, “Maybe this is flat enough,” it usually is not. Fixing it now is annoying. Fixing it after tile is down is expensive.
One more small tool that earns its keep here: a diamond rubbing stone or diamond hand pad. It lets you ease sharp cut edges, knock down tiny chips, and take the “freshly cut” look off exposed tile edges.
If you are tiling a shower or other wet area, remember that tools do not replace waterproofing. Follow the waterproofing system instructions for your space, and do not forget perimeter and change-of-plane movement joints so the tile has somewhere to move.
Tool checklist
- Wet tile saw
- Score-and-snap cutter
- Angle grinder with diamond blade
- Diamond hole saw kit
- Notched trowels + margin trowel
- Mixing drill + paddle + clean buckets
- Tile leveling system
- Tile spacers
- Layout tools (tape, square, chalk line, laser)
- Grout float + sponges + microfiber towel
FAQ
Do I really need a wet saw?
If you are doing mostly straight cuts on basic ceramic, you can sometimes get by with a good manual cutter. If you are cutting porcelain, doing a lot of L-cuts, or want consistently clean results, a wet saw is worth renting at minimum.
Will a leveling system fix lippage on a bad floor?
It helps, but it is not a cure. Leveling clips can pull neighboring tiles into plane, but they cannot correct major humps and dips. Fix flatness first, then use the system to fine-tune.
What is the most common tool mistake DIYers make?
Using the wrong trowel notch and not checking coverage early. Pull a tile now and then, especially at the start. It is the easiest way to catch a problem before it becomes a whole-room problem.