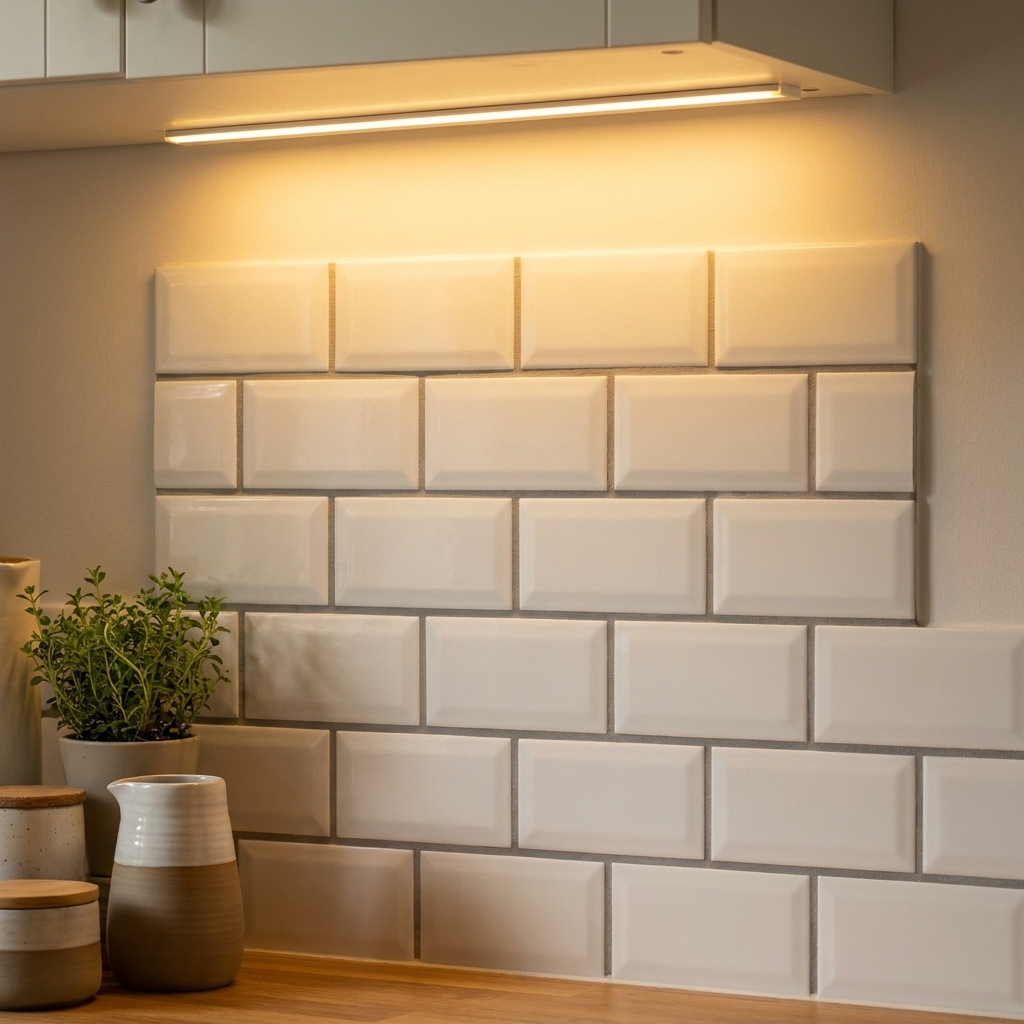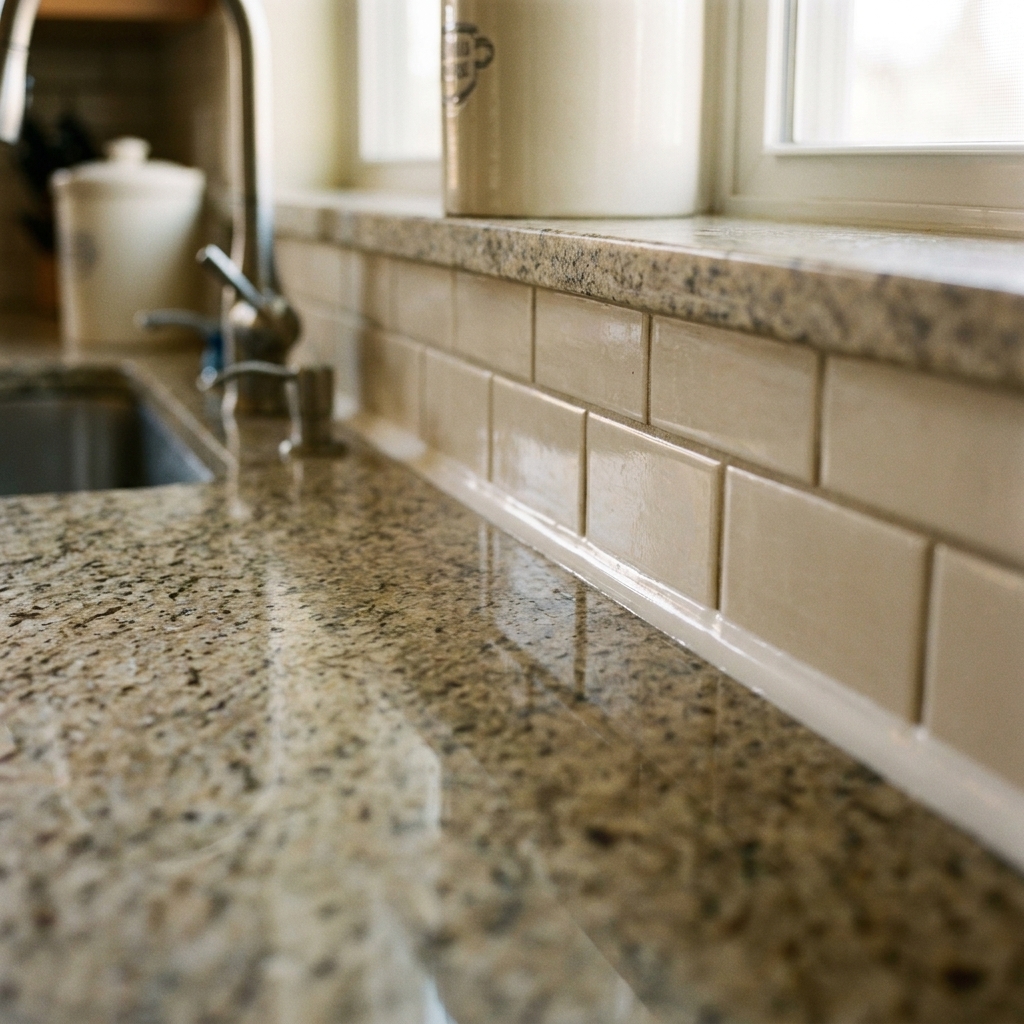
Learn how to install a subway tile backsplash the right way: prep, layout, adhesive choice, coverage checks, cuts around outlets, spacing, grouting, and fini...
The Grout Nest
Updated October 17, 2026
7 Creative Subway Tile Patterns for Kitchen Backsplashes
Take basic subway tile from builder-grade to custom with 7 layouts, including herringbone, vertical stack, crosshatch, and classic offset. Planning tips, layout guidance, and DIY install tricks.

Ben Mitchell
Ben Mitchell is a former professional tile setter and passionate home renovator with over 12 years of experience in the flooring industry. After stepping away from commercial contracting, he founded Grout Nest to empower everyday homeowners to tackle their own flooring, tile, and backsplash projects with confidence. He believes that with the right tools, proper prep work, and a little patience, anyone can achieve a professional-grade finish.
Subway tile is like a plain white T-shirt. Clean, classic, and dangerously easy to make look… plain. The pattern you choose is what gives it that tailored, finished look.
Below are seven layouts I’ve installed (and re-installed after my own “that’ll be fine” moments) that can make the same standard subway sizes (think 3x6 or 2x8) feel totally custom. I’ll also walk you through how I plan each one so your focal points land where they should and your cuts don’t scream from across the room.

Before you pick a pattern: 5 planning steps
I’m going to repeat the thing my uncle drilled into me as a teenager while I mixed thinset in a wheelbarrow: prep work does most of the heavy lifting. Patterned layouts magnify small errors, so set aside the time to plan like a pro.
1) Find your money spot and center it
In most kitchens, the eye goes to one of these first:
- The range and hood
- The sink and window
- A feature wall behind open shelving
Pick the primary focal area and plan your pattern so it looks intentional there. That might mean centering a full tile, centering a grout joint, or centering the point of a herringbone V.
2) Measure each wall run separately
Don’t assume the left and right of your range are the same, or that your countertop is perfectly level. Measure the actual backsplash area in each section and sketch it. A notepad beats regret.
3) Decide your grout line width early
Pattern changes can affect how busy the wall looks. For subway tile, grout joints are often in the 1/16 inch to 1/8 inch range, but 1/8 inch to 3/16 inch is common too depending on the tile’s calibration, edge type, and how flat your wall is. Tiny joints look crisp, but they demand consistent tile and a very flat substrate.
4) Dry-lay a few square feet on the counter
Even a quick dry layout helps you spot awkward slivers and shows how the pattern reads from standing height. If you can, dry-lay across a corner or around an outlet so you see the tricky parts up front.
5) Use level reference lines, not the countertop
Countertops can dip. Cabinets can sag. Start with a level line and build off it. If you need a ledger board for the first row, use one. Pull it later and patch those screw holes before you grout.
1) Classic running bond (50% offset)
This is the familiar brick pattern: each row shifts half a tile. It’s popular for a reason. It hides slight inconsistencies, it’s forgiving around outlets, and it works in almost any kitchen style.
Design notes
- Best for: First-time tile installers, busy kitchens, slightly imperfect walls
- Vibe: Classic, calm, timeless
- Works well with: 3x6, 2x8, 3x12
- DIY difficulty: Easy
Layout tip from the field
Try to avoid ending with skinny credit card cuts at both ends. If you dry-lay and see you’ll land with 1/2 inch slivers, shift your starting point so you end with more balanced cuts, even if that means a 2 to 3 inch cut on both ends.
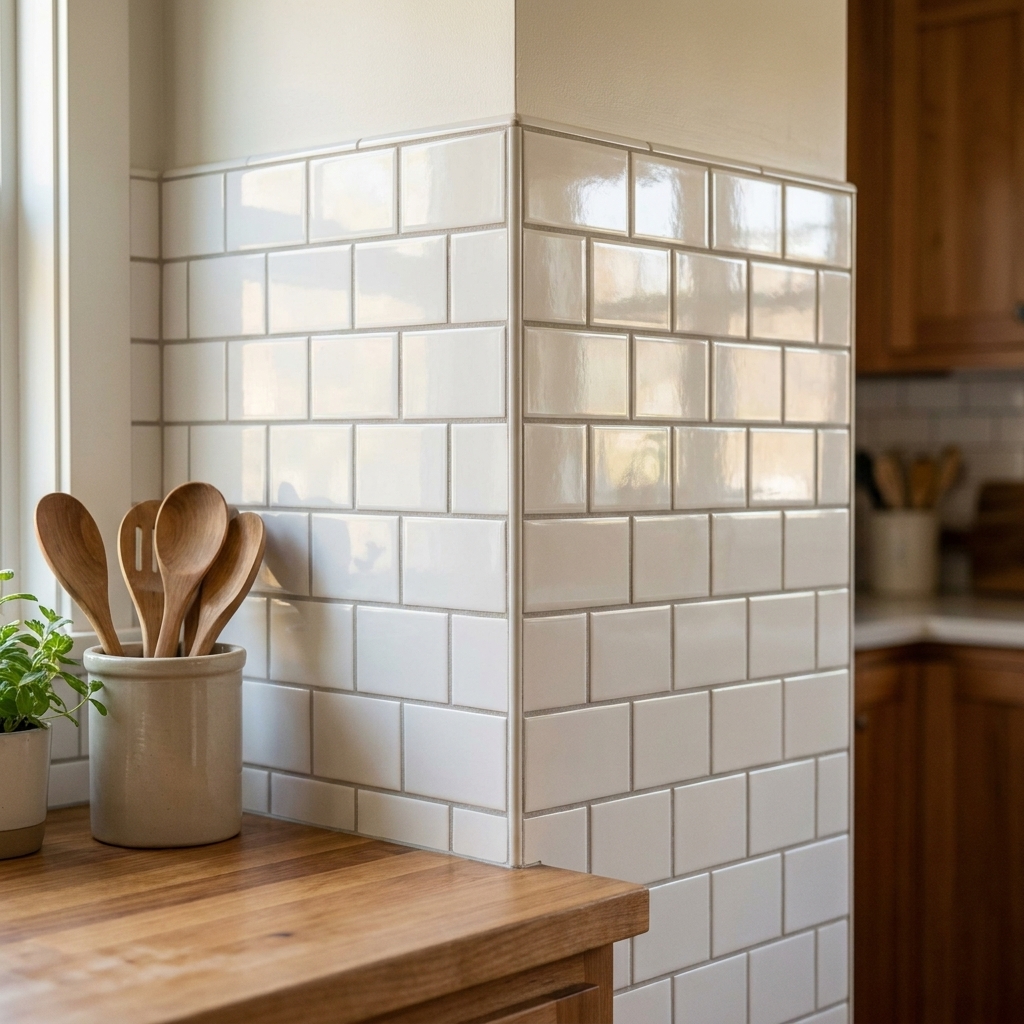
2) Running bond (33% offset)
Same idea as classic offset, but each row shifts by one-third of a tile instead of half. It feels a little more modern and a little less expected, without screaming for attention.
Design notes
- Best for: Transitional kitchens, anyone who wants classic but not default
- Vibe: Subtle movement, slightly contemporary
- Heads-up: Some longer tiles have a slight bow. With that kind of warpage, a 50% offset can highlight lippage under task lighting. A 33% offset often looks better, especially with longer formats like 3x12.
- DIY difficulty: Easy to medium
Planning move
If you’re using 3x12 or 4x16 tiles, check the tile box for an offset recommendation and follow the manufacturer guidance. Warpage varies by tile, and under-cabinet lighting is brutally honest.
3) Vertical stack bond
Stack bond is where tiles line up directly over one another. Turn it vertical and your backsplash instantly feels taller. It’s one of my favorite small change, big impact patterns.
Design notes
- Best for: Low ceilings, small kitchens, modern or Scandinavian styles
- Vibe: Clean, architectural, tidy
- Tile choice matters: Because the joints align, tile size variation is more noticeable. Buy a little extra and sort tiles if needed.
- DIY difficulty: Medium
How to center it
Pick a centerline behind the range or sink, then dry-lay a column so you know whether you want a full tile on center or a grout joint on center. Either can look great, but you want it to be a decision, not an accident.
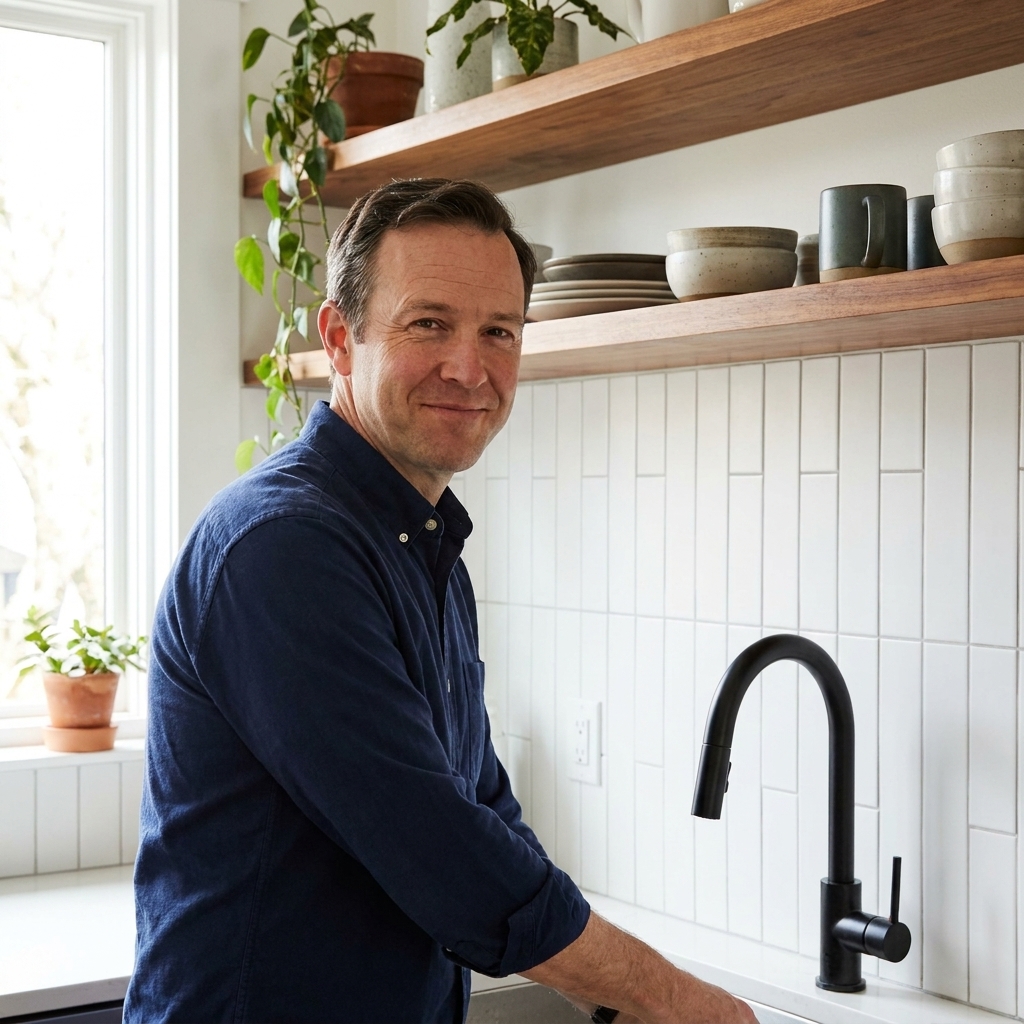
4) Horizontal stack bond
Horizontal stack is the crisp, modern cousin of classic offset. Every grout line is continuous, which makes the whole wall look intentional and designed. It’s also less forgiving, so your prep and spacers have to be on point.
Design notes
- Best for: Modern kitchens, flat walls, consistent tiles
- Vibe: Minimalist, clean, boutique-hotel energy
- DIY difficulty: Medium
Installer tip
Use a quality spacer system and check for level every couple of rows. A tiny drift in row two becomes a full-on argument by row ten.
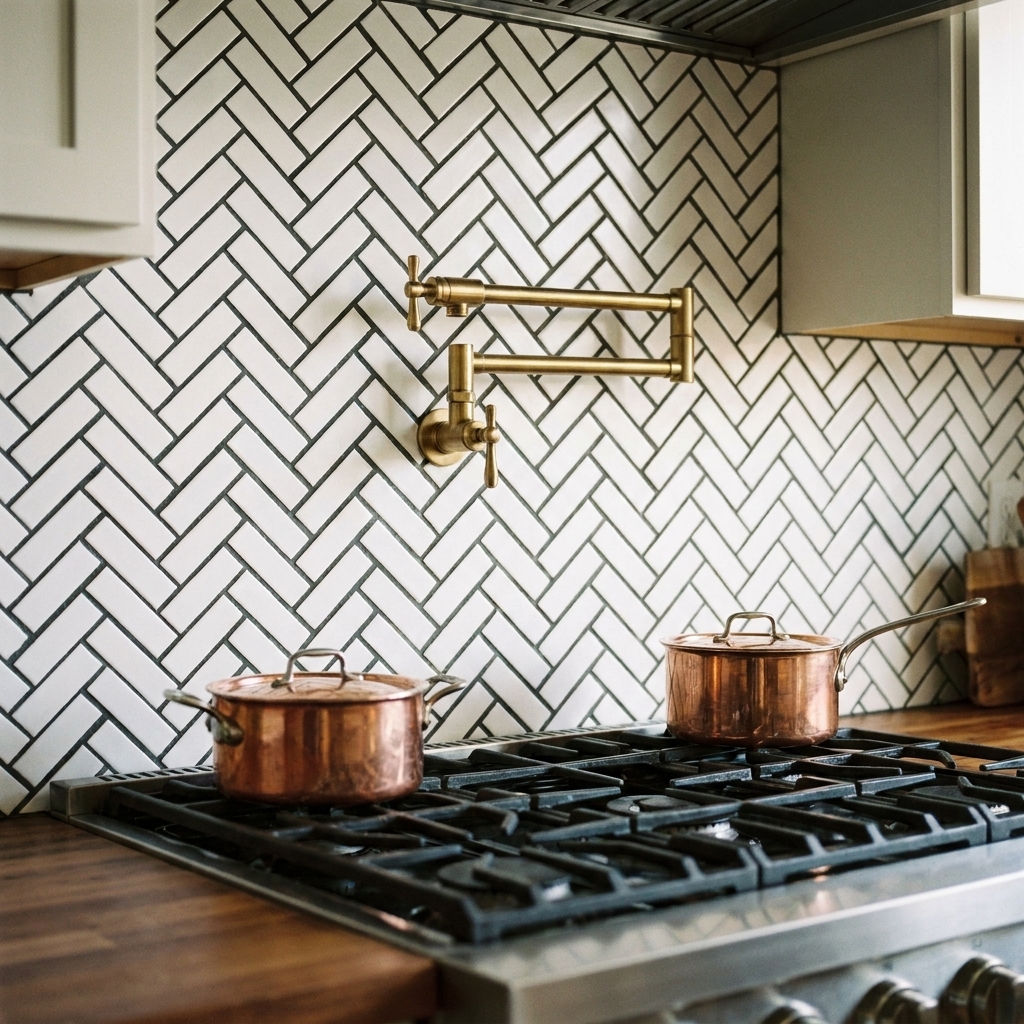
5) Herringbone
Herringbone is the I want this backsplash to be the moment pattern. It adds movement and texture even with plain white tile. It also takes longer, uses more cuts, and absolutely demands layout planning.
Design notes
- Best for: Feature walls behind a range, kitchens with simple countertops and cabinets
- Vibe: High-end, detailed, custom
- Tile sizes: 2x8 and 3x12 are common. Smaller tiles look busier; larger tiles feel calmer.
- DIY difficulty: Hard
How I lay it out (so it stays symmetrical)
- Step 1: Find your focal centerline (usually the range).
- Step 2: Decide whether the V point of the herringbone lands on that centerline or whether the centerline runs through the middle of a tile leg.
- Step 3: Dry-lay at least a 2-foot-wide section so you can see how it hits cabinets and corners.
- Step 4: Plan the top edge. If you’re stopping under cabinets, decide whether you want full V’s at the top or a clean cut row.
One more thing: under-cabinet lighting makes herringbone lippage obvious. Take the time to flatten your wall and use consistent thinset coverage.
6) Crosshatch (basketweave-style)
Crosshatch is the pattern people often call basketweave, even though classic basketweave usually mixes rectangles with small squares or dots. With subway tile, you create woven blocks by alternating orientation. It’s playful, a little vintage, and a guaranteed conversation starter.
Design notes
- Best for: Cottage, vintage, eclectic kitchens
- Vibe: Detailed, crafted, slightly retro
- Grout choice: Matching grout keeps it calmer; contrasting grout makes the weave pop.
- DIY difficulty: Hard
Planning tip
Crosshatch works best when you treat it like a repeating module. Dry-lay one full repeat and measure it. Then you can see how many repeats fit between your end points and whether you need to shift the layout to avoid awkward half-modules at the edges.

7) Vertical offset
Take the familiar running bond and rotate the whole concept 90 degrees. You get the movement of offset tile, but with upward pull. It’s a great middle ground if vertical stack feels too strict but you still want height.
Design notes
- Best for: Kitchens that need visual height, narrow wall runs, modern farmhouse that leans modern
- Vibe: Fresh, energetic, still approachable
- DIY difficulty: Medium
Execution tip
Snap (or laser) a perfectly plumb vertical reference line near your focal point and build off it. If your first column is out of plumb, the whole wall will look like it’s leaning.
Outlet and edge details
The pattern gets the attention, but the details sell the craftsmanship.
Outlets and switches
- Plan the cuts so outlet covers land on full or near-full tiles whenever possible.
- Use outlet extenders so devices sit flush with the finished tile surface.
- Keep grout joints consistent across outlets. Don’t cheat a joint wider to avoid a cut. You’ll see it forever, I promise.
Inside corners
- Don’t force perfect alignment through a corner if the walls aren’t square. It’s normal for patterns to shift slightly wall to wall.
- Leave a small gap at changes of plane and caulk it with a color-matched silicone instead of grouting that corner.
Top edge under cabinets
- Decide your finish line before you start. Full tiles look great, but a clean, consistent cut row also looks intentional.
- Consider a trim profile if you’re using unfinished-edge tile or if the side termination is visible.
Materials that matter
Patterns look fancy, but they live or die on the boring stuff.
Tile flatness and wall prep
Check your wall with a straightedge. Stack bond and herringbone will telegraph humps and dips fast. If the wall is wavy, flatten it before you start or pick a more forgiving layout (classic offset is your friend).
Adhesive choice
In most kitchen backsplash areas, a quality thinset mortar is the safest all-around bet, especially near heat or moisture. Some people use premixed mastic on dry, low-heat walls, but read the label and avoid it where heat or frequent moisture is a factor.
Coverage
Press tiles in and pull one occasionally to confirm you’re getting solid coverage. Under-cabinet lighting loves to spotlight any tile that is sitting proud because it did not get fully bedded.
Movement gaps
Leave a small gap where tile meets the countertop, cabinets, and any change of plane. Then use a color-matched silicone sealant, not grout, so normal seasonal movement does not crack your finish line.
Quick pattern picker
- Want timeless and forgiving? Classic 50% offset.
- Want classic with a twist? 33% offset.
- Want your kitchen to feel taller? Vertical stack or vertical offset.
- Want modern and crisp? Horizontal stack.
- Want a showpiece? Herringbone.
- Want vintage character? Crosshatch.
Common DIY mistakes
Starting with a tiny cut at your focal point
Fix: center the pattern where eyes land first, not where it’s easiest to start.
Using the countertop as your level reference
Fix: draw a level line, use a ledger if needed, and let the bottom row get scribed later.
Skipping dry layout
Fix: dry-lay just enough to see where cuts land at corners and outlets. Ten minutes here saves hours later.
Choosing a bold pattern with wavy walls
Fix: flatten the wall or pick a more forgiving layout. Stack bond and herringbone are brutally honest.
My final take
You don’t need special tile to get a custom backsplash. A standard subway tile plus a thoughtful layout will do more for your kitchen than most people expect. Pick the pattern that fits your space, plan your focal point, and be stubborn about reference lines. Future-you, sipping coffee and staring at those crisp grout joints, will be very grateful.