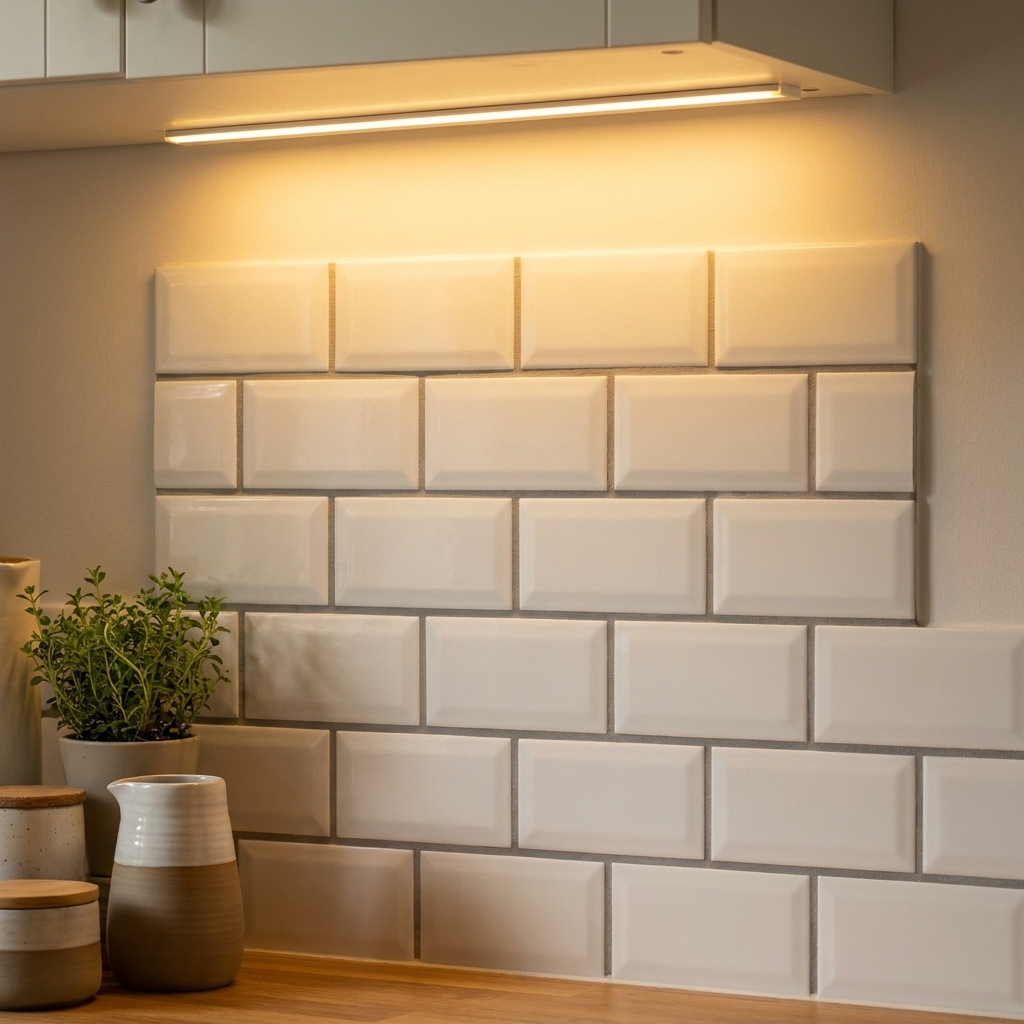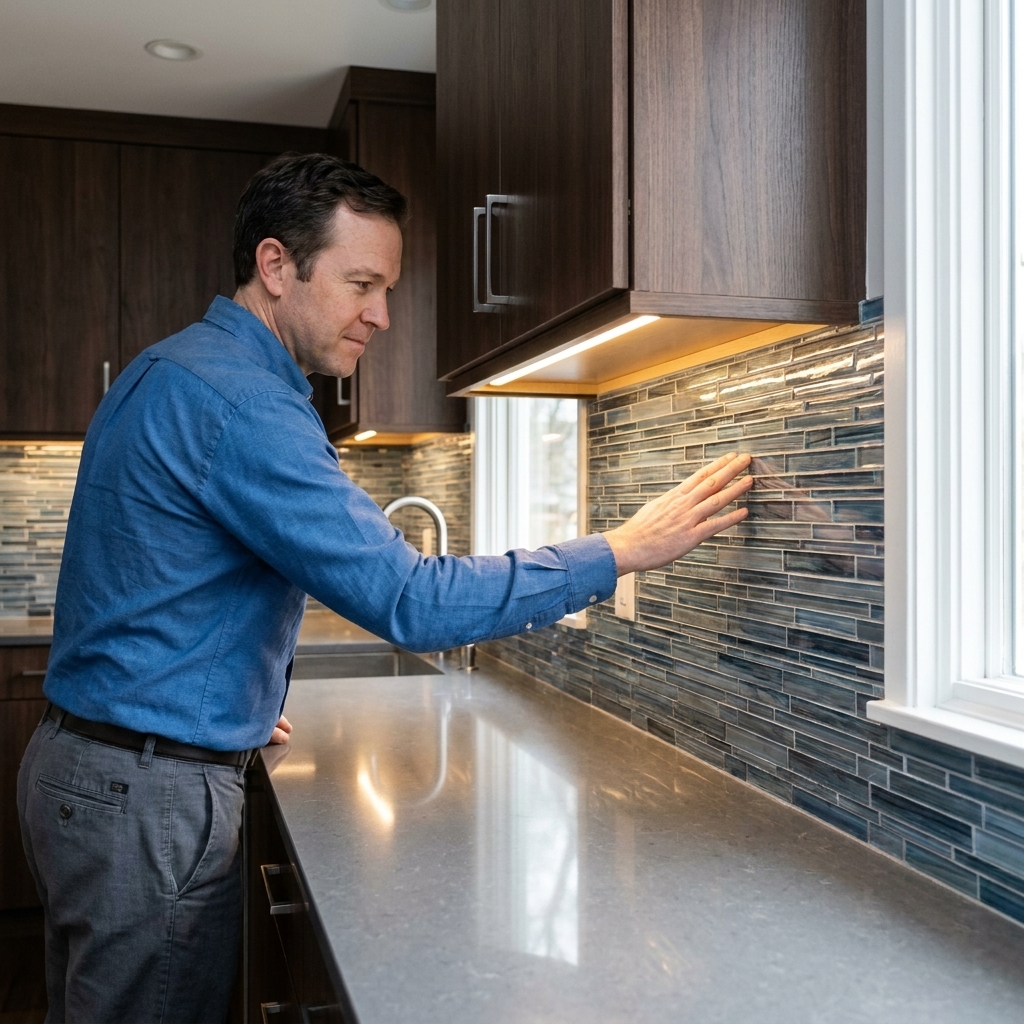
Seven subway tile layouts that change the whole vibe of your kitchen, plus the planning steps that keep your lines straight and your cuts intentional.
The Grout Nest
Updated October 17, 2026
How to Install a Subway Tile Kitchen Backsplash
A beginner-friendly, step-by-step guide to installing a subway tile kitchen backsplash, from wall prep and layout to cutting around outlets, setting tile, grouting clean lines, and finishing with caulk and sealer.

Ben Mitchell
Ben Mitchell is a former professional tile setter and passionate home renovator with over 12 years of experience in the flooring industry. After stepping away from commercial contracting, he founded Grout Nest to empower everyday homeowners to tackle their own flooring, tile, and backsplash projects with confidence. He believes that with the right tools, proper prep work, and a little patience, anyone can achieve a professional-grade finish.
Subway tile is popular for a reason: it forgives a lot, looks sharp in almost any kitchen, and you do not need a contractor-grade toolbox to install it well. The secret is the same one my uncle drilled into me when I was a teenager mixing thinset in the driveway: prep work is 90% of the job. The other 10% is not rushing.
This guide walks you through the whole install, start to finish, including the parts that trip up first-timers like outlet cutouts, keeping your rows level, and getting grout lines that do not wobble across the wall.

Tools and materials
You can absolutely do this with basic tools, but the right few make the job cleaner and less stressful.
Materials
- Subway tile (buy 10% extra for straight lay, 15% for patterns or lots of cuts)
- Tile adhesive: Type 1 mastic (premixed) or thinset mortar (see note below)
- Tile spacers (typically 1/16 inch or 1/8 inch for subway tile)
- Grout (choose based on the grout manufacturer’s joint-width spec and your tile type)
- Grout sealer (if using cementitious grout; many single-component grouts do not require it)
- Caulk (siliconized acrylic latex or 100% silicone, color-matched if possible) for countertop and corners
- Outlet box extenders (spacers) and longer outlet screws
- Painter’s tape, plastic sheeting, drop cloth
Tools
- Tape measure and pencil
- 4 ft level or laser level
- Notched trowel (common for many backsplashes: 1/4 x 1/4 inch square notch or 3/16 x 5/32 inch V-notch, but confirm based on your tile and wall)
- Margin trowel or putty knife
- Tile cutter (score-and-snap) for straight cuts
- Wet saw (recommended if you have lots of cuts, outlets, or tight tolerances)
- Tile nippers or an angle grinder with diamond blade (for small notches, used carefully)
- Rubber grout float
- Sponges and microfiber towels
- Bucket and clean water
- Utility knife
Mastic vs. thinset (quick decision)
Type 1 mastic is beginner-friendly, grabs fast, and can work well for standard ceramic subway tile on a normal, relatively dry kitchen backsplash. Thinset is a safer pick if you are using porcelain, natural stone, glass, larger or heavier tile, or if you want the most durable option.
One important caveat: splash-prone zones (especially behind and around a sink) live in a gray area. Many tile pros and industry best practices lean toward thinset there, and some mastics are not rated for frequent water exposure. Check the adhesive label for moisture and heat limits. Type 1 mastic is generally intended for intermittent moisture, not continual wetting.
Also, whatever you choose, pull a tile occasionally and look at the back. You want good coverage and contact, not just stripes. If you are seeing big voids, switch notch sizes or adjust your technique.
Step 1: Plan the layout
If you only take one thing from this tutorial, make it this: layout is where professional-looking tile happens. The goal is balanced cuts and dead-straight lines that do not “grow” as they run across the wall.
Check tile boxes
Before you start, open a few boxes and make sure the tiles match. Look for shade variation and confirm the dye lot if your tile lists one. It is also a good time to reject any tiles that are visibly bowed or chipped.
Find your focal point
In most kitchens, the focal point is the space behind the range or the biggest uninterrupted run of countertop. Start your planning there.
Dry layout a row
Set a handful of tiles on the countertop with spacers between them and measure the total length. This tells you how the tile will land at the ends.
- If you end with a tiny sliver cut at one side, shift the layout so both ends get a larger, more intentional cut.
- For classic 3x6 subway tile, a 50% offset (brick pattern) is common. Make sure your offset does not create awkward slivers around outlets.
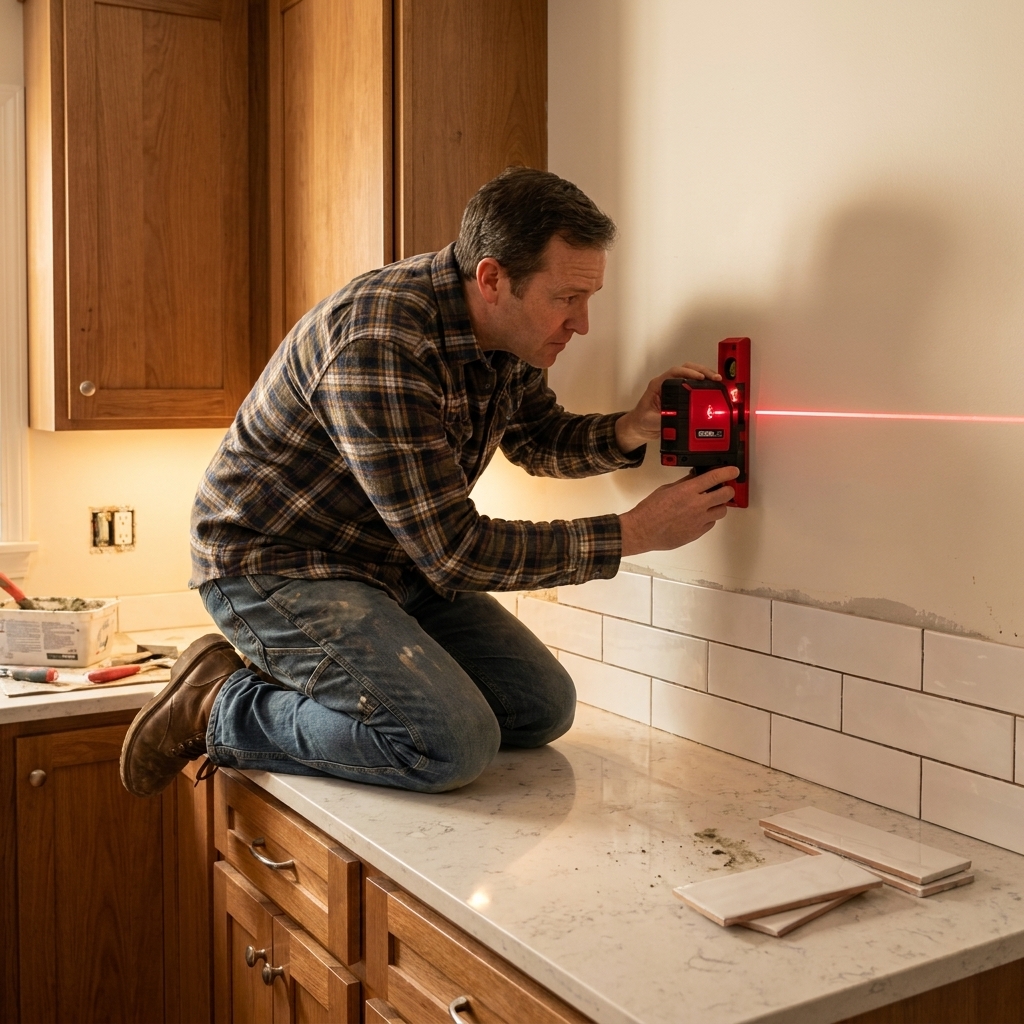
Mark reference lines
- Use a level or laser to draw a perfectly level line for the first row of tile.
- Also draw a plumb vertical reference line near the focal area so your offset pattern does not drift.
Step 2: Prep the wall
Tile sticks best to a surface that is clean, solid, and lightly textured. Your backsplash is not a place for shortcuts like tiling over greasy paint or glossy enamel.
Remove what is in the way
- Take off outlet and switch cover plates.
- Turn off power at the breaker to any outlets you will work around.
- Remove any loose caulk along the countertop.
Deal with an existing backsplash
If you have a 4-inch backsplash or a short run of existing tile, decide up front whether you are removing it or tiling from it.
- Removing: Score caulk lines with a utility knife, pry carefully, and patch the wall flat.
- Tiling up from it: You need a clean, solid, deglossed surface and the correct mortar. If anything is loose or uneven, remove it and start fresh. A backsplash is only as good as the wall under it.
Clean and scuff
- Wash the wall with a degreaser, especially near the range.
- Lightly sand glossy paint so it is dull, not shiny.
- Wipe dust off with a damp cloth and let dry.
Patch and flatten
Subway tile is small, which means it follows the wall. If the wall has dips, your grout lines will advertise them.
- Fill dents with spackle or setting compound.
- Scrape ridges and old adhesive flat.
- Check with a straightedge. Small imperfections are normal, but big humps need attention.
Prime when required
If the wall is raw drywall or you patched a lot, prime it. And do not treat this as optional if your adhesive requires it. Use a primer compatible with your adhesive and wall paint, and follow the adhesive label. Some mastics are picky about what they will bond to.
Step 3: Set a ledger
If your countertop is perfectly level, you can start tile right on it. Most countertops are not perfectly level, and even a tiny slope can make your first row look “off” as the pattern rises.
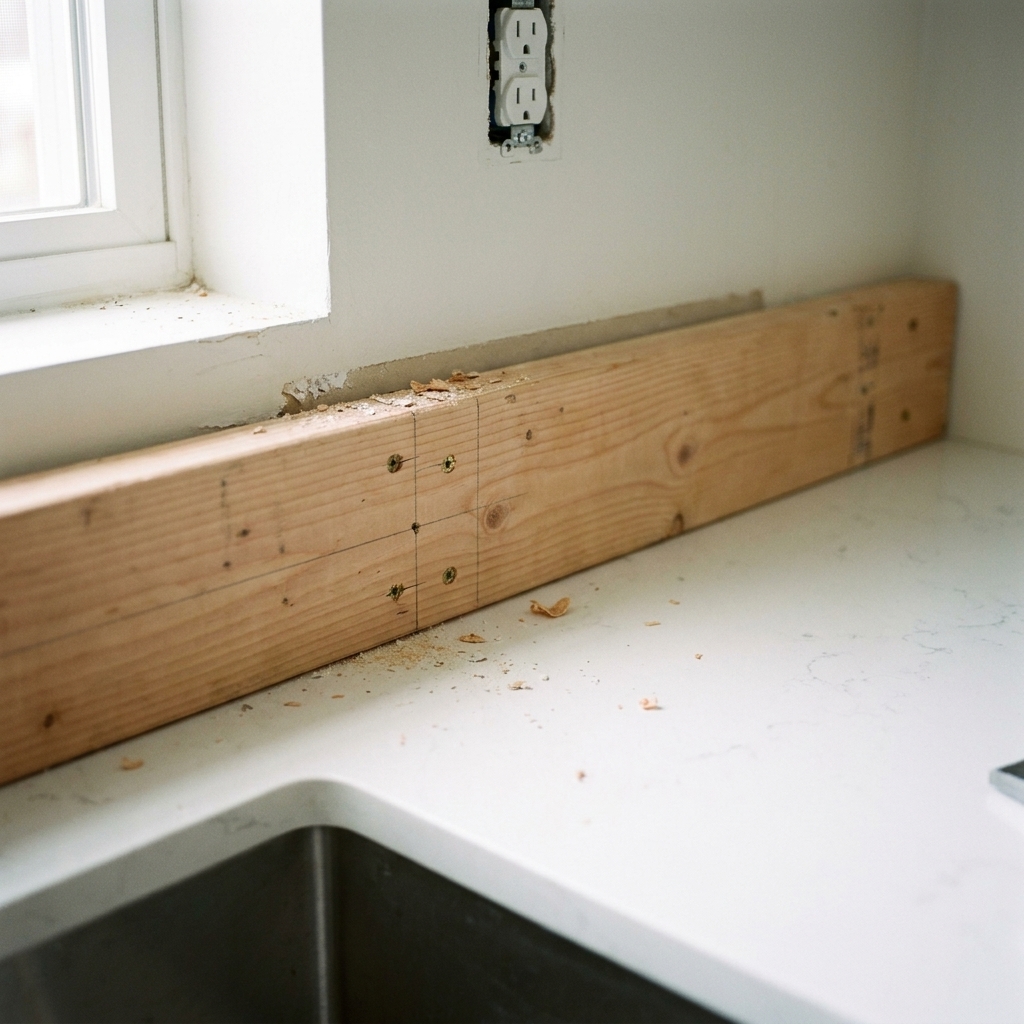
A ledger board is a straight board screwed to the wall to support the first row and keep it level. You tile above it, let it set, then remove it and fill the bottom row.
- Mark the height of one tile plus your desired gap above the countertop (usually 1/8 inch).
- Draw a level line and fasten a straight board along it.
- Use screws into studs if possible, or appropriate anchors. Keep the board dead level.
Step 4: Spread adhesive
Adhesive technique matters more than people think. Too little and tiles pop loose. Too much and you spend your evening scraping squeeze-out from grout joints and questioning your decisions.
Work in small sections
Only spread enough adhesive for 10 to 15 minutes of work. On most walls, that is a few square feet at a time.
Key in, then comb
- Use the flat side of the trowel to press a thin layer into the wall.
- Flip to the notched side and comb in straight lines.
- Keep your trowel angle consistent so your ridges are uniform.
Check coverage
Every so often, set a tile, then pull it back off. You want strong contact and good transfer to the tile back. If coverage looks spotty, adjust your notch size, your trowel angle, or back-butter tiles as needed.
Watch for skinning
If adhesive sits too long, it forms a skin and tile will not bond well. Touch it lightly. If it feels tacky and transfers to your finger, you are good. If it is rubbery and dry, scrape it off and reapply.
Step 5: Set the tile
Start at your focal area
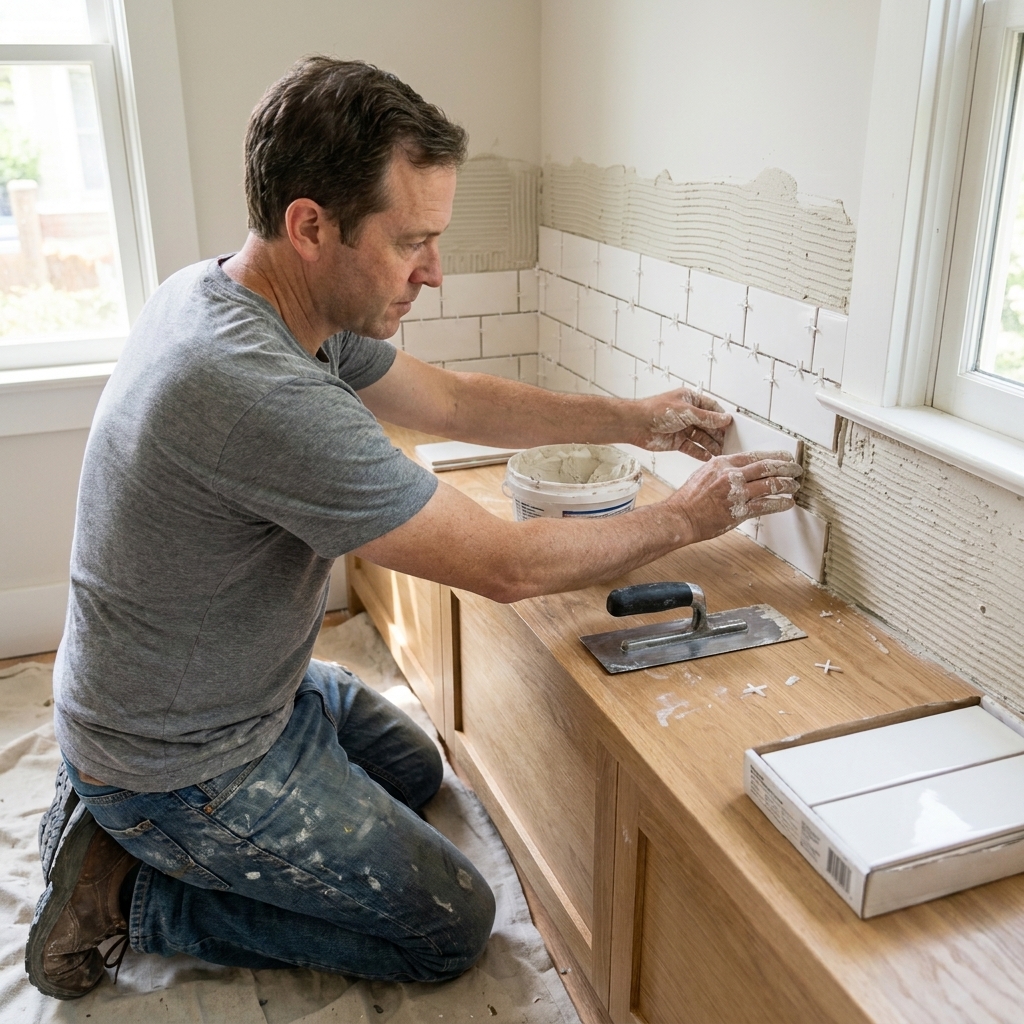
Begin with your most visible section, usually behind the range, then work outward. Press tiles into the adhesive with a slight wiggle.
If you are tiling behind a range, confirm you have proper clearance to heat sources and follow appliance and local code requirements. If you expect higher heat, thinset is often the more conservative choice. Again, follow the adhesive label.
Use spacers, but do not trust them blindly
Spacers keep grout joints consistent, but your eyes and level keep the install honest.
- Insert spacers consistently (same orientation each time).
- Check every few tiles with a level for level rows and plumb columns.
- Stand back often. If you spot drift early, you can correct it while the adhesive is wet.
Control squeeze-out
If adhesive pushes up into the grout joints, scrape it out while it is fresh. Dried adhesive in joints makes grouting miserable and can lead to uneven grout color.
Step 6: Cut around outlets
Outlets are where beginner backsplash projects go to get weird. The good news: you do not need perfection, you need smart cuts that will be hidden under the cover plate.
Safety first
- Turn power off at the breaker.
- Confirm outlets are dead with a tester.
- If you are working near a sink, make sure the circuit is GFCI-protected and follow local electrical code requirements.
Plan the cut so it disappears
Remove the cover plate and measure the opening you need. Your tile should fit around the outlet body, but the cover plate will hide minor gaps.
- Hold the tile in place and mark cut lines with pencil.
- Double check orientation. I have absolutely cut a perfect notch on the wrong side. More than once.
How to make the cut
- Straight notch cuts: Use a wet saw to make repeated straight cuts up to your line, then break out the fingers with nippers and clean the edge.
- Small adjustments: Nippers can fine tune, but go slow to avoid chipping.
- Last resort: An angle grinder works fast but makes dust and chips easily. Use it outdoors with eye and respiratory protection.
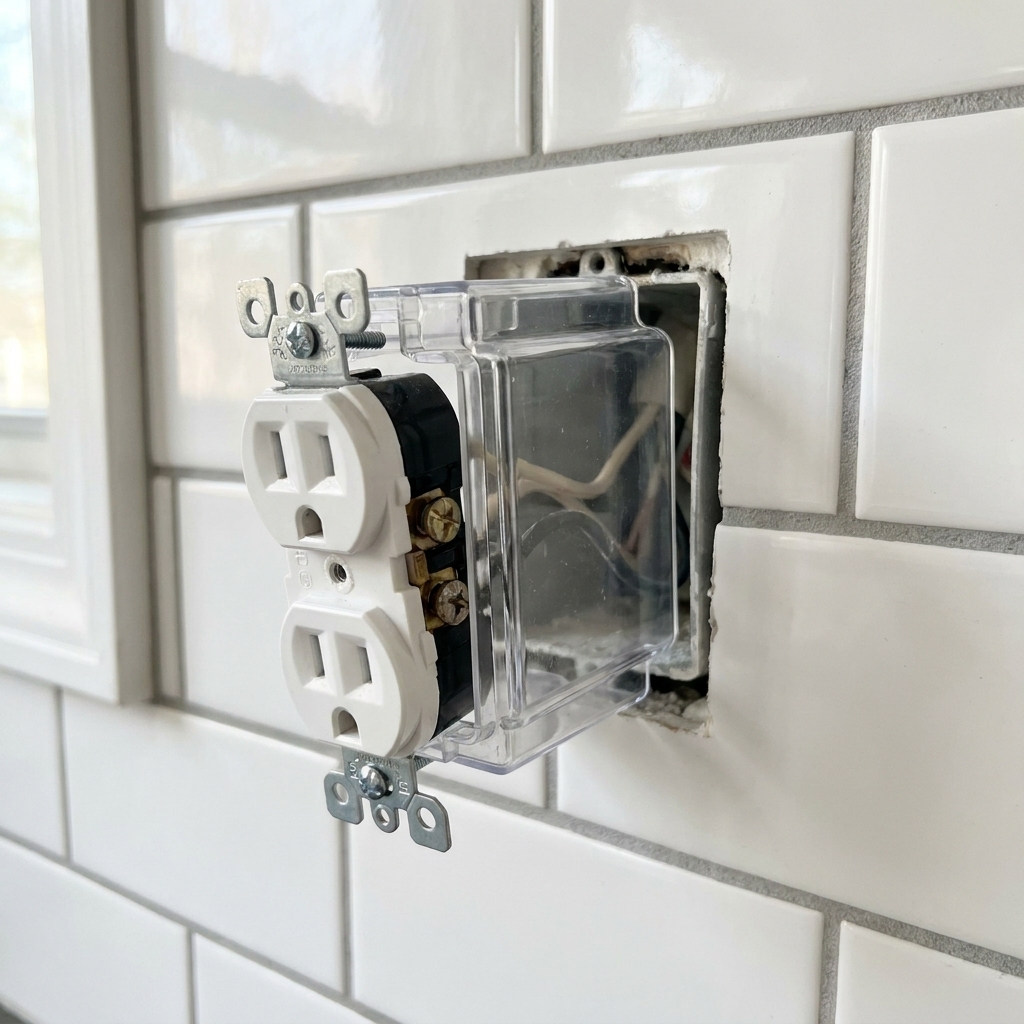
Outlet depth after tile
When tile goes up, your outlets may end up recessed. Use outlet box extenders so the device sits flush with the finished surface and meets code requirements. This is not just aesthetics, it is safer.
Step 7: Edges and corners
Most backsplash runs end at a cabinet, a wall corner, or an open edge. Plan your finish before you hit the end of a row.
Common edge options
- Schluter trim: A metal or PVC profile that gives a clean edge. Install it as you set tile.
- Bullnose tile: If your tile line offers it, bullnose creates a traditional finished edge.
- Caulked inside corners: Use caulk, not grout, where walls meet. Corners move. Grout cracks.
Leave the right gaps
- Leave about 1/8 inch gap where tile meets the countertop.
- Leave a small gap in inside corners and at any change of plane (including tile-to-cabinet if they meet).
You will fill those gaps with flexible caulk after grout cures.
Step 8: Let it set, then grout
Do not rush into grout. Most mastics need at least 24 hours before grouting, sometimes longer depending on humidity, tile type, and coverage. Thinset cure times vary, too. Check your product instructions and follow them.
Prep for grout
- Remove spacers.
- Scrape any adhesive out of joints.
- Vacuum dust and crumbs from the tile surface and joints.
Choose the right grout
The old rule of thumb is sanded grout for wider joints and unsanded for tighter ones, but products vary. Some sanded grouts can run fine in small joints and some “unsanded” formulas are rated up to 1/8 inch. Follow the grout manufacturer’s joint-width spec and your tile manufacturer’s guidance.
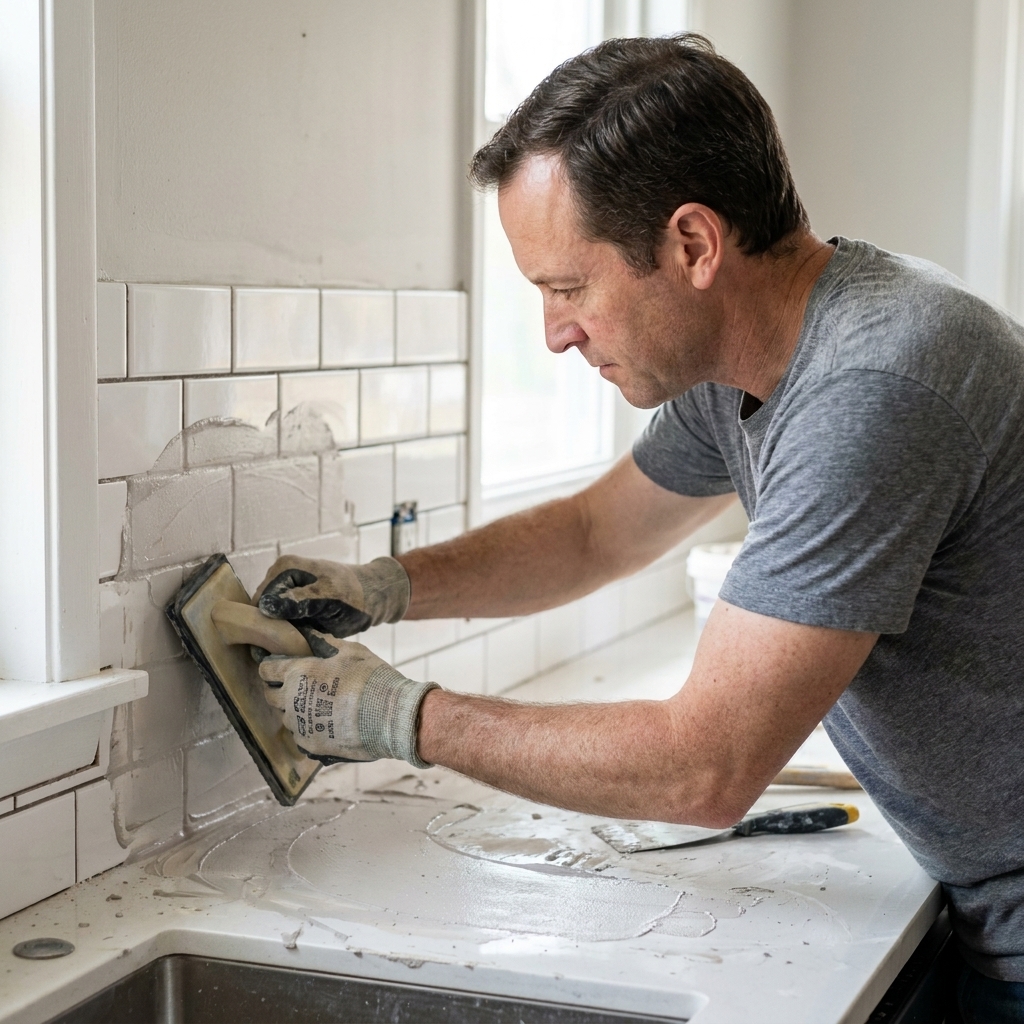
Mix and apply (cement grout)
- Mix to a peanut butter consistency and let it slake if the manufacturer requires it.
- Use a rubber float to push grout into the joints at a 45 degree angle.
- Work small sections so cleanup is manageable.
Cleanup without washing it out
Wait a few minutes until grout firms up slightly, then wipe with a damp sponge. The sponge should be damp, not dripping. Rinse often and keep your wipe strokes light.
After a haze forms, buff with a microfiber towel.
Do not grout movement joints
Anywhere the surface changes plane (countertop seam, inside corners, tile-to-cabinet transitions) should be left open for flexible caulk, not filled with grout.
Step 9: Caulk and seal
Caulk transitions
Once grout has cured per manufacturer instructions, caulk:
- Where tile meets the countertop
- Inside corners
- Any change-of-plane joint
Use painter’s tape for crisp lines, smooth with a damp finger or caulk tool, then pull tape immediately.
Seal if needed
If you used a traditional cement grout, apply a penetrating grout sealer after the grout cures fully. If you used a single-component grout, sealing may not be required. Always check the product label.
Troubleshooting
My first row is drifting
Stop and correct it right away. Pull a few tiles, clean the adhesive ridges, and reset using your level line. Drift compounds quickly in a brick pattern.
I have lippage (tile edges not flush)
This usually comes from an uneven wall or inconsistent adhesive thickness. Use a straightedge as you go and adjust by adding or removing a touch of adhesive behind the tile.
Grout looks blotchy
Often caused by too much water during cleanup or uneven drying. Next time: wring your sponge better, wipe lighter, and follow cure time instructions closely.
Tiles are sliding down
You are using too much adhesive, the trowel notch is too large, or you are working too large of an area at once. Use a ledger, reduce spread size, and let mastic tack up slightly before setting tiles.
Quick checklist
- Tile boxes checked for shade and defects
- Wall is clean, dull-sanded, and flat
- Primer used when required by your adhesive or repairs
- Layout is balanced with no tiny sliver cuts
- Reference lines are level and plumb
- Power is off for outlet work (verified with a tester)
- Outlet extenders and longer screws are on hand
- Adhesive is spread in small sections and does not skin over
- Coverage checked by pulling a tile occasionally
- Spacers are consistent and rows are checked frequently
- Grout joints are clean before grouting
- Changes of plane are caulked, not grouted
FAQ
How high should a subway tile backsplash go?
Most backsplashes run from the countertop to the bottom of the upper cabinets. If you do not have uppers in an area, you can stop at 4 inches, go to 18 inches, or take it to the hood or ceiling for a more custom look. The “right” height is the one that looks intentional with your kitchen layout.
Do I need backer board for a kitchen backsplash?
Usually, no. Painted drywall can be fine if it is clean, sound, and properly prepped. Use backer board if the wall is damaged, you have moisture concerns beyond normal kitchen use, or you are rebuilding the area anyway. Always follow the tile and adhesive manufacturer’s requirements for acceptable substrates.
What spacer size looks best for subway tile?
For a classic look, 1/16 inch is crisp and tight. For a slightly more traditional or forgiving install, 1/8 inch is common. Pick the look you want and stay consistent.
Can I tile over existing tile?
It is possible, but it is not my favorite for first-timers. The surface must be solid, clean, and deglossed, and you will need the right mortar. If your existing tile is loose or uneven, remove it and start fresh.