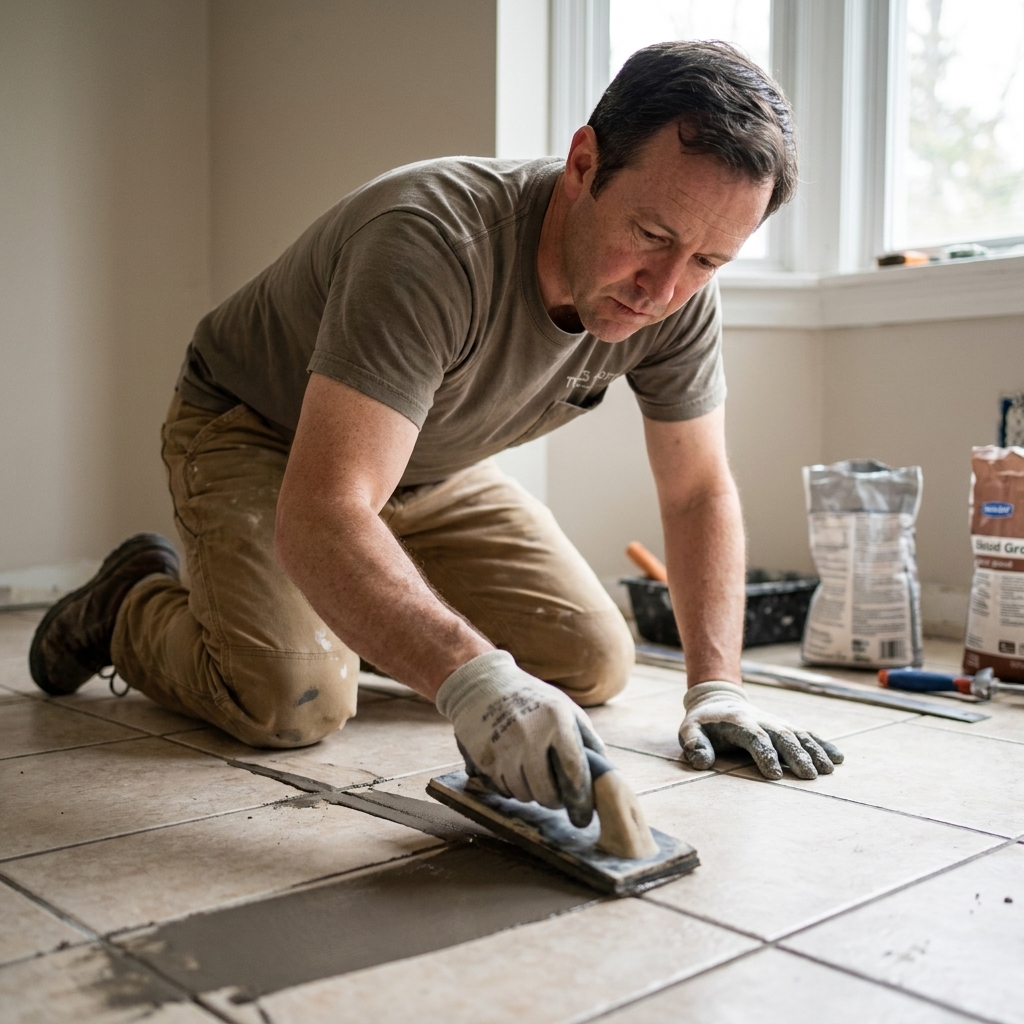
A step-by-step grout walkthrough for floor tile: picking grout, mixing it right, floating it tight, and cleaning haze without ruining fresh joints.
The Grout Nest
Updated October 17, 2026
How to Choose the Perfect Grout Color and Type for Your Tile
Pick grout that looks right and lasts: how matching vs contrasting grout changes the whole vibe, plus when to use sanded, unsanded, epoxy, and other modern grout options for walls, floors, and wet areas.

Ben Mitchell
Ben Mitchell is a former professional tile setter and passionate home renovator with over 12 years of experience in the flooring industry. After stepping away from commercial contracting, he founded Grout Nest to empower everyday homeowners to tackle their own flooring, tile, and backsplash projects with confidence. He believes that with the right tools, proper prep work, and a little patience, anyone can achieve a professional-grade finish.
Grout is the quiet sidekick of tile work until it isn’t. Pick the wrong color and every joint screams at you. Pick the wrong type and you get cracking, stains that never quite go away, or grout that starts looking rough in all the places you stare at every day.
I’ve set tile professionally, and I’ve also been the guy in his own house muttering, “Why did I think bright white grout near the back door was a good idea?” So let’s make this simple: choose grout color for the look, and choose grout type for the job. When you do both correctly, your tile looks intentional and stays that way.
Start with the big decision: match or contrast
The fastest way to decide grout color is to ask what you want to be the star: the tile or the pattern.
Matching grout: calm and forgiving
Matching grout means the grout color is close to the tile color. Not identical, just in the same neighborhood.
- Best for: small bathrooms, busy stone-look tile, large-format tile, modern minimalist spaces, and any project where you want the surface to read as one clean plane.
- What it does visually: hides minor lippage, hides slight joint inconsistencies, and makes the room feel bigger because your eyes are not tracking a grid.
- My pro take: if you’re nervous about your first backsplash or floor, matching grout is the easiest way to make DIY look polished.
Contrasting grout: bold and graphic
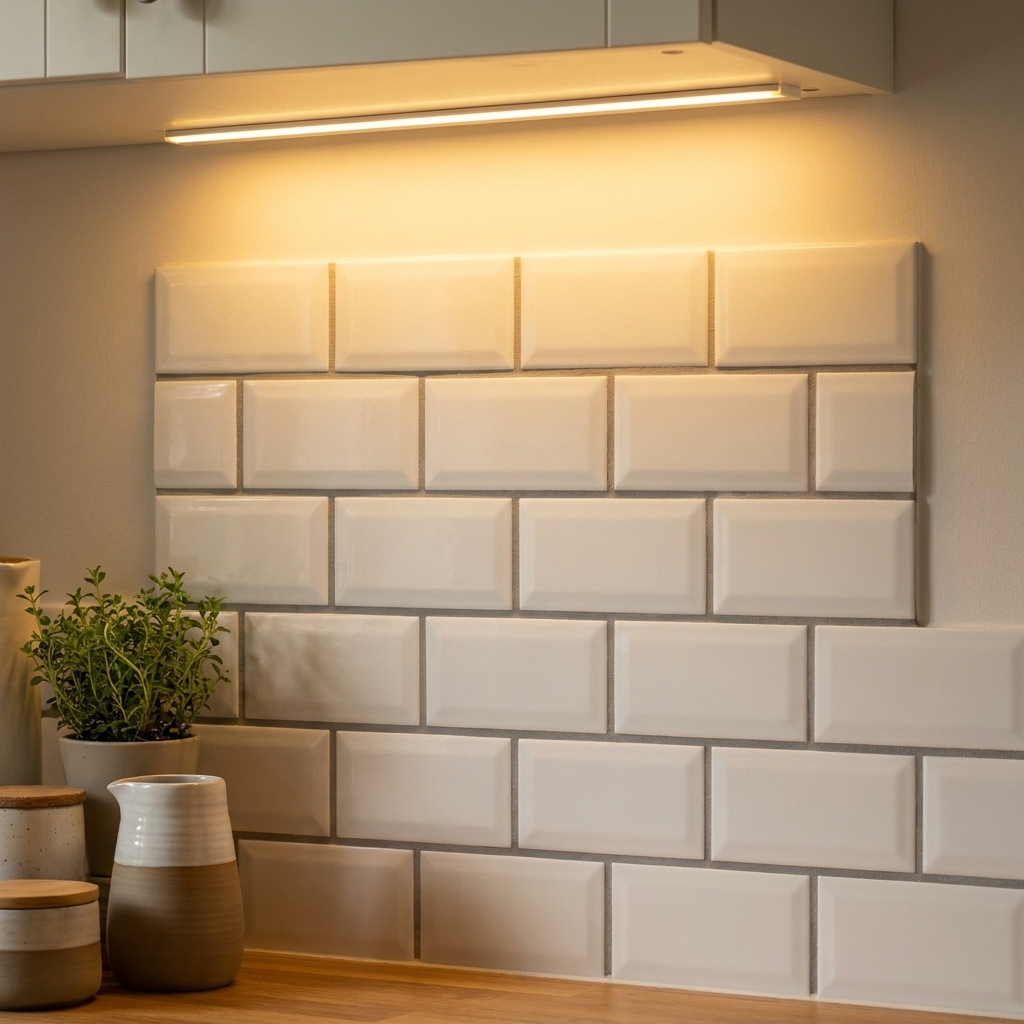
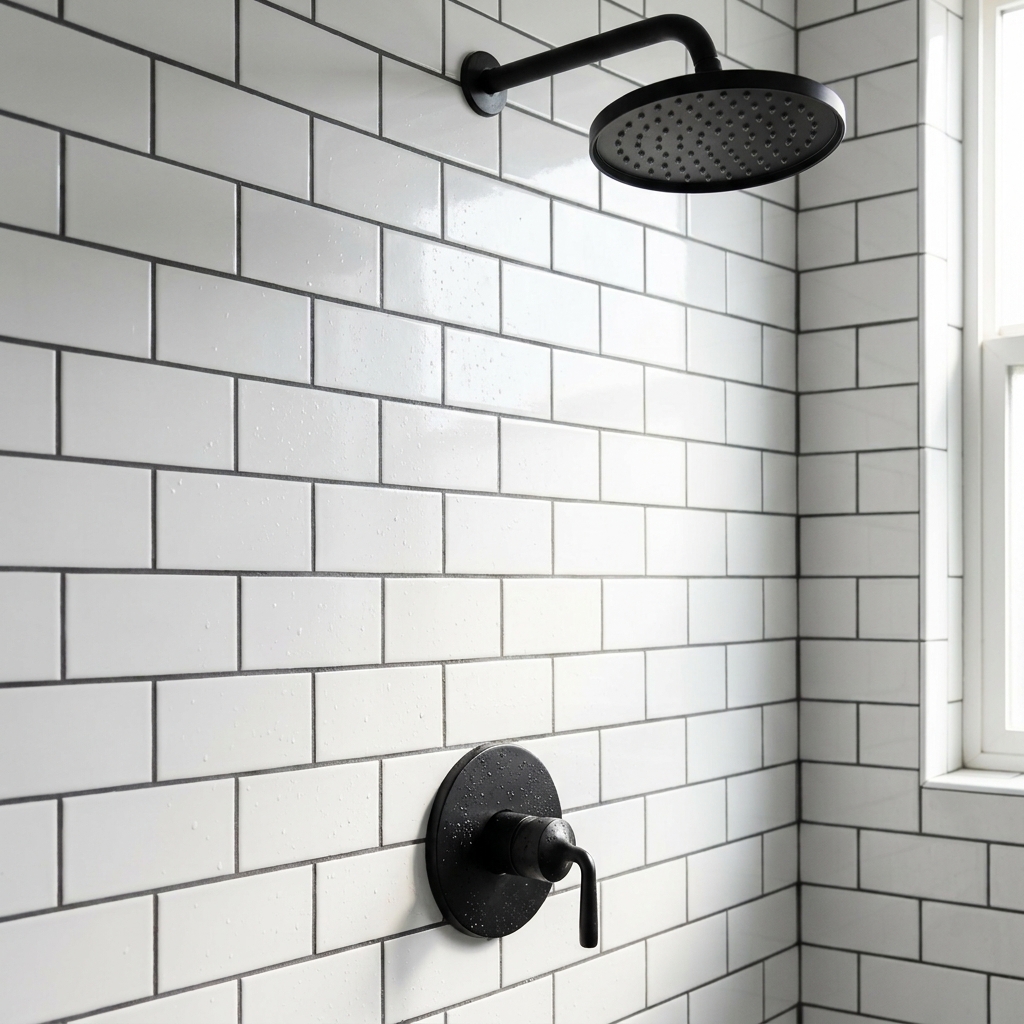
Contrasting grout means the grout color is clearly different from the tile. Classic example: white tile with dark gray grout.
- Best for: subway tile, herringbone, hex mosaics, and layouts where the pattern is the point.
- What it does visually: emphasizes every joint. That’s great when your layout is crisp and your cuts are clean.
- Reality check: it also highlights every little issue: uneven spacing, tiles that drift, and corners that aren’t perfectly plumb. Contrast grout is honest.
How grout color changes a room
Light grout: bright, clean, higher maintenance
Light grout (white, off-white, light gray) reflects light and can make a room feel fresh and airy. It also shows stains faster, especially on floors and in kitchens.
- Use it when: you want that clean, classic look and you can commit to regular cleaning where needed.
- Avoid it when: it’s a mudroom floor, an entryway, or anywhere a wet dog can “help” with your design plan.
Mid-tone grout: the most forgiving
Mid-tone gray, greige (a warm gray-beige), and warm taupe are the workhorses. They hide normal life dirt without turning your tile into a checkerboard.
- Use it when: you want a low-stress choice for floors, shower walls, and family kitchens.
- My default: if a friend texts me tile photos from the big box store, nine times out of ten I say, “Pick a mid-tone grout one shade darker than the tile.”
Dark grout: dramatic, can show haze
Dark grout can look amazing, but it can also show grout haze more than light grout does. Grout haze is the cloudy film left on the tile face after grouting. It’s usually removable, especially if you catch it early and clean correctly.
- Use it when: you want a graphic look or you’re pairing it with tile that cleans up easily.
- Plan for: careful sponge technique, frequent rinse water changes, and a final haze buff after curing.
Three things that should influence color
1) Tile variation and texture
Handmade-look tile, zellige-style ceramic, tumbled stone, and cleft slate already have a lot going on. High-contrast grout can fight that movement.
- Rule of thumb: the more variation in the tile, the more I lean toward matching or mid-tone grout.
2) Grout joint width
Wider joints make grout more visible, period.
- 1/16 inch joints: grout is subtle. Contrast is less aggressive.
- 1/8 inch joints: common on walls and many floors. Grout is noticeable.
- 3/16 inch and wider: grout becomes a design element. Choose color intentionally.
Important: joint-width limits depend on the product. Some modern “fine aggregate” sanded grouts are rated down to 1/16 inch, and some high-performance unsanded formulas are rated wider than 1/8 inch. Always follow the grout manufacturer’s joint-width specs.
3) Cleaning reality
Grout is slightly textured, so it grabs onto soap scum, cooking grease, and whatever your shoes tracked in. If you love the look of bright grout but hate scrubbing, choose a grout type that resists staining better (we’ll get to epoxy in a second) or pick a slightly darker shade.
How to choose a grout color
Step 1: pick 2 or 3 colors
Don’t overthink the wall of grout chips. Pick a “match,” a “mid,” and a “contrast” option.
Step 2: check them in your lighting
Grout color shifts a lot under warm LEDs, daylight, and under-cabinet lighting. Your countertop and paint color can also make grout read warmer or cooler than it does in the store.
Step 3: make a tiny mock-up
If you have spare tile, set 2 to 4 pieces on a scrap board with the same spacing you’ll use. Mix a small amount of grout and apply it. Let it dry fully.
One nuance: cement-based grout usually dries lighter than it looks when wet, but some rapid-setting or specialty formulas can behave differently. A test board keeps you out of the guessing business.
Ben’s confession: I once chose grout based on how it looked wet in the bucket. Dry, it was a totally different color. Mock-ups would have saved me an afternoon of annoyance.

Choose the right grout type
Color is the outfit. Type is the job training. The right grout type helps prevent cracking, shrinking, and staining.
Sanded grout
What it is: Cement-based grout with fine sand or aggregate added for strength and to reduce shrinkage.
- Best for: most floor tile, and joints commonly 1/8 inch and wider (but check the product specs because many are rated tighter now).
- Why you’d choose it: it holds up better in wider joints and is generally more durable under foot traffic.
- Watch-outs: sanded grout can scratch some soft, polished materials (certain marbles, some glass tile). Test first if you’re working with a scratch-prone surface.
Unsanded grout
What it is: Cement-based grout without sand. Smoother texture, more creamy to spread, but traditionally weaker in wide joints.
- Best for: tight joints and surfaces that scratch easily like polished stone or some glass tile.
- Why you’d choose it: it packs into tight joints cleanly and won’t scratch delicate tile faces the way sand can.
- Watch-outs: joint width limits vary a lot by brand. Some “unsanded” grouts are now fortified and rated wider than you’d expect, so rely on the bag data, not internet lore.
Epoxy grout
What it is: A two-part (sometimes three-part) resin-based grout that cures into a very dense, stain-resistant joint.
- Best for: showers, kitchen backsplashes, high-traffic floors, laundry rooms, mudrooms, and anywhere you want maximum stain resistance.
- Why you’d choose it: excellent stain resistance, strong, very low absorption, and it typically does not require sealing like traditional cement grout.
- Watch-outs: it’s pricier and more time-sensitive to install. Cleanup matters. If you let epoxy haze cure on tile, it can be difficult to remove.
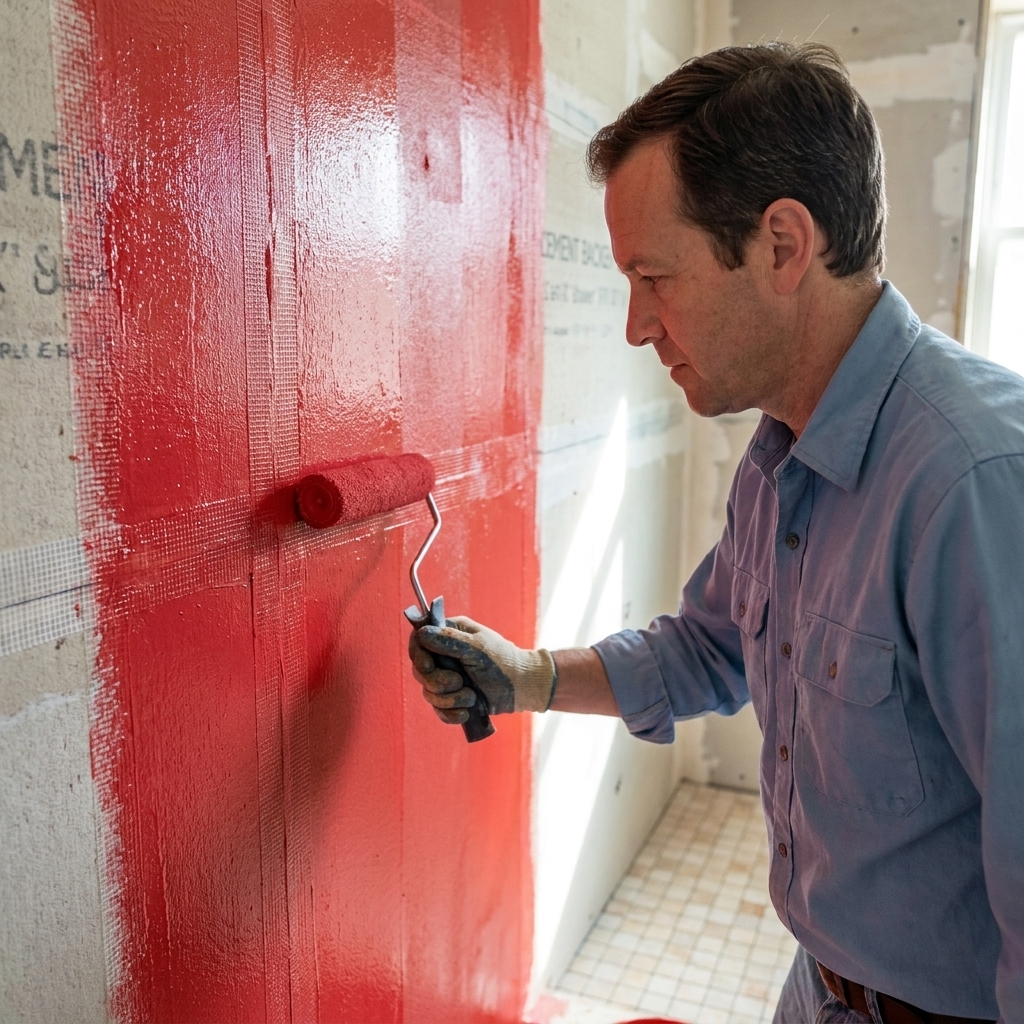
Quick shower clarity: epoxy grout is great for stain resistance and low absorption, but grout is not a waterproofing system. Waterproofing comes from what’s behind the tile (a properly built shower pan, membrane, or other approved system), not the grout lines.
Other grout options you’ll see
If you’re shopping at a big-box store, you’ll also run into:
- Single-component (premixed) grout: sold in a bucket, often marketed as stain-resistant and DIY-friendly. It can be a solid option for backsplashes and some residential floors, but read the label carefully for where it is approved (especially showers) and follow cure-time rules before water exposure.
- High-performance cement grout: polymer-modified cement grouts that promise better color consistency and stain resistance than basic cement grout. Many are great, and some have sealing that’s optional or product-dependent.
If you want the most “wipe it and forget it” grout for a busy household, epoxy is still tough to beat. Just follow the instructions and work in small sections.
Quick picks by location
Shower walls
- Best: epoxy grout for stain resistance and low absorption.
- Also works: cement grout or high-performance cement grout if you follow manufacturer guidance and maintain it.
- Color tip: mid-tone grout hides soap scum better than bright white, especially in hard-water areas.
Shower floors and pebble floors
- Best: epoxy grout, especially for mosaics with lots of joints.
- Color tip: avoid very light grout unless you love cleaning. Shower floors see the most abuse.
Kitchen backsplash
- Best: epoxy grout or a single-component grout rated for backsplashes if you cook a lot.
- Also works: cement grout sealed well, but light grout behind a stove will show splatters faster.
Entryway, mudroom, laundry floors
- Best: sanded grout, high-performance cement grout, or epoxy grout.
- Color tip: go mid-tone or slightly darker than the tile to hide grit.
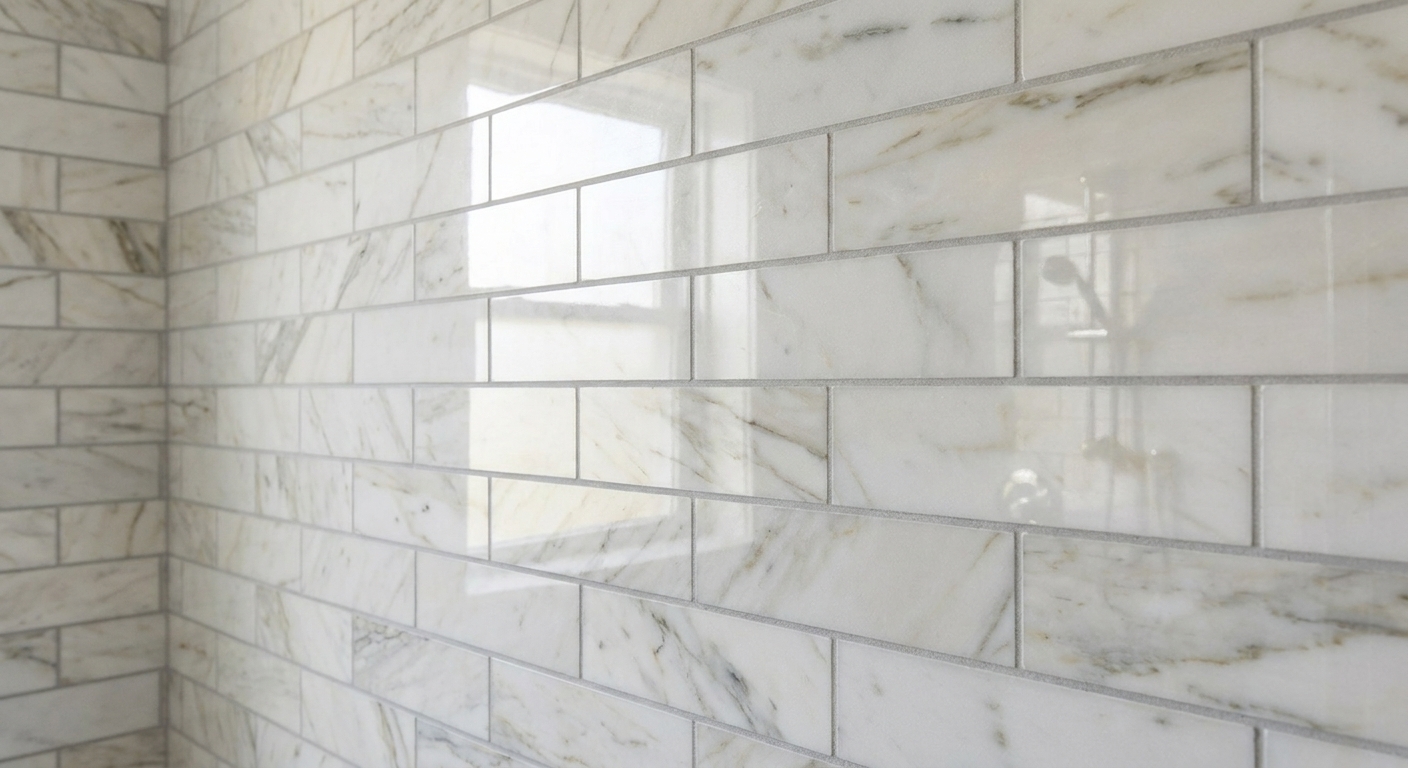
Polished marble (walls or floors)
- Best: often unsanded grout (or a fine-aggregate grout approved for the joint width) to reduce scratch risk, plus careful sealing where appropriate.
- Important: choose a grout that will not stain the stone, and do a test board. Some natural stones can darken at the edges if moisture gets pulled in.
Details that prevent cracks
Use sealant at changes of plane
Corners, wall-to-floor transitions, and anywhere tile meets a tub, shower pan, or countertop should typically be sealed, not grouted. Grout is not flexible. Houses move. That joint needs to flex.
In wet areas, use 100% silicone (or a sealant that meets ASTM C920). In a shower, this is not the place for painter’s caulk.
Sealing: when it matters
Cement-based grout often benefits from sealing to slow staining and make cleaning easier. Many modern polymer-modified grouts are more stain resistant than older formulas and may list sealing as optional. Follow the grout manufacturer’s recommendations. Epoxy grout generally does not need a sealer.
Choose the right joint for the tile
Rectified tiles can run tighter joints. Handmade-look tiles often look better with slightly wider joints because the edges are irregular. Forcing tiny joints on a wavy tile is how you end up fighting lippage.
Simple decision checklist
- Do you want the pattern to pop? Choose contrast grout.
- Do you want the tile to feel seamless and calm? Choose matching or mid-tone grout.
- Are your joints 1/8 inch or wider? Lean sanded, high-performance cement, or epoxy (depending on tile and product specs).
- Are your joints tight and the tile scratches easily? Lean unsanded or a fine-aggregate grout approved for the surface and joint width.
- Is this a wet or stain-prone area (shower, backsplash, mudroom)? Strongly consider epoxy or a rated single-component grout.
- Still unsure? Make a small mock-up and let it fully dry before you commit.
FAQ
Does grout dry lighter or darker?
Cement-based grouts usually dry lighter than they look when wet. Some specialty formulas can dry differently, which is why a test board is the safest move.
What grout color hides dirt best?
Mid-tone gray or greige tends to hide everyday dirt best, especially on floors. Pure white shows stains, and very dark grout can show mineral deposits or soap residue in wet areas.
Is epoxy grout worth it for DIY?
It can be, especially in showers and busy kitchens. The tradeoff is that epoxy has a tighter working time and cleanup must be thorough. If you can follow instructions carefully and work in small sections, you can DIY it.
Can I use sanded grout on glass tile?
Sometimes, but you must test. Some glass tile scratches easily. If you see scratches in a test, switch to unsanded or a grout specifically approved for glass by the tile manufacturer.
How do I avoid blotchy grout color?
Use consistent water ratios, mix thoroughly, let it slake if the manufacturer calls for it, remix, and clean with a damp sponge instead of flooding the joints. Keep your wash water clean, too.
What should I clean grout with?
For routine cleaning, a pH-neutral cleaner is a safe default. Avoid harsh acidic cleaners on cement grout, and avoid abrasive pads on polished stone. If you’re dealing with a specific stain, match the cleaner to the problem and the surface, and test in an inconspicuous spot first.