A DIY-friendly guide to grout color and grout types. Learn when to match or contrast, why grout is not waterproof, how joint width matters, and where sanded,...
The Grout Nest
Updated October 17, 2026
How to Mix, Apply, and Float Grout for Floor Tile
Learn how to choose the right grout, mix it to the perfect consistency, pack joints with a grout float, and clean haze without washing out your lines. Pro methods, DIY friendly.

Ben Mitchell
Ben Mitchell is a former professional tile setter and passionate home renovator with over 12 years of experience in the flooring industry. After stepping away from commercial contracting, he founded Grout Nest to empower everyday homeowners to tackle their own flooring, tile, and backsplash projects with confidence. He believes that with the right tools, proper prep work, and a little patience, anyone can achieve a professional-grade finish.
Grout is where a tile floor stops looking like “a weekend project” and starts looking like a finished room. It is also where a lot of DIY installs go sideways: joints get washed out, haze hardens like a chalky film, and corners crack because the wrong material went in the wrong place.
I set tile professionally for years, and I still treat grouting like a high-focus task. The good news: if your tile is solid, your joints are clean, and you follow a simple rhythm, you can float grout like a pro.
Before you start: the grout checklist
Grout does not forgive prep mistakes. Before you open a bag or pop a bucket lid, run through this quick list.
- Tile is set and cured: Wait at least 24 hours after setting tile (longer if it is cold, very large format tile, or a slow curing mortar).
- Joints are clean and deep enough: No thinset squeezing up into joints. Aim to have most of the joint depth open. A common minimum is about two thirds of the tile thickness so the grout is not paper-thin, but the real goal is simple: grout needs depth to be strong.
- Spacers are out: All of them. Even the “it will be fine” ones.
- Surface is dust free: Vacuum thoroughly. Dust is a grout killer.
- Edges protected: Mask baseboards, cabinetry toe kicks, and transitions if you are worried about staining or cleanup time.
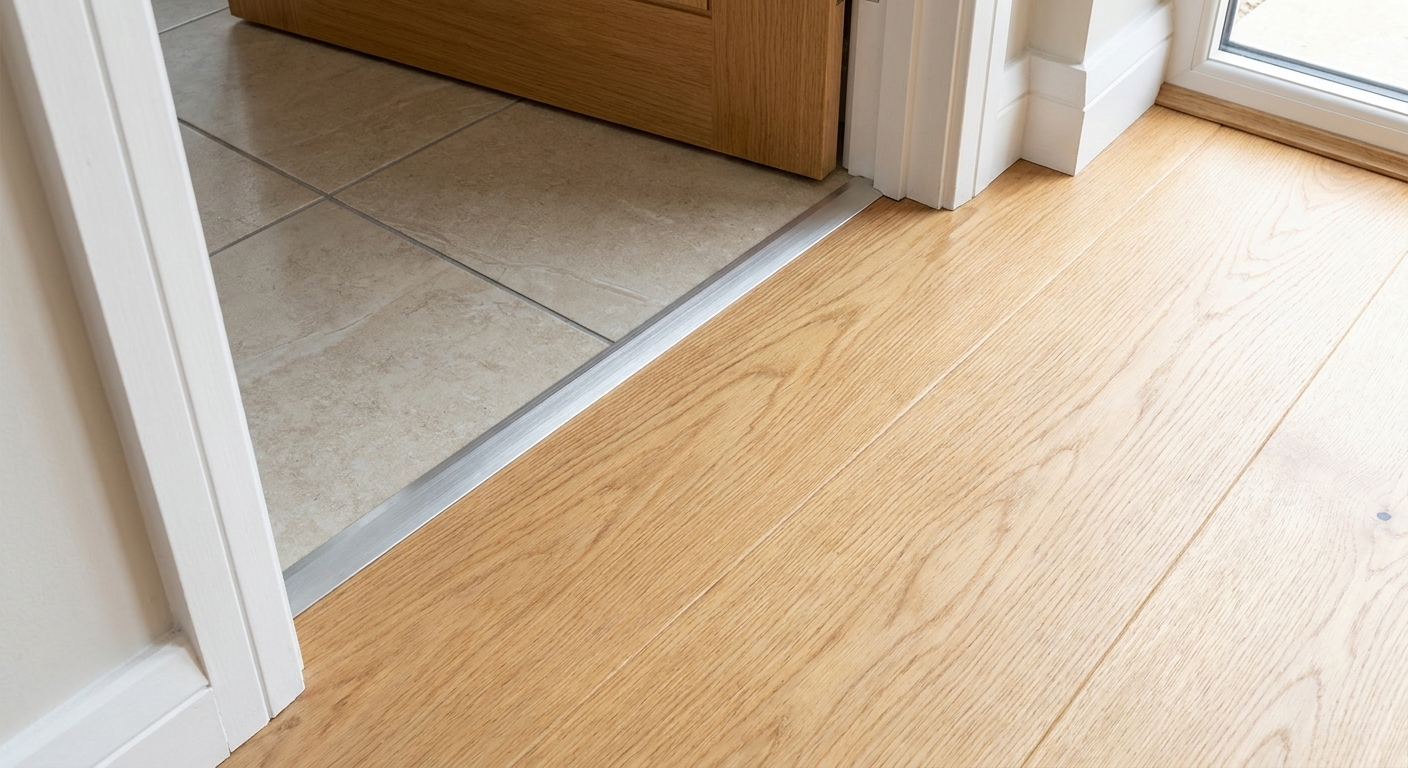
- Movement joints planned: All changes of plane (wall to floor, inside corners, tub to tile) and the entire perimeter are movement joints. Use a color-matched ASTM C920 sealant (or a movement profile). Do not grout them.
My rule: If it can move even a little, grout will crack there eventually. Caulk it, or use a movement profile.
Choosing the right grout for floor tile
Pick grout based on joint width, tile type, and how much maintenance you are willing to sign up for. The label matters here.
Cement grout: sanded vs unsanded
- Sanded cement grout is the go-to for most floor tile with joints 1/8 inch and wider. It is stronger and shrinks less in bigger joints.
- Unsanded cement grout is typically for joints 1/8 inch and smaller and for scratch-prone surfaces like polished stone or glass. It is smoother but can shrink in wider joints.
Many modern “all-in-one” cement grouts cover a range (often 1/16 to 1/2 inch). They are usually polymer modified, more stain resistant, and nicer to work with than old-school sanded grout.
If you are working with polished or soft natural stone, do a scratch test in a hidden spot before committing. Some sanded grouts and some scrub pads can leave marks on certain stones.
Epoxy grout (the tough one)
Epoxy is extremely stain resistant and durable, which is why it is popular for kitchens, mudrooms, and busy bathrooms. It also has a shorter working time and stickier cleanup. If you go epoxy, follow the manufacturer’s timing like it is a recipe you cannot improvise.
Single-component (premixed) grout
These come ready to use and can be great for DIYers, especially on smaller floors or touch-ups. Most cure primarily by drying and evaporation (plus product-specific chemistry), so airflow, temperature, and joint depth matter. Keep the lid sealed and avoid spreading more than you can clean on schedule.
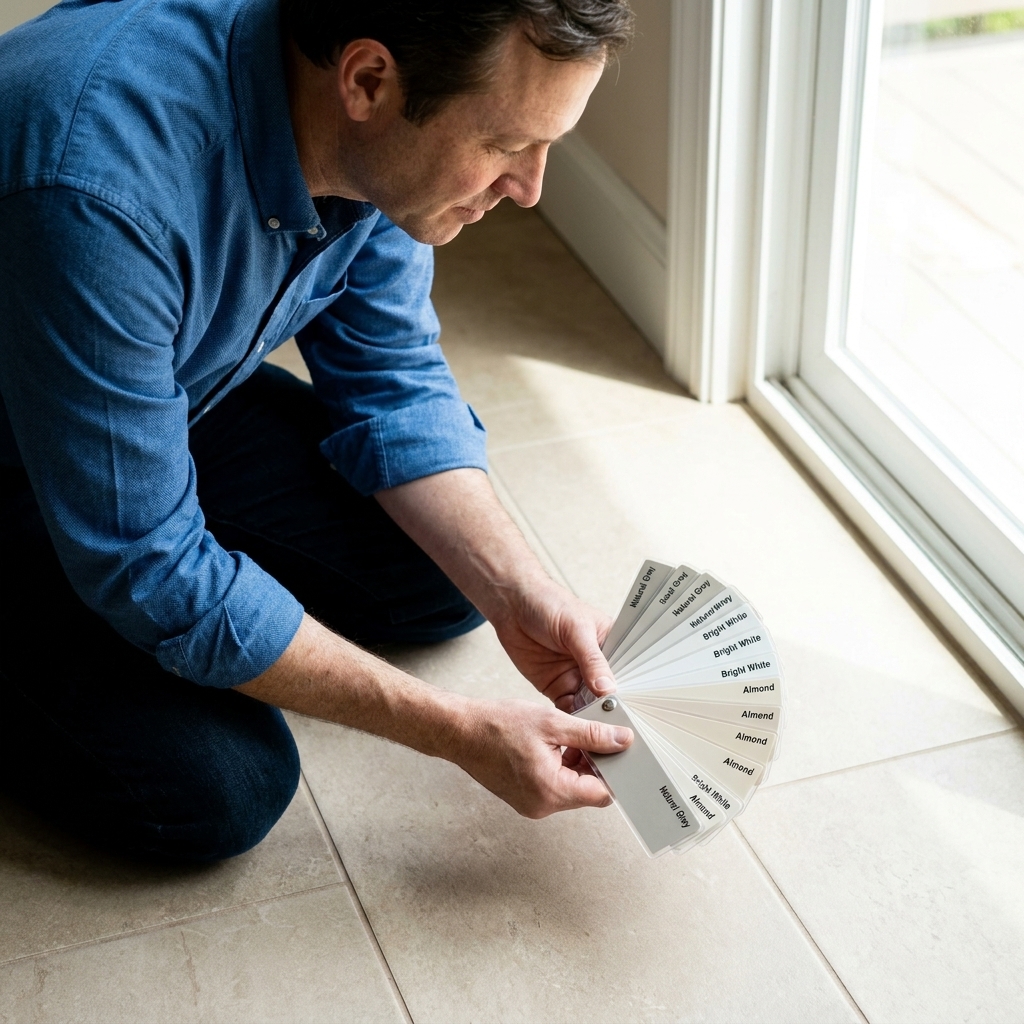
Grout color: pick smarter, not louder
High contrast grout looks amazing when it is done perfectly and brutal when it is not. If this is your first full floor grout job, a mid-tone that is close to your tile color hides minor variations and everyday dirt better.
Tools and materials that actually help
- Grout float: A good rubber float with a crisp edge. Softer floats are easier on hands; stiffer floats pack joints harder. Either works if your technique is solid.
- Two buckets: One for rinse water, one for cleaner water. Two-bucket washing is the easiest way to avoid haze.
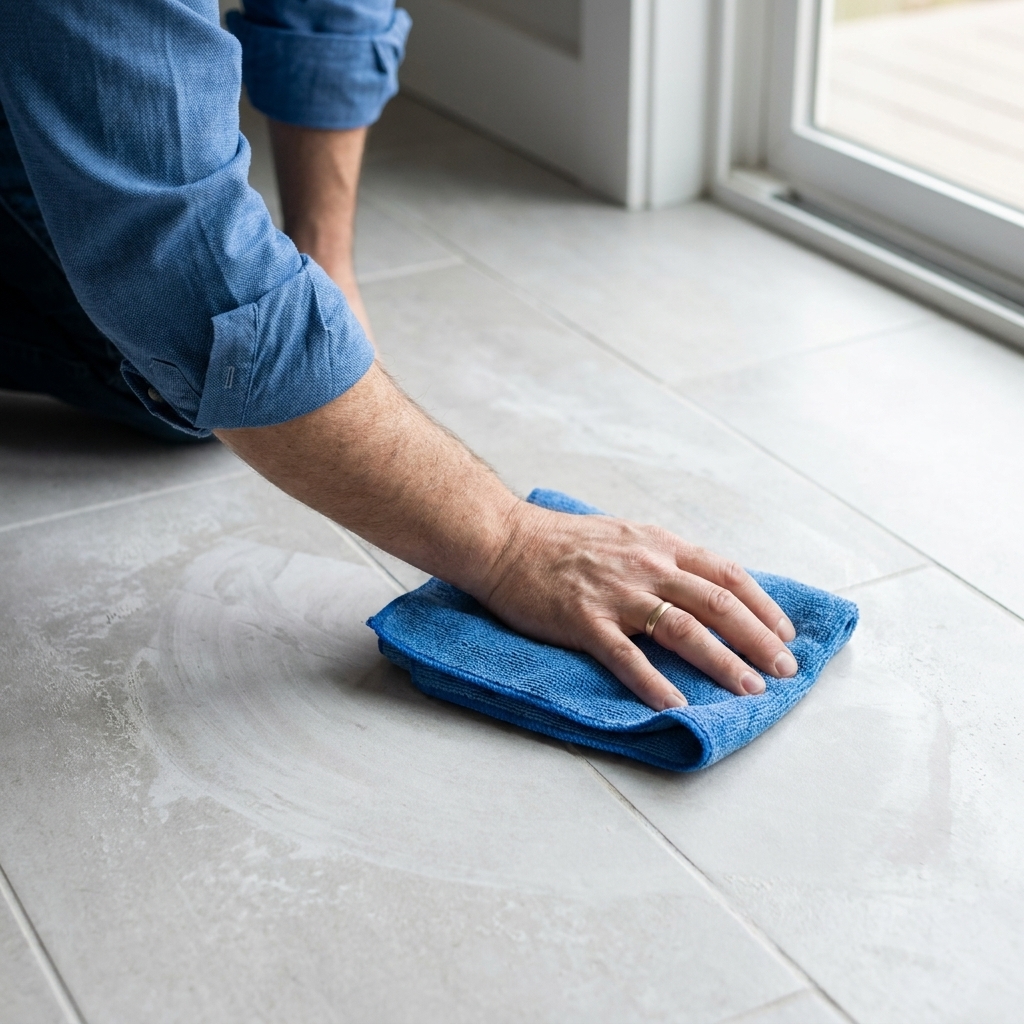
- Microfiber towels: For final buffing and haze removal.
- Grout sponge: Rounded edges, made for tile. Replace it if it is falling apart.
- Margin trowel: For mixing and loading the float.
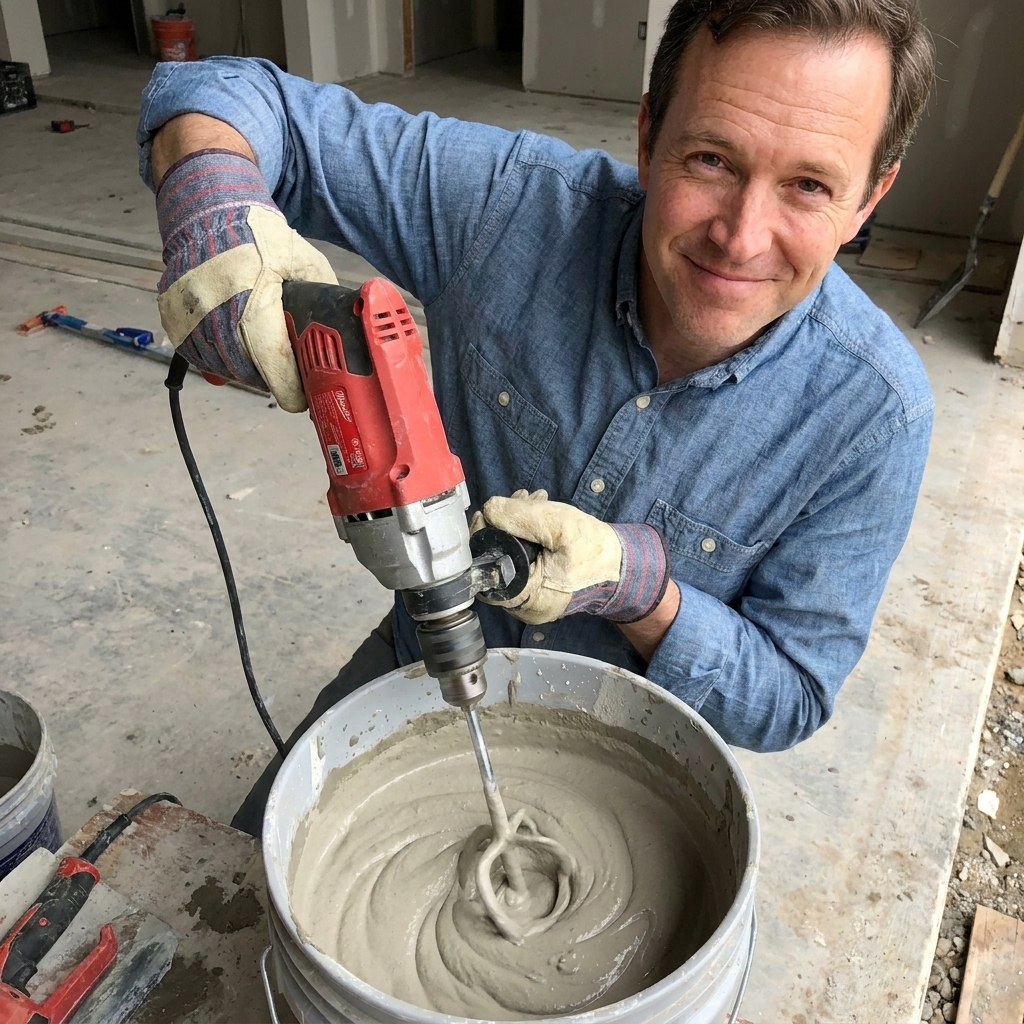
- Drill and mixing paddle: Helpful for cement grout, especially full bags. A small paddle gives you more control.
- Vacuum and utility knife: For cleaning joints and popping thinset ridges.
- Nitrile gloves: Your knuckles will thank you.
If you are grouting textured tile, add a nylon scrub pad to your cleanup kit. It helps lift haze out of texture without gouging joints. On natural stone, use only what the stone and grout manufacturers consider safe, and test first.
How to mix grout
Mixing is not just “add water, stir, go.” The goal is a consistent paste that packs joints tightly without slumping or crumbling.
Read the bag or bucket first
I know, I know. But different grouts want different water ratios, pot life, and slake times. If you wing it, you will spend the rest of the day fighting either crumbly grout or soupy joints.
Water first, powder second
For cement grout, put the measured water in the bucket first, then add grout powder gradually. This reduces dry clumps and helps you hit consistency sooner.
Target consistency
For most cement grouts on floors, aim for something like creamy peanut butter: it should hold ridges when you pull your margin trowel through it, but still spread without tearing.
- Too dry: hard to pack, leaves pinholes, wants to crumble during washing.
- Too wet: weak joints, color shading, shrinkage, and washed-out lines.
Slake, then remix
Most cement grouts specify a slake time (often around 5 to 10 minutes). It lets the cement fully wet out and the additives absorb water. After slaking, remix without adding more water. That last part is key.
Note: rapid-setting grouts and some specialty products can have different rules. The bag wins.
Only mix what you can place and wash in time
If you are new to grouting, mix smaller batches. It is way better to mix twice than to panic-clean a half floor of stiffening grout.
How to apply grout with a float
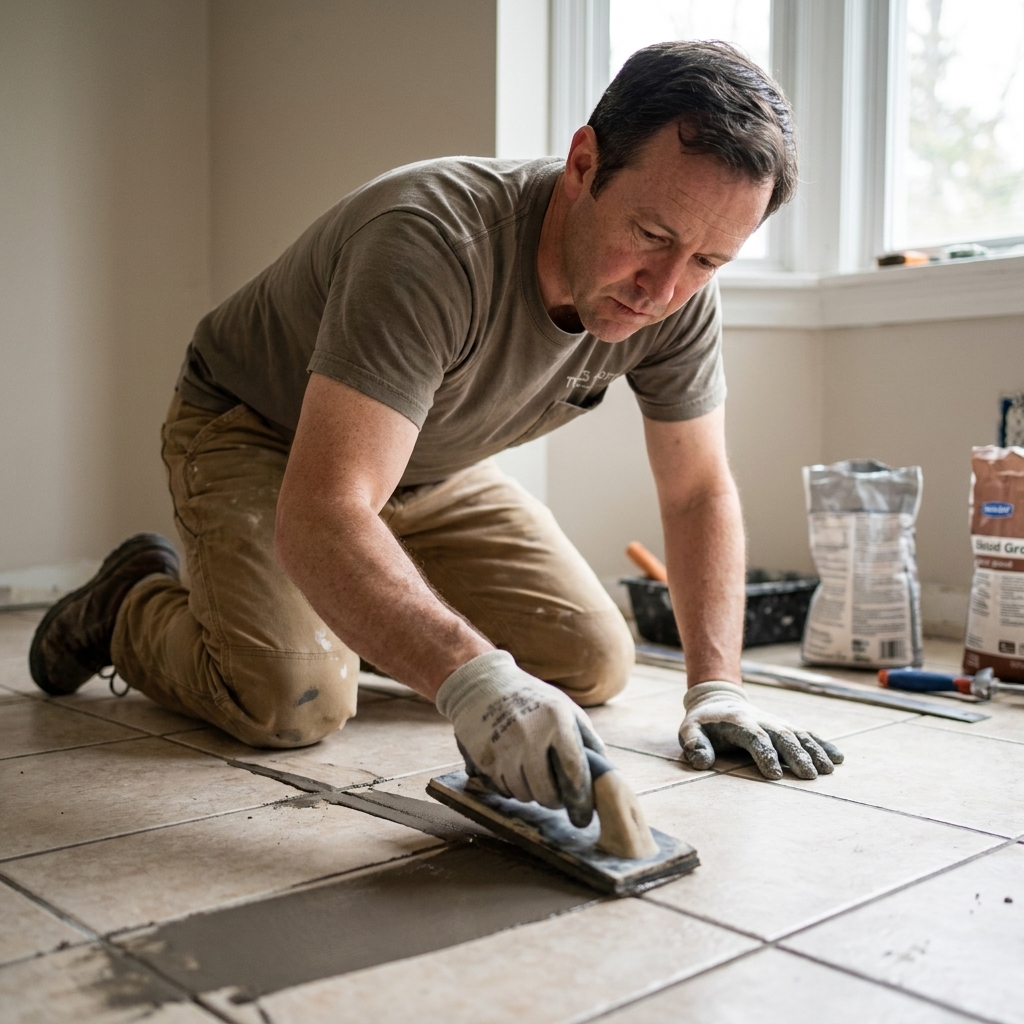
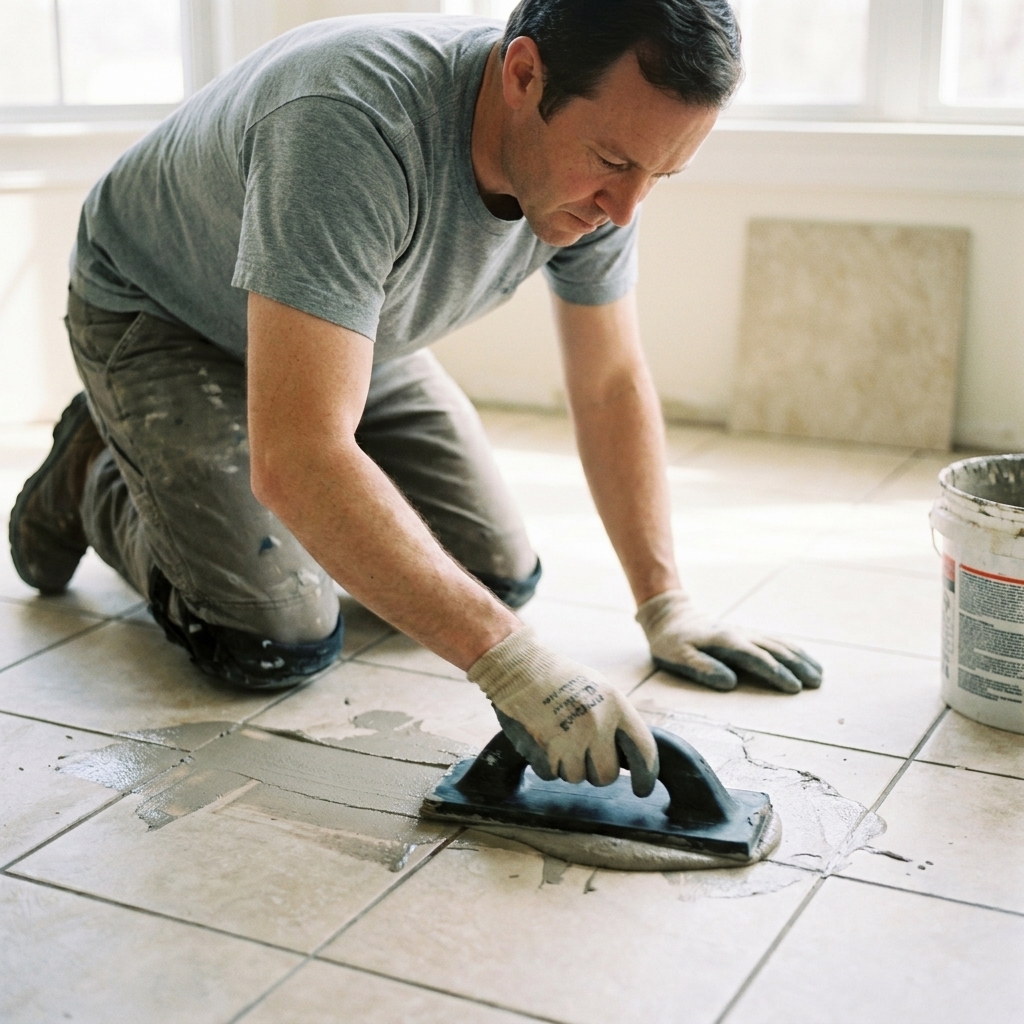
This is where the “float” in floating grout actually matters. Your job is to force grout down into the joint, not just smear it across the top.
Step 1: Work in small sections
On a typical floor, I like sections around 10 to 20 square feet until you learn your timing. Hot, dry rooms need smaller sections. Cool, humid rooms give you a little more grace.
Step 2: Hold the float at a steep angle to pack
Load the float and spread grout diagonally across the joints with the float held around 45 to 60 degrees. Diagonal passes keep you from digging into the joints and pulling grout back out.
Make multiple passes from different directions. You are not being obsessive. You are eliminating voids.
Step 3: Switch to a lower angle to squeegee off excess
Once joints are packed, lower the float to about 15 to 30 degrees and scrape diagonally to remove extra grout from the tile surface. The less you leave on the face of the tile, the easier your wash will be.
Step 4: Tool the joints lightly (optional)
For most floors, you do not need to “tool” like masonry. But you can make a final float pass to even out the joints. Keep pressure consistent.
Washing grout without ruining your lines
Most grout problems happen during cleanup, not application. The main danger is overwashing, which means too much water, too much pressure, or too many passes while the grout is still soft.
When to start washing
Timing depends on grout type, temperature, and tile porosity. In general, start when the grout has begun to firm up and a light finger touch does not pull it out of the joint. If you start too early, you will scoop joints. If you start too late, you will be chiseling haze.
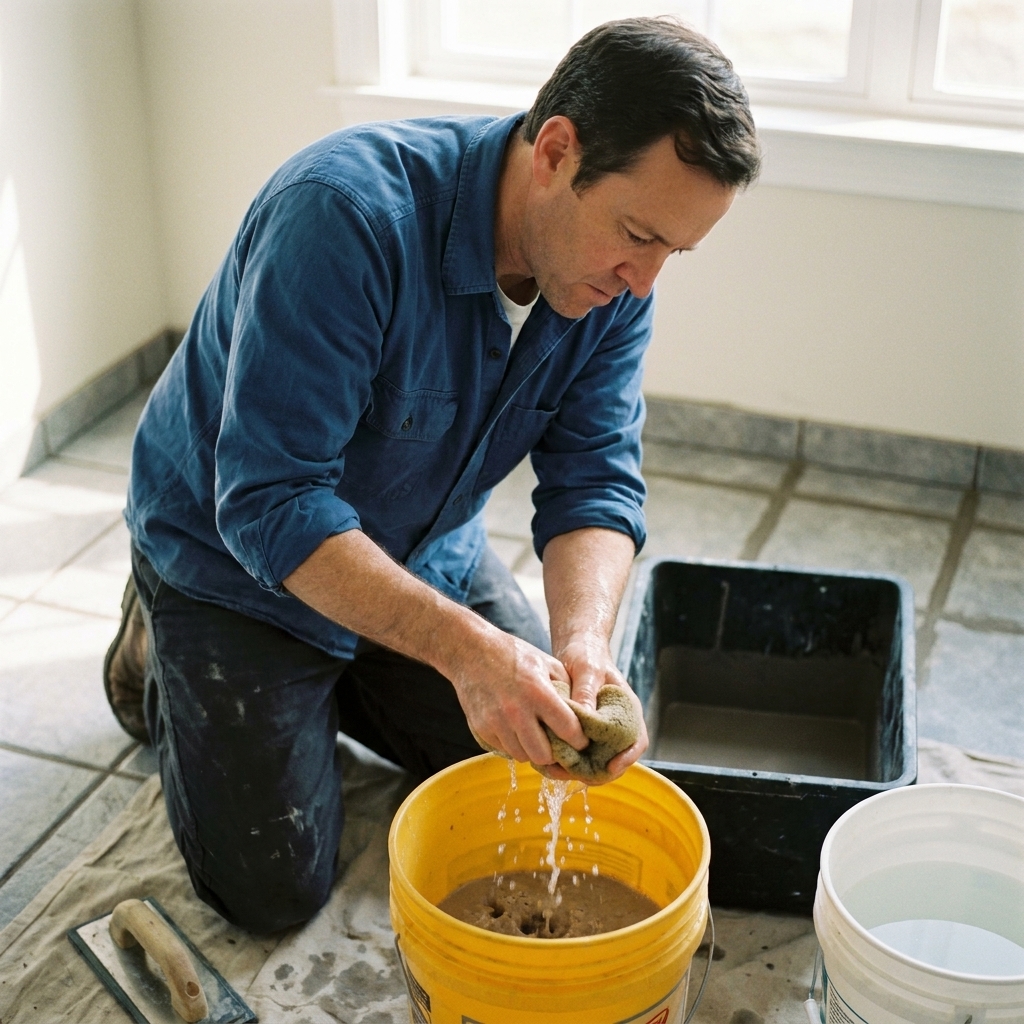
Two-bucket washing method
- Bucket 1 (dirty rinse): First rinse to dump most grout from the sponge.
- Bucket 2 (clean rinse): Second rinse so you are not wiping grout soup back onto the tile.
The correct sponge technique
- Wring it hard: Your sponge should be damp, not dripping.
- Wipe lightly: Think “glide,” not “scrub.”
- One pass per side: Wipe once, flip sponge, wipe once, then rinse.
- Wipe diagonally: Diagonal wipes avoid digging into joints.
If you see the joints getting low or wavy, stop and let the grout set longer. Washing is not a race.
Second wash and shaping
After the first wash, you will usually do a second, lighter wash to remove remaining film and gently refine joints. Keep the sponge drier than you think you need. Floors can take a little texture, but they cannot take hollow joints.
How to remove grout haze
Haze is normal. Panic is optional.
Buff with microfiber first
Once the surface looks mostly clean and the joints are firm, buff the tile with a dry microfiber towel. A lot of haze comes off with this step alone.
Come back the next day for a final check
After grout cures overnight, inspect from a low angle with good lighting. If you see a chalky film, start with warm water and a nylon scrub pad, then buff dry.
If haze is stubborn
Use a grout haze remover that matches your grout type and tile type. Cement grout haze removers are often mild acids, so never use them on acid-sensitive stone like marble, limestone, or travertine. When in doubt, test in a hidden spot.
Also: do not reach for vinegar as your first move. It is unpredictable across different grouts and sealers, and it is a great way to etch natural stone if you have it.
Common grout mistakes
- Adding water during slake or after: Makes grout weaker and can cause color blotchiness. If it gets stiff, you mixed too much or waited too long.
- Overwashing: Leads to low joints, pinholes, and shading. Use less water and lighter pressure.
- Skipping joint cleaning: Thinset in joints creates shallow grout depth and cracks later.
- Grouting movement joints: Perimeter, changes of plane, and transitions need a movement joint (sealant or profile), not grout.
- Letting haze sit for days: The longer it cures, the more elbow grease it demands.
- Using the wrong grout for joint width: Too wide for unsanded equals shrinkage and cracks. Too tight for coarse sanded can be hard to pack.
My floor rule: I would rather do three careful sponge passes with a nearly dry, well-wrung sponge than one aggressive pass with a wet one. The wet one is how you end up with “rivers” instead of grout lines.
Aftercare: curing, sealing, and traffic
Stay off it as long as you can
Most cement grouts want at least 24 hours before light foot traffic. Rapid-setting products may allow earlier use, and cold or humid rooms can push it longer. Epoxy and single-component products vary, so follow the label.
Movement joints and big floors
Besides corners and the perimeter, larger floors often need additional movement accommodation in the field, especially in areas with direct sun, wide temperature swings, or radiant heat. If your room is large, has big windows, or crosses thresholds into other spaces, follow TCNA EJ171 concepts or your tile and grout manufacturer’s movement-joint guidance. Grouting everything solid is how you end up with cracks, tenting, or hollow-sounding tile later.
Radiant heat note
If you have a heated floor, turn the system off before grouting so the grout does not skin over too fast. Use the heat system manufacturer’s schedule for when to turn it back on, and bring temperature up gradually.
Do you need to seal grout?
It depends.
- Standard cement grout: Usually benefits from a penetrating sealer, especially in kitchens and bathrooms.
- Some modern polymer-modified grouts: May not require sealing. Still, sealing can add stain resistance.
- Epoxy grout: Typically does not need sealing.
Wait until the grout has cured per manufacturer instructions before sealing. As a typical reference, many cement grouts are ready for sealer in the 48 to 72 hour range, but cooler, damper conditions can take longer. Sealing too soon can trap moisture and cause discoloration.
First cleaning
Use a pH-neutral tile cleaner for routine cleaning. Skip harsh acids and bleach unless the grout manufacturer says it is safe.
Quick FAQ
How long should grout sit before sponging?
Until it firms up enough that a light touch does not pull it out of the joint. In many rooms that is somewhere around 10 to 30 minutes, but temperature, humidity, tile type, and grout type can swing that significantly.
Why are my grout lines lighter in some areas?
Most often: too much water in mixing or washing, inconsistent sponge technique, or washing too early. Less commonly: uneven joint depth or leftover thinset dust contaminating the mix.
Should I dampen the tile before grouting?
On very porous tile or in warm, dry conditions, a light wipe with a damp sponge can reduce flash drying and make cleanup easier. Do not leave standing water in joints.
Can I grout over thinset that is flush with the tile?
No. Grout needs depth to be strong. Scrape joints to the proper depth and vacuum thoroughly before you grout.
My grout has pinholes. What happened?
Usually underpacked joints, grout mixed too stiff, or washing too aggressively while the grout was still soft. Small pinholes can sometimes be filled by forcing a little fresh grout into the spots during early cleanup, but widespread pinholes may require regrouting.
My simple pro rhythm
If you want one repeatable routine, here it is:
- Clean joints and vacuum.
- Mix to peanut-butter consistency, slake (if required), remix.
- Pack diagonally with a steep float angle.
- Squeegee diagonally with a low float angle.
- Wait until it firms up, then do a damp, well-wrung sponge wash using two buckets.
- Microfiber buff once it hazes.
- Final haze check the next day.
Do that, and you will get tight joints, consistent color, and a floor that looks like you paid someone who charges by the square foot.