A DIY-friendly guide to grout color and grout types. Learn when to match or contrast, why grout is not waterproof, how joint width matters, and where sanded,...
The Grout Nest
Updated October 17, 2026
How to Waterproof and Tile a Walk-In Shower Wall
Learn how to prep, waterproof, and tile a walk-in shower wall using liquid membrane and large-format ceramic tile. Clear steps, pro tips, and common mistakes to avoid.

Ben Mitchell
Ben Mitchell is a former professional tile setter and passionate home renovator with over 12 years of experience in the flooring industry. After stepping away from commercial contracting, he founded Grout Nest to empower everyday homeowners to tackle their own flooring, tile, and backsplash projects with confidence. He believes that with the right tools, proper prep work, and a little patience, anyone can achieve a professional-grade finish.
If you take one thing from this guide, take this: a shower is not a “tile project.” It is a water management project that happens to be covered in tile. Tile and grout can be very water-resistant, but they are not a waterproofing system you can trust to protect framing on their own. Your waterproofing system is what keeps the studs dry and the mold away.
I set tile for years, and I still get a little obsessive about shower prep. Not because I love extra steps, but because I hate tearing out perfectly good-looking tile that was installed over a leaky wall. Let’s do it the boring, correct way, so you only do it once.
What this guide covers
This article walks you through:
- Prepping a shower wall substrate
- Applying a liquid waterproofing membrane (the roll-on/brush-on type)
- Installing large-format ceramic wall tile (think 12x24 and bigger)
- Grouting, caulking, and finishing details
I’m assuming you already have a proper shower base or shower pan installed and correctly tied into a drain, and your framing is sound. If your pan or drain is questionable, pause here and fix that first. A perfect wall doesn’t save a bad pan.
One more: if your local code or your shower system requires a flood test, do it at the stage the manufacturer specifies (often after the waterproofing is complete, before tile). It’s not glamorous, but it is the fastest way to catch a problem while it is still cheap to fix.
Tools and materials
Tools
- 4 ft level or straightedge (longer is better)
- Stud finder and pencil
- Utility knife
- Drill/driver
- Mixing paddle and bucket
- Notched trowel (often 1/2 in x 1/2 in for large format, but confirm with tile and mortar specs)
- Margin trowel
- Rubber grout float
- Tile spacers or leveling clips (strongly recommended for large format)
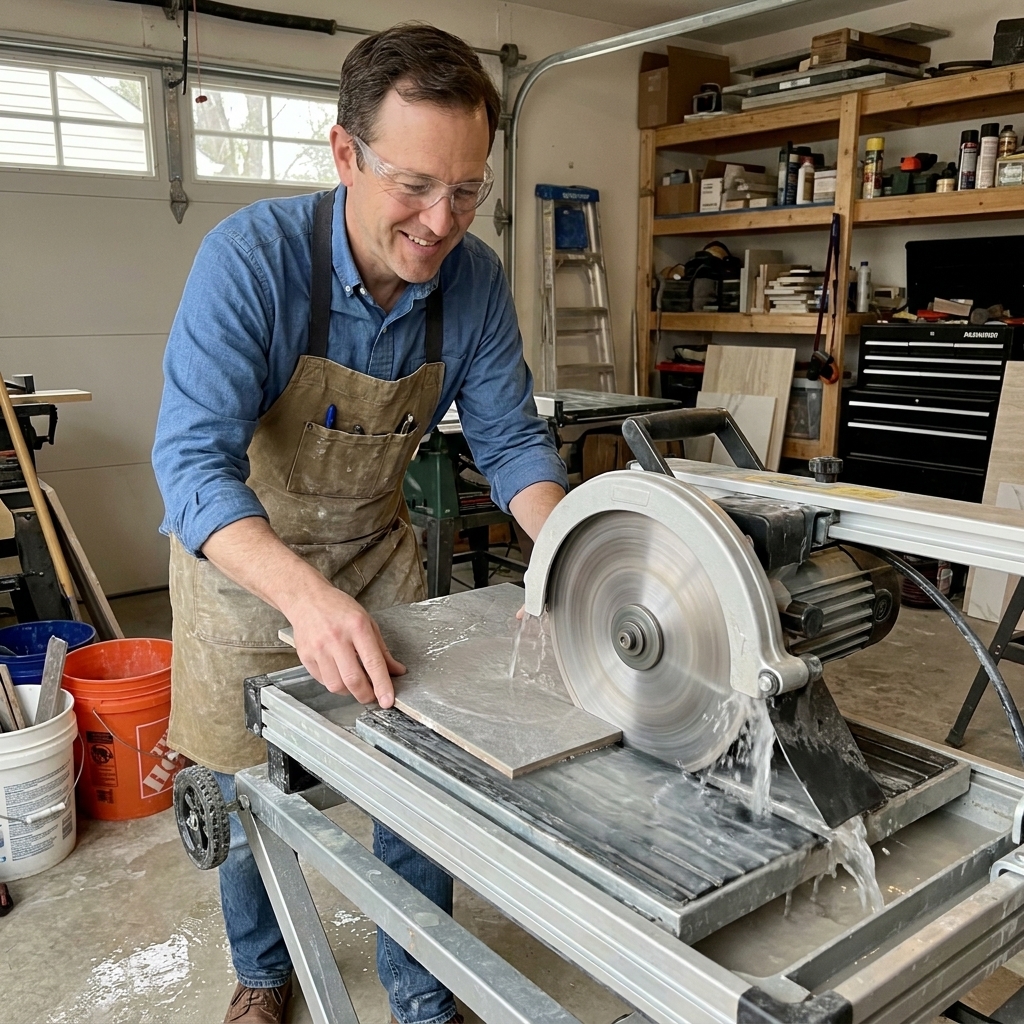
- Tile saw (wet saw for clean cuts) and/or angle grinder with diamond blade for notches
- Roller frame and 3/8 in nap roller, plus a brush for corners
- Wet film thickness gauge (cheap and worth it)
- Sponge and microfiber towels
- Caulk gun
Safety
- Eye protection (cutting tile and mixing mortar are not forgiving)
- Hearing protection (grinders and wet saws add up fast)
- Gloves (thinset and grout are rough on skin)
- Respirator or quality dust mask for silica dust (especially when grinding or dry-mixing)
Materials
- Cement backer board or foam tile backer rated for showers (follow manufacturer instructions for your board)
- Alkali-resistant mesh tape (for cement board seams)
- Thinset mortar compatible with your membrane and tile (A118.4 and A118.15 are common, but defer to the membrane and tile manufacturer requirements)
- Liquid waterproofing membrane approved for shower walls
- Reinforcing fabric/band if required by the membrane manufacturer (often used at corners, changes of plane, niches, and penetrations)
- Large-format ceramic wall tile
- Grout suitable for wet areas (cement grout or an approved single-component grout)
- 100% silicone caulk color-matched to grout (for corners and transitions)
- Optional: grout sealer if using cement grout
Step 1: Flatten the wall
Large-format tile is brutally honest. If your wall bows, your tile will “smile” at you from across the bathroom forever.
Check plumb and flat
- Plumb: Put a level on studs and check for leaning.
- Flat: Hold a long straightedge across multiple studs. Look for dips and crowns.
If you find problems, fix them now:
- High studs: Plane or sand them down.
- Low studs: Shim them.
- Badly twisted studs: Sister a straight stud next to it.
In my old contracting days, this was the part the schedule tried to bully us into skipping. It always came back to haunt us when tiles started lipping and corners stopped lining up.
Step 2: Install backer board
Use a backer board rated for wet areas and install it per the manufacturer. The two big rules:
- Leave the right gaps at seams and changes of plane (typically 1/8 in, but follow your board instructions).
- Fastener spacing matters. Too few screws means movement. Movement means cracked grout.
Seams and corners
This is where board type matters:
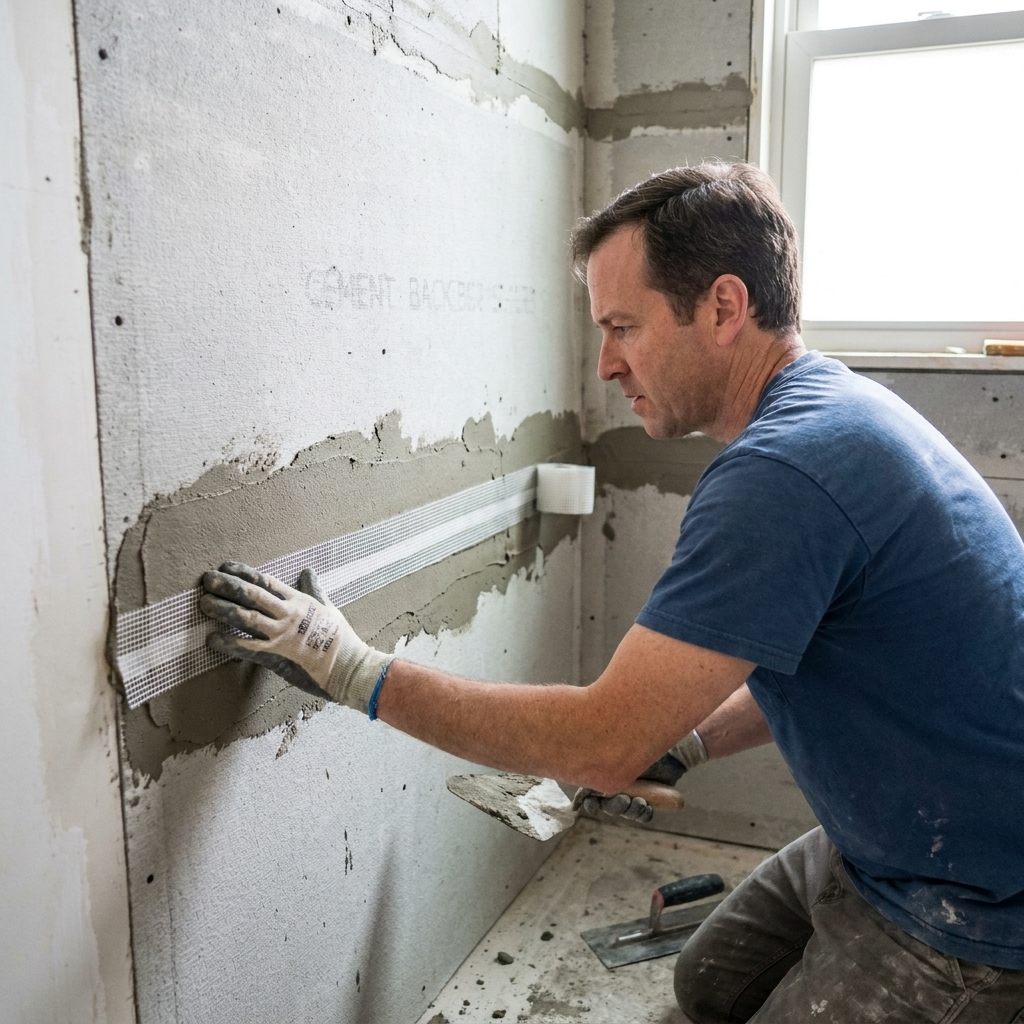
- Cement board: Typically thinset plus alkali-resistant mesh tape over seams, then skim smooth.
- Foam board: Usually uses a proprietary sealant, band, or tape system. Do not assume thinset and mesh is the move here. Use the system parts and details your board manufacturer calls for.
Let seam treatment firm up. You do not need a museum-finish wall, but you do need the seams solid and not proud.
Step 3: Prep for waterproofing
Liquid membrane fails for two reasons: bad thickness or bad substrate prep.
Do this before you open the bucket
- Clean the wall: Vacuum dust. Wipe off powdery residue.
- Fix fastener dimples: Skim if needed so you don’t get pinholes.
- Address penetrations: Valve openings, pipe stubs, mixing valve boxes. Make sure they’re neat and stable.
- Pre-cut reinforcement: If your membrane calls for fabric at corners, seams, or around niches, cut it now.
Also check temperature and cure conditions. Liquid membranes can be picky. Cold, damp conditions slow cure and make it harder to hit the spec.
Step 4: Apply waterproofing
Every manufacturer has their own rules, so read the datasheet. Two things matter more than brand: the correct detailing and the correct thickness.
Know your thickness target
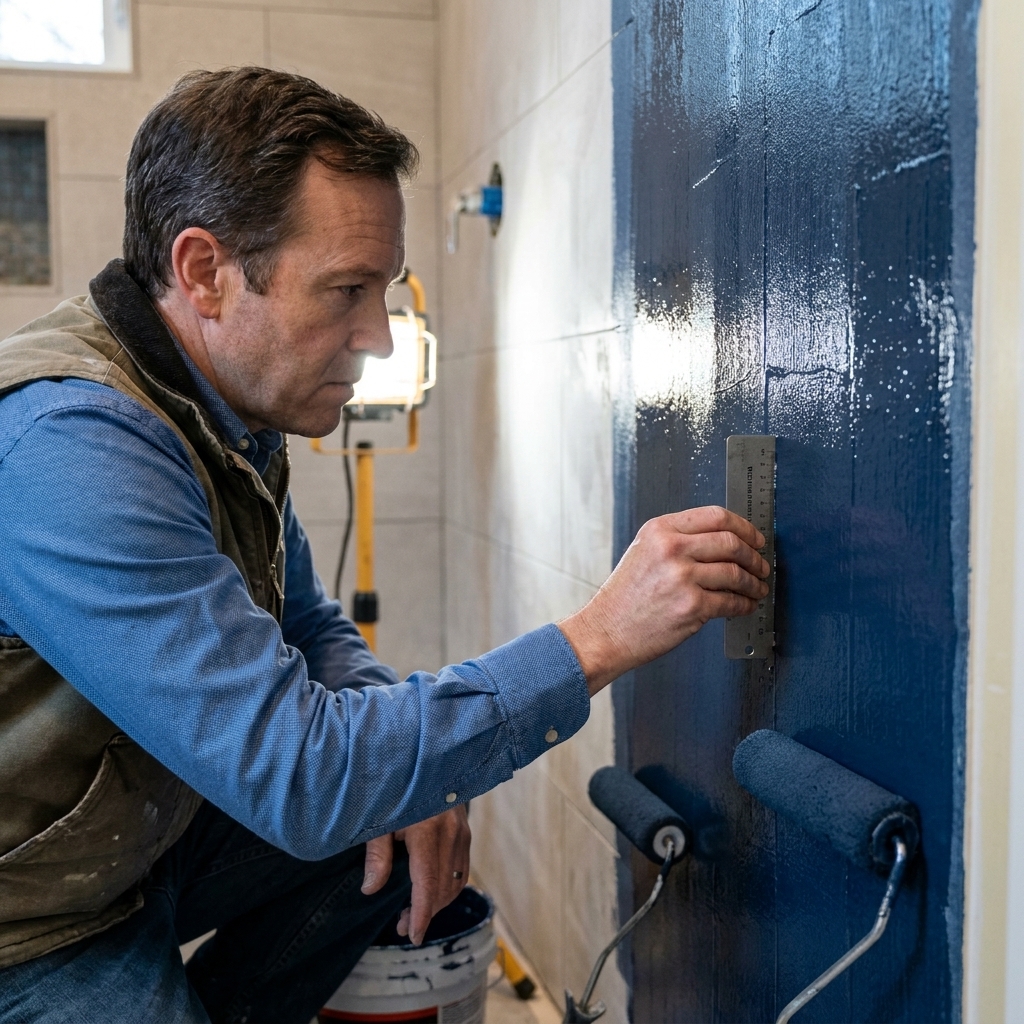
Look up the required wet mil thickness, number of coats, and cure times on the product datasheet, then actually build to that spec. Too thin is the common failure, but slopping it on too thick can also cause problems, like slow curing or skinning over while it stays soft underneath. A wet film gauge takes the guesswork out.
Where to reinforce
Most systems require extra attention at:
- Inside corners and outside corners
- Changes of plane (wall-to-wall, wall-to-pan)
- Seams and fastener areas (depending on system)
- Niches and benches
- Pipe penetrations and mixing valve openings
Wall-to-pan transition
This joint is a top leak spot, and it is also where details vary the most. The short version: follow the pan and membrane system instructions for tying the wall waterproofing into the pan. Some pans use a bonding flange or integrated waterproofing surface that your membrane must overlap with compatible sealant or banding. Other builds rely on traditional liner and mud bed details and have their own rules. Do not freestyle this connection.
Application sequence I trust
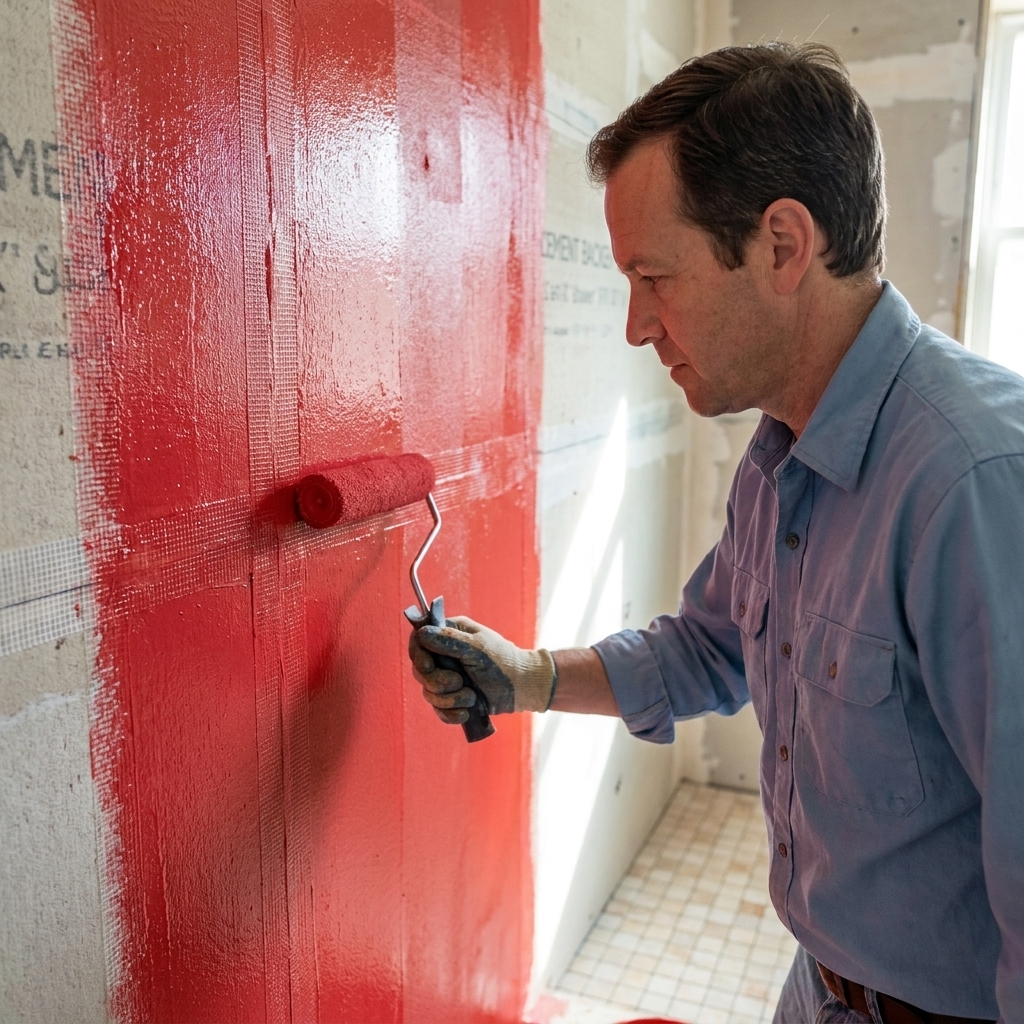
- Detail coat: Brush membrane into corners, seams, and around penetrations. Embed fabric if required. Smooth out bubbles.
- First full coat: Roll the wall evenly. Don’t stretch it like paint. Waterproofing needs thickness.
- Check wet thickness: Use a wet film gauge in multiple spots. Adjust while it’s wet.
- Second coat: After the first coat dries to the manufacturer’s spec, roll a second coat perpendicular to the first (vertical then horizontal) for consistent coverage.
- Final cure: Let it cure fully before tiling. Dry-to-touch is not cured.
If you’re wondering, “Do I really need a thickness gauge?” Yes. It’s the cheapest insurance in the whole shower.
Common waterproofing mistakes
- Pinholes at seams: Usually dust, rough mesh edges, or too-thin detail coat.
- Thin coats: Rolling too aggressively or using the wrong roller nap.
- Rushing dry times: Trapping moisture under tile can cause bond issues.
- Skipping niche details: Niches are leak magnets. Treat them like a mini shower inside your shower.
Step 5: Plan the layout
Large-format tile can look high-end or look like a thousand tiny decisions went wrong. The difference is layout.
Dry layout
- Find your focal wall (often the valve wall or the back wall). Start layout from what you see first.
- Center the pattern so cuts at corners are balanced when possible.
- Avoid tiny cuts at the ceiling, corners, and around niches. Adjust your starting point.
- Account for grout joints (don’t forget them in measurements).
Ledger board
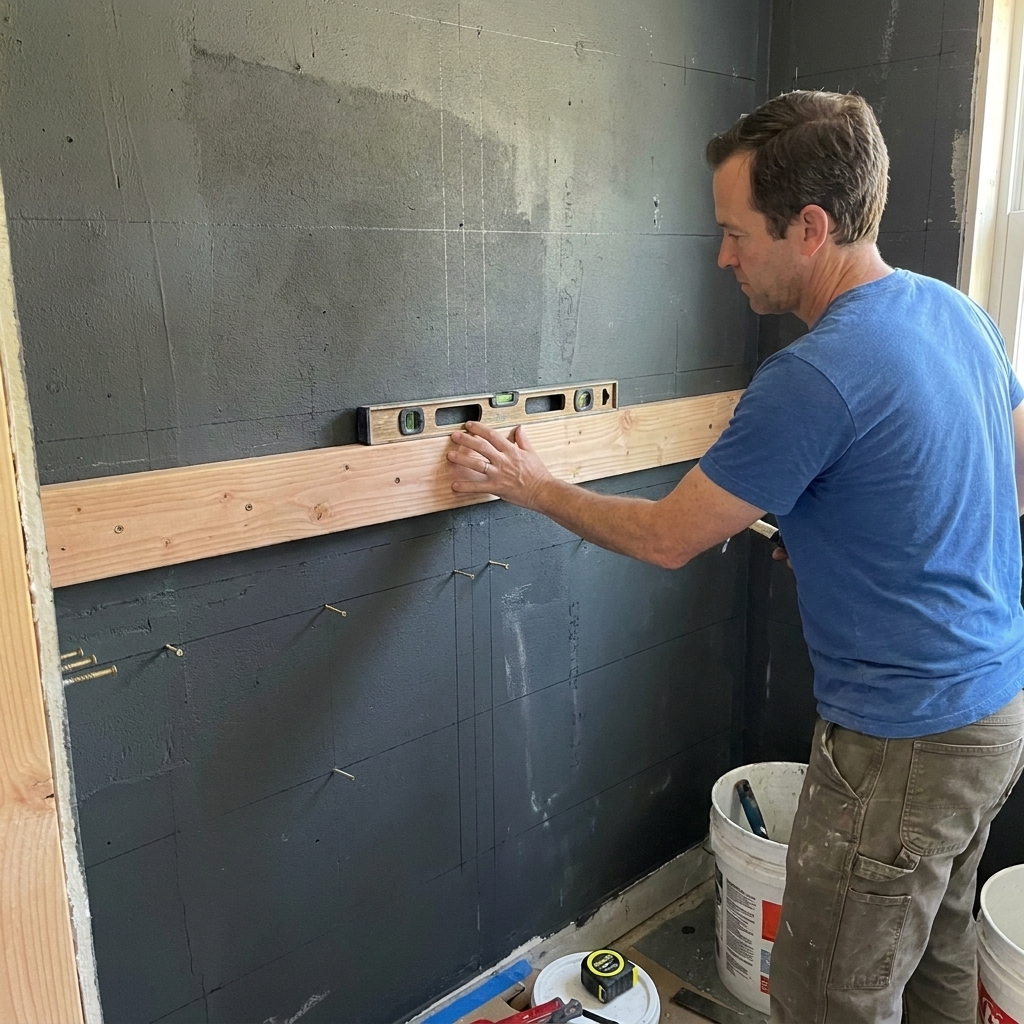
Unless your shower pan edge is perfectly level (it rarely is), a ledger board helps you get a dead-straight first course. Start one row up, let it set, then come back and cut in the bottom row to match the pan slope.
One important caveat: screws through a liquid membrane are holes in your waterproofing. If you use a ledger:
- Use the fewest fasteners you can.
- Put fasteners where they will be easy to patch (and not right at the most water-stressed areas).
- When the ledger comes off, fill and waterproof those penetrations per the membrane manufacturer’s instructions (often multiple coats, and sometimes fabric).
If you can support the first row without puncturing the membrane, do that. The goal is straight tile and an intact waterproof layer.
Step 6: Choose mortar and trowel
Large-format wall tile needs a mortar that can handle:
- Good bond strength in wet areas
- Longer open time (so you are not racing the clock)
- Non-sag or large-and-heavy-tile properties (so tiles don’t slowly slide)
Mortars that meet ANSI A118.4 or A118.15 are common choices for shower walls, and many pros lean toward A118.15 for dense tile and demanding installs. But compatibility comes first. Always follow the membrane manufacturer’s mortar requirements and your tile manufacturer’s recommendations.
Trowel size and coverage
There is no magic notch size that fits every tile. The goal is coverage. In wet areas, the industry target is roughly 95% coverage with solid support at edges and corners. The only honest way to confirm is to set a tile, then pull it back off and look.
- If you see skinny ridges and lots of gaps, go bigger on the notch or adjust technique.
- If mortar is oozing everywhere, you might be using too big a notch or pressing too hard.
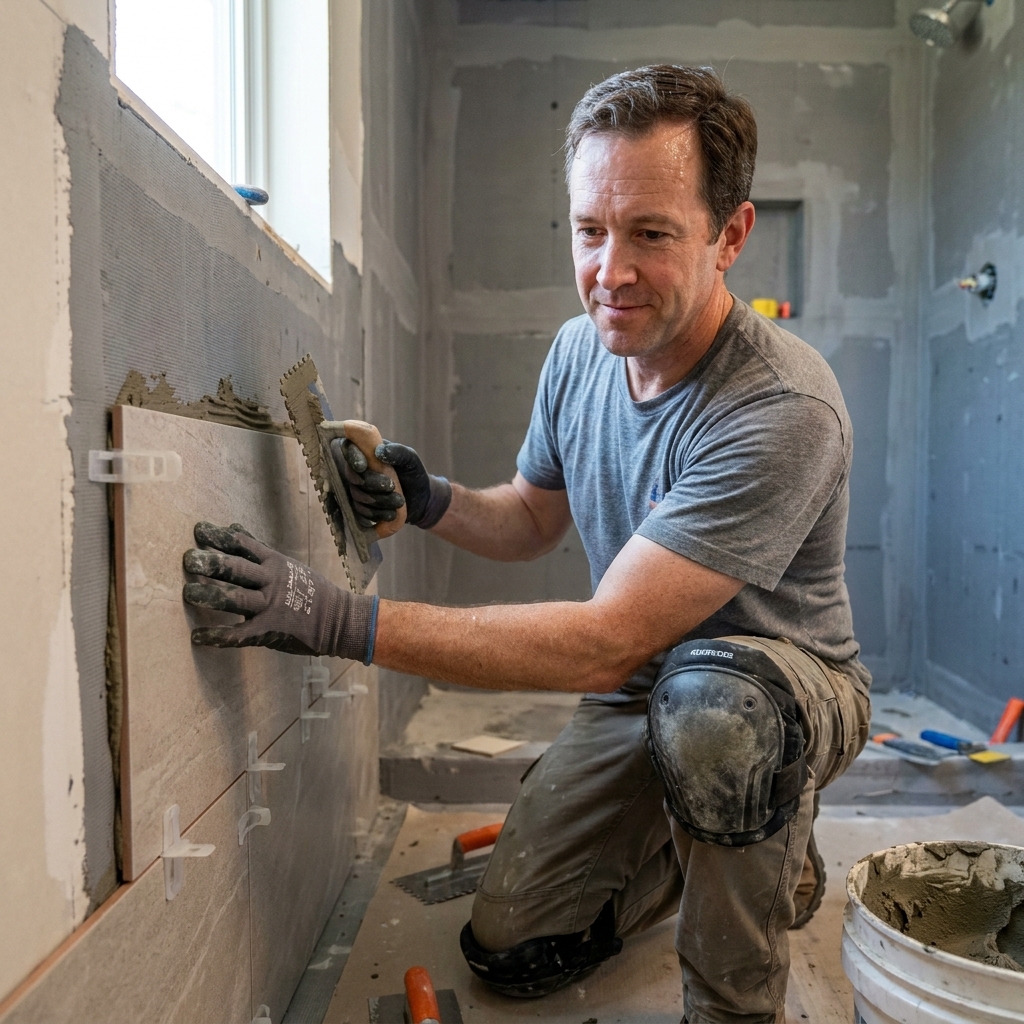
Step 7: Set the tile
1) Mix mortar properly
Follow the bag. Let it slake, remix, and keep the consistency peanut-buttery but workable. Too loose equals slump. Too stiff equals poor transfer.
2) Key in mortar
Use the flat side of your trowel to burn a thin coat of mortar into the waterproofed wall. This improves bond.
3) Comb one direction
Comb ridges in a single direction. When you press the tile in, the ridges collapse and air escapes. Swirly combing traps pockets.
4) Back-butter the tile
For large format, I back-butter most tiles. A thin skim coat on the back fills micro texture and improves coverage.
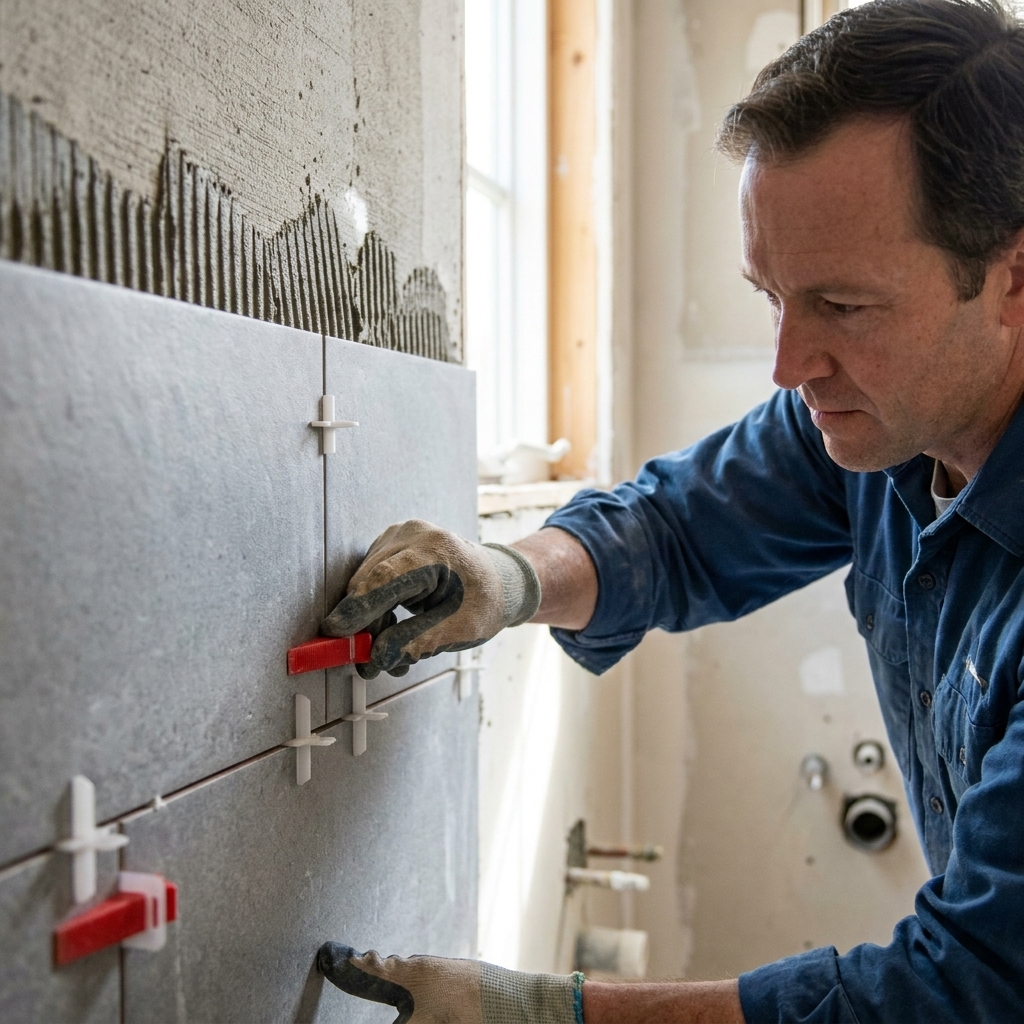
5) Set, slide, and beat in
Press the tile onto the ridges, then slide it perpendicular to the trowel lines slightly to collapse them. Use a beating block or a flat trowel and gentle taps to seat it.
6) Use leveling clips
Large-format tile tends to lippage if anything is off. Leveling clips do not replace a flat wall, but they help you keep faces aligned.
7) Keep joints clean
Clean thinset out of grout lines as you go. Dried thinset in joints is one of those “past me did this to future me” problems.
Working around valves and plumbing
Measure twice, cut once, then measure again because that hole saw is not refundable. For clean cuts:
- Use a diamond hole saw for round penetrations.
- For notches, use a wet saw and finish with a grinder if needed.
- Keep cuts covered by trim plates when possible, but don’t rely on trim to hide a messy crater.
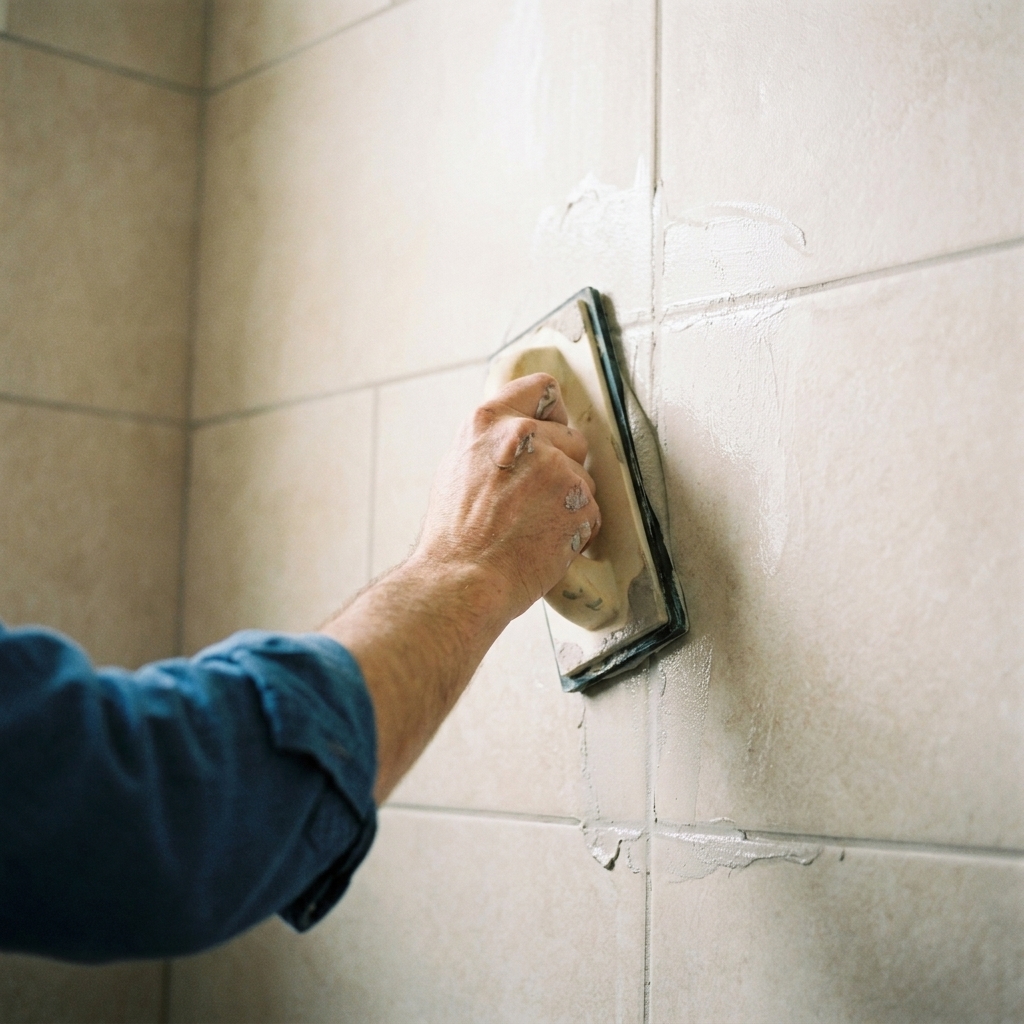
Step 8: Grout
Give the mortar time to cure based on the mortar instructions and jobsite conditions. Cooler temps mean longer cure.
Grouting basics
- Choose the right grout joint size for your tile and desired look.
- Mix consistently if using cement grout. Same water ratio each batch.
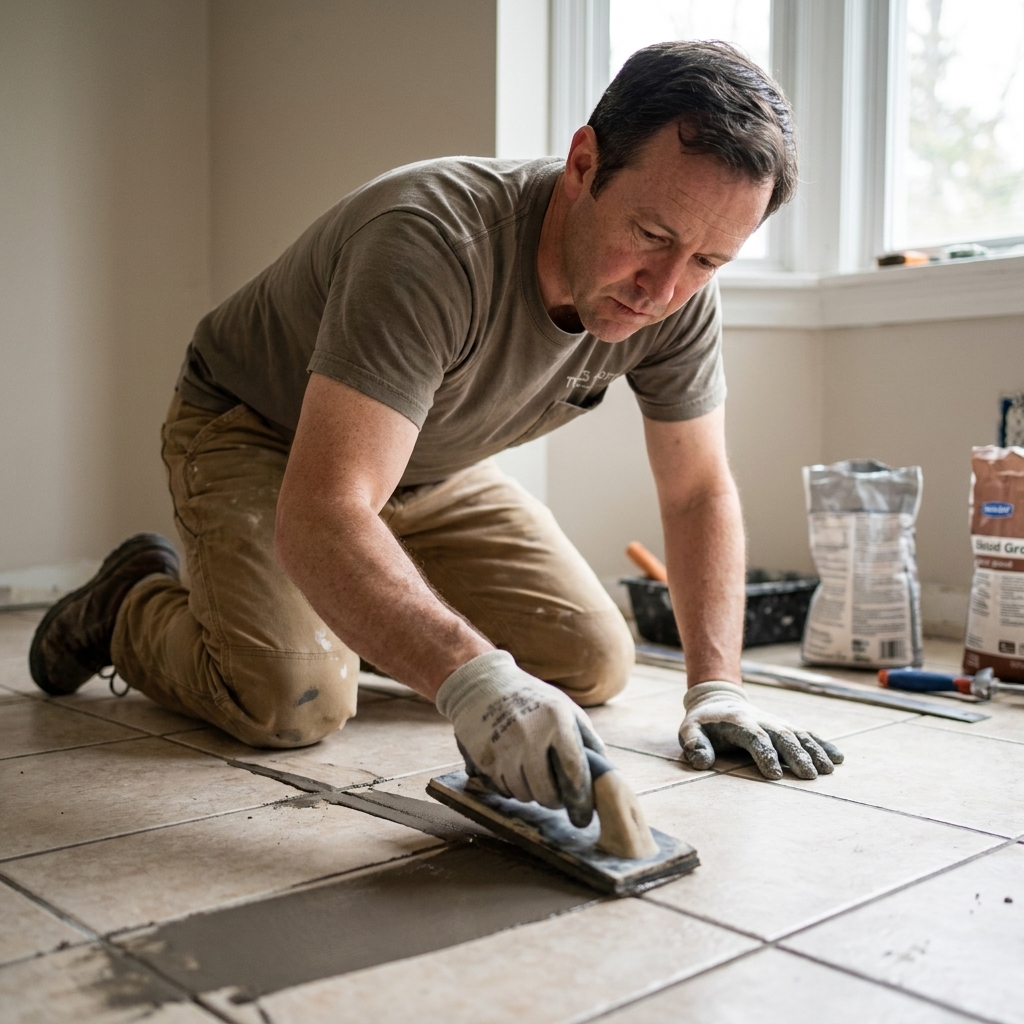
- Pack joints fully with a rubber float held at a slight angle.
- Wash in stages using a damp sponge. Don’t flood the wall.
- Buff haze with microfiber once it firms up.
If you are using a single-component grout, follow the bucket instructions to the letter. They can be fantastic in showers, but they do not forgive lazy cleanup.
Step 9: Caulk transitions
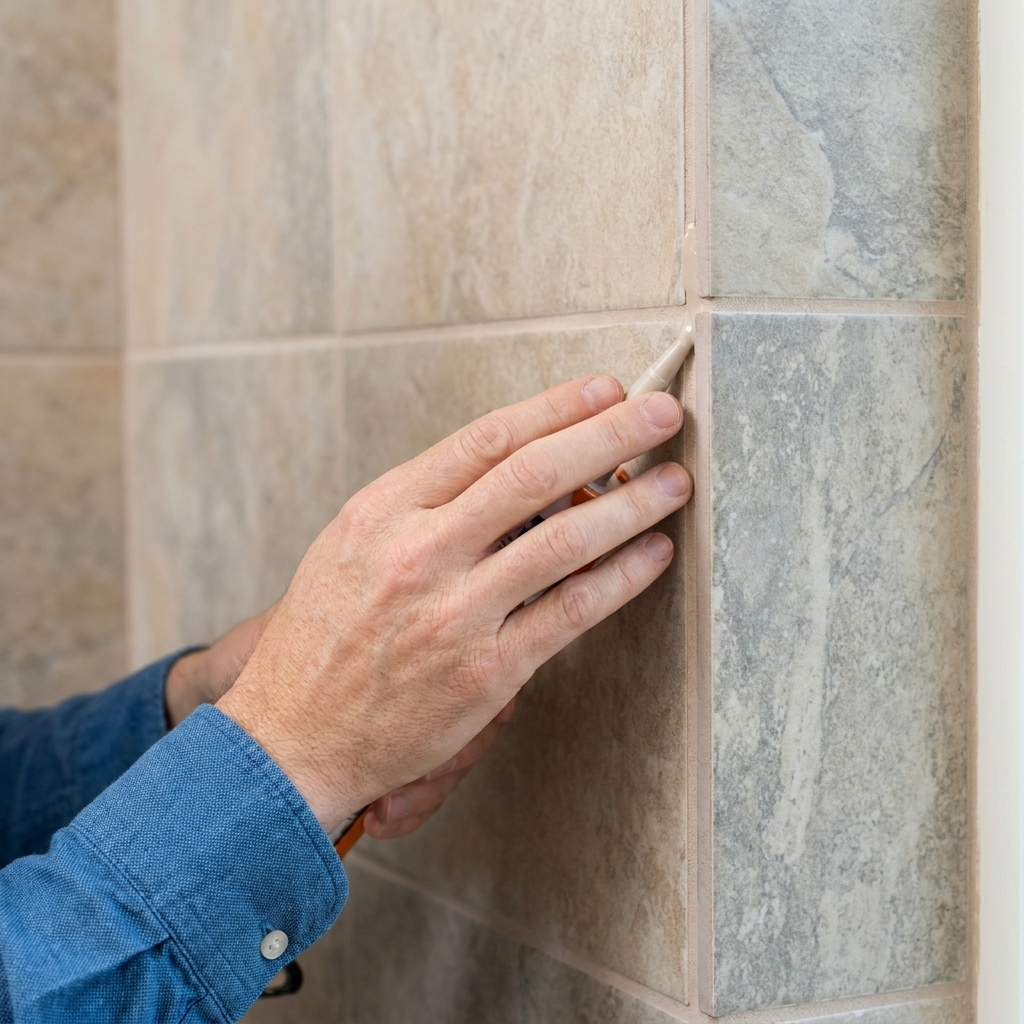
Any change of plane is a movement joint. That means:
- Wall-to-wall corners
- Wall-to-floor or wall-to-pan
- Tile-to-ceiling transitions if the ceiling is not tiled
Use 100% silicone that matches your grout color. Tape both sides of the joint, tool the silicone smoothly, then pull tape right away. This is one of those finishing steps that makes the whole shower look sharp.
Movement joints beyond corners
On larger walls, you may also need movement joints in the field. Follow TCNA and ANSI EJ171 guidance for soft joint placement based on wall size, exposure, and substrate conditions. It is not overkill. It is how tile survives building movement.
Optional: Seal cement grout
If you used traditional cement grout, sealing can help with stain resistance. It is not a substitute for waterproofing, and it will not stop water from passing through grout. Think of sealer as a rain jacket, not a roof.
Wait the manufacturer’s recommended cure time, then apply sealer carefully and wipe excess off tile faces.
Quick troubleshooting
My membrane looks lumpy
Some texture is normal. The concern is thin spots, pinholes, or missed areas. Check thickness with a gauge during application, and do careful touch-ups once the first coat dries.
I can see a slight bow in my tile line
Stop and correct before it hardens. Pull the last tile or two, scrape mortar, and reset using a straightedge as your guide. A small error multiplies fast across a wall.
Tiles are sliding down the wall
Mortar is too loose, you need a non-sag mortar, or you are setting too heavy of a tile without support. Use a ledger board or another support method, tighten your mix, and set in manageable sections.
Grout cracking in corners
That corner should be silicone, not grout. Remove cracked grout in the corner and replace with 100% silicone.
FAQ
Is liquid waterproofing safe behind tile in a shower?
Yes, when the product is rated for shower walls and applied at the correct thickness with proper detailing at corners, seams, and penetrations. The rating and instructions matter more than the brand name on the bucket.
Do I need a vapor barrier behind cement board if I’m using liquid membrane?
Usually, no. In many systems you choose one waterproofing strategy: either a surface-applied membrane (like liquid) or a behind-the-board barrier. Doubling up can trap moisture. Follow the waterproofing manufacturer’s instructions for your exact wall assembly.
Can I tile directly over liquid waterproofing?
Yes, once fully cured. Use a mortar compatible with that membrane and appropriate for large-format tile in wet areas.
How long should I wait before using the shower?
Always follow the mortar, membrane, and grout datasheets first. As a rough, common range under normal conditions: many mortars want about 24 hours before grouting, and many grouts want about 24 to 72 hours before water exposure. Colder temperatures, high humidity, large tile, and impervious tile can extend those times. Rushing cure is how you end up with soft grout, blotchy joints, or bond issues right out of the gate.
My last word
I know waterproofing is not the fun part. Nobody daydreams about wet film gauges. But if you take your time with prep, thickness, and cure times, tile setting becomes the enjoyable part again, like it’s supposed to be.
Do the boring steps carefully, and you’ll end up with that quiet little victory moment: standing back, looking at a wall of perfectly aligned tile, and realizing you did not need to hire it out after all.