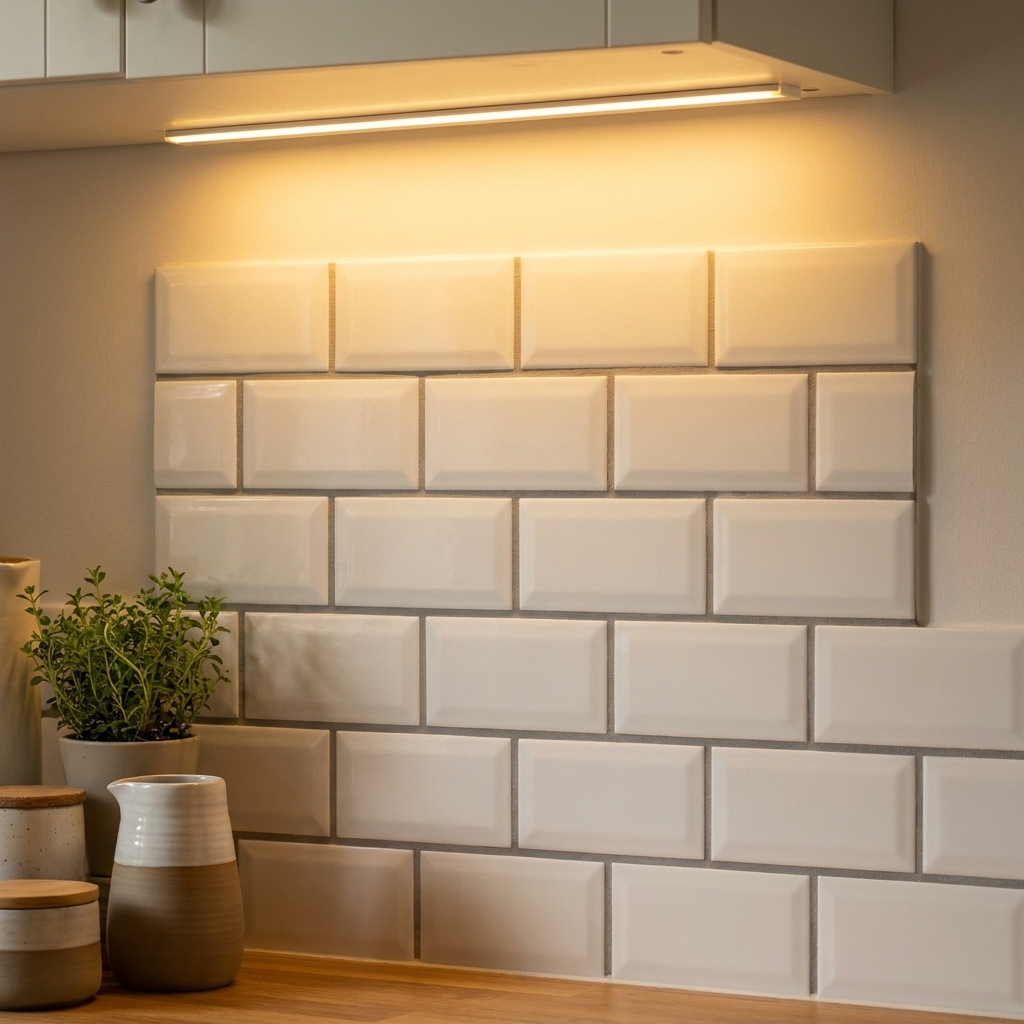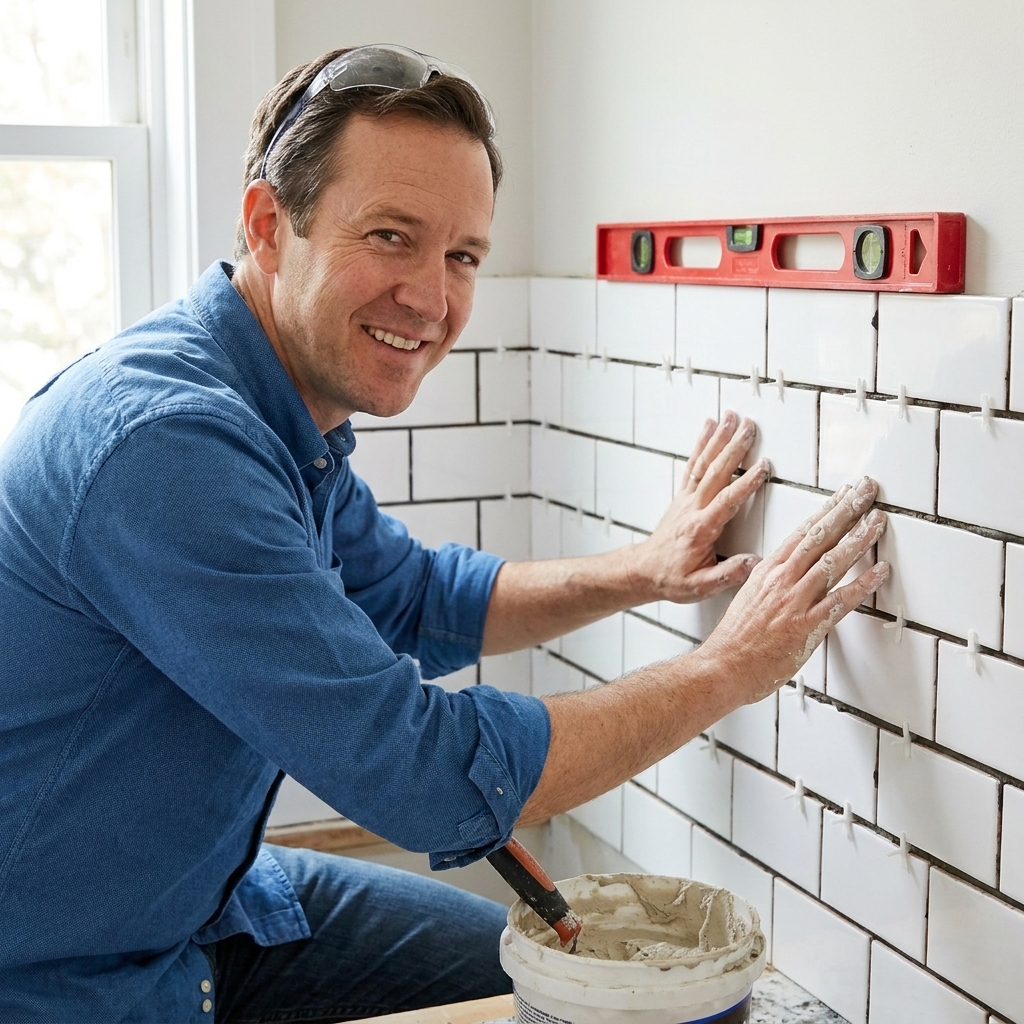
Learn how to install a subway tile backsplash the right way: prep, layout, adhesive choice, coverage checks, cuts around outlets, spacing, grouting, and fini...
The Grout Nest
Updated October 17, 2026
Kitchen Backsplash Materials: Glass vs Stone vs Ceramic
Choosing a kitchen backsplash? Compare glass, natural stone, and ceramic or porcelain tile by cost, durability, maintenance, and DIY difficulty so you can pick the right material for your space and skill level.

Ben Mitchell
Ben Mitchell is a former professional tile setter and passionate home renovator with over 12 years of experience in the flooring industry. After stepping away from commercial contracting, he founded Grout Nest to empower everyday homeowners to tackle their own flooring, tile, and backsplash projects with confidence. He believes that with the right tools, proper prep work, and a little patience, anyone can achieve a professional-grade finish.
Backsplashes are one of those rare kitchen projects where you can get a big visual payoff without ripping out cabinets or refinancing your life. But the material you choose matters more than most people think. Some tiles forgive wavy walls and beginner cuts. Others look incredible but will absolutely expose every little mistake you make while setting, grouting, and cleaning.
Let’s walk through the three most common backsplash materials I see homeowners debating at the tile aisle: glass, natural stone, and ceramic or porcelain. I’ll break down how they look, how they hold up behind a stove, how much maintenance they demand, and how “DIY-friendly” they really are.
Quick comparison at a glance
- Most DIY-friendly: Ceramic and porcelain
- Most forgiving in day-to-day cleaning: Glazed ceramic or porcelain (glass is also easy, but grout is the limiter)
- Most maintenance long-term: Natural stone (especially porous stones)
- Best for a classic look: Ceramic subway tile
- Best for depth and texture: Natural stone
- Best for light bounce and “wow” factor: Glass
Now let’s get specific, because “pros and cons” change a lot depending on your wall condition, your lighting, and how much cooking splatter your kitchen actually sees.
Glass tile backsplashes
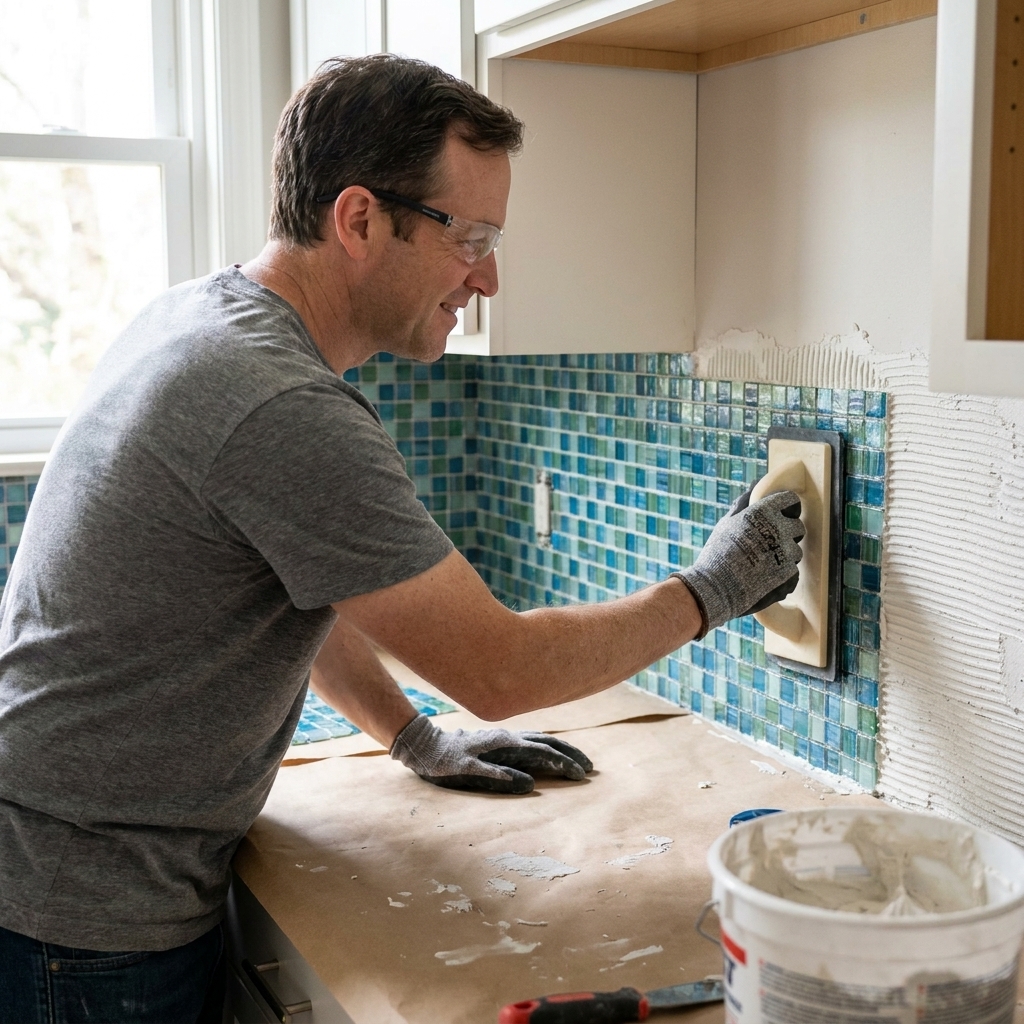
Glass tile is the flashy friend who always looks put-together. It reflects light, can make a smaller kitchen feel bigger, and it comes in colors you just cannot get from clay-based tile. But it has a few gotchas that catch DIYers off guard.
Pros
- Bright, reflective finish: Great for darker kitchens and under-cabinet lighting.
- Highly stain resistant: Most cooking splashes wipe off easily.
- Color options are huge: From clear and frosted to deep saturated tones.
- Often mounted as mosaics: Many glass tiles come on mesh sheets, which can speed layout.
Cons
- Shows installation mistakes: Trowel lines, thinset ridges, and wall waviness can telegraph through clear or translucent glass.
- Cutting can be fussy: Chip-outs happen, especially with cheaper glass or the wrong blade.
- Scratches are possible: Not usually from normal cooking, but abrasive scrub pads can dull some finishes.
- Material cost can jump fast: Designer glass mosaics add up by the square foot.
Maintenance and cleaning
Glass itself is low maintenance. The grout is what you end up maintaining. Use a pH-neutral cleaner for routine wipe-downs and avoid abrasive powders. If you choose a white grout (popular with glass), plan to seal cement grout or use a high-quality grout that resists staining. Epoxy grout is a powerhouse here, but it raises the DIY difficulty.
DIY difficulty: Medium (sometimes hard)
Here’s the honest version: glass tile is doable, but you need to be more meticulous than you’d be with ceramic subway tile.
- Thinset matters: Use a white, polymer-modified thinset approved for glass. Gray thinset can shift the color, and the wrong mortar can bond poorly.
- Substrate color matters: Translucent glass will highlight a patchy wall. If your drywall has dark repairs, old paint, or uneven primer, a quick skim coat or uniform primer layer can save you from weird “shadowing” later.
- Trowel size matters: You want coverage without ridges showing through. Many mosaics do best with a smaller notch and then flattening the ridges.
- Wall prep matters even more: If your wall has dips, glass will highlight them. Skim coating or sanding down high spots is time well spent.
Grout tip: Follow the tile sheet’s recommended joint width. As a rule of thumb, very tight joints often call for unsanded or a specialty grout, while wider joints often take sanded. With glass and polished surfaces, the wrong choice can mean scratches or weak joints.
Natural stone backsplashes (marble, travertine, slate, limestone)
Stone is the “real material” option. It has variation, movement, and depth that manufactured tile imitates but never fully matches. It can also be the option that surprises people with upkeep.
Pros
- One-of-a-kind variation: Veining and color shifts give you a high-end look.
- Texture options: Polished, honed, tumbled, cleft, brushed. You can go sleek or rustic.
- Timeless appeal: Stone tends to age gracefully when maintained.
Cons
- Porous stones can stain: Especially marble, limestone, and travertine. Cooking oils can darken some stones over time if they are not protected.
- Can etch: Acidic cleaners (and even food acids) can dull or mark marble and limestone.
- More variable thickness: Some stone tiles are not perfectly uniform, which complicates lippage control and edges.
- May need sealing: Many stones benefit from a penetrating sealer, but it depends on the specific stone and finish.
Maintenance and cleaning
Stone asks for a little respect.
- Sealer: Many porous stones and cement grouts benefit from a penetrating sealer. If you are not sure, do a quick water-drop test on a spare tile: if the stone darkens after a few minutes, it is a good sign sealing is worth doing. Resealing could be anywhere from yearly to every few years depending on the stone, finish, sealer type, and how you clean. Follow the sealer instructions and let the water test be your referee.
- Cleaner: Use stone-safe, pH-neutral cleaners. Avoid vinegar, bleach, and harsh degreasers unless they are specifically rated safe for your stone.
- Stain management: Wipe splatters sooner rather than later. Behind a range, that matters.
DIY difficulty: Medium to hard
Stone is not impossible for DIY, but it stacks up a few “advanced mode” factors:
- Cutting: Many stone tiles cut cleanly on a wet saw, but brittle stones can chip and layered stones can flake.
- Layout: You often need to blend pieces from multiple boxes for natural color variation.
- Grout haze risk: Textured or tumbled stone can hold haze if you are not careful with cleanup.
If you love stone but want to reduce maintenance, consider a stone-look porcelain. It gives you that visual texture without the sealing and etching drama.

Ceramic and porcelain backsplashes
If you asked me to pick one backsplash material that’s most likely to make a first-time DIYer feel like a superhero, it’s ceramic or porcelain. The selection is endless, the price range is wide, and the installation is generally the most forgiving.
Pros
- DIY friendly: Cuts predictably, sets predictably, and grouts predictably. Predictable is good.
- Low maintenance: Glazed ceramic and porcelain are very stain resistant.
- Huge style range: Subway tile, handmade-look, zellige-look, encaustic-look, stone-look, you name it.
- Great durability: Porcelain in particular is tough and dense.
Cons
- Chipping at cut edges: Happens if you rush cuts or use the wrong blade, especially on glossy glazes.
- Some trendy finishes are harder to grout: Deeply textured “handmade” surfaces can grab grout haze.
- Not all ceramic is equal: Very cheap tile can have size variation that makes tight grout lines frustrating.
Maintenance and cleaning
For most glazed ceramic and porcelain backsplashes, maintenance is simple: wipe with mild soap and water or a gentle kitchen cleaner. Grout is still the “maintenance line item,” so consider these choices:
- Grout color: Mid-tone gray hides daily life better than bright white.
- Grout type: A high-performance cement grout is a great middle ground. Epoxy is extremely stain resistant, but it is less beginner-friendly.
- Sealing: Many cement grouts benefit from sealer. Most glazed tiles do not need sealing.
DIY difficulty: Easy to medium
Ceramic and porcelain are where prep work and patience pay off the most. A basic subway tile backsplash is a fantastic first tile project, especially if you keep cuts to a minimum and choose a tile with consistent sizing.

Cost reality check
Backsplash cost is not just tile price. It’s also the trim, thinset, grout, sealer, and the tools you may need for clean cuts.
- Ceramic: Often the best value, with plenty of great-looking options at budget prices.
- Porcelain: Usually a bit more than ceramic, but still competitive and very durable.
- Glass: Frequently higher per square foot, especially for premium mosaics and specialty finishes.
- Natural stone: Can range from affordable to “please sit down” expensive, and it may add sealer costs plus more waste due to variation and cutting.
If you are comparing price tags at the store, also compare edge finishing. Some tiles have matching bullnose or trim pieces. Others require metal edge profiles, which are not expensive but do add cost and planning. Also think through where tile stops at cabinet ends, windows, and open walls, because clean transitions are what make a backsplash look intentional.
What to choose based on your kitchen
If you cook a lot (grease and splatter happen)
Choose porcelain or glazed ceramic for the simplest cleanup. Glass can also work well, but make sure the grout choice is stain resistant and your installation is solid. Natural stone can work, but it is the least forgiving if you are wiping up splatters once a week instead of once an hour.
If your kitchen is dark
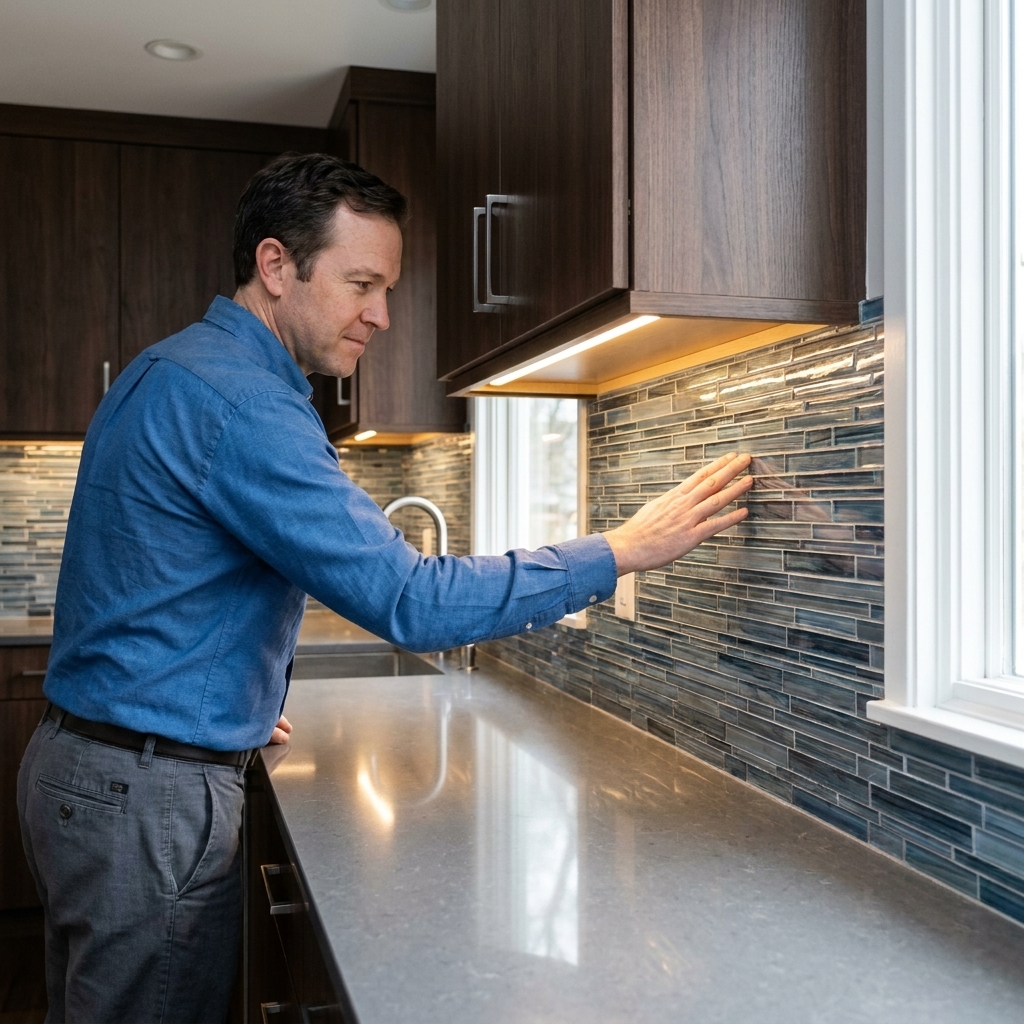
Glass is the winner for bouncing light around, especially with under-cabinet LEDs. Glossy ceramic can also brighten a space.
If you want the most timeless look
It is hard to beat ceramic subway tile with a classic grout color. It is not “boring,” it is a blank canvas for the rest of the kitchen.
If your walls are not perfectly flat
Ceramic and porcelain are generally more forgiving. Glass, especially clear glass, can highlight wall waves. Stone can sometimes mask imperfections if it has texture, but variable thickness can create its own challenges.
Heat and safety notes
A backsplash is not a shower, but it is also not a painting. Heat and grease are real, especially near a range.
- Adhesive choice matters near heat: Premixed mastic can be fine for many standard backsplash areas, but avoid it where heat is higher (like directly behind some ranges) and always follow the mortar and tile manufacturer’s guidance. When in doubt, thinset is the safer bet.
- Check clearances: Make sure your installation around a range and any trim pieces meet appliance clearance requirements, especially if you are tiling close to a cooktop or using materials that can discolor with heat.
DIY success checklist (no matter what material you pick)
I say this so often my wife can recite it: prep work is 90% of the job. Here is the “backsplash survival” list I wish every first-timer followed.
- Flatten and clean the wall: Degrease, scrape, sand, and patch. Paint sheen and kitchen grime can ruin adhesion.
- Plan your layout: Dry lay a row on the counter, mark centerlines, and decide where cut tiles will land. Avoid tiny slivers at the ends when you can.
- Use a ledger board if needed: If your countertop is not perfectly level, a temporary straight ledger helps keep your first row dead straight.
- Pick the right mortar: Mastic can be fine for some backsplashes, but thinset is more versatile, especially near heat and moisture. For glass, use mortar rated for glass.
- Mind your outlets: Turn off power, pull outlets forward with extenders if needed, and plan tile cuts so cover plates sit flat. Take a second to think about your tile edge at cabinet runs and outside corners too, because it is hard to “hide” those later.
- Don’t rush grout cleanup: Most grout “problems” are actually cleanup problems. Work small areas and change water often.
FAQ
Is glass tile hard to install on a backsplash?
It can be. The biggest challenges are preventing thinset ridges from showing through, keeping the substrate color consistent behind translucent tiles, and getting clean cuts without chipping. It is very doable if you use white mortar approved for glass, flatten your trowel ridges, and take your time.
Do I need to seal a ceramic or porcelain backsplash?
Usually no for the tile surface if it is glazed ceramic or standard porcelain. You may want to seal cement-based grout depending on the product and the stain resistance you want.
Do I need to seal a stone backsplash?
Many do, especially porous stones. The simplest answer is: do a water-drop test, then follow the stone and sealer manufacturer’s guidance. Some denser stones may not need sealing for performance, but people still seal for easier cleanup.
What backsplash material is easiest to keep clean?
Glazed ceramic and porcelain are usually the simplest. Glass is also easy to wipe down, but grout selection and installation quality matter. Stone requires the most careful cleaning products and habits.
Can I use the same grout for all three materials?
You can, but you should not assume you should. Some glass tiles prefer specific grout types based on joint width and scratch sensitivity. Many stone installations do best with grout and cleaners that are stone-safe. Always check the tile manufacturer’s recommendations.
My bottom line pick
If you want the best odds of a clean-looking, weekend-friendly DIY win, go ceramic or porcelain. If you want maximum sparkle and light bounce and you are willing to be meticulous, choose glass. If you want natural character and you are okay with sealing when your stone actually needs it and sticking to gentle cleaning routines, stone can be gorgeous.
Whatever you choose, remember: the tile is only half the job. The other half is straight lines, solid adhesion, and grout cleanup that does not leave you scrubbing haze at midnight while your dog tries to walk across everything you just finished. Ask me how I know.