Learn how to install a subway tile backsplash the right way: prep, layout, adhesive choice, coverage checks, cuts around outlets, spacing, grouting, and fini...
The Grout Nest
Updated October 17, 2026
Replace Moldy Caulk on a Kitchen Backsplash
Learn how to remove moldy, failing backsplash caulk and apply a clean, waterproof silicone bead between tile and countertop. Includes tools, prep, cure times, and pro finishing tips.

Ben Mitchell
Ben Mitchell is a former professional tile setter and passionate home renovator with over 12 years of experience in the flooring industry. After stepping away from commercial contracting, he founded Grout Nest to empower everyday homeowners to tackle their own flooring, tile, and backsplash projects with confidence. He believes that with the right tools, proper prep work, and a little patience, anyone can achieve a professional-grade finish.
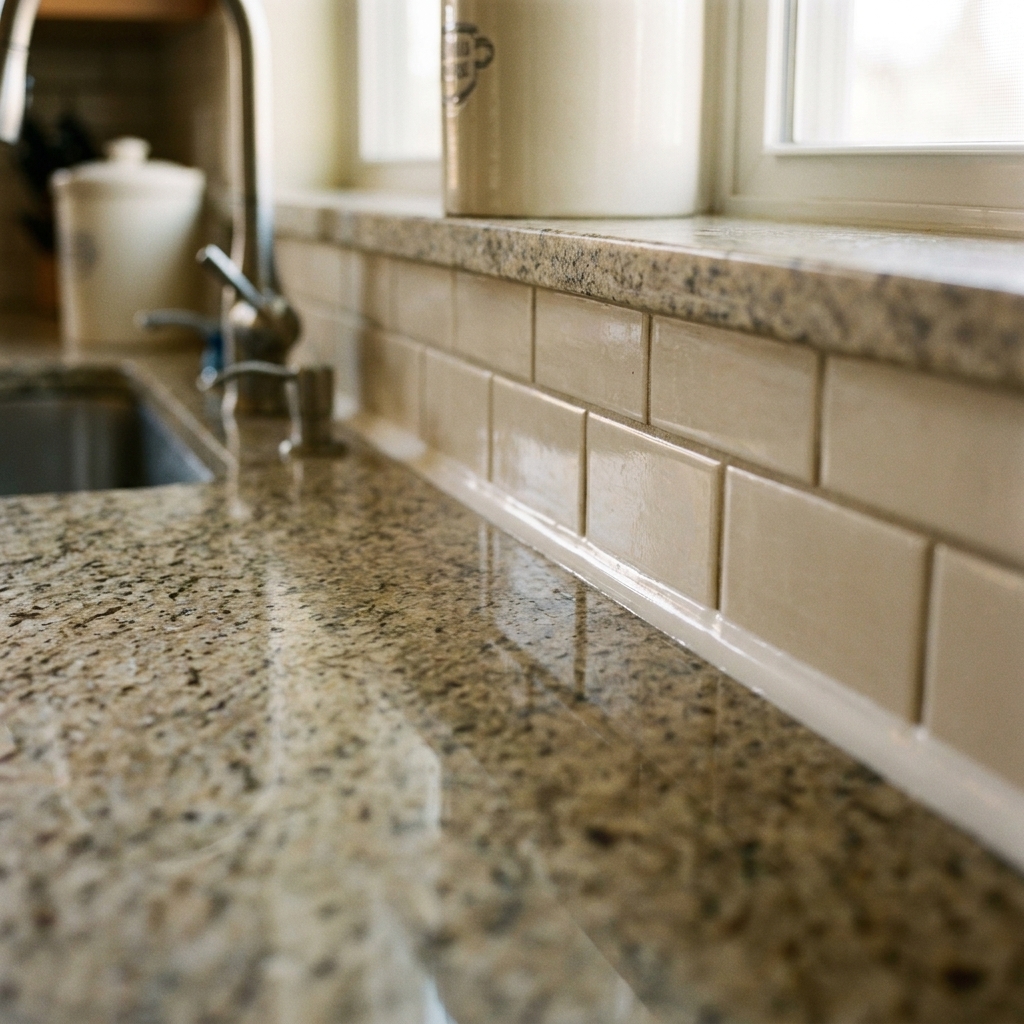
If the caulk line where your backsplash meets the countertop has turned black, looks wrinkled, or peels up when you wipe it, it is not “just cosmetic.” That joint is a splash zone. Once caulk fails, water and food gunk creep behind it, and mold takes the hint.
The good news: replacing that bead is one of the most satisfying kitchen fixes you can do in an hour or two. The secret is not a fancy caulk gun. It is prep work. Prep is most of the job, and backsplash caulk is the poster child for that rule.
Use the right caulk (this matters)
For a kitchen backsplash, I strongly recommend 100% silicone kitchen and bath caulk (not acrylic latex, not painter’s caulk). Silicone stays flexible, sticks to tile and solid surfaces, and resists water better long term.
- Best choice: 100% silicone labeled “Kitchen & Bath” or “Mold/Mildew Resistant.”
- Color: White is common, but clear silicone hides minor waviness in the joint. Color-matched silicone looks great if your grout is a specific shade.
- Sheen: Silicone often dries with a slight sheen. That is normal.
If you currently have silicone in the joint, replace it with silicone again. Silicone does not bond reliably to old silicone, so we remove it all and start fresh.
Tools and materials
- Utility knife with a fresh blade
- Plastic caulk removal tool or plastic putty knife (helps avoid scratching)
- Needle-nose pliers (for pulling long strips)
- Caulk softener (optional, but helpful on stubborn silicone)
- Rubbing alcohol (70% or higher) or denatured alcohol
- Paper towels or lint-free rags
- Mildew remover or a bleach-based cleaner (for killing what you can see)
- Painter’s tape (blue or green)
- 100% silicone kitchen and bath caulk
- Caulk gun
- Disposable nitrile gloves
Quick safety note: Open a window or run your vent fan. Alcohol and caulk removers are flammable, so keep them away from flames or hot burners.
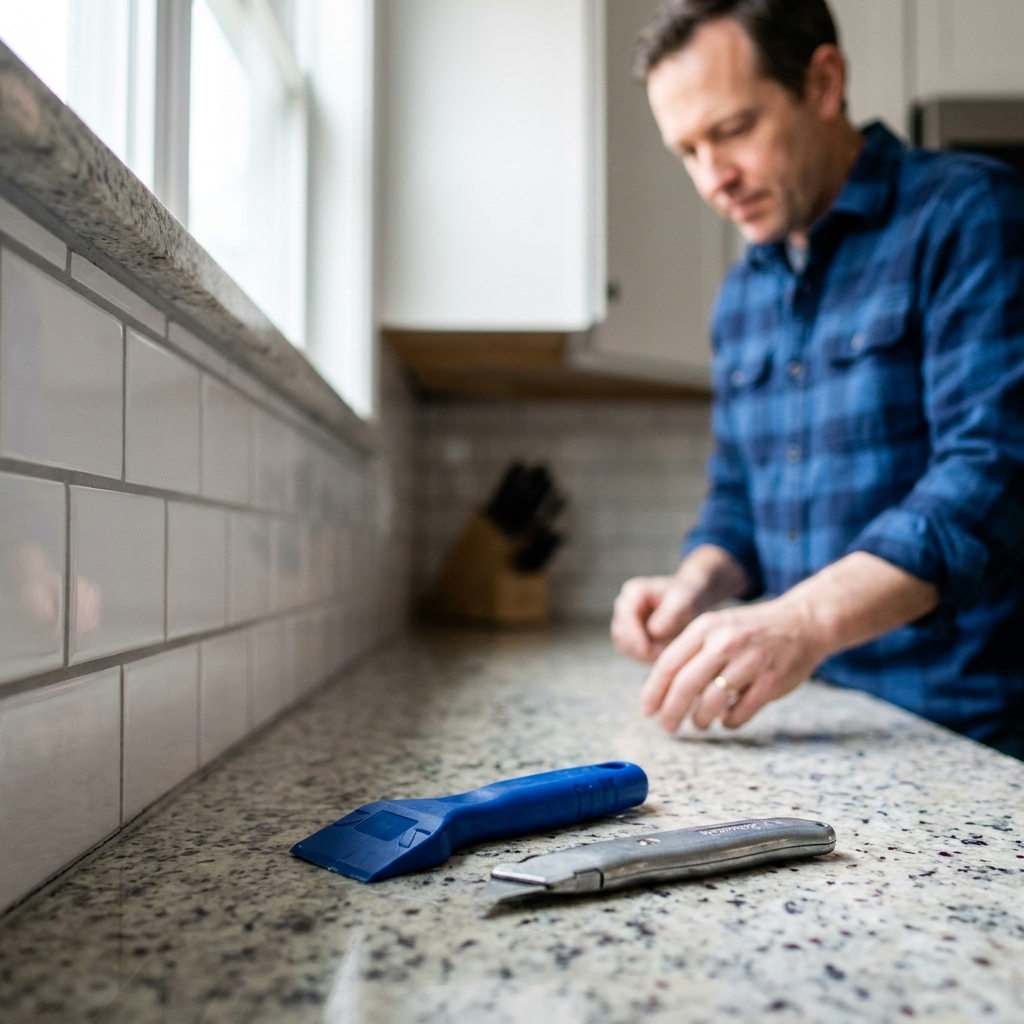
Step 1: Protect the area and dry it out
Clear the counter along the backsplash. Then do two quick things:
- Avoid new water: Try not to use the sink in a way that splashes that seam, and do not wipe standing water into the joint.
- Dry the joint: Wipe everything down and let it air-dry. If the area has been getting soaked, point a small fan at the seam for 30 to 60 minutes. Silicone hates moisture during application.
Step 2: Cut and pull the old caulk
This is where most DIY caulk jobs go sideways. You want all the old caulk out, not just the moldy surface.
How to remove it cleanly
- Score both edges: Run your utility knife along the top edge (where caulk meets tile) and the bottom edge (where it meets the countertop). Keep the blade shallow so you do not gouge laminate or scratch softer stone.
- Lift a corner: Use a plastic tool to pry up an end.
- Pull in strips: Grab with pliers and pull slowly. Good silicone often comes out in satisfying noodles. Bad silicone comes out like shredded gum. Either way, keep going.
- Chase leftovers: Any thin film left behind will ruin adhesion. Work it loose with the plastic scraper.
If it refuses to budge: Apply a caulk softener, wait the labeled dwell time, and try again. On older jobs, the difference is night and day.
One more caution: If you have natural stone or a “mystery” countertop, test caulk softener in a hidden spot first. Some removers can stain or dull certain finishes.
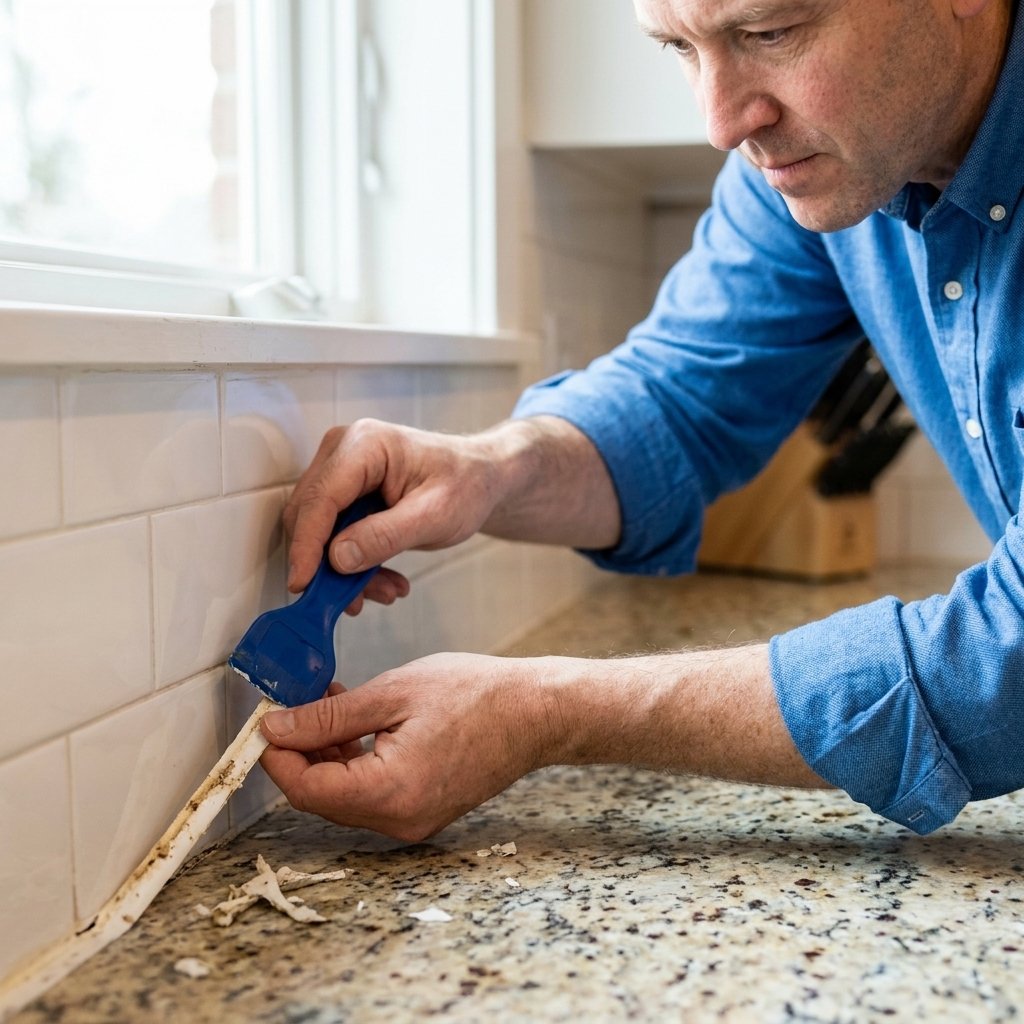
Step 3: Kill mildew and clean for adhesion
Removing caulk exposes the real mess: soap film, cooking grease, and sometimes mildew staining in the corners. Clean in two passes.
Pass A: Disinfect
- Spray the joint with a mildew remover (or a bleach-based cleaner if appropriate for your surfaces).
- Let it sit per label directions.
- Scrub lightly and wipe clean.
Important: Some natural stones and metal trims do not love bleach. If you have marble, limestone, or a mystery countertop, use a stone-safe mildew cleaner and test in an inconspicuous spot first.
If you use a bleach-based product, wipe or rinse thoroughly with clean water afterward and let the area dry. Never mix bleach with other cleaners, especially anything with ammonia or acids.
Pass B: Degrease and de-slick
Once disinfected and fully dry, wipe the joint with rubbing alcohol on a clean rag. Alcohol removes residue and flashes off fast, leaving a surface silicone can actually grip.
Let everything dry completely. If you see moisture tucked under the bottom row of tile, give it more time and airflow. Caulk applied over damp gaps is one of the most common reasons it peels early, right up there with grease residue and leftover silicone film.
Step 4: Decide if you need backer rod (most people do not)
The gap between countertop and tile is usually small. If your gap is roughly 1/4 inch or larger, or it is deep enough that you would need to dump in a lot of silicone, use foam backer rod.
- Why: It supports the caulk, reduces waste, and helps the bead flex correctly.
- How: Press it into the gap with a plastic tool so it sits slightly below the surface, then caulk over it.
Step 5: Tape the joint for crisp lines
I know, I know. Taping feels fussy. But if you want that clean, professional edge without stress, tape is your friend.
- Run painter’s tape along the countertop, about 1/8 inch away from the joint.
- Run a matching strip on the tile side.
- Keep the reveal consistent, even if the gap varies.
This creates a “channel” so you can tool the bead confidently without smearing silicone all over your backsplash.
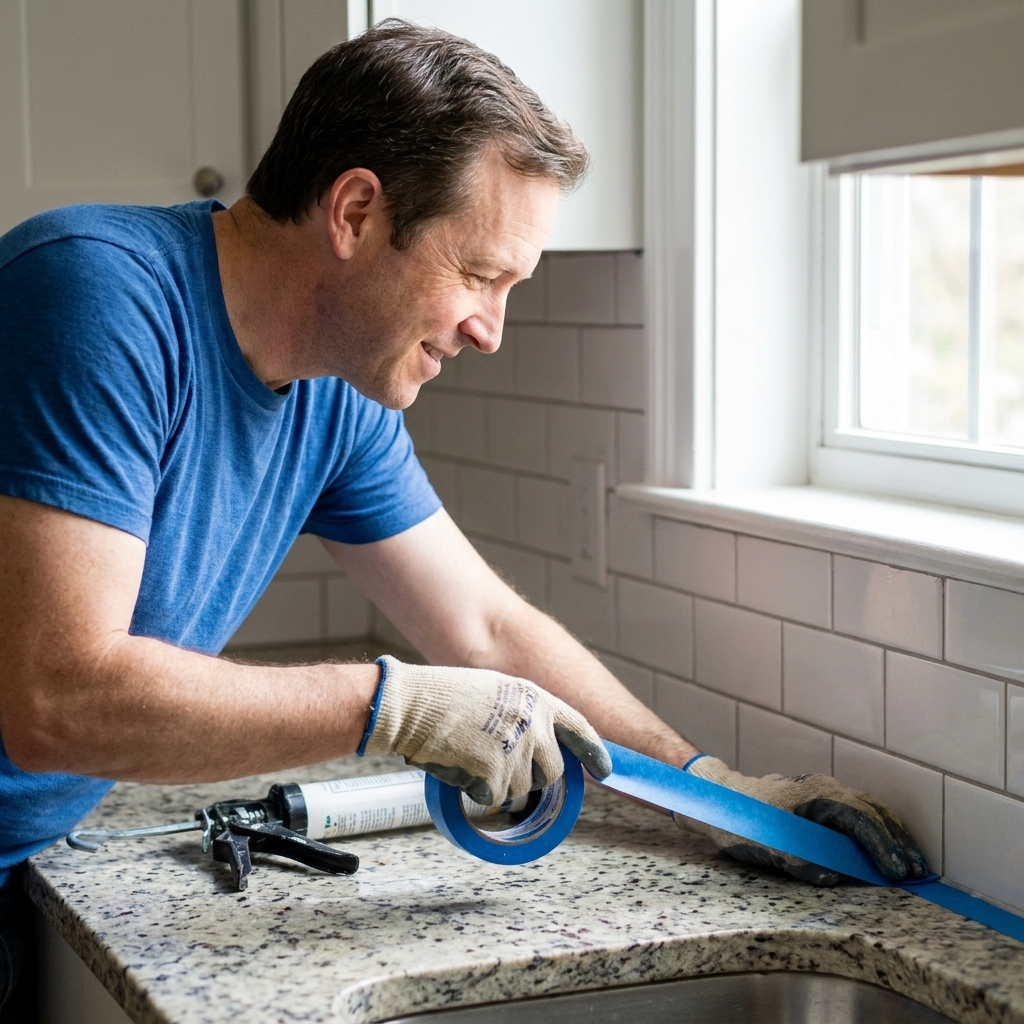
Step 6: Cut the nozzle and lay a steady bead
Cut the nozzle the right way
- Cut the tip at a 45-degree angle.
- Start small. You can always cut a bit more off, but you cannot put it back on.
- Pierce the inner seal (most tubes have one) with the built-in poker on your caulk gun or a long nail.
Apply the bead
Hold the gun at roughly 45 degrees and keep steady pressure. Move at a consistent pace so the bead is even.
- Tip: I prefer to push the bead (nozzle moving forward) so silicone gets pressed into the joint instead of just laid on top. Plenty of pros pull the bead too. The key is steady pressure and full contact with both surfaces.
- Work in short runs: 2 to 4 feet at a time, especially if you are new to silicone. It starts skinning over faster than you think.
Step 7: Tool the bead
Tooling is just shaping and pressing the silicone so it seals both sides of the joint.
My go-to method
- Put on a nitrile glove.
- Lightly wet your gloved finger with water, or use a dedicated caulk tooling tool. (Some people use a tiny bit of soapy water, but go easy. Too much soap can interfere with adhesion on certain silicones. When in doubt, follow the tube’s directions.)
- With gentle, consistent pressure, drag your finger along the bead in one smooth pass.
Do not overwork it. Two passes is usually plenty. If you keep fussing, you will pull silicone back out of the joint and leave thin spots that fail first.
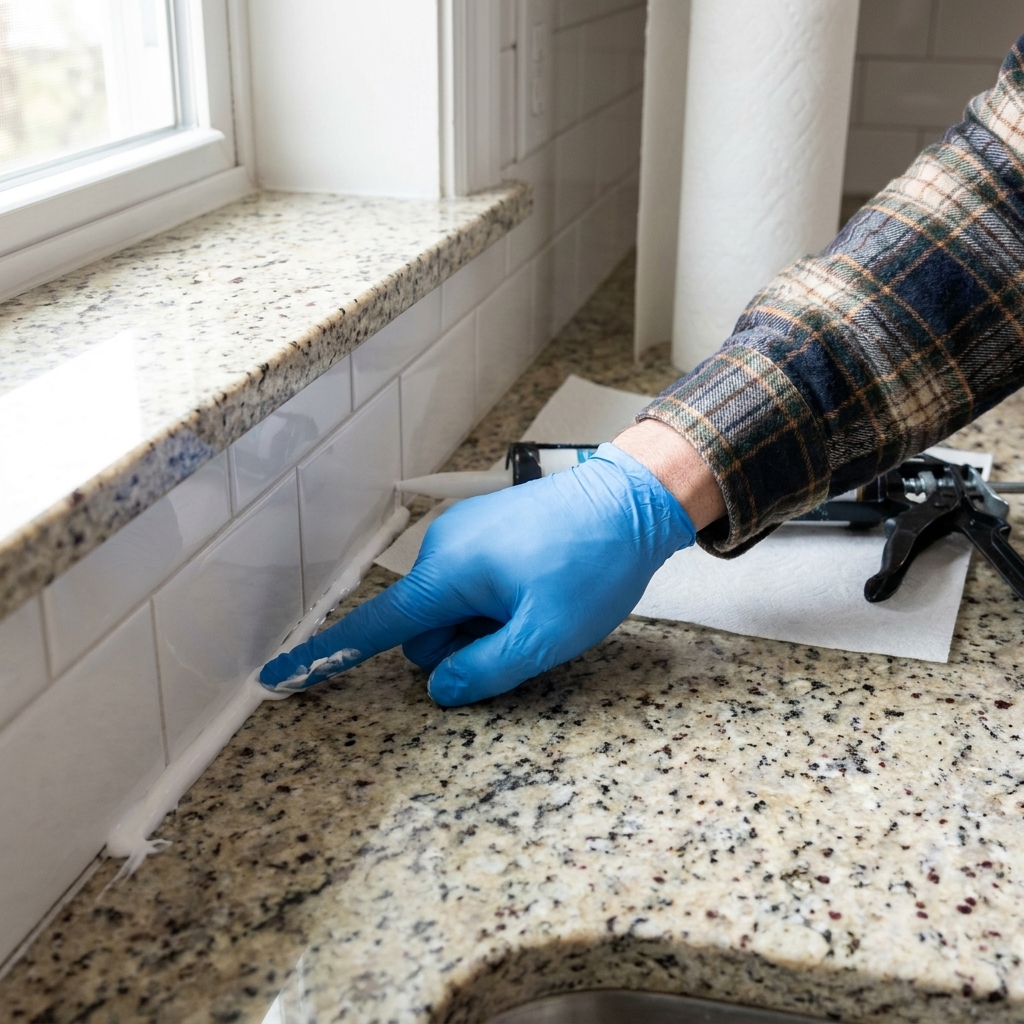
Step 8: Pull the tape at the right time
Pull tape immediately after tooling, while the silicone is still wet.
- Peel back slowly at a low angle, pulling the tape away from the bead.
- If you see a spot lifting, stop and lightly re-tool that area.
Waiting until silicone skins over is how you get jagged edges and torn lines.
Step 9: Cure time and when you can use the kitchen again
Silicone is not “dry” just because it looks dry.
- Common water-ready time: Often about 24 hours before exposing it to water
- Sometimes longer: Up to 48 hours for thicker beads or cool, humid kitchens
Check the tube for the manufacturer’s cure time. Also note the fine print: many silicones are “water ready” well before they are fully cured, and full cure can take several days depending on bead thickness and humidity. If you can, avoid splashing the seam until it is fully cured. I have seen perfect-looking beads fail early because someone wiped the counter with a soaking rag an hour later.
Common problems (and how to fix them)
“My caulk bead looks wavy.”
Usually the gap is uneven. Use tape next time, and consider clear silicone if the joint is visually inconsistent. You can also use a caulk profiling tool to keep pressure and shape consistent.
“It peeled off after a week.”
That is almost always contamination or moisture. Old silicone film, greasy residue, applying over a damp joint, expired product, or using the wrong type of caulk can all cause adhesion failure. Strip it fully, clean with alcohol, dry thoroughly, and reapply.
“Mold came back fast.”
If mold returns quickly, it may be living behind the bottom tile edge or in the drywall. Make sure you removed all old caulk, disinfected, and allowed the area to dry. Also check for ongoing water sources like a leaking faucet, a seam that catches standing water, or a splash-heavy prep area.
“The silicone won’t smooth, it just drags.”
Either you waited too long and it started skinning, or you are tooling with a dry finger. Work in shorter sections and lightly wet your glove or tool.
Pro tips from a former tile setter
- Keep a trash bag right on the counter: Old silicone strings love to stick to everything you own.
- Use bright light: A handheld work light aimed along the seam makes gaps and thin spots obvious.
- Match the bead size to the joint: Bigger is not better. You want a neat, slightly concave bead that bridges both surfaces.
- Do not caulk over grout dust: If you recently did grout work, vacuum and wipe with alcohol first.
- Clean up the right way: For uncured silicone smears, follow the manufacturer’s cleanup guidance. Once silicone cures, it is mechanical removal only.
FAQ
Should I caulk between the countertop and backsplash, or grout it?
Caulk it. That joint is a change of plane and it moves with seasonal expansion, settling, and countertop flex. Grout there often cracks, then traps water.
Can I caulk over old caulk if it looks mostly fine?
No. Silicone does not reliably bond to old silicone. You might get it to look better for a week, but it is a temporary cover-up. Remove it completely for a lasting seal.
Is bleach safe to use before recaulking?
Bleach can help kill surface mildew, but it is not ideal for every surface. Use a cleaner appropriate for your countertop and tile, wipe or rinse well after use, and let the joint dry completely before using alcohol and applying silicone. Never mix bleach with other cleaners.
Clear or white silicone for a backsplash?
Clear hides minor inconsistencies and works with most tile. White gives a crisp border but shows dirt sooner. If your grout is a specific color, a color-matched silicone often looks the most “built-in.”
Wrap-up
If you take nothing else from this: removing every trace of the old silicone and getting the joint clean and dry is what makes a new caulk line last. The bead itself is the easy part.
Once you do this once, you will start noticing failing caulk everywhere: shower corners, sink rims, and tub edges. Consider yourself warned. There is a certain satisfaction to a clean, watertight line that makes you want to keep going, kind of like a perfectly set row of subway tile. Almost.