Durable, scratch-resistant, waterproof flooring picks that stand up to claws, zoomies, accidents, and shedding, with practical DIY buying tips from The Grout...
The Grout Nest
Updated October 17, 2026
Fix Scratches and Gouges in Hardwood Floors
From hairline scratches to deep gouges, learn how to repair hardwood floors using stain pens, wax sticks, wood filler, and blending tricks that make damage disappear.

Ben Mitchell
Ben Mitchell is a former professional tile setter and passionate home renovator with over 12 years of experience in the flooring industry. After stepping away from commercial contracting, he founded Grout Nest to empower everyday homeowners to tackle their own flooring, tile, and backsplash projects with confidence. He believes that with the right tools, proper prep work, and a little patience, anyone can achieve a professional-grade finish.
If you have hardwood floors long enough, they are going to get scratched. Dog claws, chair legs, a rogue grit pebble in a shoe tread. I have installed floors that looked like a showroom at 4:00 pm and looked like a bowling alley by dinner because someone slid a fridge two inches without a pad. The good news is most hardwood “damage” is cosmetic, and the right fix depends on how deep the scratch is and what finish you have.
This guide walks you through the same decision process I use in real homes: quick touch-ups for light scuffs, wax options for deeper scratches, and wood filler and patching for gouges. No mystery contractor magic, just clean prep, the right product, and patience.
First: figure out what kind of damage you have
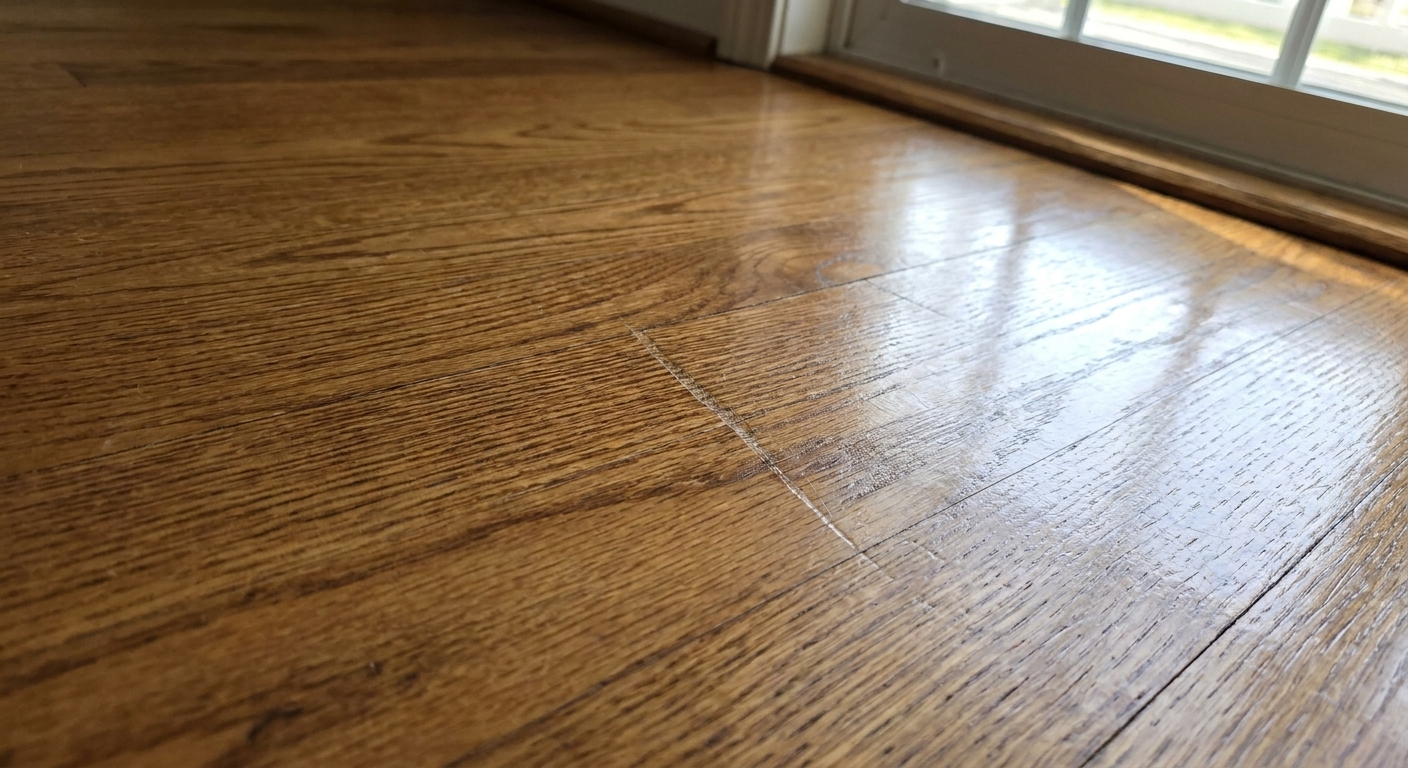
Before you buy anything, run a simple “fingernail test” and take 30 seconds to understand what you are looking at. This prevents the classic DIY mistake of putting filler on a scratch that only needed polishing, or staining something that should have been waxed.
The fingernail test
- If your fingernail does not catch, you likely have a scuff in the finish only. Often fixable with cleaning, buffing, or a refresher product.
- If your fingernail barely catches, it is a light scratch into the finish and maybe a tiny bit of wood. Good candidates for stain pens or tinted wax sticks.
- If your fingernail clearly catches or drops into it, you have a deep scratch or gouge into wood. This is where filler, hard wax, or a board-level repair comes in.
Know your finish (quick and practical)
You do not need a lab test, but it helps to know whether you are dealing with a surface finish or a penetrating oil finish:
- Urethane finishes (common): this includes site-finished polyurethane and many factory UV-cured urethane finishes on prefinished planks. It looks like a clear protective layer on top. Scratches often show as white lines or dull streaks in the sheen.
- Oil or hardwax oil: more “in the wood” look, typically easier to spot-repair, but it needs the right product system and proper drying time.
- Waxed floors (older homes): uncommon now, but repairs often require wax-specific products. A floor that buffs up shiny with rubbing and feels slick even when clean may be waxed. Water beading can happen on other finishes too, so do not treat that as definitive.
If you are unsure, assume a urethane-type finish and start with the least aggressive fix. You can always step up. You cannot un-sand a floor.
One more thing: solid vs engineered
If you have engineered wood, be extra cautious with sanding. The wear layer can be thin, and it is easy to sand through the veneer and create a bigger, permanent problem. When in doubt, keep the repair in the “clean, color, fill” lane and skip broad sanding.
Tools and materials that actually work
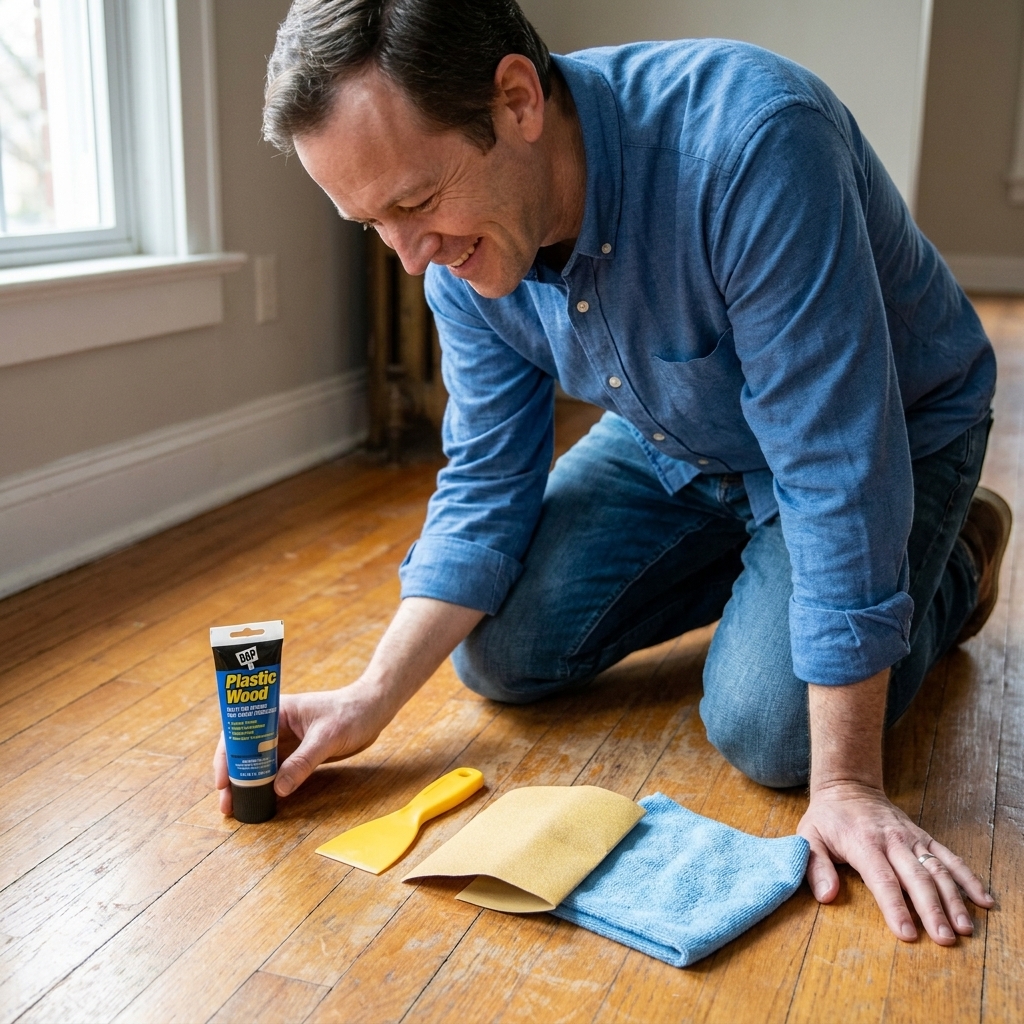
You do not need a garage full of gear. You do need the right small stuff, because hardwood repairs are mostly about control and blending.
My go-to kit
- Microfiber mop and towels
- Vacuum with a soft floor head
- pH-neutral hardwood floor cleaner
- Mineral spirits (for stubborn grime and some waxy residue, used carefully)
- White non-scratch pad (or a very mild abrasive pad)
- Cotton swabs and small artist brush
- Stain pen or stain marker set (2 to 3 close tones)
- Tinted wax fill sticks (or hard wax repair sticks)
- Putty knife (plastic is safer than metal)
- Fine sandpaper (320, 400, and 600 grit) and a small sanding block
- Razor blade scraper (optional, for leveling fill, used gently)
- Clear topcoat product: wipe-on poly for compatible urethane floors, or the manufacturer’s oil maintenance product
Prep work: the boring part that makes the repair disappear
Prep is most of the job. Also, prep is the part everyone rushes. Then they email me a photo of a perfectly filled gouge surrounded by a gray, smeared grime halo. Let’s avoid that.
Step 1: Clean like you mean it
- Vacuum the area to remove grit. Grit is what creates new scratches while you work.
- Clean with a pH-neutral hardwood cleaner. Avoid steam mops and avoid “all-purpose” cleaners that leave residue.
- If the scratch is near the kitchen or a doorway and feels oily, lightly dampen a cloth with mineral spirits and wipe just the repair zone. Then let it fully dry.
Mineral spirits safety (read this)
- Test first in a hidden spot. Some floors have unknown products on them, including polishes and waxes.
- Ventilate the room and keep the rag just damp, not dripping. Do not soak seams or bevels.
- Dispose of used rags safely per the product label. Do not leave solvent-soaked rags balled up.
Step 2: Scuff-sand only if you need to
If you plan to apply a small topcoat later, you may need a very light scuff with a white pad or 600 grit paper to help adhesion. Do not sand beyond the repair area. Keep it small and controlled, especially on engineered floors.
Step 3: Test color in a hidden spot
Every stain pen and wax stick looks perfect under the store lights and a little different in your living room. Test on a closet threshold or under a vent cover if possible.
Fix 1: Scuffs and “white lines” in the finish
Many “scratches” are actually micro-abrasions in a urethane finish that scatter light. That is why they look white or chalky. The wood underneath might be totally fine.
Method A: Buff and blend
- Clean the area.
- Apply a tiny amount of a hardwood-safe polish or refresher product to a microfiber cloth.
- Buff with the grain using light pressure.
- Feather out the edges so you do not create a shiny spot.
If the mark improves significantly, you were dealing with finish scuffing, not missing color.
Refresher product warning (quick but important)
Some “polish” type products leave acrylic or silicone-like buildup that can complicate future recoats. If you want the safest path, use a product approved by your floor manufacturer, or treat it as a temporary cosmetic fix and keep it out of your long-term recoat plan.
Method B: Spot topcoat (careful)
For slightly deeper finish scratches, a very thin wipe-on polyurethane can help, but it is easy to create a patch that flashes different in the light. Also, adhesion can fail if the existing finish has wax, polish residue, or silicone contamination.
- Do not apply polyurethane over waxed floors or oil-finished floors unless you have confirmed compatibility.
- Use a small artist brush.
- Apply the thinnest possible coat along the grain.
- Feather edges immediately.
- Let it dry fully and evaluate in daylight before adding more.
If your floor is a factory-finished plank with a bevel, keep product out of the groove. Dried finish in a micro-bevel looks like a shiny outline forever.
Fix 2: Light scratches that need color
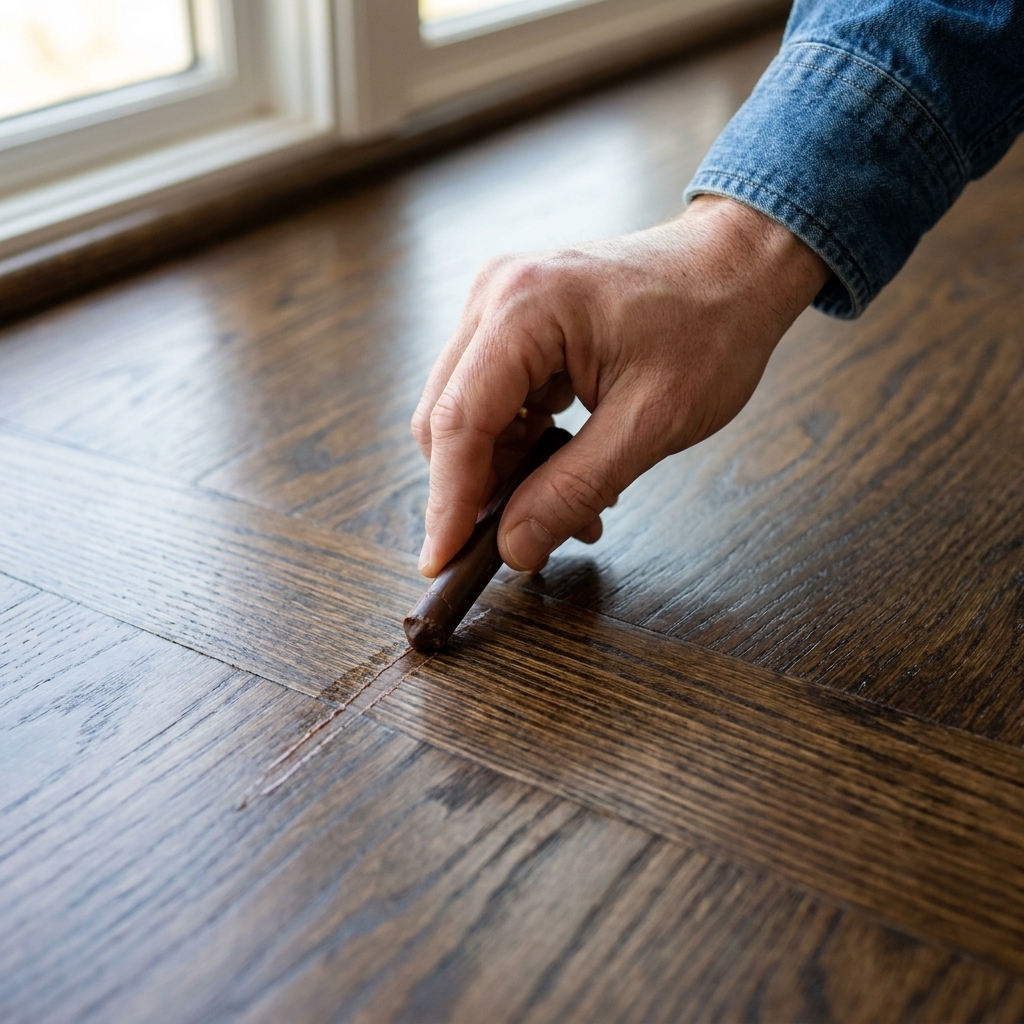
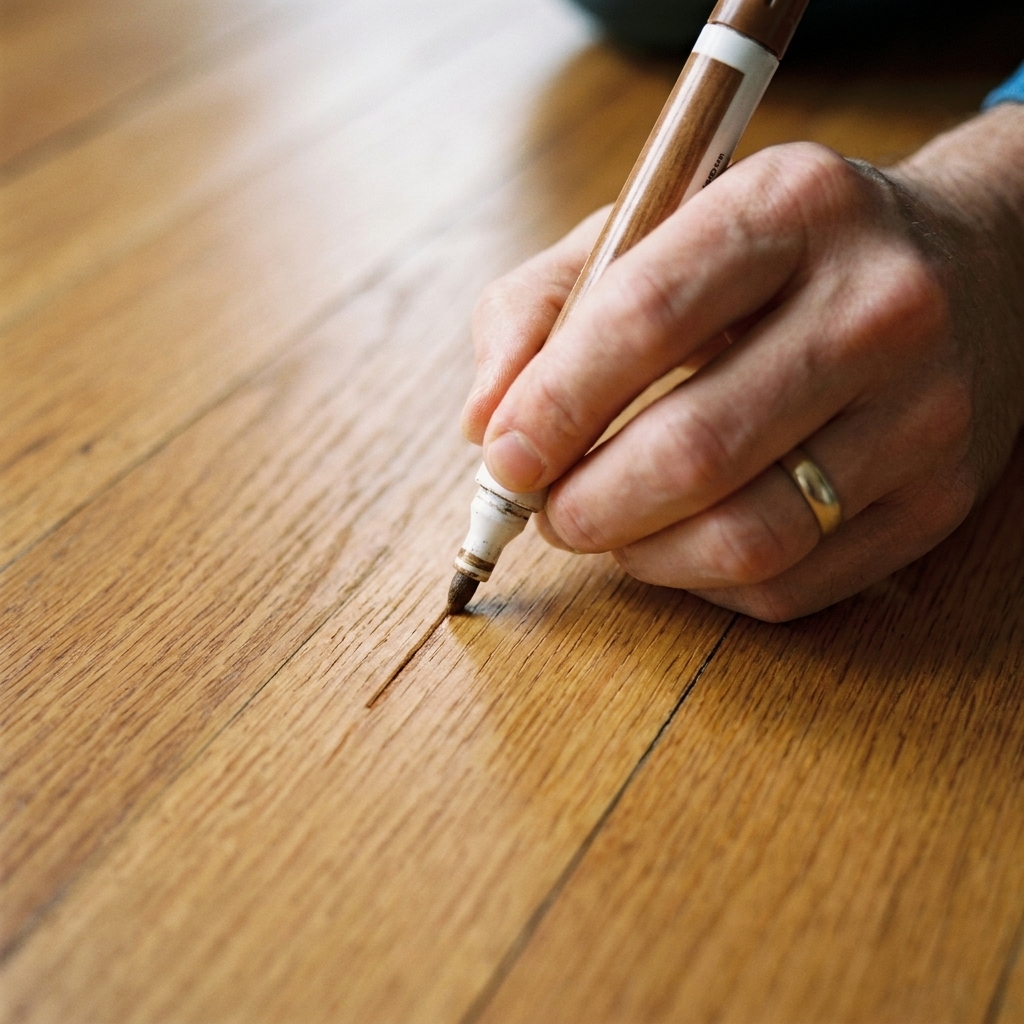
Stain pens are great when the scratch is narrow and you mostly need color, not structural filling.
How to use a stain pen without making a mess
- Start lighter than you think. You can darken in layers.
- Run the pen with the grain, not across it.
- Immediately blot with a clean cloth so color stays in the scratch, not on the surrounding finish.
- For wider scratches, use a cotton swab to “paint” the scratch, then blot.
Blend like a pro
Wood is not one color. It is a mix of tones. A trick I learned doing punch-list repairs on high-end installs is to use two markers:
- Use a medium tone to fill the base color.
- Use a slightly darker tone to add a couple of short streaks that mimic grain.
- Blot lightly to soften.
Stand up, take two steps back, and look from multiple angles. If it disappears from normal standing height, you nailed it.
Fix 3: Medium scratches and small dents
Wax is the unsung hero of hardwood scratch repair. It fills the void and adds color without aggressive sanding. For many homeowners, this is the sweet spot between “quick touch-up” and “full patch.”
Soft wax fill sticks (easy DIY)
- Choose a wax stick slightly lighter than the floor.
- Rub it across the scratch to pack wax into the line.
- Use a plastic putty knife or an old credit card edge to scrape excess with the grain.
- Buff with a microfiber cloth.
Soft wax is fast, but it can wear out in heavy traffic. I like it for bedrooms, under tables, and areas that do not get constant grit.
Hard wax repair sticks (more durable)
Hard wax systems are what many pros use for on-site touchups on both site-finished and prefinished floors. They are tougher than soft wax and hold up better to foot traffic, but they take more care to melt and blend correctly.
Hard wax is durable, but it is not the same as rebuilding a full factory finish system. In a hard-wearing hallway or entry, you may still end up happier with a board swap or a pro repair if the damage is significant.
If you go this route, follow the kit instructions precisely, keep heat controlled, and practice in a hidden area first. Too much heat can discolor the surrounding finish.
Fix 4: Deep gouges and chips
If wood is missing, a stain pen will not solve it. You need to fill, then color, then protect.
Pick the right filler
- Water-based wood filler: easy to work, low odor, sands well. Can shrink a bit as it dries.
- Solvent-based filler: tougher and sometimes better color stability, but more odor and cleanup is fussier.
- Color-matched filler: convenient, but still expect to tweak color after.
For floors, I prefer a filler that dries hard and sands smooth. Avoid super-soft “spackle-like” fillers. They crumble under foot traffic.
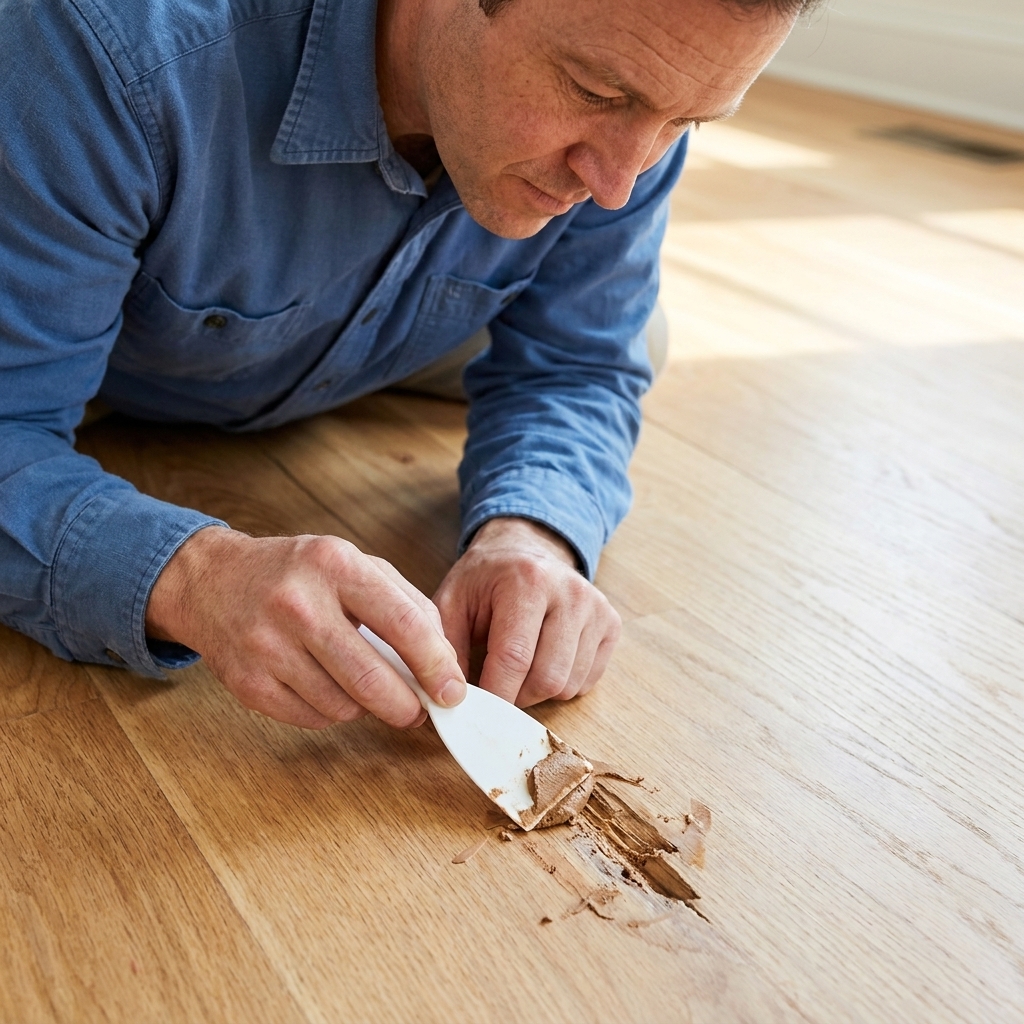
Step-by-step: fill and level
- Clean the gouge thoroughly. Use a vacuum nozzle and a dry toothbrush if needed.
- Press filler into the void with a putty knife. Pack it in. Air pockets become craters later.
- Slightly overfill to allow for shrink and sanding.
- Let it cure fully. Dry to the touch is not the same as cured.
- Sand gently with 320 to 400 grit on a small block until level. Keep sanding tight to the repair.
Color match after filling
Most fillers dry lighter than you expect. Use stain markers or a small amount of matching stain applied with a swab to tone it. Build color gradually.
Seal the repair
Once color looks right, protect it. The key is compatibility.
- For urethane-finished floors, apply a thin coat of wipe-on poly with a small brush, feathering edges. Skip this if the floor has wax, oil, or unknown polish buildup until you confirm what is on the surface.
- For oil or hardwax oil floors, use the manufacturer’s maintenance oil in a tiny spot application.
Let it dry and then reassess sheen. Often the only giveaway is that the repaired spot is glossier or flatter than surrounding boards. Adjust with one more very thin coat or gentle buffing as needed.
Optional: burn-in repairs
You may hear pros talk about “burn-in” sticks (shellac or lacquer-based) that get melted into a scratch and leveled smooth. They can work for certain small, precise repairs, especially on older finishes, but they are also easy to mess up. Too much heat, wrong product, or the wrong solvent can wrinkle or discolor the surrounding finish.
If you are a DIYer and you want the least drama, I generally steer people toward wax or filler systems instead. Burn-in is best saved for someone who already knows their floor finish, has the right tools, and can test in a hidden spot first.
Blending tricks I use when a repair still looks obvious
Match sheen, not just color
Human eyes catch changes in reflection faster than they catch color shifts. If your floor is satin and your repair dries semi-gloss, you will see it every time the sun hits it.
- If the spot is too glossy, very lightly buff with a white pad.
- If the spot is too dull, a thin additional topcoat can raise sheen.
Feather the edges
Hard lines are the enemy. Whenever you apply stain, wax, or finish, fade it outward so there is no clear circle of repair.
Use grain lines to hide transitions
If the scratch runs along a dark grain line, deepen that grain line slightly rather than trying to perfectly match the whole plank. Floors are naturally varied. A repair that follows the wood’s natural character reads as wood, not patch.
When you should stop spot-repairing
Spot repairs are perfect for one-off scratches. But sometimes the floor is telling you it needs a bigger reset.
Consider a screen and recoat if:
- You have lots of finish scratches over a large area.
- High-traffic lanes look dull and gray.
- You keep fixing new scratches because the topcoat is worn thin.
A screen and recoat (also called a buff and coat) adds a new protective layer without sanding down to bare wood, but only works if the existing finish is compatible and in decent shape. If the floor has wax, polish buildup, or silicone contamination, recoats can fisheye or peel.
Consider board replacement if:
- The gouge is huge and missing wood fibers across multiple boards.
- There is swelling, black staining, or signs of water damage.
- The damage is at a board edge and keeps breaking down.
Common mistakes (and how to avoid them)
- Skipping cleaning: wax and stain over dirt equals a permanent smudge. Clean first.
- Going too dark too fast: build color slowly. You can always add more.
- Over-sanding: sanding through stain layers or factory finish creates a bigger problem than the scratch. This is especially true on engineered wood.
- Using household markers: Sharpies and craft markers can turn purple or green over time. Use products made for wood.
- Flooding with topcoat: thick finish spots look like a drip of glass on the floor. Thin coats only.
- Mixing systems: wax and certain polish products can cause adhesion failures with polyurethane recoats. If you are not sure what has been used on the floor, stay conservative or talk to a flooring pro.
FAQ
Can I use wood filler for a scratch?
If it is a hairline scratch, filler usually looks worse because it leaves a visible stripe. Use a stain marker or wax for narrow scratches. Save filler for dents, chips, and gouges where wood is missing.
Do I need to sand before using a stain pen or wax stick?
Usually no. Clean well, then apply. Sanding is mainly for leveling filler or when you are applying a compatible topcoat that needs a little scuff for adhesion.
Why does my repair look lighter the next day?
Two common reasons: the product dried lighter than expected, or the surrounding wood darkened slightly from normal wear and UV while your repair is “fresh.” Add color in small layers and re-check in daylight.
What if my floor has a beveled edge between planks?
Work carefully and keep repair material out of bevels and seams. Wax and finish buildup in grooves is very noticeable. Use a cotton swab for precise application and wipe excess immediately.
A simple game plan you can follow
If you want the quick decision tree, here it is:
- Looks white and your nail does not catch: clean, buff, and consider a manufacturer-approved refresher product.
- Nail barely catches: stain pen first, then wax if needed for depth.
- Nail catches hard or wood is missing: fill, sand level (carefully), color-match, then seal with a compatible product.
Take your time, work in good light, and remember the real goal: a repair that disappears from normal standing height. If you have to get on your hands and knees with a flashlight to find it, congratulations. That is a professional-grade finish.