A step-by-step grout walkthrough for floor tile: picking grout, mixing it right, floating it tight, and cleaning haze without ruining fresh joints.
The Grout Nest
Updated October 17, 2026
How to Deep Clean, Regrout, and Recolor Stained Floor Grout
Restore dingy grout lines the DIY way. Learn how to deep clean floor grout, decide when to regrout, use grout colorant for a fresh look, and seal it so it stays clean.

Ben Mitchell
Ben Mitchell is a former professional tile setter and passionate home renovator with over 12 years of experience in the flooring industry. After stepping away from commercial contracting, he founded Grout Nest to empower everyday homeowners to tackle their own flooring, tile, and backsplash projects with confidence. He believes that with the right tools, proper prep work, and a little patience, anyone can achieve a professional-grade finish.
If your tile floor still looks dirty after you mop, it is probably not the tile. It is the grout. Cement-based grout is basically a sponge with a job title, and it loves to hang onto soap residue, body oils, cooking grease, and whatever mystery gunk got tracked in from outside. (Epoxy and many newer premixed grouts are much less absorbent, which changes the game.)
The good news: you can usually bring stained grout back. The trick is picking the right “lane.”
- Deep clean when grout is intact but grimy.
- Regrout when grout is cracked, missing, powdery, or constantly dark because water is getting in.
- Recolor when grout is permanently stained or you want a new color without tearing out tile.
Before you start: what you are dealing with
Quick grout health check
- Rub test: Drag a screwdriver tip or utility knife gently across the grout in an inconspicuous spot. If it powders easily or crumbles, cleaning will not fix it. Plan on regrouting.
- Crack check: Hairline cracks can mean floor movement, but they can also come from grout mixed too wet, over-washing, shrinkage, or not letting it cure properly. If cracks keep returning, treat it as a failure and plan on regrouting (and consider what caused it).
- Dark spots that never dry: Could be moisture wicking up from below, a leak, or missing sealer. If it stays dark for days, investigate moisture before you seal anything in.
- Silicone vs grout: Corners and changes of plane (floor to wall, floor to tub) should be caulked, not grouted. If those areas are cracked, you need caulk, not regrout.
Know your tile and grout type
- Ceramic and porcelain tile: Usually the most forgiving. Still, do not assume every cleaner is safe. Test first.
- Natural stone (marble, limestone, travertine, terrazzo): Needs stone-safe products. Acids can etch it fast.
- Cement or encaustic tile: Porous and easily stained. Stick with neutral pH and follow the tile maker’s guidance.
- Cement grout (most common): Porous. Takes stains. Can be cleaned, recolored, and sealed.
- Epoxy grout: Less porous and more chemical-resistant. Usually cleans up well with the right degreaser. Colorant typically does not bond well unless the product specifically approves epoxy.
- “Single-component” premixed grout: More stain-resistant than cement grout. Clean first, and test any colorant in a hidden spot.
When in doubt: start with a neutral pH cleaner and a test patch in a low-visibility corner. It is boring advice, but it saves expensive tile.
Tools and materials (what I reach for)
Deep cleaning kit
- Vacuum with a hard floor attachment
- Neutral pH tile and grout cleaner (safe starting point)
- Alkaline degreaser (for kitchens, greasy entryways)
- Hydrogen peroxide (3%)
- Baking soda
- Stiff nylon grout brush or drill brush (nylon, not wire)
- Microfiber towels
- Wet vac or a pile of clean rags
- Nitrile gloves and eye protection
Regrouting kit
- Grout removal tool (hand grout saw, oscillating multi-tool grout blade, or rotary grout bit)
- Shop vacuum
- Masking tape (optional, but great for beginners)
- New grout (sanded or unsanded depending on joint width)
- Rubber grout float
- Two buckets and sponges
Recoloring and sealing kit
- Grout colorant (also called grout stain)
- Small stiff brush, toothbrush, or applicator bottle tip
- Cotton rags and a nylon scrub pad
- Penetrating grout sealer (for cement grout)
- Sealer applicator bottle with a wheel tip or small brush
Safety note: Ventilate the room, especially if you are using stronger cleaners. Protect nearby wood trim and painted baseboards from drips. Also, try not to kneel in pooled cleaner for half an hour. Your knees will remember.
My bias as a former setter: prep work is 90% of the job. Most grout “failures” I see are really cleaning residue left behind, rushing cure times, or sealing over moisture.
Step 1: Deep clean grout the right way
Most grout cleaning disappointment comes from one of two things: using the wrong chemistry for the soil (grease vs mineral deposits) or not extracting the dirty solution afterward. Scrubbing lifts grime. Extraction removes it.
1) Dry clean first
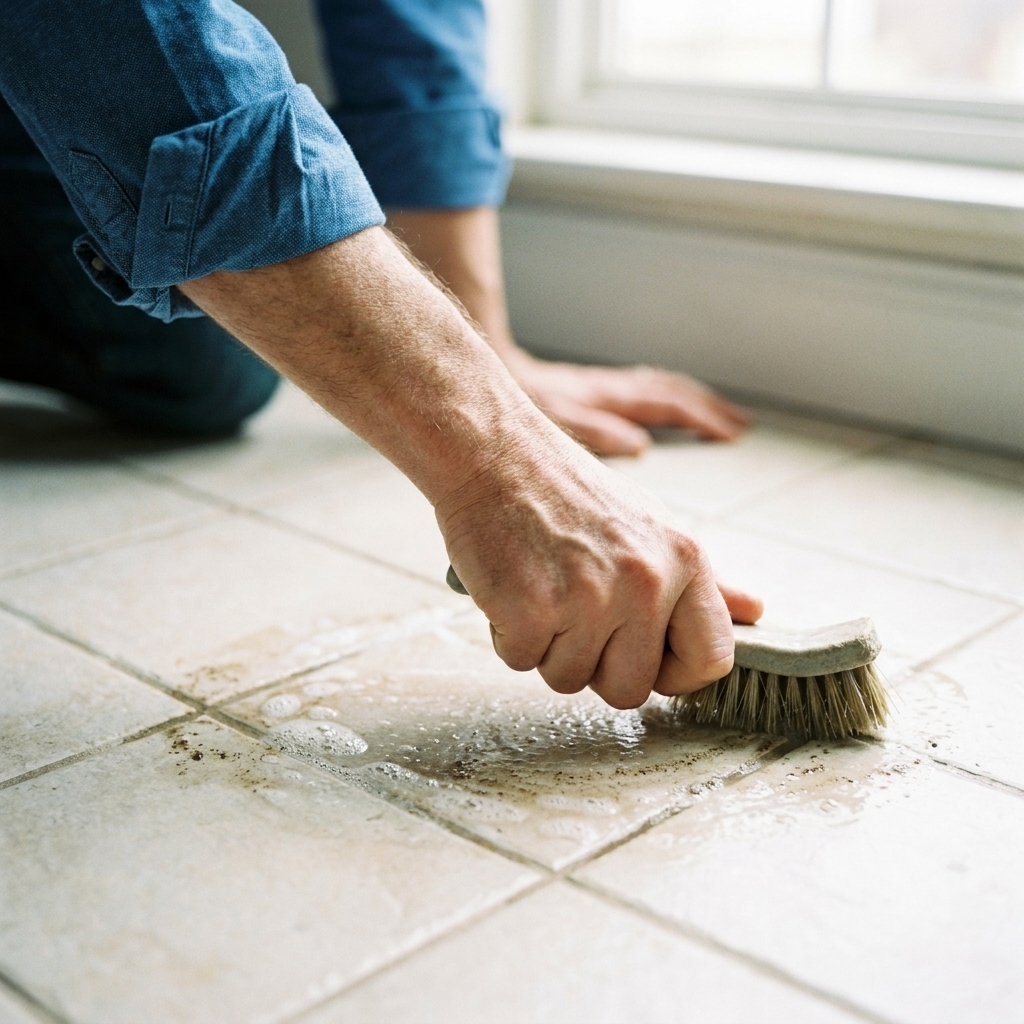
Vacuum thoroughly. Grit and sand act like sandpaper and can scratch tile while you scrub. Hit the grout lines with the crevice tool.
2) Start gentle: neutral cleaner + agitation
Spray a neutral pH tile and grout cleaner, let it dwell 5 to 10 minutes (do not let it dry), then scrub with a nylon brush. Wipe up with microfiber or pull it up with a wet vac.
No wet vac? Do a rinse-and-blot routine: wipe up the dirty solution, rinse with clean water, then blot again with clean towels. Repeat until the rinse water stays clear.
3) If it is a kitchen or entryway: go alkaline for grease
Grease laughs at vinegar. Use an alkaline degreaser (tile-safe), dwell, scrub, and extract. Rinse with clean water afterward so you do not leave cleaner in the pores.
Where vinegar can help: mild acids are more useful for mineral scale than for grease. Just do not jump to vinegar as your default because it is not stone-safe and it is not a degreaser.
4) For general staining: peroxide + baking soda paste
Make a paste of baking soda and hydrogen peroxide (3%). Work it into the joints, let it sit 10 to 15 minutes, scrub, then rinse and extract.
- Tip: Do small sections, like 10 to 20 square feet. Keeping the area wet during dwell time matters.
5) For hard water deposits: use an acidic cleaner carefully
If your grout has whitish crust or the tile has mineral haze, that is usually mineral scale. A mild acidic tile cleaner can help, but use it sparingly and only after testing. Acid can etch natural stone, can corrode some metal trims, and can also roughen or weaken cement grout if you get aggressive with it.
- Never use vinegar or acid on: marble, limestone, travertine, terrazzo, or other calcium-based stone.
- Rinse like you mean it: After any acidic product, rinse with clean water thoroughly and extract. Leaving acid behind is how you trade one problem for three.
- Do not mix chemicals: Never combine bleach with ammonia or acids. If you are unsure what is on the floor, stick to commercial products that are designed for tile and grout.
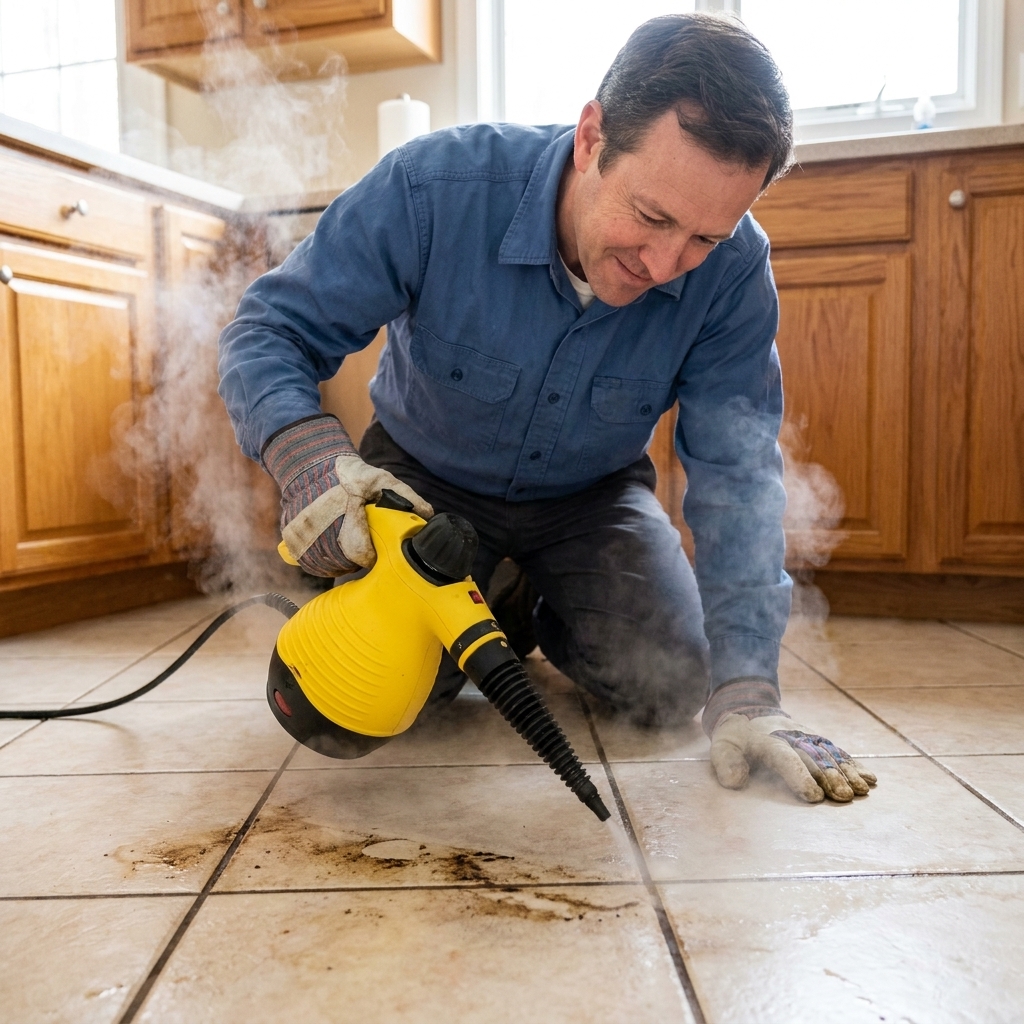
6) About steam cleaning
Steam can be effective on cement grout and textured tile, but it is not a magic eraser. Avoid steam if grout is already crumbling, if tiles sound hollow or feel loose, or if you have a topical sealer you do not want to soften. As always, test a small area first.
Step 2: Do you need to regrout?
If cleaning improved the grout but it still looks blotchy, you can often recolor it. If the grout is physically failing, recoloring is lipstick on a crumbling brick.
Signs regrouting is the right move
- Cracks that return after cleaning
- Missing chunks or low joints
- Grout that turns to sand when you scrape it
- Persistent dark lines caused by water intrusion
How deep to remove grout
Aim to remove at least 2/3 of the grout depth or down to a solid, clean layer. Consider that a rule of thumb, not a law of physics. Follow the grout manufacturer’s requirements. In general, more depth equals better bonding, as long as you do not damage tile edges.
One more thing: If your floor has real movement joints or expansion joints (common on larger areas and some slab installs), do not pack those full of grout. They need the correct flexible joint material so the floor can move without cracking.
Step 3: Remove grout without wrecking tile
1) Protect the tile and yourself
Put on eye protection and a mask. Grout dust gets everywhere, including places you did not know you had. If you are using an oscillating tool, take your time. Fast hands equal chipped tile corners.
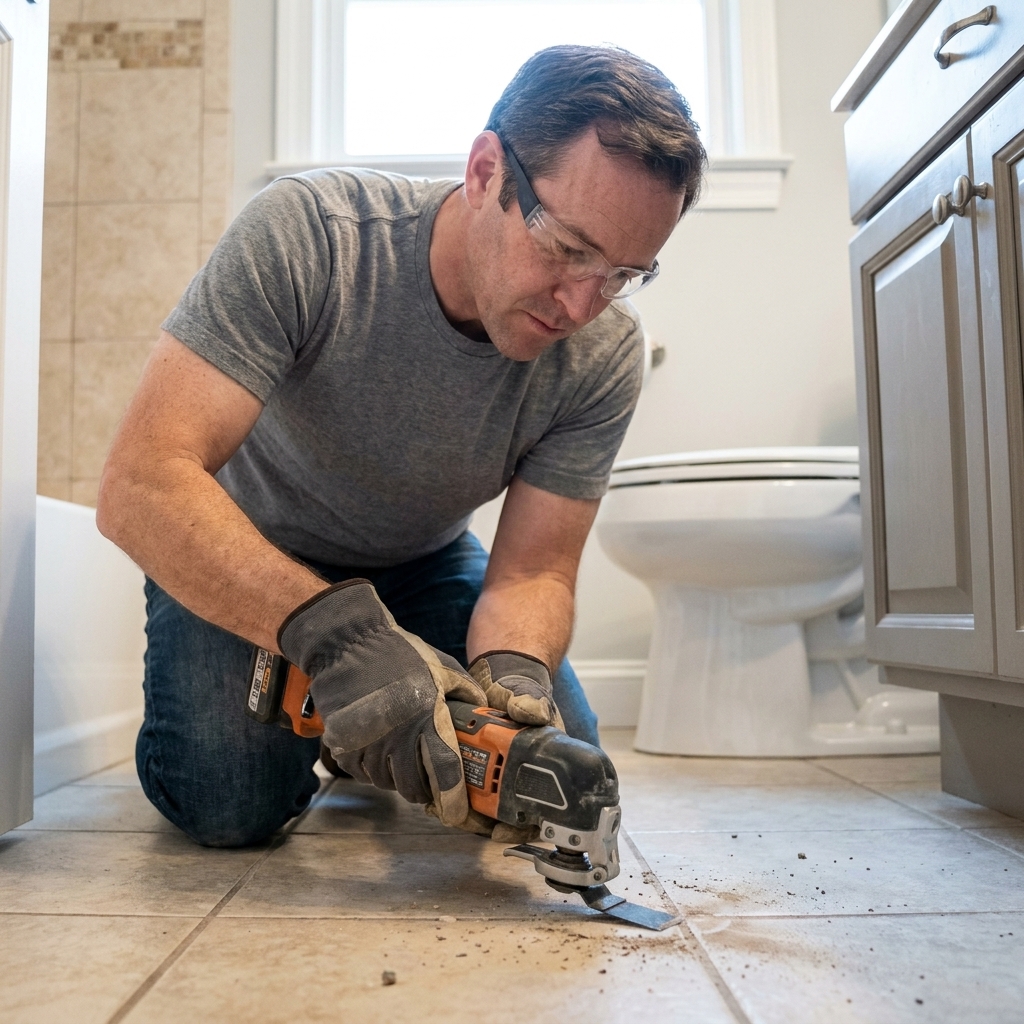
2) Remove the grout
- Hand grout saw: Slow but controlled. Great for beginners.
- Oscillating multi-tool grout blade: Faster. Use a light touch and keep the blade centered.
- Rotary grout removal bit: Fastest, also easiest to slip. I reserve it for wide joints and confident hands.
Vacuum the joints thoroughly. Any loose grit left behind weakens the new grout.
Step 4: Mix and apply new grout
Pick the correct grout
- Sanded grout: Typically for joints 1/8 inch and wider.
- Unsanded grout: Typically for joints narrower than 1/8 inch.
Check your grout manufacturer’s instructions. There is overlap depending on product and tile type.
Mixing: aim for peanut butter, not soup
Mix grout to a thick, workable consistency. Let it slake (rest) if the bag says to, then remix. Slaking is not optional if the instructions call for it. It affects workability and strength.
Application basics
- Work in small sections.
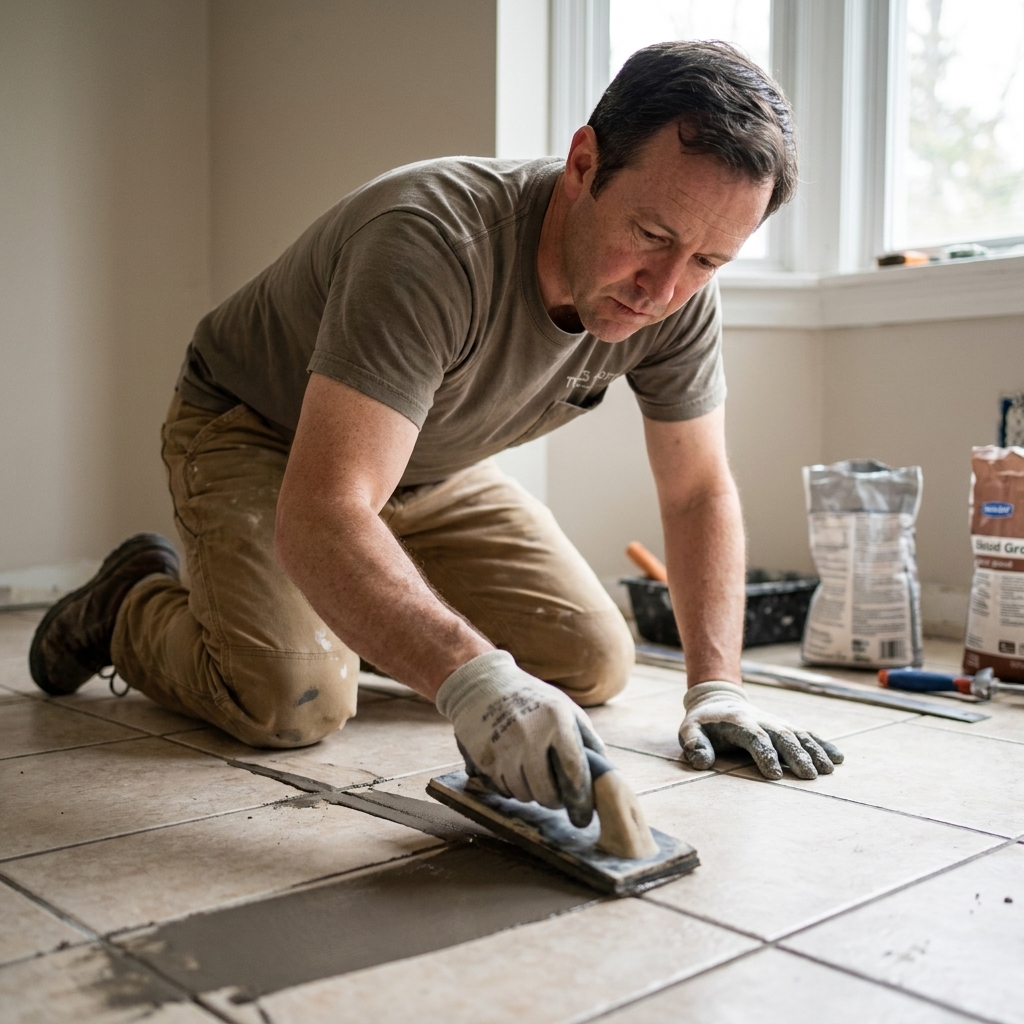
- Hold the float at about 45 degrees and pack grout into joints from multiple directions.
- After joints are full, scrape excess off the tile face with the float held more upright.
Washing without washing it out
Wait the recommended time, then use a damp (not dripping) sponge and light pressure. Rinse often. Your goal is to shape the joints, not excavate them.
If you get haze, buff with a dry microfiber once the surface is mostly dry. If haze remains the next day, use a haze remover that is compatible with your tile.
Ben confession: In my early days, I washed grout too soon because I was impatient and wanted clean tile right away. The result was shallow joints that collected dirt fast. Let the grout firm up. Your future self will thank you.
Step 5: Recolor stained grout
Grout colorant is one of my favorite homeowner-friendly tricks because it gives you a uniform, new install look without demo. It is part stain, part coating, and it needs a clean, dry surface to bond.
When grout colorant works best
- Grout is intact but permanently discolored
- You want to change grout color (for example, from off-white to warm gray)
- Spot repairs look mismatched
Prep is everything
- Deep clean first and rinse well. Any soap residue will cause colorant to peel.
- Let it dry at least 24 hours, longer in humid bathrooms or on slabs.
- Test in a hidden corner to confirm adhesion and color.
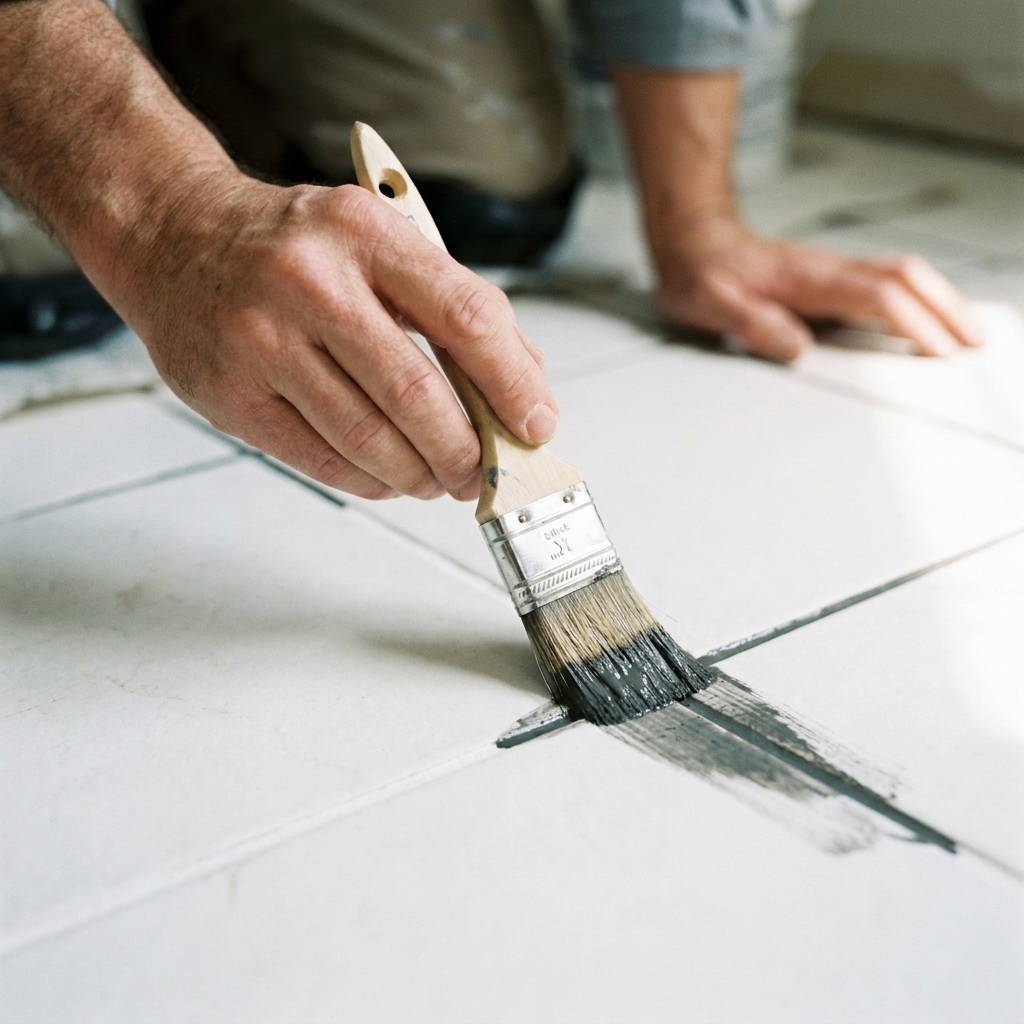
How to apply grout colorant
- Shake or stir the colorant thoroughly.
- Apply a thin coat directly onto the grout line with a small brush or applicator tip.
- Work 3 to 6 linear feet at a time.
- Wipe excess off tile faces with a barely damp rag before it dries.
- Apply a second coat if needed after the first coat sets per instructions.
Pro move for neat lines: If you have textured tile that is hard to wipe clean, mask tile edges with painter’s tape. It is slower, but it saves your sanity.
Step 6: Seal grout so it stays clean
Sealer is not armor plating. It is more like a rain jacket. It slows absorption so spills clean up easier. If you skip it on cement grout, you are basically inviting every spill to move in permanently.
When to seal
- New cement grout: After it cures per the manufacturer, often 48 to 72 hours, sometimes longer.
- After deep cleaning: Once grout is fully dry, typically 24 to 48 hours.
- After colorant: Many colorants act as a sealer. Follow the product directions. Do not double-seal unless the manufacturer approves it.
Reality check: Cool temperatures and high humidity slow drying and cure times. Sealing too early can trap moisture and keep grout looking blotchy.
Penetrating vs topical sealers
- Penetrating (impregnating) sealer: My go-to for floors. It soaks in and does not create a slippery film.
- Topical sealer: Forms a coating. Can change sheen and may wear unevenly on floors.
How to apply sealer neatly
Use an applicator bottle with a wheel tip or a small brush and run it along the joints. Let it dwell as directed, then wipe tile surfaces clean. If you leave sealer residue on tile, it can haze.
Simple water test: After sealer cures, drip water on the grout. If it beads for a few minutes, you are in good shape. If it darkens quickly, add another coat.
Common causes (and how to stop repeats)
Bathroom grout that turns dark again
- Cause: Soap scum and body oils, plus moisture.
- Fix: Use a bathroom-safe cleaner weekly, run the fan, and squeegee shower floors if possible.
- Upgrade: Consider a better fan timer or leave the door open to dry out.
Kitchen grout that looks dingy
- Cause: Grease and cooking aerosols settle into pores.
- Fix: Alkaline degreaser periodically, then rinse well.
- Upgrade: Use mats in heavy traffic zones and clean spills quickly.
Entryway grout with black lines
- Cause: Tracked-in dirt acting like pigment.
- Fix: Vacuum often, deep clean seasonally, keep a good doormat outside and inside.
Cracking grout
- Cause: Floor movement, inadequate underlayment, grout mixed too wet, over-washing, shrinkage, or grout used where caulk should be.
- Fix: Regrout and address movement if possible. Use flexible caulk at transitions instead of grout.
FAQ
Is bleach safe for grout?
Occasional diluted bleach on cement grout can lighten stains, but it is not my first choice. Repeated use can dry out and degrade cement grout over time, and it may damage some sealers or discolor some colored grouts. If you use it, ventilate well, follow the label, and never mix it with other cleaners.
Can I put new grout over old grout?
Not reliably, unless you remove enough old grout to create depth for proper bonding. A thin skim coat usually chips out. Remove roughly 2/3 of the joint depth (or meet the grout manufacturer’s minimum) before regrouting.
How long does grout colorant last on floors?
On a properly cleaned, fully dry floor, grout colorant can last years. High-traffic kitchens and entries wear faster. The biggest reason it fails is residue left in the grout pores before application.
Do I need to seal epoxy grout?
Generally no. Epoxy grout is far less porous than cement grout. Focus on routine cleaning and avoid leaving harsh cleaners sitting on the surface.
Why is my grout different colors after cleaning?
Blotchy grout is usually uneven absorption from old sealer, leftover cleaner residue, moisture trapped below, or deep-set stains. Deep clean, rinse well, let it dry fully, then either seal (if it looks acceptable) or recolor for a uniform finish.
A simple game plan
- Day 1: Vacuum, deep clean, rinse, extract.
- Day 2: Evaluate. If grout is solid but ugly, recolor. If grout is failing, remove grout and regrout.
- Day 3 to 5: Let cure and dry properly, then seal (if your grout system calls for it).
If you take nothing else from my years on job sites and my own DIY blunders in a 1970s fixer-upper, take this: slow down and let materials do their thing. Most grout problems are really I rushed the drying and curing problems.
And yes, keep pets off the floor until everything is cured. I have a golden retriever named Barnaby who considers fresh sealer a personal challenge.