A step-by-step grout walkthrough for floor tile: picking grout, mixing it right, floating it tight, and cleaning haze without ruining fresh joints.
The Grout Nest
Updated October 17, 2026
How to Lay Ceramic Hexagon Tile on a Small Bathroom Floor
Learn how to plan a clean hex tile layout, prep the subfloor, handle cure times, make tricky cuts, and keep spacing consistent for a pro-looking small bathroom floor.

Ben Mitchell
Ben Mitchell is a former professional tile setter and passionate home renovator with over 12 years of experience in the flooring industry. After stepping away from commercial contracting, he founded Grout Nest to empower everyday homeowners to tackle their own flooring, tile, and backsplash projects with confidence. He believes that with the right tools, proper prep work, and a little patience, anyone can achieve a professional-grade finish.
Hexagon tile has a way of making a tiny bathroom feel intentional and classic. It also has a way of humbling you the first time you try to wrap it around a toilet flange or land clean cuts at the doorway. The good news is that a small bathroom is the perfect place to learn hex tile. You can take your time, dry fit everything, and still knock out the work over a weekend if your prep is solid. Just remember that cure times (patches, membranes, thinset, grout, sealer) can stretch the calendar into a long weekend.
I used to set tile for a living, and I still repeat the same mantra every time I walk into my own fixer-upper bathroom: prep work is 90% of the job. With hex tile, that is even more true because the eye picks up crooked geometry fast.
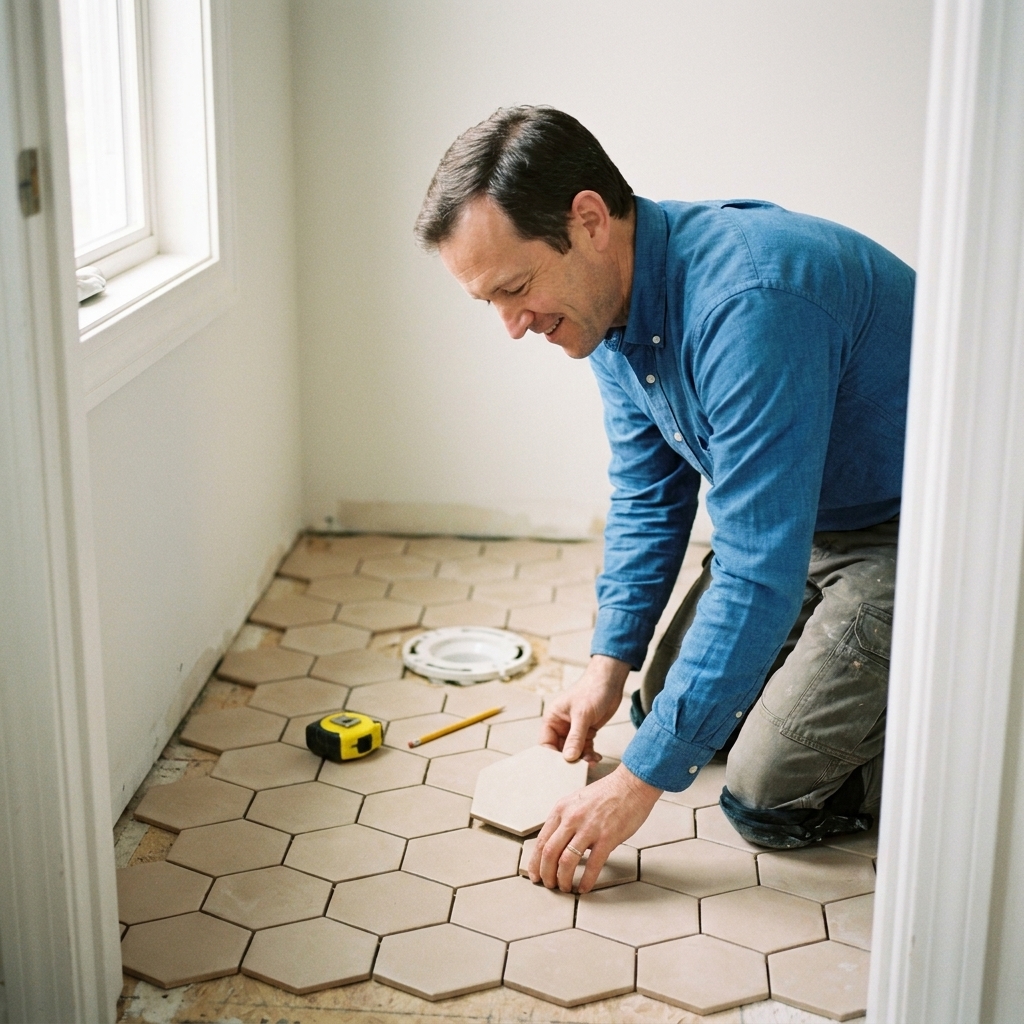
Before you start: what makes hex tile different
Square tile forgives a lot because the grid is obvious and cuts are straightforward. Hex tile is different in three big ways:
- Your layout is less intuitive. A hex field can be set in multiple orientations, and it is easy to end up with skinny slivers at a wall if you do not plan.
- Sheets can drift. Most small hex comes on mesh sheets. If you trust the sheet spacing blindly, grout joints can snake on you.
- Cuts are weird. Around a toilet, vanity legs, heat registers, and door jambs, you will be making lots of small L cuts and little notches.
If that sounds like a lot, it is. But it is manageable when you slow down and treat layout like a separate step, not something you do while thinset is setting up.
Tools and materials
Tile and setting materials
- Ceramic hexagon tile (typically mosaic sheets)
- Thinset mortar suitable for your substrate (often a polymer-modified thinset for interior floors)
- Grout matched to your joint width and tile type (many hex mosaics are around 1/16 to 1/8 inch joints, and modern “fine aggregate” sanded grouts often work well even in tighter joints, but always follow the grout spec)
- Grout sealer if your grout and tile require it
Subfloor and waterproofing
- Cement backer board and alkali-resistant mesh tape, or an uncoupling membrane system (follow manufacturer instructions)
- Appropriate fasteners and thinset for the underlayment you choose
- Optional but smart: a liquid waterproofing membrane in splash-prone areas (this is not a shower pan, but waterproofing can still be a nice insurance policy around toilets and vanities)
Tools
- Notched trowel (many hex mosaics do better with a smaller notch like a 1/4 x 3/16 V-notch or a 3/16 x 5/32 V-notch; the right choice depends on tile thickness and substrate, so verify and pull a sheet to confirm coverage)
- Flat trowel or the flat side of your notched trowel for keying in
- Mixing bucket and drill with paddle
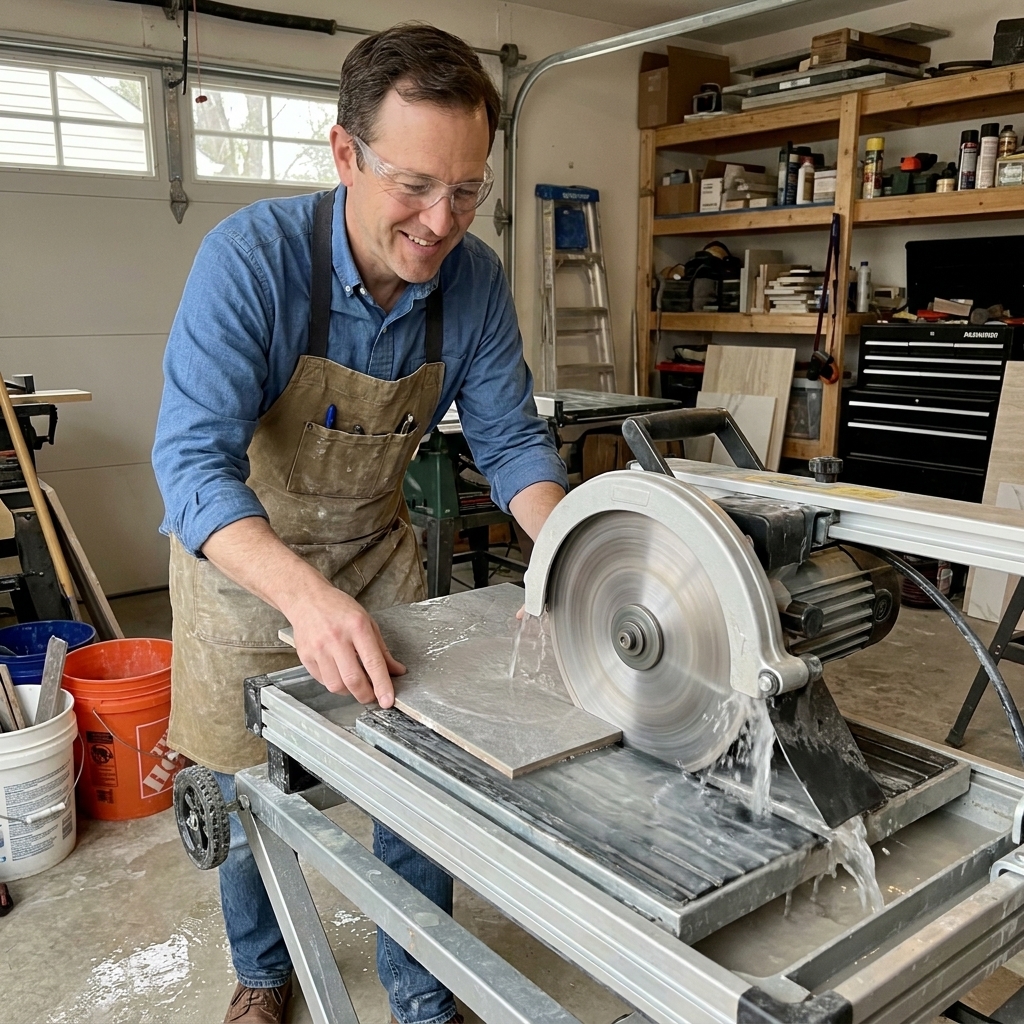
- Tile saw with diamond blade (wet saw strongly recommended)
- 4-inch angle grinder with diamond blade for notches (dusty, so plan for it)
- Tile nippers for tiny adjustments
- Rubber grout float, sponges, microfiber towels
- Level and/or long straightedge, tape measure, framing square
- Chalk line or laser level
- Spacers (T spacers and small wedge spacers)
- Beating block or grout float for pressing sheets in
If you only upgrade one tool for this project, make it the saw. A decent wet saw turns “I guess I will hide that cut” into “that looks factory.”
Step 1: Check the floor and flatten it
Hex tile does not like a wavy floor. Before you touch thinset, confirm two things:
- The floor is stiff enough. For ceramic and porcelain, the common standard is L/360 deflection or better. Natural stone is stricter at L/720. If the floor bounces, tile and grout crack. When in doubt, add stiffness from below if possible or consult a pro.
- The surface is flat. For tile, flat beats level. A floor can be slightly out of level and still tile beautifully if it is flat.
Use a long straightedge and mark high and low spots. Grind down high ridges. Fill low spots with a patch or self-leveling underlayment appropriate for your substrate. Do not try to fix a bad floor “with extra thinset.” That is how you end up with lippage and hollow tiles.
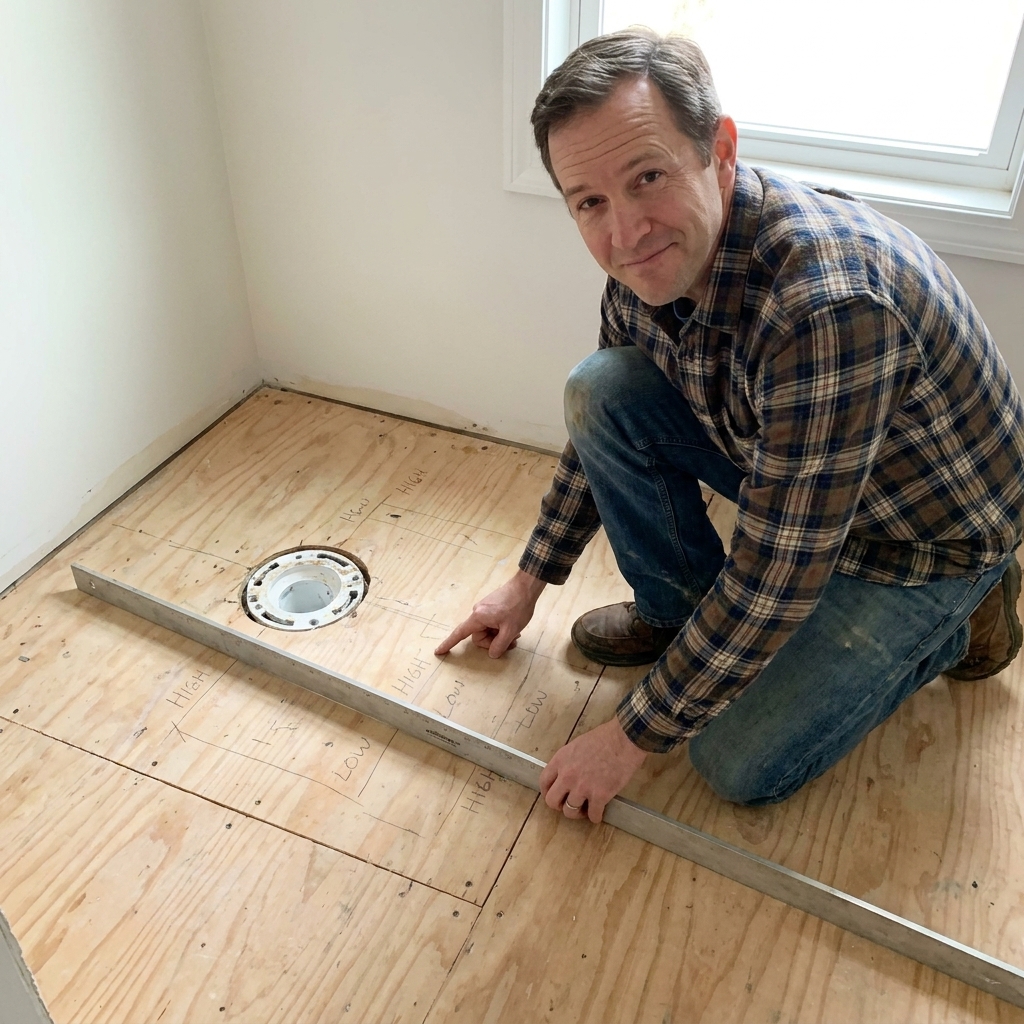
Step 2: Make sure the subfloor is solid
Tile loves two things: stiffness and boring. If your floor is squeaky, soft, or swollen, fix that now.
- Identify what you have. If you find particleboard anywhere in the stack, do not tile over it. Remove it and rebuild properly. Plywood and OSB can both work when the system is rated for it.
- Check thickness and fastening. You want a properly fastened, appropriately thick subfloor for your joist spacing and underlayment system. Re-screw loose areas, sink proud fasteners, and replace any water-damaged sections.
- Kill the squeaks. Squeaks are movement. Movement is tile’s enemy.
Most failures I see started with a subfloor that was “probably fine.” If you are already doing tile, this is the moment to make it actually fine.
Step 3: Install your tile underlayment
Most pros avoid tiling directly over plywood. Yes, there are manufacturer-approved methods for tiling over exterior-grade plywood with specific build-ups and mortar requirements, but unless you are following one of those systems exactly, use a rated tile underlayment.
Option A: Cement backer board
- Spread a bed of thinset under the board (this fills voids, it is not for bonding strength).
- Screw the board down with the correct fasteners and spacing.
- Tape and thinset the seams with alkali-resistant mesh tape.
Option B: Uncoupling membrane
- Install the membrane with the mortar specified by the manufacturer for your subfloor type.
- Use the recommended trowel size so you get full contact.
Either approach can work great. What matters is following the product instructions to the letter. Bathrooms are too small to gamble on “close enough.”
Step 4: Dry layout
This is where hex tile projects are won. In a small bathroom, you are usually tiling a tight rectangle interrupted by a toilet, vanity, and doorway. Your goal is to make the cuts look balanced and keep the pattern running straight where the eye notices it most.
Pick your priorities
- Doorway sightline. When you stand in the doorway, you see the floor. Make that view look clean and centered.
- The long wall. If one wall runs longer, crooked lines are more obvious there.
- Toilet area. Nobody stares at the toilet base for fun, but messy cuts around it look sloppy fast.
Snap your lines
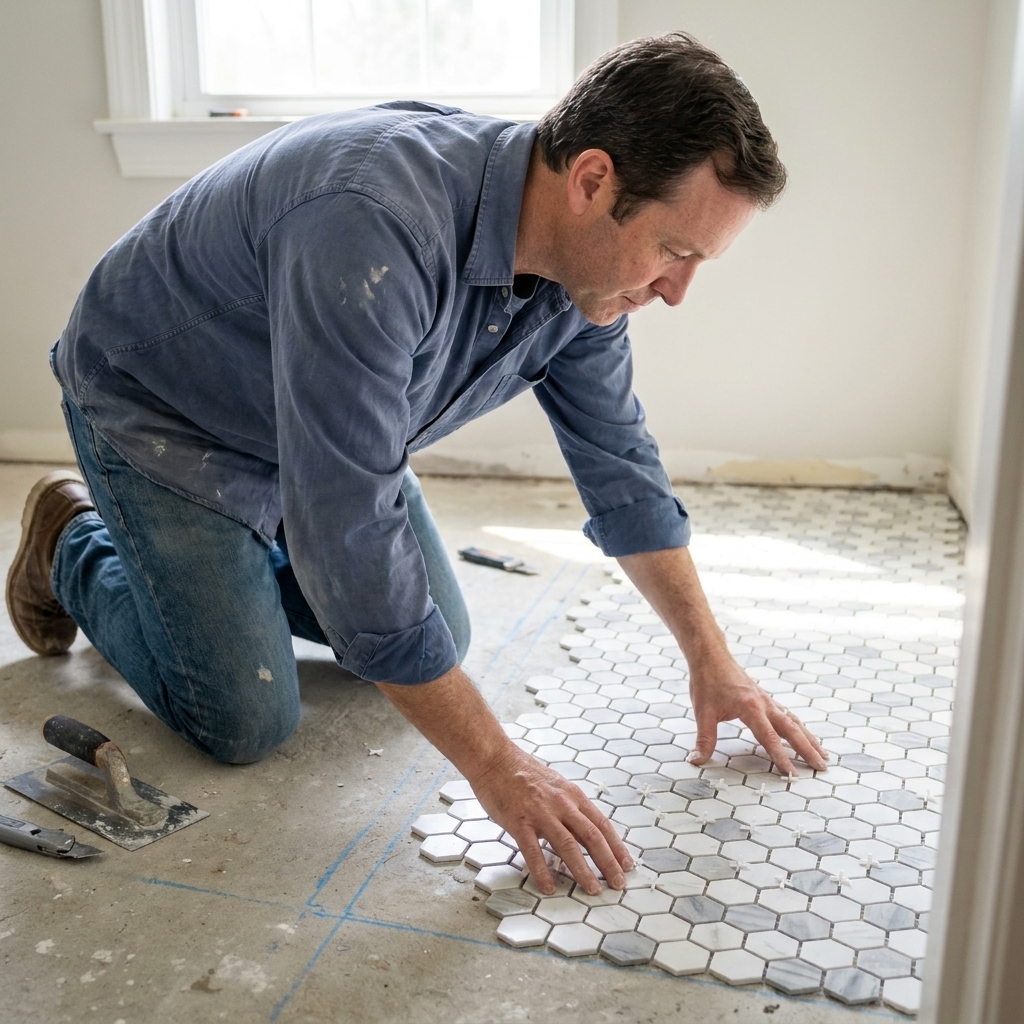
On a square tile, you snap a center line and go. With hex mosaics, I still start with reference lines, but I also use a dry fit to confirm how sheets actually behave.
- Snap one line parallel to your most visible wall or the doorway.
- Snap a second line perpendicular to the first to give yourself a true 90-degree reference.
- Dry-lay a few sheets along the lines, using spacers between sheets.
Here is the key: do not trust the mesh sheets to be perfectly spaced. Many are close, some are not. You are allowed to massage individual hexes on the sheet during setting to keep grout joints straight.
Step 5: Plan the cuts
Hex tile perimeter cuts can look jagged because the edge of a hex is not a straight line. You have two basic strategies:
Strategy 1: Full field, cut at walls
This is the most common approach. You keep the field clean and accept that the perimeter will have partial hexes. It looks great when cuts are consistent and the baseboard covers the expansion gap.
Strategy 2: Add a border
If you want a super crisp edge, you can frame the hex with a border tile or stone threshold at the doorway. This adds complexity but can make the room look custom.
Whatever you choose, aim to avoid tiny slivers. If your dry layout shows 1/4 inch cuts at one wall, shift your layout by half a tile or adjust your starting line to balance cuts.
Step 6: Set the tile
Mix mortar correctly
For mosaic sheets, you want thinset that holds ridges but is not so stiff you cannot get full contact under the tiny tiles. Mix, let it slake per the bag instructions, then remix. This is not optional. Slaking is where the chemistry catches up.
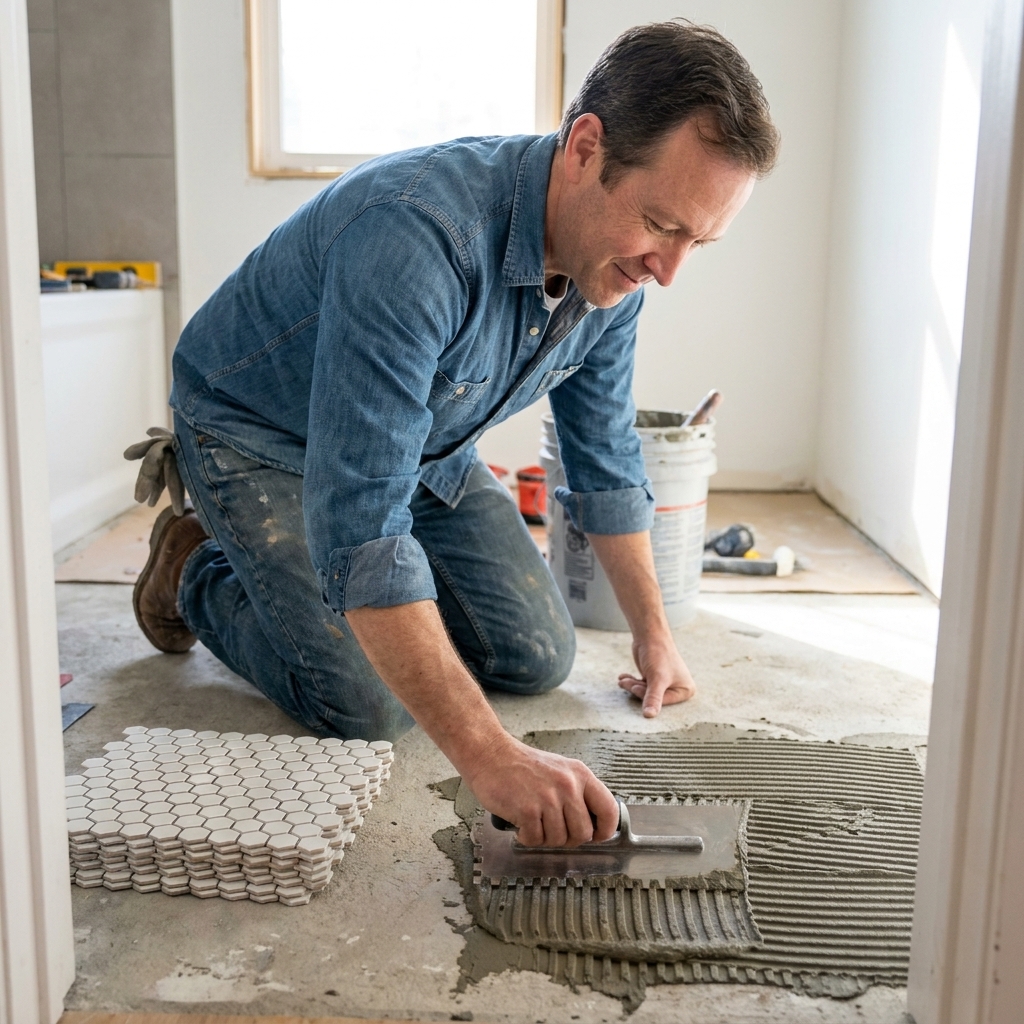
Spread thinset and keep it controlled
- Use the flat side of your trowel to key thinset into the substrate.
- Comb in one direction with your notched side.
- If your tiles are thin and your joints are tight, consider lightly flattening the ridges with the flat side so you do not force thinset up into the grout joints.
Set sheets and align the pattern
- Place the sheet, then slide it slightly to collapse ridges.
- Press it in with a grout float or beating block so tiles sit evenly.
- Use spacers between sheets and check that grout joints line up across sheet seams.
- Peel out any tile that is out of line and reset it. This is normal.
My rule: every two or three sheets, stop and clean joints. If thinset hardens in the joints, grouting becomes a miserable little archaeology project later.
Step 7: Tricky cuts
Toilet flange
The toilet flange should sit on top of the finished floor in an ideal world. If yours is too low, address it with a flange extender kit or a seal designed for that situation rather than stacking wax rings like pancakes. Local code and toilet instructions still win, so check both.
For the tile cut:
- Dry fit sheets around the flange and mark tiles that need notches.
- Remove individual hexes from the mesh if needed so you can cut cleanly.
- Use a wet saw for straight cuts and an angle grinder for curves and notches.
- Leave an expansion gap around the flange. The toilet base covers it.
If you are trying to make one perfect circular cut through a whole sheet, you will suffer. It is usually cleaner to cut and place individual pieces around the circle.
Doorway and threshold
- Undercut door jambs if you can so tile slides under for a pro look.
- Plan where the tile stops at the doorway and what it meets, like hardwood, LVP, or carpet.
- Use an appropriate transition strip or stone threshold as needed.
Out-of-square walls
Bathrooms in older homes are rarely square. Instead of forcing the hex field to match a crooked wall, keep your layout lines true and let the perimeter cuts absorb the ugly. Baseboard and shoe molding are surprisingly forgiving.
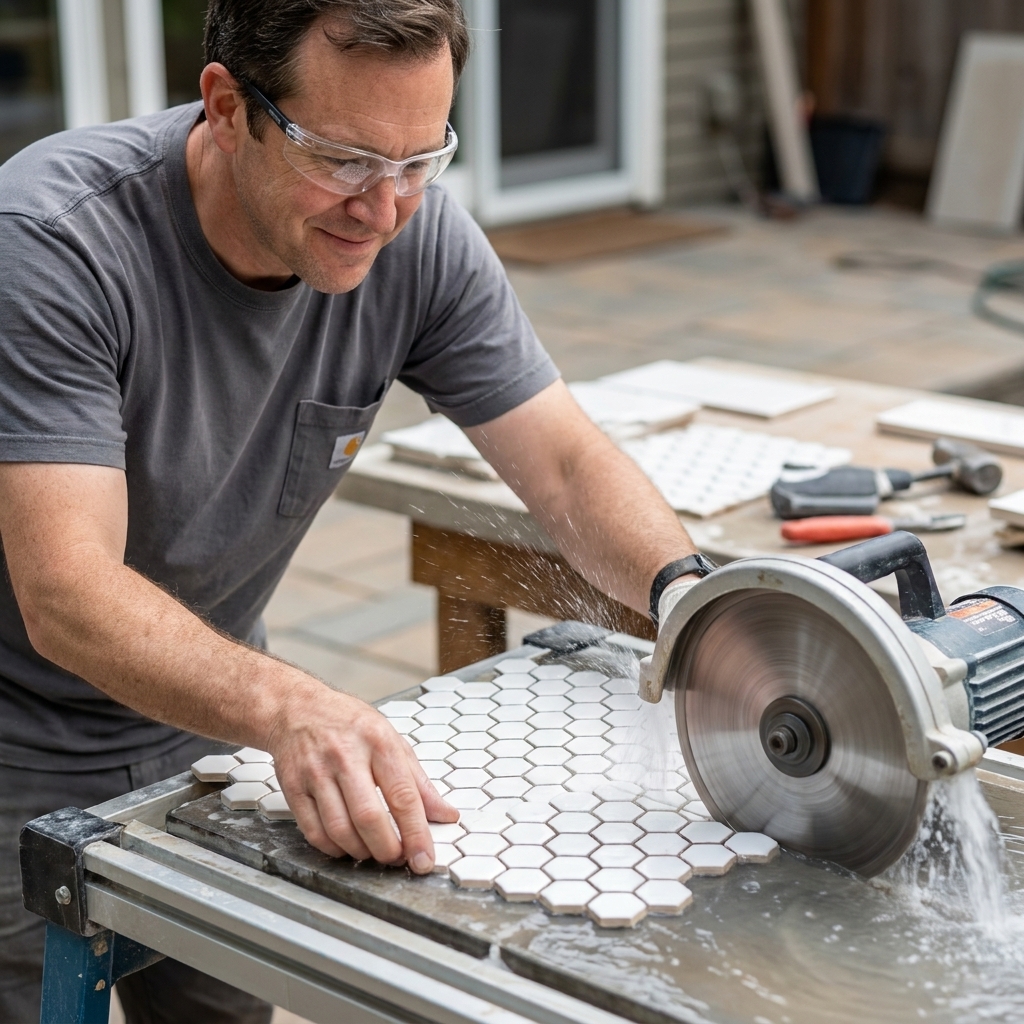
Step 8: Keep joints consistent
If hex tile looks busy or cheap, it is usually because the grout joints wander. Here is how to keep things tight:
- Use spacers between sheets. Sheet edges are not automatic alignment tools.
- Stand up and look. Every few minutes, step back and check for drifting lines.
- Pull and reset when needed. It is faster to fix a crooked sheet now than to stare at it for ten years.
- Control thinset squeeze-out. Too much mortar and it will push up into joints, forcing tiles apart.
Do not chase perfection tile by tile. Chase consistent rhythm. Hex tile reads as a pattern, not a collection of individual pieces.
Movement still matters, even in a small room. Keep a perimeter expansion gap and do not grout it. In most small bathrooms, that perimeter gap is the only movement “joint” you need.
Step 9: Cure, then grout
Read the thinset bag for cure time. In most bathrooms, I prefer to wait at least 24 hours before grouting, longer if the room is cold or humid.
Prep for grout
- Vacuum the floor and scrape any thinset that hardened in joints.
- Wipe tile faces clean so grout haze does not bond to construction dust.
- If your tile is porous or matte, consider a grout release product after testing on a spare tile.
Grout tips for hex mosaics
- Work in small sections.
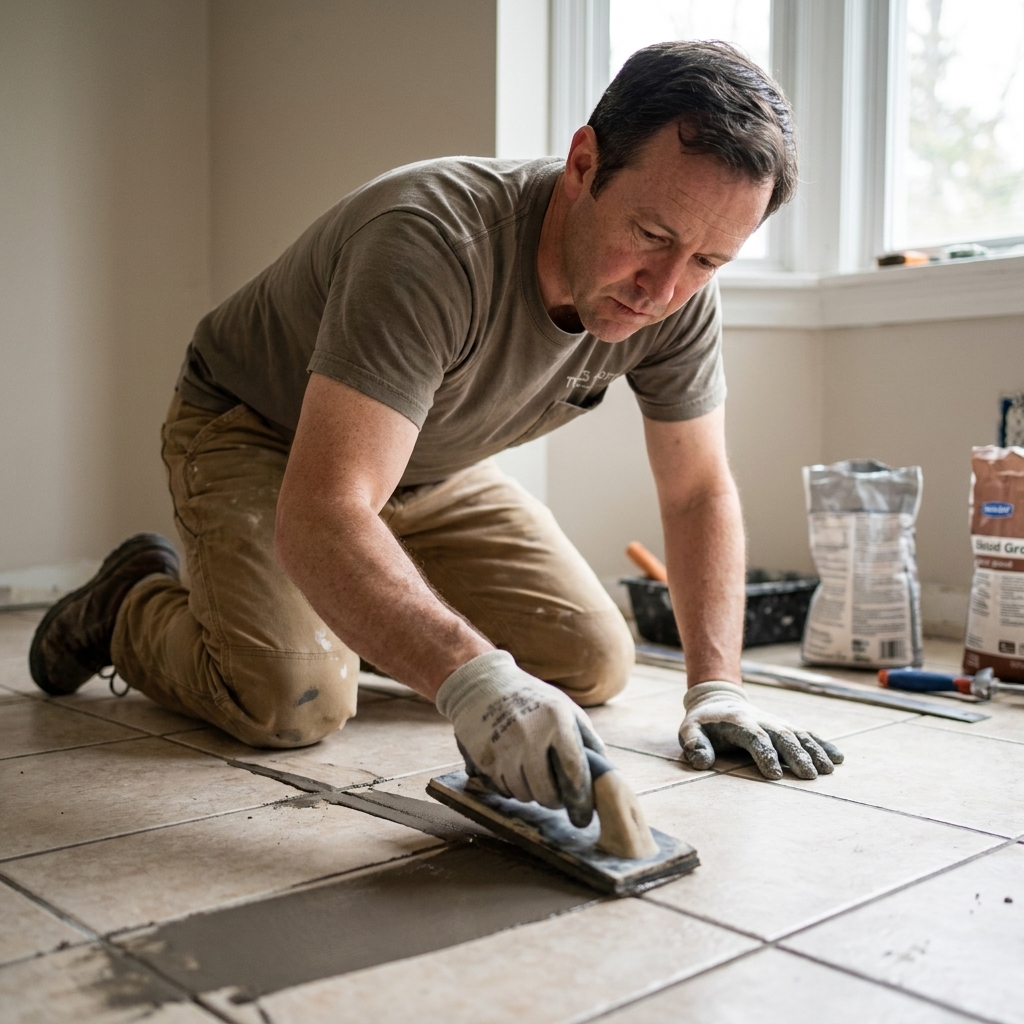
- Pack joints firmly with a rubber float at a 45-degree angle.
- Initial wash: damp sponge, light pressure, frequent rinsing.
- Final buff: microfiber towel once haze appears.
Hex tile has a lot of grout joints. That is part of the charm and part of the labor. Put on a podcast and accept that you are basically frosting a cake made of tiny ceramics.
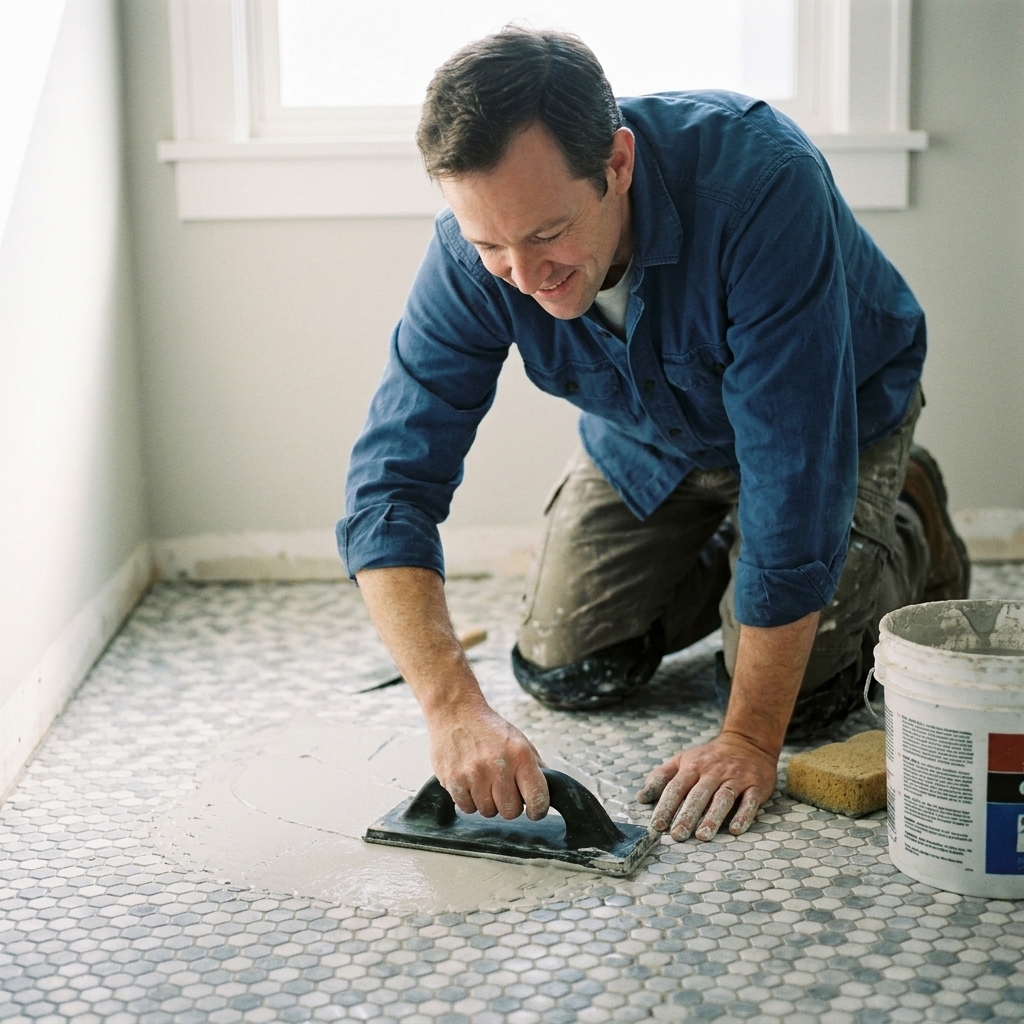
Step 10: Seal and reinstall
Whether you need sealer depends on the grout type and tile finish. Many cementitious grouts benefit from sealing after curing. Some modern grouts do not require it. Follow the product you used.
- Wait the recommended cure time before sealing. A common range is 48 to 72 hours or longer, depending on grout and conditions.
- Apply sealer evenly and wipe off excess so it does not leave a sticky film.
- Reinstall the toilet with a new seal and snug bolts evenly. Do not crank them down like you are tightening lug nuts.
Once everything is back in, keep heavy traffic off the floor for the full cure window. Grout can feel hard long before it is fully cured.
Safety notes
You do not get extra points for toughing it out.
- Dust is real. Dry cutting tile with an angle grinder can create silica dust. Use a respirator rated for the job, plus eye and hearing protection, and cut outside when you can.
- Water and electricity do not mix. Use GFCI protection for wet saws, keep cords and connections out of puddles, and do not rush.
- Knee protection helps. Hex mosaics take time. Your knees will notice.
Common mistakes
- Skipping flattening. Fix it before tile, not after.
- Starting without a dry layout. You will end up with awkward slivers at the most visible wall.
- Letting sheet seams drift. Use spacers and adjust individual hexes.
- Using too large a trowel. Excess thinset squeezes into joints and makes spacing messy.
- Rushing toilet cuts. Take the time to remove tiles from the mesh and cut them cleanly.
- Grouting over thinset in the joints. Scrape it out before it becomes permanent.
FAQ
Do I start hex tile in the center?
Sometimes, but not automatically. In a small bathroom, I usually start from a reference line that is square to the doorway or the most visible wall, then I adjust the layout so perimeter cuts look balanced. The center of the room can be a meaningless point if half the floor is taken up by a vanity and toilet.
What trowel size should I use?
It depends on tile thickness and sheet format, but many mosaic installs do well with a smaller V-notch trowel. The goal is full coverage without filling grout joints with thinset. Always verify with your tile and mortar manufacturer recommendations, and pull a sheet occasionally to confirm coverage.
Can I install hex tile over existing tile?
It is possible in some cases, but it is rarely my first choice in a bathroom because height builds up fast at the doorway and you are relying on the existing tile bond. If you do it, the existing tile must be solid, cleaned, and properly prepped with the right bonding method. When in doubt, remove the old floor and start clean.
How much gap do I leave at the walls?
Leave a small expansion gap at the perimeter and do not grout it. Baseboard or shoe molding covers it. This helps the tile field move slightly with seasonal changes instead of cracking.
My last pep talk
If you only do three things on this project, do these: flatten the floor, dry lay your layout, and babysit sheet alignment. Hex tile looks incredible when the joints are consistent and the cuts look intentional. Take your time and you will end up with a bathroom floor that reads like craftsmanship, not like a weekend panic.