A step-by-step grout walkthrough for floor tile: picking grout, mixing it right, floating it tight, and cleaning haze without ruining fresh joints.
The Grout Nest
Updated October 17, 2026
How to Mix Thinset Mortar and Grout
Learn how to mix cement-based thinset mortar and grout to the right consistency using a drill and mixing paddle. Includes slake times, low-speed mixing tips, batch sizing, and pro tricks to prevent lumps, sagging, and skinning.

Ben Mitchell
Ben Mitchell is a former professional tile setter and passionate home renovator with over 12 years of experience in the flooring industry. After stepping away from commercial contracting, he founded Grout Nest to empower everyday homeowners to tackle their own flooring, tile, and backsplash projects with confidence. He believes that with the right tools, proper prep work, and a little patience, anyone can achieve a professional-grade finish.
If tile work had a secret handshake, it would be mixing. You can buy the best thinset and the fanciest grout on the shelf, but if the consistency is off, everything downstream gets harder. Tiles drift. Lines get lumpy. You end up fighting the clock while your bucket turns into a science project.
I grew up mixing thinset in the summer heat for my uncle’s crew, and I still swear the difference between a “pretty good” install and a “why does this look so clean?” install is mostly prep work and mixing discipline. Let’s get you a bucket of thinset that trowels like butter and grout that packs the joints without crumbling, pinholing, or drying out on you.
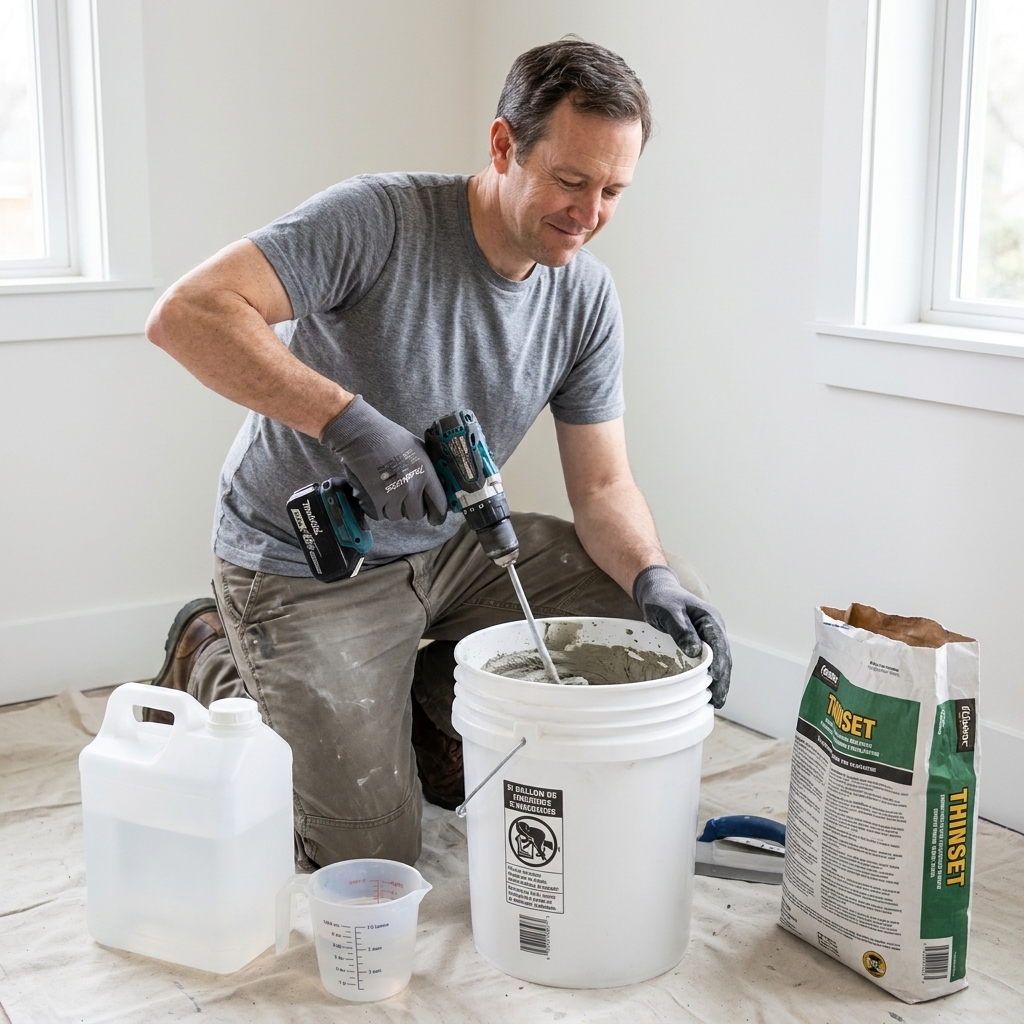
Two rules that fix most mixing problems
1) Measure water, do not guess
Every bag lists a water range for a reason. Humidity, temperature, and the product’s chemistry all matter. “Looks right” is how you end up with thinset that slumps off the wall or grout that turns sandy.
- Use a measuring pitcher for water, not the hose and vibes.
- Start at the low end of the water range, then adjust in tiny amounts.
- Write your final water amount on the bag for the next batch. Future you will be grateful.
2) Mix slow with the right paddle
High RPM whips air into the mix. Air equals weak spots, shrinkage, pinholes, and faster skinning. You want a slow, steady churn, like folding batter, not making a milkshake.
- Drill: Variable-speed, ideally a mixing drill. A regular drill works if you keep the speed low.
- Speed: Follow the bag or brand guidance. Many mortars and grouts want low speed, often around 300 RPM, and generally under 500 RPM.
- Paddle: Use a mortar/thinset paddle for thinset and a grout paddle for grout if possible. Either way, avoid tiny paint paddles. They do not have the muscle.
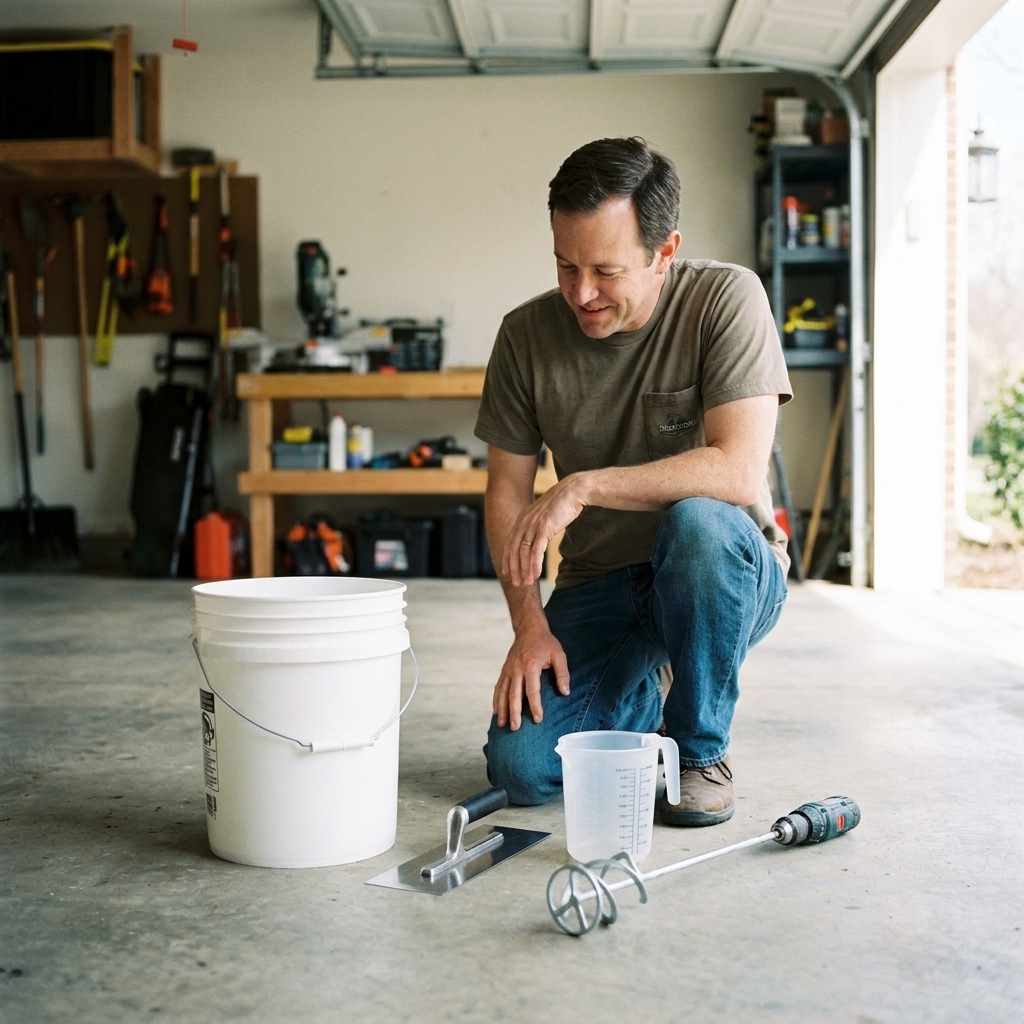
Tools and setup I actually use
- Two buckets: One for mixing, one for clean water and rinsing tools.
- Measuring pitcher: Marked in ounces or liters.
- Margin trowel: For scraping sides and checking texture.
- Mixing paddle + drill: Variable speed.
- Timer: Slake time is real. Set it.
- Cold clean water: In warm weather, cooler water buys you working time.
Safety note: Thinset and grout powders contain cement and often silica. Do your mixing in a ventilated area, avoid breathing the dust, and wear a properly fitted respirator (an N95 at minimum). Gloves and eye protection are smart too.
Bucket tip: Use a clean bucket with no crusty leftovers. A single pebble of cured thinset can leave scratches under a membrane or create a lump that drags through grout joints like a tiny snowplow.
How to mix thinset mortar
Step 1: Read the bag, then commit
Thinset is not just cement. It is cement plus graded sand plus additives and, in many cases, polymers. Proper mixing and slake time helps everything fully wet out and activate so the mortar trowels and bonds the way it was designed to.
Step 2: Add water first, powder second
Pour your measured water into the bucket first. Then add powder while mixing. This reduces dry pockets and “dumplings” stuck at the bottom.
- Pour about 90% of your measured water into the bucket.
- Start the drill slow.
- Add powder gradually until it thickens.
- Add the remaining water in small splashes only if needed.
Step 3: Mix slow and scrape the bucket
Mix for about 2 to 3 minutes, then stop and scrape the sides and bottom with a margin trowel. Mix another 1 minute.
What you are aiming for: A creamy, lump-free consistency that holds ridges when you notch it, without slumping or sliding.
Step 4: Slake (do not skip this)
Let the thinset rest, untouched, for the time on the bag, typically 5 to 10 minutes. This is not wasted time. It is part of getting consistent workability and bond.
Step 5: Re-mix without adding water
After slaking, re-mix for 30 to 60 seconds. For cement-based thinset, do not add water after slake unless the manufacturer explicitly says you can. Most of the time, you should not.
My rule: If your thinset feels too stiff after slake, you likely started too dry. Fix it on the next batch by measuring and adjusting your water, not by “rescuing” the bucket midstream.
Consistency checks (simple and reliable)
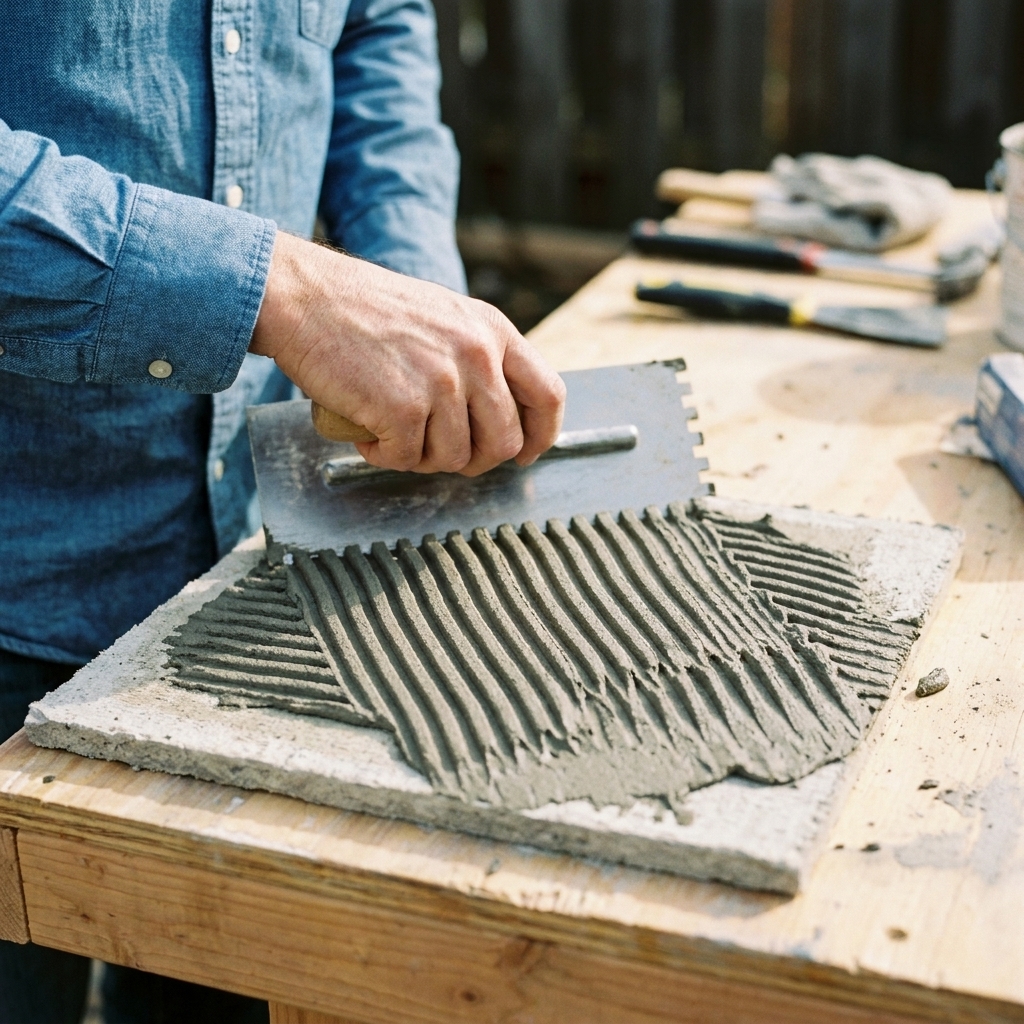
- Notch test: Trowel a little onto a scrap board. Your ridges should stand up, not melt into pancakes.
- Peak test: Scoop with a margin trowel and flip slightly. It should form a soft peak that bends, not pour.
- Finger swipe: Drag a finger lightly across the surface. It should feel creamy, not gritty, and not watery.
Wall vs floor thinset
For floors
You typically want a slightly looser mix than walls so it keys into the substrate well and collapses ridges under the tile.
- Too stiff: poor transfer, hollow spots.
- Too loose: ridges slump, tile sinks and lippage gets harder to control.
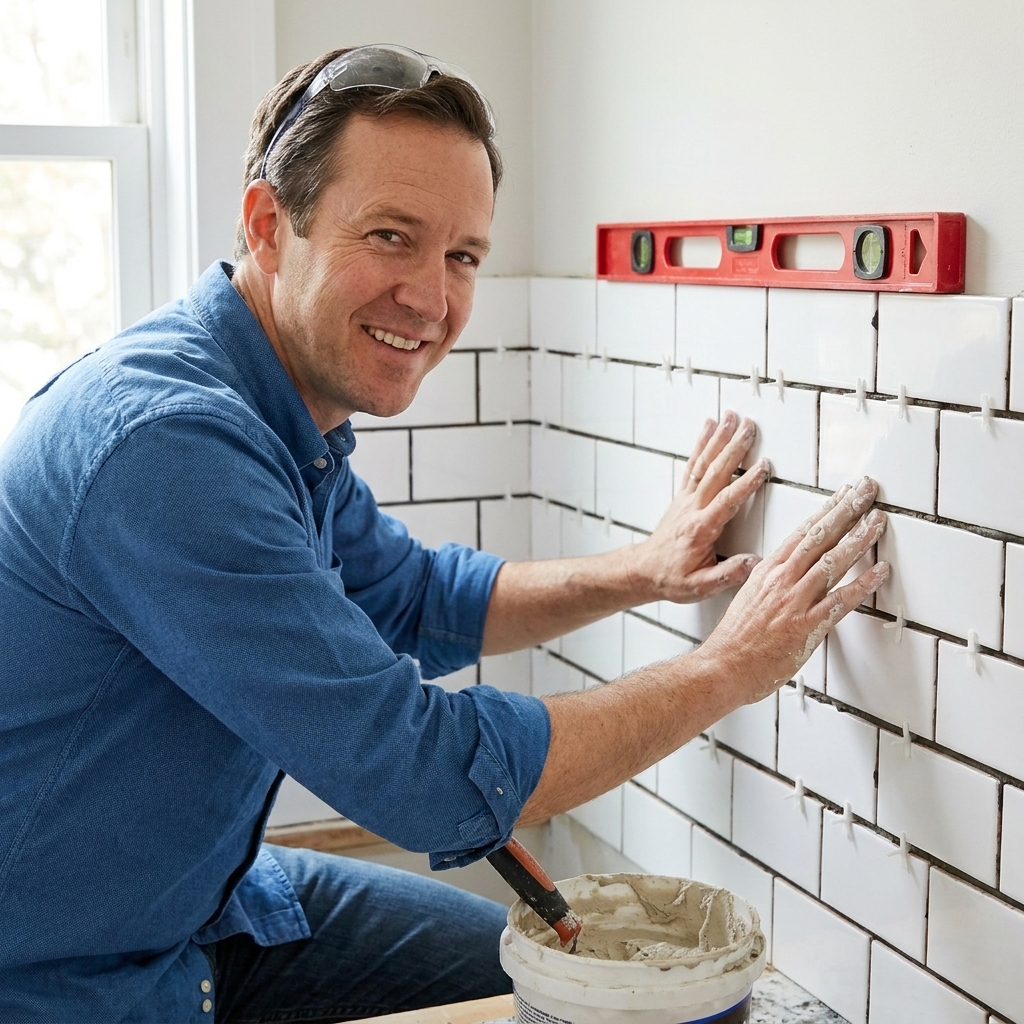
For walls and backsplashes
You want it a touch stiffer so tiles do not sag. If your tile is sliding down the wall, the mix may be too wet, the trowel may be too big, or the mortar is not getting a good bite.
- Key-in first: Burn a thin coat into the wall with the flat side of the trowel, then comb your ridges.
- Set with intention: Press the tile in and give it a small wiggle to collapse ridges.
- Use support: Spacers help, and a straight ledger board is your best friend on the first row.
Pro move: After you mix properly, let the bucket sit for 2 minutes (not slake, just a short pause), then re-stir by hand with a margin trowel. It often tightens up just enough for walls without changing the recipe.
Keep thinset workable longer
Thinset does not “dry” like paint. It cures through cement hydration. But it does skin over and stiffen in the bucket and on the wall, especially in heat, sun, wind, or over thirsty surfaces.
Use these techniques
- Mix smaller batches: If you cannot spread and set it comfortably within the product’s pot life and open time, your batch is too big. In heat, many DIYers find 30 to 45 minutes of easy working time is a realistic target, even if the bag lists longer under ideal conditions.
- Keep the bucket in the shade: Sunlight on a dark bucket will cook thinset fast.
- Cool water helps: In summer, I use cool tap water. Not ice water, just cool.
- Dampen thirsty substrates: Cement board can pull water out of thinset. Wipe it with a damp sponge first. Do not leave standing water.
- Do not retemper with water: For cement-based thinset, adding water after it starts setting weakens it and messes with bond.
Skin-over warning: If you spread thinset and it forms a dry film before tile goes on, scrape it off and reapply. Setting tile into skinned thinset is a bond failure waiting to happen.
Quick timing terms (so you do not get burned)
- Pot life: How long the mortar stays usable in the bucket.
- Open time: How long you can leave combed mortar on the surface before it skins over.
- Working time: The real-world time you personally have, given your pace and conditions.
How to mix grout
Grout is a different animal. Your goal is a mix that packs densely into joints, holds shape on the float, and cleans up without washing out or turning powdery later.
Important: This section covers cement-based grout. Epoxy grout and ready-to-use, single-component grout follow completely different rules and you do not add water to them. Always follow the manufacturer instructions for the product in your bucket.
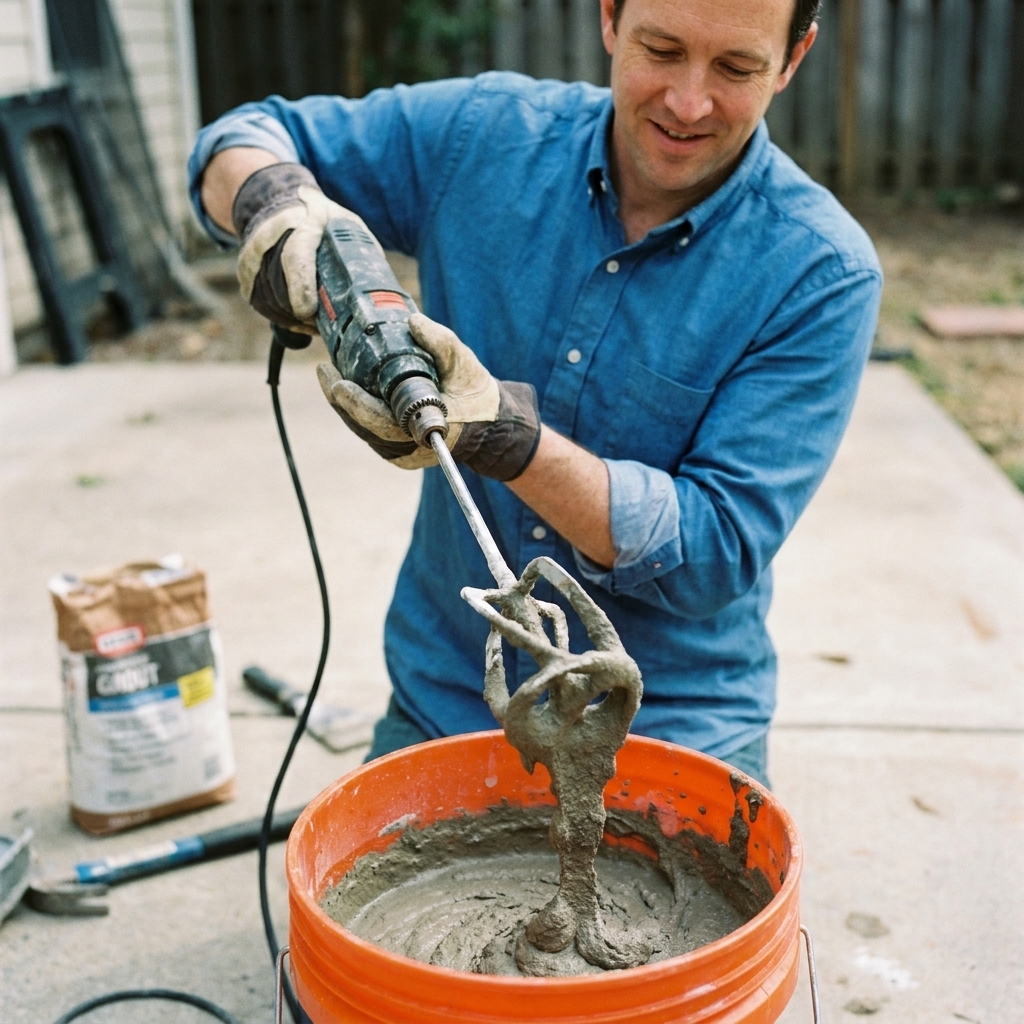
Step 1: Measure water and start dry
Just like thinset, use the water range on the bag. Start at the low end. Grout that is too wet is the #1 reason for blotchy color and weak, dusty joints.
Step 2: Water first, then grout powder
Pour about 90% of your water in the bucket, then add powder while mixing slowly. Scrape the sides and bottom as you go.
Step 3: Mix, rest, re-mix
Most cement-based grouts need a rest period similar to slaking. Many products call it 5 to 10 minutes. Then re-mix briefly. Always follow your specific bag because formulas vary.
What perfect grout consistency looks like
- It should feel like creamy peanut butter: spreadable, but not runny.
- It should stay on the float without slumping.
- When you pack a joint, it should compress firmly with minimal drag.
Color tip: If you care about grout color consistency, measure water precisely for every batch and keep your cleanup routine consistent. “A little extra water” in batch two is how you get two-tone floors.
Grout without fast drying or haze
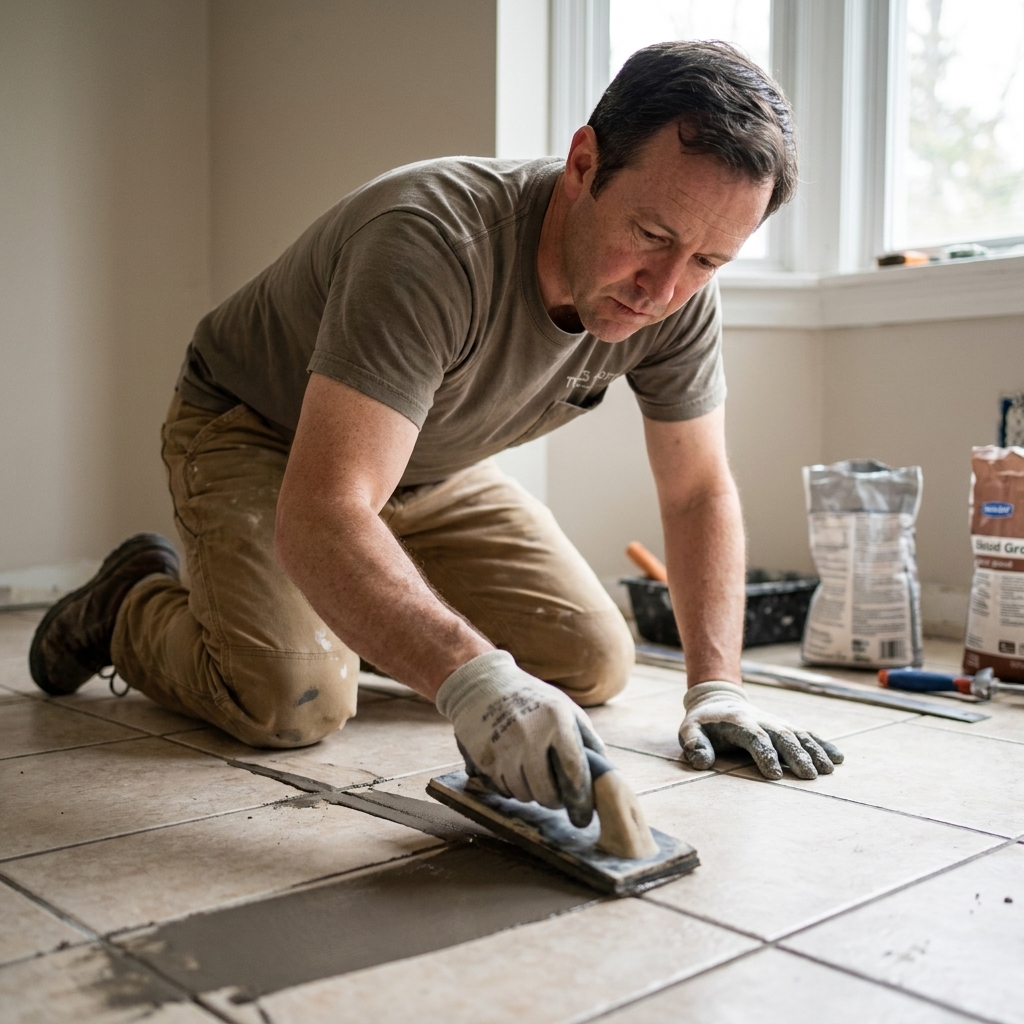
Work in tight zones
Grout a small area you can wash within the product’s window. On walls, that might be 10 to 20 square feet. On floors, maybe 20 to 40 depending on tile texture and room temperature.
Control temperature and airflow
- Avoid blasting fans directly across fresh grout. Airflow speeds surface drying and can lead to weak tops and pinholes.
- Keep your wash water clean. Dirty water smears cement and increases haze.
Use the right sponge technique
Wring the sponge until it is just damp. Then wipe lightly. If water is dripping, you are washing out joints and inviting blotchiness.
My rhythm: One light pass to shape, flip sponge, one light pass to pick up residue, rinse. Repeat. Aggressive scrubbing is a haze factory.
Common mixing mistakes
Lumps that never go away
- Cause: Powder dumped in too fast, or mixing too thick too soon.
- Fix: Water first, powder gradually, scrape bucket often. Use a proper paddle.
Thinset is creamy but tiles will not stick on the wall
- Cause: Too wet, wrong trowel size, dusty wall, or no key-in.
- Fix: Stiffen mix slightly on the next batch, wipe wall clean, burn a thin coat into the wall before notching, then press and slightly slide the tile to collapse ridges. Use a ledger for the first row if you need support.
Thinset gets stiff in the bucket fast
- Cause: Heat, wind, big batch, thirsty substrate, high-speed mixing.
- Fix: Smaller batches, shade, cool water, slower mixing, dampen substrate.
Grout is crumbly or sandy
- Cause: Too little water, grout started setting before you packed it, or over-washing during cleanup.
- Fix: Measure water carefully, mix smaller batches, wring sponge more.
Grout color looks blotchy
- Cause: Too much water in the mix or during cleanup, inconsistent batches, uneven drying.
- Fix: Precise measuring every batch, consistent wash timing, avoid over-wetting.
Low-stress batch sizes for DIYers
If you are newer to tile, your best tool is a smaller bucket. The product is cheaper than your stress level.
- Thinset: Start with a quarter bag or less until you know your pace.
- Grout: Start with a small batch that you can place and wash within the working window.
Once you can spread, set, and clean without rushing, scale up.
FAQ
Can I mix thinset or grout by hand without a drill?
You can, especially for tiny batches, but it is harder to get lump-free and consistent. A paddle and drill gives you repeatable results. If you do mix by hand, add powder slowly and be obsessive about smashing dry pockets against the bucket wall with a margin trowel.
Should I ever add more water after the mix starts setting?
For cement-based thinset and most cement grouts, no. Once it begins to set, retempering with water weakens performance and can cause color issues with grout. If you are using epoxy grout or a ready-to-use, single-component grout, follow that product’s rules, because adding water is usually a hard no.
What if my thinset looks perfect but skins over on the wall?
That is usually jobsite conditions or spreading too far ahead. Spread less area, keep out of sun and wind, and make sure the surface is not dusty or hot. Scrape off skinned thinset and reapply.
Do I really need to slake?
Yes, unless the bag specifically says otherwise. Slake time is not a suggestion. It is part of getting the product to behave correctly and consistently.
Is mastic the same as thinset?
No. Mastic is a premixed adhesive, and mixing rules do not apply to it. It also has limits in wet areas and behind certain tile types. If you are in a shower or other wet zone, read the spec sheet and do not assume mastic is acceptable.
Final checklist
- Water measured, not guessed
- Correct paddle, low RPM per the bag
- Bucket scraped during mixing
- Thinset or grout rested for the specified time
- Re-mixed briefly, no extra water for cement-based products
- Batch size matches your pace and the product’s pot life
If you nail these basics, the rest of the tile job gets dramatically calmer. Your trowel lines stay consistent, your tiles stay where you put them, and your grout joints pack tight and clean. That is the kind of “pro finish” that does not require pro pricing, just patience and a good mixing routine.