Step-by-step fixes for hardwood floor scratches and gouges using stain markers, wax, filler, sanding, and blend techniques for a near-invisible repair.
The Grout Nest
Updated October 17, 2026
Screen and Recoat vs. Full Sanding for Hardwood Floors
Not sure whether your hardwood needs a quick finish refresh or a full refinish? Learn the signs, costs, mess level, and DIY steps for screen and recoat vs. sanding to bare wood.

Ben Mitchell
Ben Mitchell is a former professional tile setter and passionate home renovator with over 12 years of experience in the flooring industry. After stepping away from commercial contracting, he founded Grout Nest to empower everyday homeowners to tackle their own flooring, tile, and backsplash projects with confidence. He believes that with the right tools, proper prep work, and a little patience, anyone can achieve a professional-grade finish.
If your hardwood floors look tired, you usually have two real options: screen and recoat (a light scuff plus a new clear coat) or full sanding (down to bare wood, then stain if you want, then rebuild the finish). The problem is that from standing height, both “worn finish” and “worn wood” can look kind of the same. And once you rent a drum sander, you are committed in a way that makes marriage vows look casual.
I have refinished floors professionally and I have also made DIY mistakes that would make my old foreman sigh loudly through his nose. So in this guide, I am going to help you decide which route fits your floor, your timeline, and your tolerance for dust.
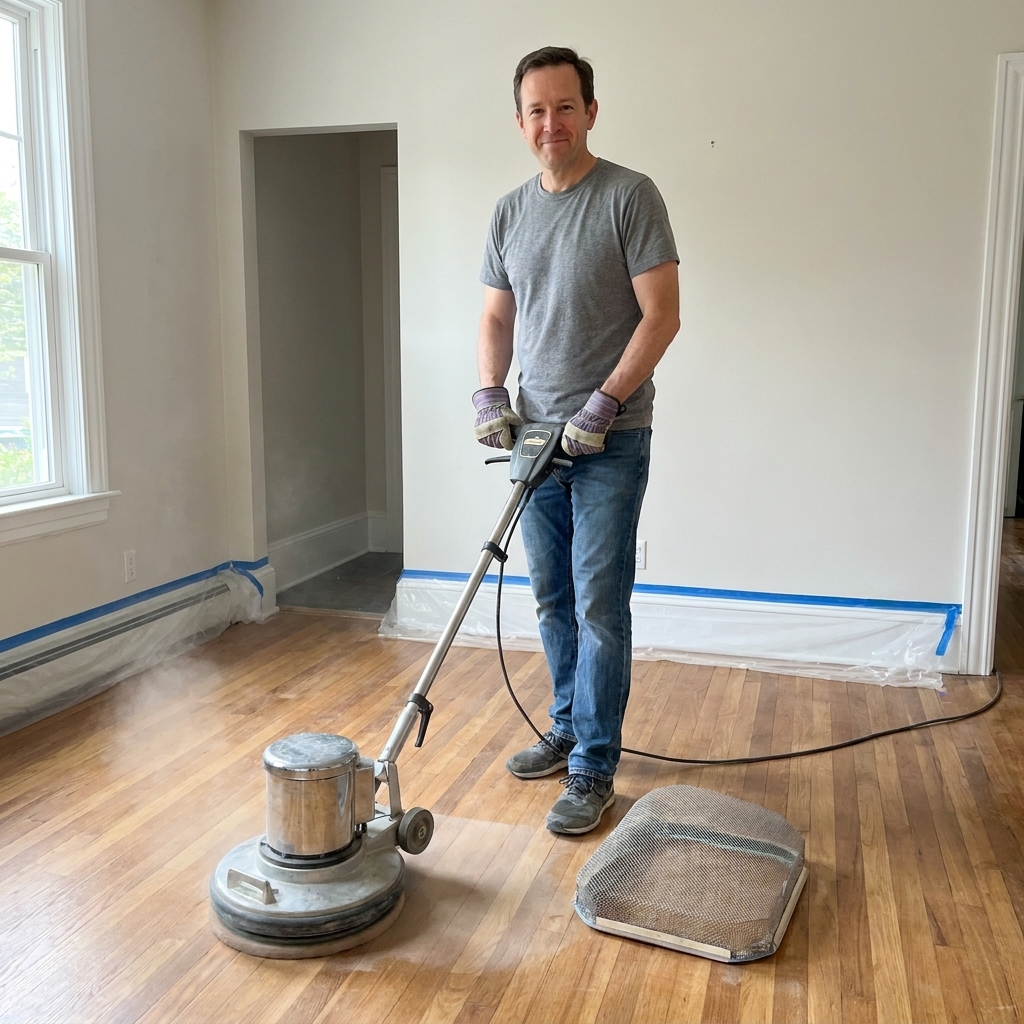
The two options
Screen and recoat (buff and coat)
This is a finish refresh. You lightly abrade the existing topcoat so the new finish can mechanically bond, then you apply one or two fresh coats of polyurethane or a waterborne floor finish (including many pro-grade systems).
- You are not removing wood. You are only scuffing the old finish.
- It fixes: dullness, light scratches in the finish, minor wear paths, mild hazing.
- It does not fix: deep dents, dark pet stains that are in the wood, gray bare-wood traffic lanes, cupping, serious unevenness, sun-faded patchiness from rugs.
Full sanding and refinishing
This is a reset. You sand off the finish and a thin layer of wood, then you stain (optional), then you apply multiple coats of finish.
- You are removing wood. How much depends on the floor and how aggressive you need to be.
- It fixes: deep scratches that cut into wood, uneven color, heavy wear-through, lippage on older floors (sometimes), old wax or unknown coatings (reliably).
- It may not fix: very deep urine stains that go through boards, severe cupping or crowning from moisture, loose or squeaky subfloor issues without additional repair.
Fast decision
If you want the quickest “tell me what to do” answer, use these checks. You can do them in ten minutes with a bright flashlight and a little honesty.
You can usually screen and recoat if…
- The floor looks worn but not raw. You see sheen differences and fine scratches, not gray wood fibers.
- Scratches are whitish or dull, meaning they are in the finish, not through it.
- You are happy with the current color. A recoat cannot change stain color, but it can subtly shift the look depending on finish chemistry and sheen (oil-based poly ambers; waterborne is usually clearer).
- You know the existing finish is compatible with what you plan to apply, or you are willing to test and confirm it.
You probably need full sanding if…
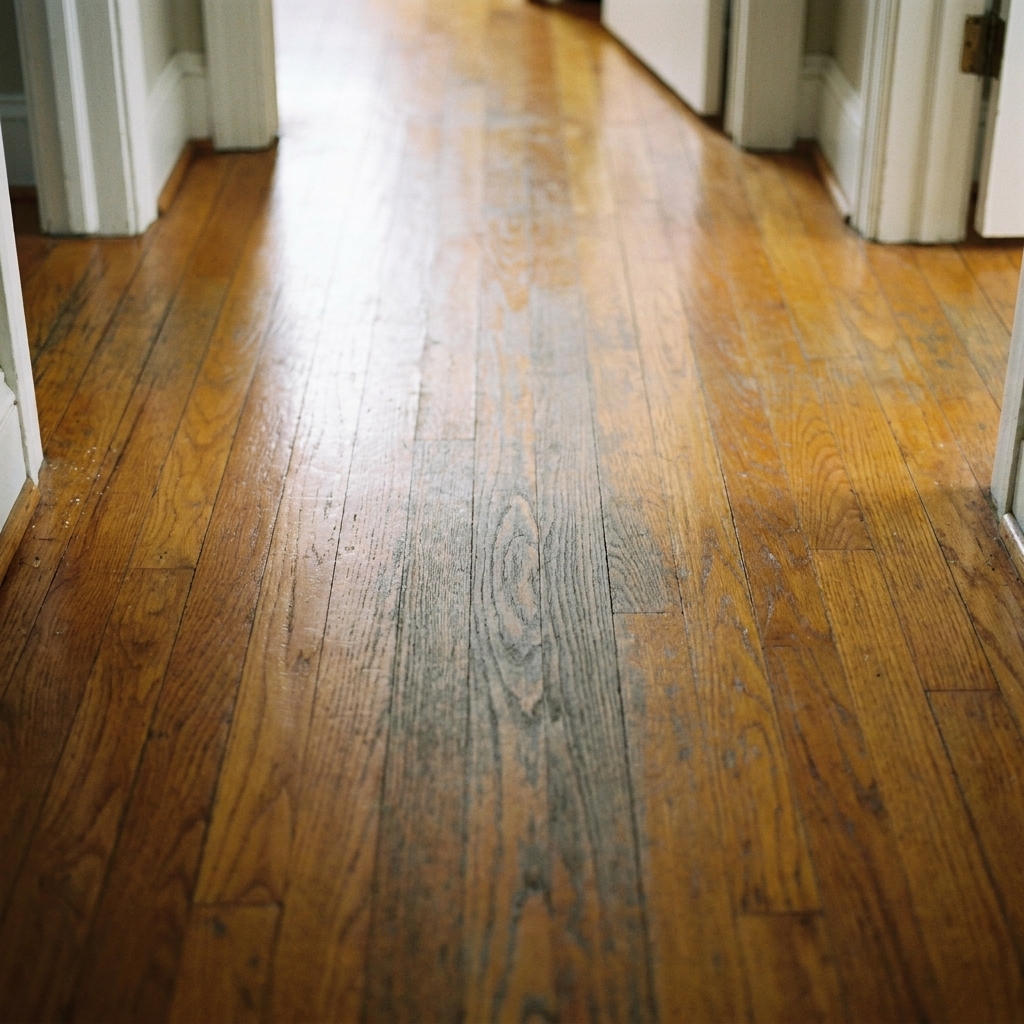
- You have bare wood showing. It often looks gray, fuzzy, or “thirsty,” especially in hallways and in front of sinks.
- Dark stains are in the wood. If it is black or deep brown and does not wipe off, it is usually below the finish.
- Boards are uneven (high edges, big lippage, chatter marks from an old refinish) and you want them flatter.
- You want a different stain color (or to remove a bad stain job).
- The floor has wax, polish buildup, or an unknown coating that a new finish might not bond to.
Tests that actually work
1) The flashlight test
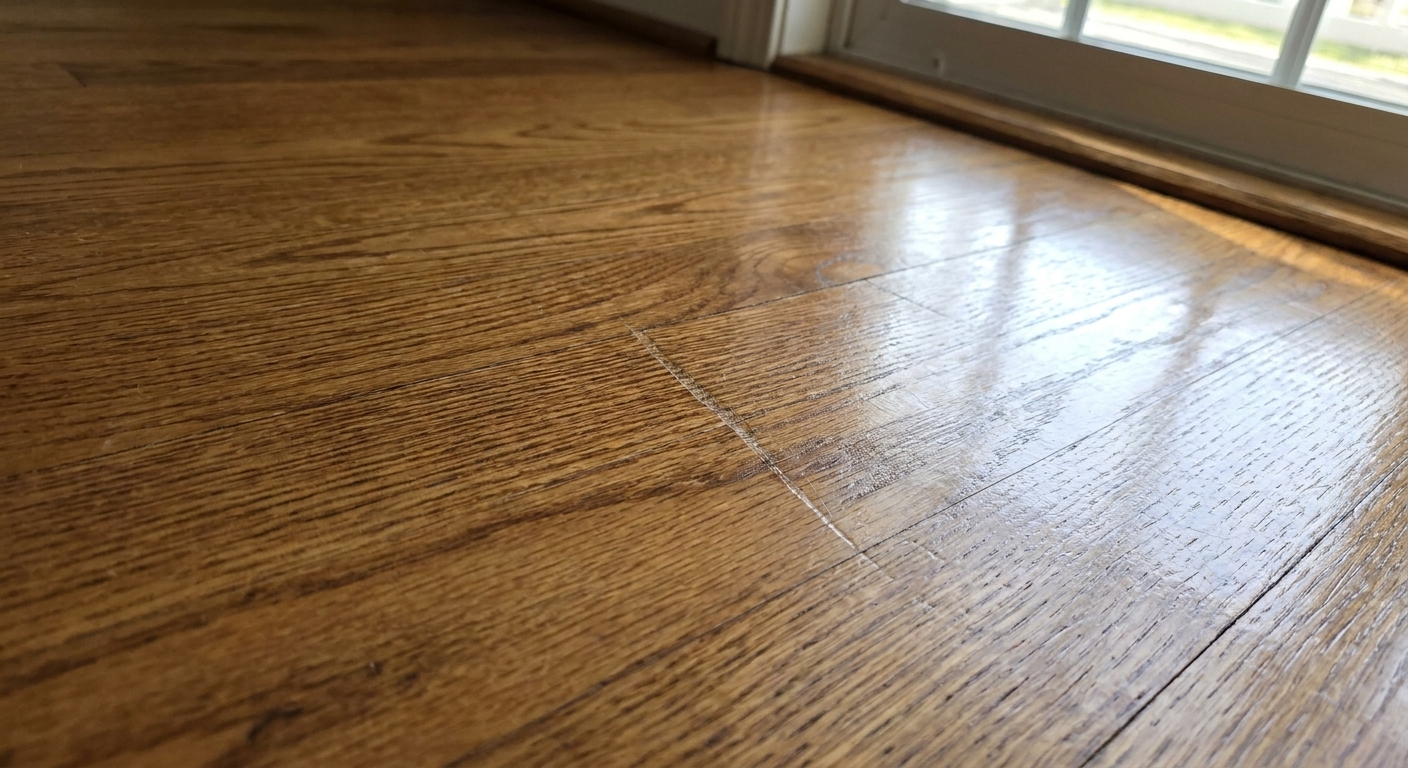
Turn off overhead lights, grab a flashlight, and hold it low so the beam rakes across the floor. Finish scratches show up as fine lines that catch the light. Wood damage looks like texture, dents, or torn grain. If your “scratches” look like valleys, you are beyond a simple recoat.
2) The water drop test (use it, but do not worship it)
Put a few drops of water in a couple spots: one in a good-looking area, one in the worst traffic lane. Watch for 5 to 10 minutes.
- If it beads and you can wipe it up with no darkening, the finish may still be intact. That is a good sign, but not a guarantee that recoating will bond. Wax, acrylic polishes, and oily residues can also make water bead.
- If it slowly soaks in and darkens the wood, the finish is worn thin or through in that spot. A recoat can improve protection, but the most reliable way to erase the darkening is usually sanding (or a board swap if it is deep).
- If it absorbs immediately, you are on bare or near-bare wood. Full sanding is typically the most reliable fix.
3) The compatibility check (what is on your floor?)
Screen and recoat only works if the new finish bonds. The most common DIY heartbreak is trying to coat over wax, oil soap residue, acrylic polish, hardwax oil, or an incompatible finish.
Common floors that often need extra homework before recoating:
- Factory-finished, prefinished hardwood (often aluminum-oxide urethane). Some systems can be recoated, but they may require a specific abrasion method and a bonding primer approved by the finish manufacturer.
- Penetrating oils and hardwax oils. These are not “poly with a different vibe.” Many do not accept polyurethane on top without special prep, and some are better maintained within the same product family.
- Floors with maintenance coatings (mop-and-shine, acrylic polishes). They can look great until you try to put a real finish on top and it fisheyes or peels.
Clues you have contamination or polish buildup:
- Floor feels slightly greasy or grabby even after cleaning.
- You see shiny swirls that look like “product,” not wood grain.
- Water beads in weird spots and soaks in others, like a leopard pattern.
If you are unsure, you have three sane paths: (a) deep clean and de-wax using a stripper system designed for floors, then abrade and recoat, (b) use a manufacturer-approved bonding primer within a compatible finish system (common with pro waterborne lines), or (c) full sanding. Sanding is the bigger job, but it is often the most reliable when the coating history is a mystery.
4) The closet spot test (simple and worth it)
If you are leaning toward a recoat, do a small test first. Pick a closet or low-visibility corner.
- Scuff a 2 ft by 2 ft area the same way you plan to prep the whole floor.
- Clean it exactly the same way.
- Apply your intended finish.
- After full cure (not “dry to touch”), do an adhesion check: score a tiny crosshatch with a sharp utility knife, press down a strip of strong tape, then pull it off sharply. If finish lifts or flakes, do not proceed with the full floor.
Screen and recoat expectations
Best use cases
- Rental refresh before listing a home.
- Floors that are structurally fine but dulled by years of foot traffic.
- Light scratches from chairs, dog nails, or general life.
Cost and timeline
DIY screen and recoat is usually a weekend project for an average room once furniture is out. Cost depends on finish type and tool rental, but it is typically far cheaper than sanding because you are not buying belts, abrasives in multiple grits, stain, and heavy dust containment supplies.
Mess level
There is still dust, but it is light sanding dust, not the blizzard you get from aggressive drum sanding. If you have ever found sanding dust inside a closed drawer, you already understand why this matters.
DIY overview
- Clear the room completely. Remove vent covers.
- Clean like you mean it: vacuum, then damp mop with a hardwood-safe cleaner. Skip oily soaps and “shine” products.
- Scuff the surface with a floor buffer and sanding screen (commonly 150 to 180 grit), plus hand-sand edges and corners lightly.
- Vacuum thoroughly, then tack with a microfiber pad lightly dampened with the recommended solvent for your finish system.
- Apply finish with the appropriate applicator (roller, T-bar, or pad) following the product instructions for spread rate and recoat windows.
- Let it cure. Dry is not cured. Keep socks, pets, and golden-retriever-level enthusiasm off it until the manufacturer says it is ready.
Full sanding expectations
Best use cases
- Finish is worn through to wood in multiple areas.
- Deep scratches, gouges, or denting that bothers you daily.
- Pet stains or water stains that are set into the wood.
- You want to change stain color or remove uneven stain.
- You need to flatten minor lippage or remove old finish build-up.
Cost and timeline
DIY sanding is doable, but it is not casual. Expect multiple days for sanding, edge work, cleanup, and finishing, plus cure time before normal life returns. Material costs climb because you are buying abrasives for several grit steps, plus finish, plus possible stain, plus fillers and repair materials.
Mess level
This is a dust-forward hobby. Even with good vacuums and sealed doorways, fine dust wants to migrate. Plan to protect adjacent rooms and HVAC returns. If you do not, you will be finding oak dust in your cereal.
DIY overview
- Verify thickness if possible, especially on engineered hardwood. Many engineered floors can only be sanded if the wear layer is thick enough, and some cannot be sanded at all. If you cannot confirm the manufacturer spec, treat it as a risk.
- Set fasteners below the surface. One proud nail will shred sanding belts and your mood.
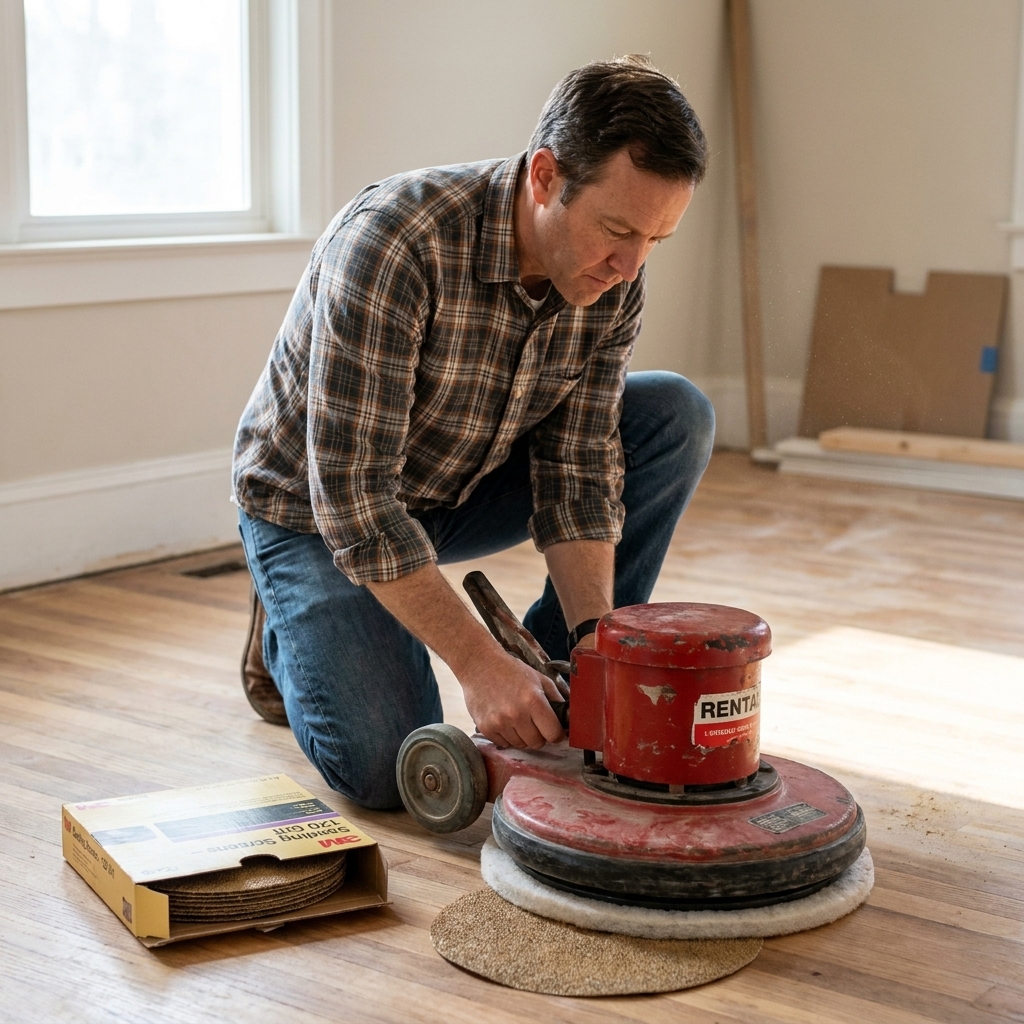
- Sand in grit progression with the right machine (drum, belt, or planetary). You typically start aggressive enough to remove finish, then step through finer grits.
- Edge sand every perimeter and under toe-kicks where needed. This is where DIY jobs often look DIY.
- Vacuum meticulously between steps.
- Stain (optional), then apply finish coats with proper dry times and light abrasion between coats if required.
DIY mistakes that wreck results
Gotcha 1: Recoating over wax or polish
If the previous owner loved mop-and-shine products, a recoat can fisheye, crawl, or peel later. The floor might look okay for a month, then start flaking in traffic lanes. When in doubt, do a spot test, use a proven stripper and prep system, or choose sanding as the most reliable reset.
Gotcha 2: Thinking a recoat will hide dents
A new clear coat can make the floor shinier, which sometimes makes dents more noticeable. If your issue is texture, not just dullness, sanding and repair is the fix.
Gotcha 3: Over-sanding edges during a screen and recoat
A floor buffer cannot reach corners, so DIYers often attack edges by hand and accidentally sand through the finish to bare wood in a halo around the room. Then you recoat and those sand-through spots look lighter and blotchy. Be gentle on edges and keep your abrasion consistent.
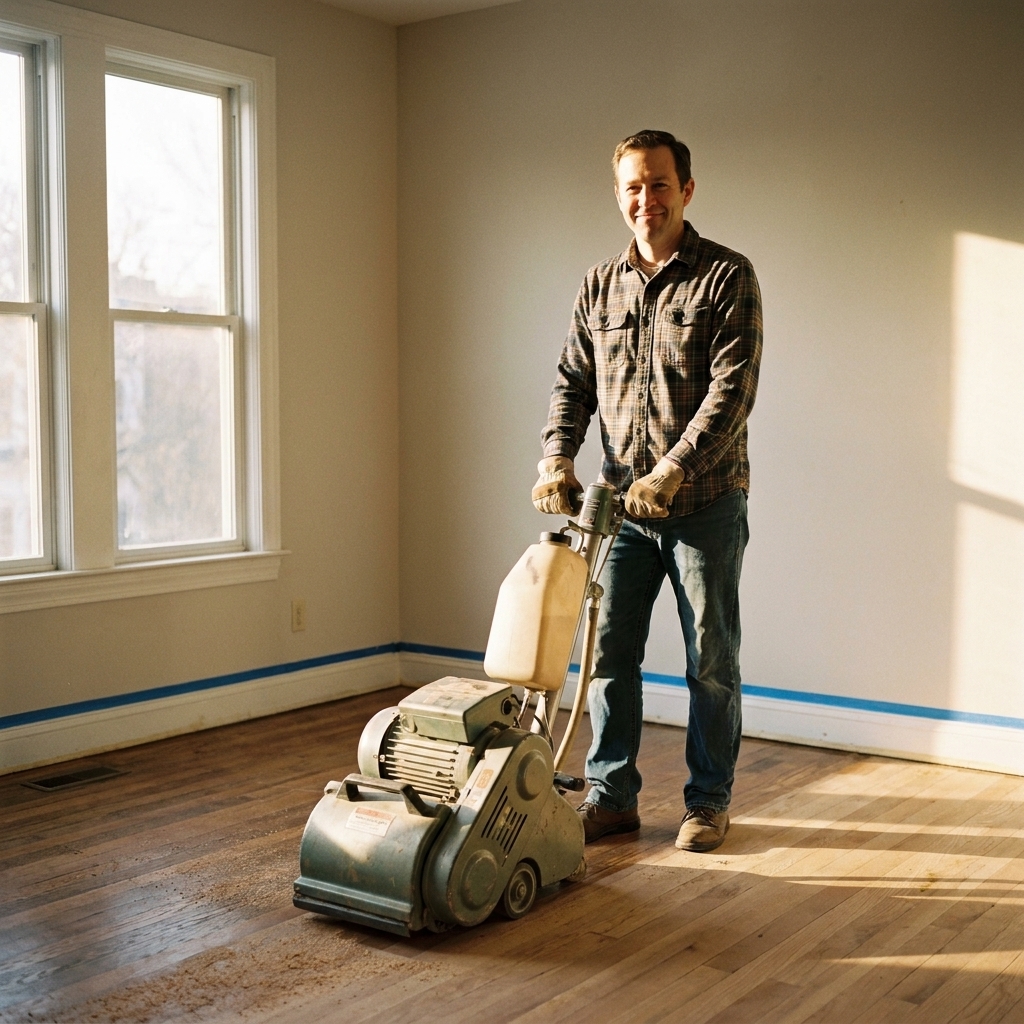
Gotcha 4: Renting a drum sander without practice
Drum sanders remove wood fast. If you pause with the drum down, you can carve a divot that will haunt you every time sunlight hits it. If you have never used one, consider a belt sander style rental, a planetary sander, or hiring out the sanding and doing the finishing yourself.
Symptom guide
Dullness and loss of shine
Usually: screen and recoat. Dull floors are often a worn topcoat, not ruined wood.
White scratches (not dark)
Usually: screen and recoat. White lines tend to be finish-level scratches scattering light.
Dark scratches and gouges
Often: full sanding. If the scratch is dark, it is commonly into wood fibers holding dirt and oxidation.
Gray traffic lanes
Usually: full sanding. Gray often means exposed wood that has oxidized and absorbed grime.
Pet urine stains
Depends, but plan for sanding. Some stains sand out, many do not. A lot of black pet stains are chemical reactions in the wood and can remain after sanding. That is when you look at wood bleach (used correctly) or board replacement for the worst boards.
Orange peel texture or thick finish ridges
Usually: full sanding. A recoat tends to telegraph texture rather than remove it.
Color change or sun-fade from rugs
Full sanding. You cannot blend UV color changes with a simple recoat.
Finish choices for recoating
If you are recoating, matching the type of finish matters as much as matching the sheen. Even when products technically stick, mixing systems can create weird curing issues or future peeling.
- Oil-based polyurethane: amber warmth, longer dry times, strong odor. Great durability, but you need ventilation and patience. It will warm and slightly darken the look compared to many waterbornes.
- Waterborne polyurethane or waterborne floor finish: clearer look, faster dry times, lower odor. Excellent for occupied homes, but prep and application technique need to be clean and consistent.
Pro tip from too many late nights: Pick your sheen (satin, semi-gloss, gloss) based on how honest you want your floor to be. Higher gloss reflects more light, which also reflects more flaws. Also, lap marks are real, especially with fast-drying waterborne products. Work in clean lines, keep a wet edge, and do not over-roll.
Tool list
Screen and recoat essentials
- Floor buffer (rental) with sanding screens (commonly 150 to 180 grit)
- Hand sanding block or palm sander for edges
- Shop vac with a good filter, microfiber mop and pads
- Painters tape and plastic to isolate dust
- Finish applicator matched to your product (pad, roller, or T-bar)
Full sanding essentials
- Drum or belt sander (rental) plus plenty of belts in multiple grits
- Edger and edge discs
- Detail sander or scraper for corners
- Vacuum with fine dust filtration
- Wood filler (if appropriate), stain (optional), finish system
- Respirator rated for fine particulates, hearing protection
Safety basics
- Respiratory protection matters. Fine wood dust is not a souvenir. Use a respirator that is actually rated for particulates when sanding.
- Ventilation is part of the job. Oil-based finishes and some sealers have strong solvents. Follow the label and ventilate appropriately.
- Old trim can be a hazard. If your home is old enough that you suspect lead paint on baseboards or trim, take precautions when sanding nearby or masking and scraping painted surfaces.
- Oil-soaked rags can combust. If you use oil-based products or stains, dispose of applicators and rags safely per the product instructions.
When to call a pro
I love DIY. It is why home projects are fun. But I also love spending money once.
- Your floors are engineered hardwood and you do not know the wear layer thickness or manufacturer sanding guidance.
- You suspect wax, polish buildup, hardwax oil, or unknown coatings and you cannot confirm compatibility with a spot test.
- The floor is severely cupped or crowned, or there are moisture issues. Sanding a moisture problem is like painting over a roof leak.
- You have a large open-concept area where lap marks and sheen variation will be very visible.
- You need board replacements blended into an existing field. It is doable DIY, but the skill curve is real.
Rule of thumb
If the wood itself is still in good shape and you just hate how the finish looks, start with a screen and recoat. If you can see or feel wood damage, or you want a different color, commit to sanding.
Prep work is 90 percent of the job, and hardwood finishing is the poster child for that truth. The good news is that both approaches can look fantastic. The best choice is the one that matches what is actually wrong with your floor, not just what you are hoping will be true.
FAQ
Can I screen and recoat just one room or a small area?
You can do one room, but be cautious at doorways where the sheen and wear level changes. Most DIY-friendly result: recoat the whole continuous area up to natural breaks (doorways, transitions, stair noses).
Can I recoat without sanding at all?
No. You need abrasion for adhesion. Skipping the scuff step is a common reason for peeling and chipping later.
How many times can hardwood be sanded?
Solid hardwood can often be sanded multiple times, but it depends on how much wood is above the tongue-and-groove. Engineered hardwood depends on the thickness of the wear layer and the manufacturer spec, and some products should not be sanded.
Will a recoat remove scratches?
It can visually reduce light finish scratches because the new coat levels and fills micro-scratches. It will not erase dents or scratches that cut into the wood.
What if my floor has wax?
If it truly has wax, recoating with polyurethane is risky because wax resists bonding. In many cases, full sanding is the most reliable path, or you need a pro to identify the existing system and recommend a compatible prep and finish.