A tile setter’s short list of must-have DIY tile tools, with practical tips on when and how to use each one for straighter lines, flatter surfaces, and few...
The Grout Nest
Updated October 17, 2026
10 Essential Tools for Quick Flooring Repairs
Loose tile, cracked grout, mystery scratches? Stock these 10 homeowner-approved tools, adhesives, and supplies to handle fast flooring repairs cleanly and confidently.

Ben Mitchell
Ben Mitchell is a former professional tile setter and passionate home renovator with over 12 years of experience in the flooring industry. After stepping away from commercial contracting, he founded Grout Nest to empower everyday homeowners to tackle their own flooring, tile, and backsplash projects with confidence. He believes that with the right tools, proper prep work, and a little patience, anyone can achieve a professional-grade finish.
Floor problems love showing up at the worst possible time. A tile rocks the morning guests arrive. A grout crack starts catching every sock in the house. Your dog does a victory lap across the room and somehow leaves a scratch that looks like it was made by a tiny forklift.
I spent years setting tile professionally, and I still keep a small “floor first-aid kit” at home because quick repairs are usually about two things: having the right stuff on hand and resisting the urge to wing it.
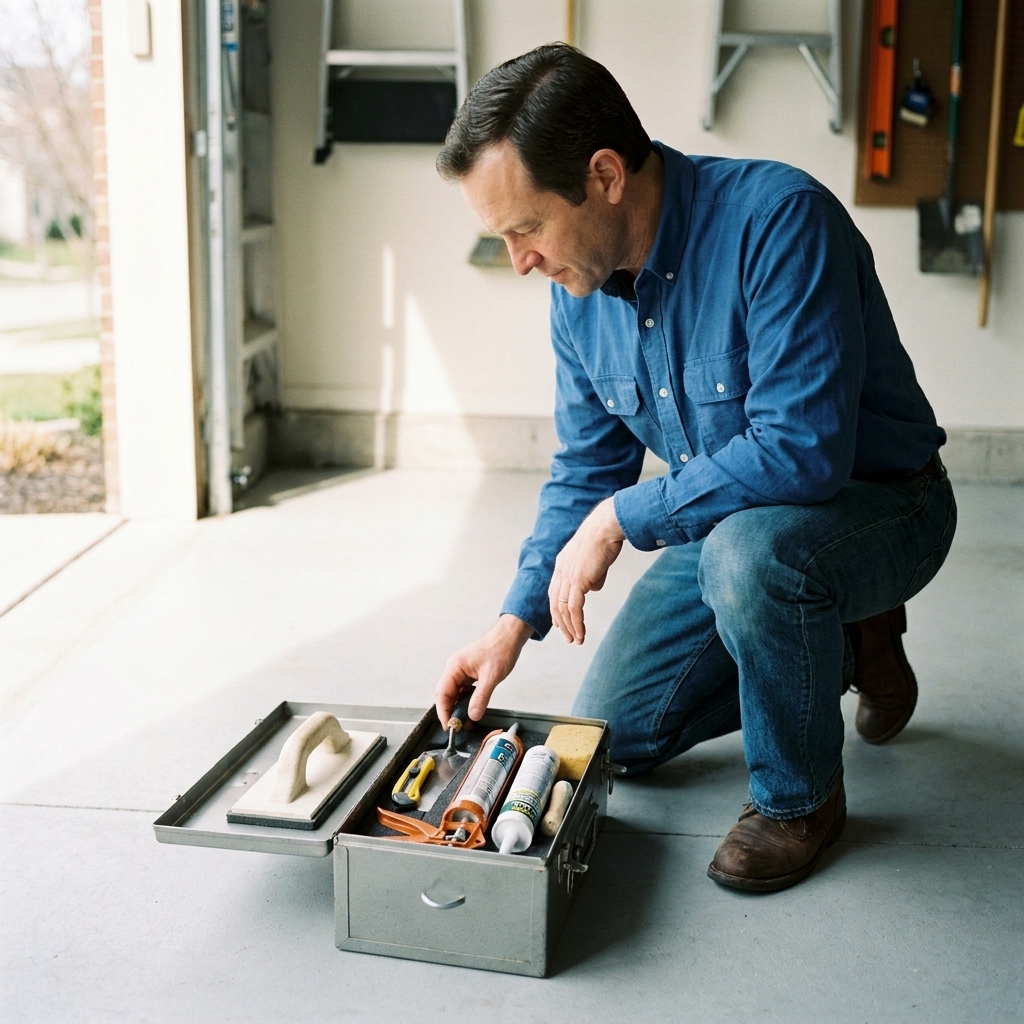
Below are the 10 essentials I recommend for most DIYers with tile or other hard-surface flooring, plus what each one is actually for, what to look for when buying, and the rookie mistakes that make small repairs turn into weekend projects.
Before you buy: match your floors
If your house has tile and grout anywhere, you will use most of this list. If you also have LVP, laminate, or hardwood, you will use even more of it. My goal here is not to turn your garage into a pro shop. It is to help you handle the common “uh-oh” repairs without a store run and without making the damage worse.
- Tile and grout homes: focus on hand tools, cleaning and prep, and a couple targeted adhesives.
- Wood, laminate, or LVP homes: add the scratch repair items and a good pry tool for transitions.
- Any home: keep cleaning and prep supplies. Prep is the part that makes or breaks the repair, and yes, I will keep saying it.
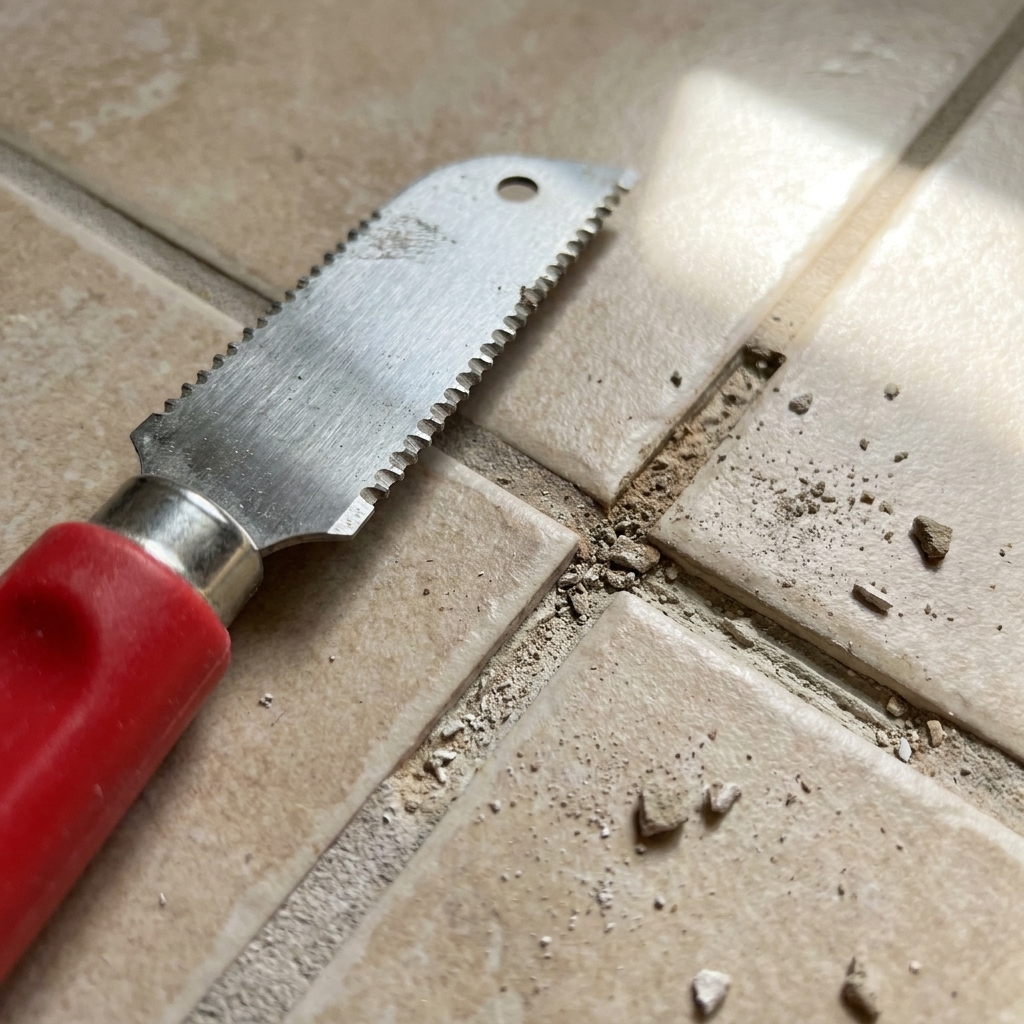
1) Carbide grout saw
If you own tile, a carbide grout saw is non-negotiable. It removes grout from a crack or an ugly repair area so you can re-grout cleanly. The little carbide grit does the cutting, and it is controllable enough for beginners.
Best for
- Cracked grout lines
- Stained grout you cannot clean
- Removing loose grout before touch-ups
What to look for
- A comfortable handle you can grip hard without blistering
- Replaceable blades (you will eventually wear one out)
- A narrow blade for standard grout joints
Ben’s mistake to avoid
Do not “just add grout” over cracked or powdery grout. It will not bond well, and you will be redoing it in a month. Remove the weak stuff first, then re-grout.
2) Oscillating multi-tool
This is the power tool that turns scary repairs into manageable ones. With the right blade, an oscillating multi-tool can remove a small grout section quickly, cut caulk cleanly, or scrape old adhesive without you chiseling like a medieval blacksmith.
Best for
- Removing stubborn grout (use a grout removal blade)
- Cutting caulk around tubs, baseboards, and transitions
- Scraping old thinset or adhesive spots
What to look for
- Variable speed control (lower speeds are easier to manage)
- Tool-free blade changes (saves your sanity)
- A grout blade and a stiff scraper blade in your kit
Ben’s mistake to avoid
Do not run full speed right up against a glazed tile edge. Let the blade do the work, keep it moving, and use light pressure. Heavy pressure is how you chip tile corners.
3) Margin trowel
A margin trowel is the unsung hero of tile repairs. It lets you mix small batches, butter a single tile, scoop thinset precisely, and clean out joints without gouging everything around you.
Best for
- Resetting a loose tile
- Mixing small amounts of thinset, patch, or grout
- Scraping dried thinset off a bucket before it becomes permanent
What to look for
- Stainless steel blade
- A stiff blade (not flimsy)
- Comfortable grip that stays grippy when dusty
If I could only keep one trowel for household tile repairs, it would be a margin trowel. It is the “spoon” of the tile world.
4) Putty knife set
One putty knife is never enough. You want at least two: a flexible one for feathering fillers and a stiff one for scraping and prying gently.
Best for
- Scraping up dried glue or adhesive smears
- Spreading wood filler or floor patch
- Prying off a transition strip without destroying it
What to look for
- One 2-inch flexible
- One 3 to 4-inch stiff
- Metal blades, not plastic, for scraping work
Ben’s mistake to avoid
Do not use a screwdriver to scrape adhesives off finished flooring. I have done it. It leaves little crescent gouges that will haunt you under certain lighting forever.
5) Utility knife + blades
A sharp utility knife fixes more floor problems than people realize. It trims loose vinyl, scores caulk lines, opens grout bags cleanly, and helps you remove lifting corner edges without tearing up surrounding material.
Best for
- Trimming loose vinyl or LVP underlayment edges
- Scoring caulk before you pull it
- Cleaning up tape lines and masking
What to look for
- A solid, no-wiggle blade lock
- A comfortable handle you can control
- Extra blades stored with the tool
Blunt blades are how you slip and scratch something you love. Replace blades early. They are cheaper than regret.
6) Caulk gun + the right caulk
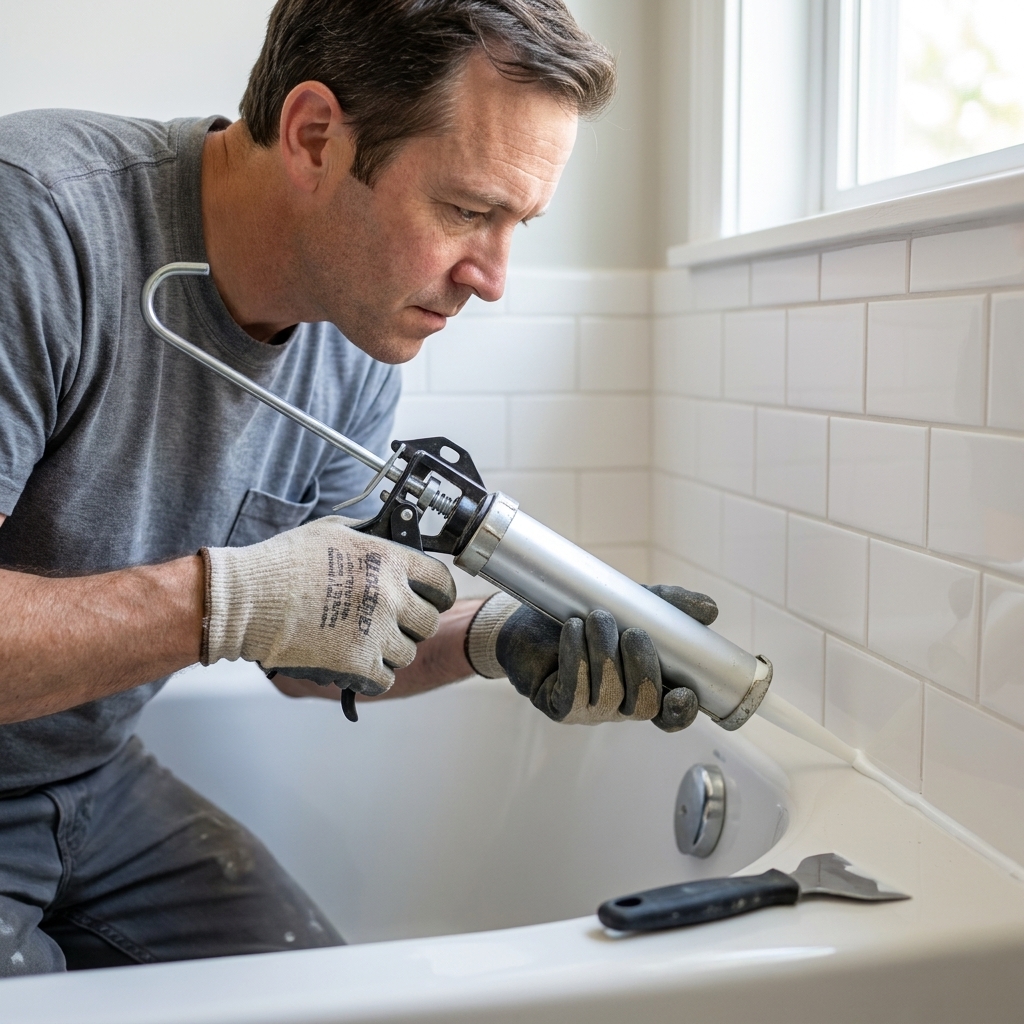
In wet areas and change-of-plane joints, grout is not the right product. You want flexible caulk. A basic caulk gun plus a tube or two of color-matched caulk in your closest color will handle a lot of “cracked corner” situations.
Best for
- Tub-to-tile joints
- Inside corners of showers
- Tile-to-vanity and tile-to-baseboard joints
What to look for
- A smooth-rod caulk gun (less hand fatigue, better control)
- Siliconized acrylic grout caulk for dry areas and low-splash zones
- 100% silicone for showers, tub surrounds, and frequently wet change-of-plane joints (it lasts longer)
Ben’s mistake to avoid
Do not caulk over mildew or soap scum. Remove old caulk fully and clean the joint. If the surface is dirty, the new bead will peel, and you will blame the caulk when it was really the prep.
Also, do yourself a favor and keep a simple caulk smoothing tool or a few plastic spoons in your kit. A clean, tooled bead seals better and looks like you meant to do it.
7) Thinset mortar
If you have tile, keep a small bag of the right thinset on hand, and by “right,” I mean right for your tile and your substrate. Loose tiles happen: a hollow spot, a failed bond, or a bump that finally breaks the old mortar. The correct fix is to pull the tile, clean both surfaces, and reset it in fresh mortar.
Best for
- Resetting one or a few loose ceramic or porcelain tiles
- Small tile resets near doorways and thresholds
What to look for
- Polymer-modified thinset is common for many interior installs, but some membranes call for unmodified and some situations call for specialty mortars (read the membrane and thinset specs)
- A smaller bag size so you use it while it is still fresh
- Storage that stays dry and sealed tight
Ben’s mistake to avoid
Do not reach for construction adhesive as your default “tile glue.” It can create uneven height, stays too flexible, and makes future repairs miserable. Thinset is made for tile. Let it do its job.
One more: do not trust a bag of thinset that has been open in a humid garage for a year. If it is lumpy, crusty, or past the manufacturer date code, replace it. Cheap insurance.
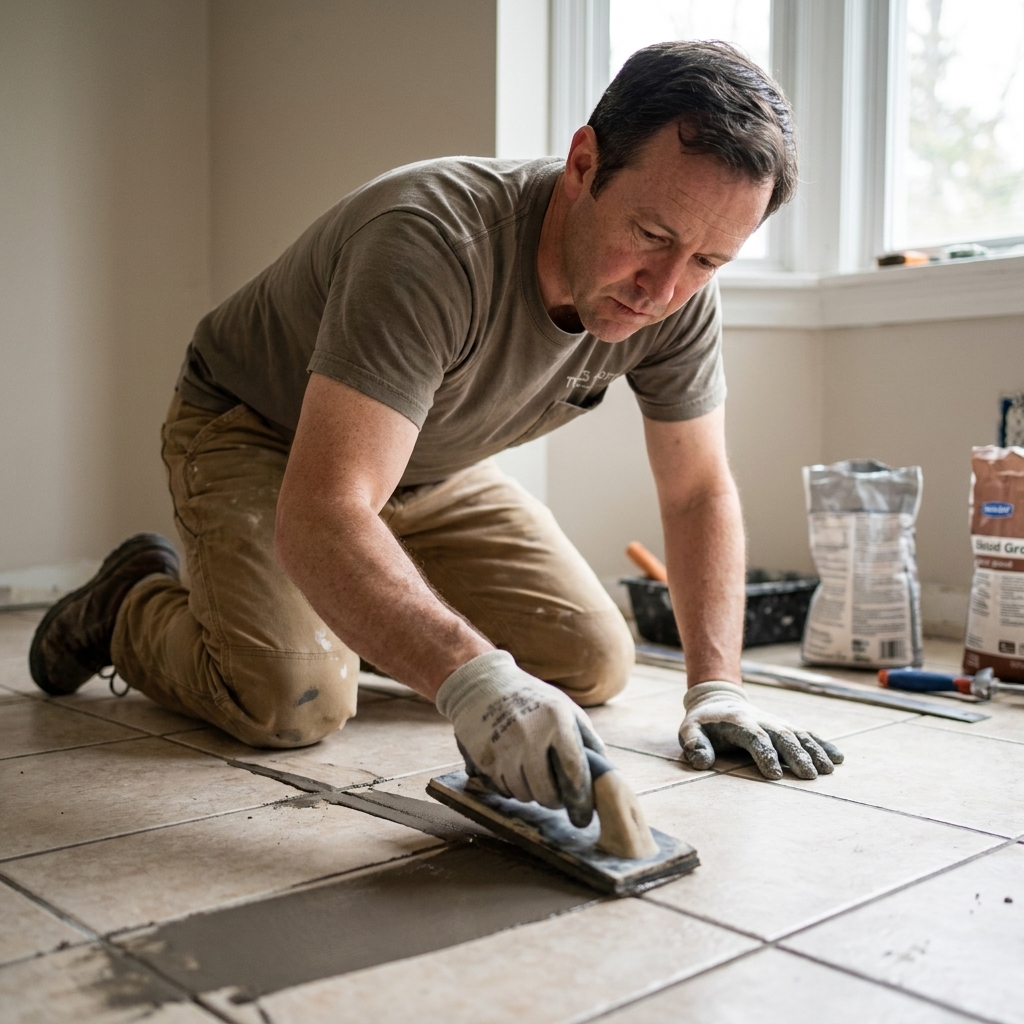
8) Grout + small float
For tiny touch-ups, a grout repair tube can be handy, but for anything more than a couple inches, I prefer real grout mixed properly. Either way, you want the right tool to pack it in: a small rubber grout float. It forces grout into the joint instead of smearing it across the tile face.
Best for
- Filling small voids after you remove cracked grout
- Touching up joints after a tile reset
- Fixing pinholes or low spots
What to look for
- A small float (easier for repairs than a giant one)
- Sanded versus unsanded grout that matches your joint width
- Color match: keep the brand and color name noted somewhere
Ben’s mistake to avoid
Do not “eyeball” water when mixing grout for a repair. Too wet makes weak, blotchy grout. Mix to a thick peanut-butter consistency, let it slake if the product calls for it, then remix.
If you are working with cement-based grout, remember that many types benefit from sealing after they cure. Caulk does not get sealed. Grout sometimes does.
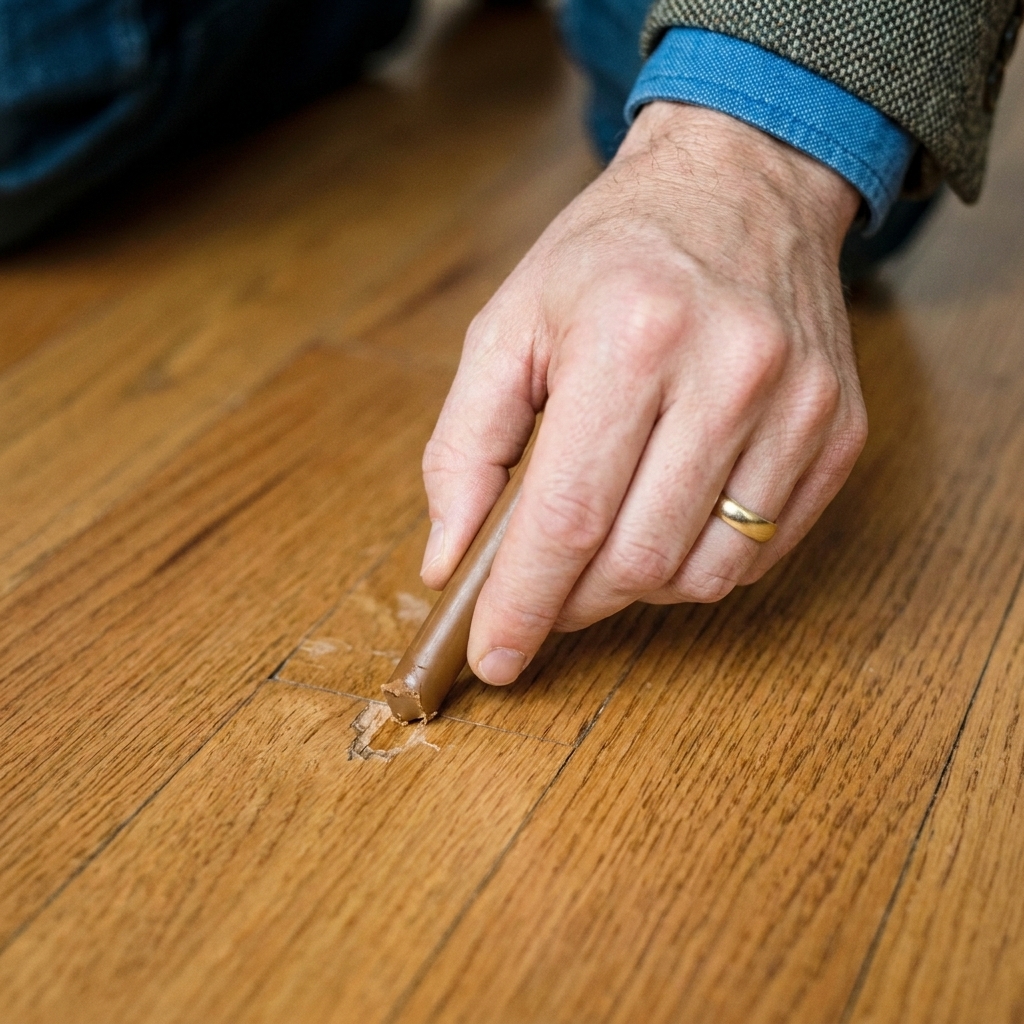
9) Scratch repair kit
Scratches happen. The trick is having a few small supplies that let you make them disappear enough that you stop staring at them every time you walk by.
Best for
- Surface scratches on prefinished hardwood
- Light scuffs on laminate or LVP
- Small chips along edges near doorways
What to keep on hand
- Color-matched repair markers (great for hairline scratches)
- Hard wax fill sticks for small chips and dents
- Felt pads to prevent the next scratch on chairs and stools
Ben’s mistake to avoid
Do not jump straight to sanding and refinishing a prefinished floor board because of one scratch. Most of the time you can blend it, protect it, and move on with your life.
10) Cleaning and prep kit
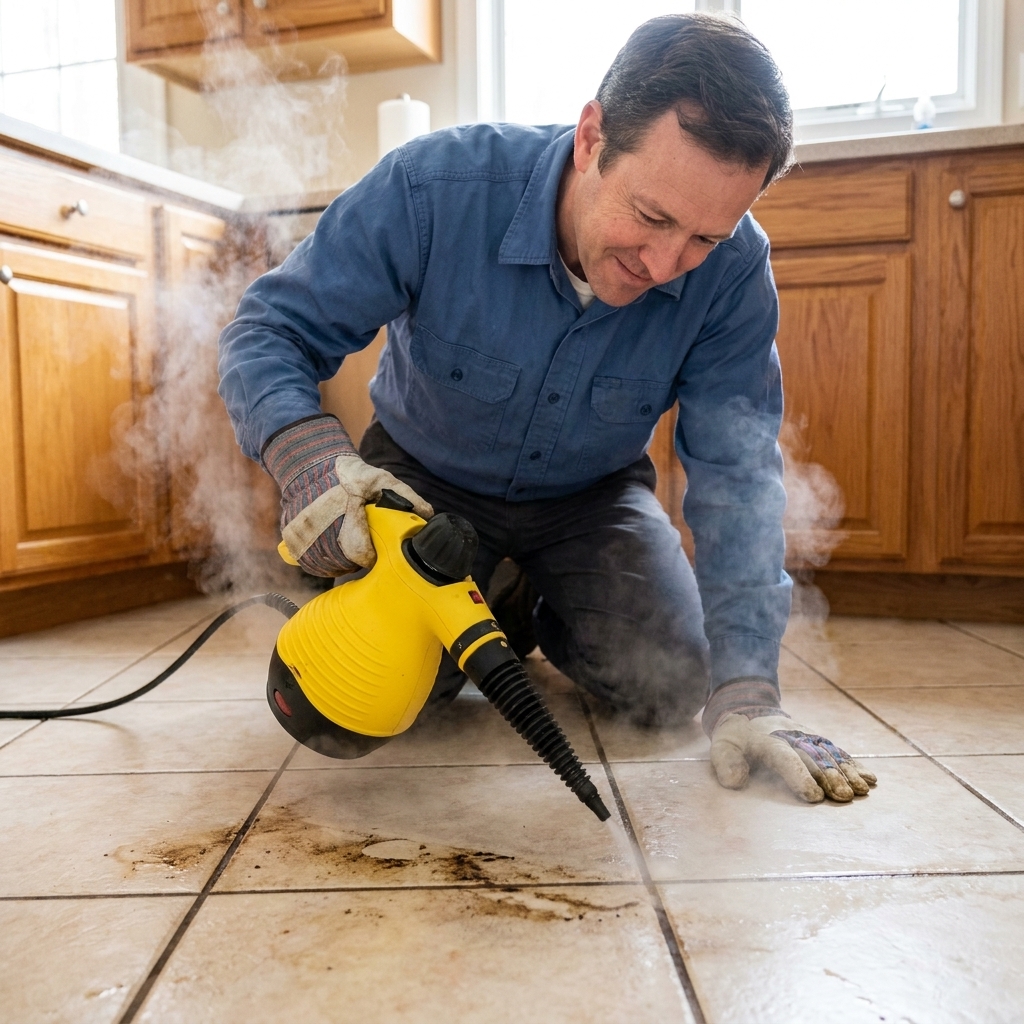
This is the unglamorous section that saves repairs. Adhesives, caulk, grout, and patches do not like dust, grease, or soap residue. Keep a small cleaning set dedicated to repair work so you are not hunting for supplies mid-project.
Best for
- Getting grout dust out of joints before re-grouting
- Cleaning tile edges before resetting a tile
- Degreasing LVP before using a repair marker or adhesive
My go-to prep kit
- Shop vac or a strong handheld vacuum
- Microfiber cloths (lint-free beats paper towels)
- Cellulose sponge for grout cleanup
- Isopropyl alcohol for degreasing many hard surfaces (spot test first, avoid flooding seams, and be cautious on unknown wood finishes)
- Nitrile gloves because thinset and solvents are not hand lotion
Prep rule I live by: If you can feel dust with your fingertips, you are not ready to apply anything that needs to bond.
Bonus: safety basics
I know, I know. Nobody gets excited about safety gear. But grout dust, thinset dust, and oscillating tools do not care about your weekend plans.
- Eye protection: especially when cutting grout or scraping.
- Dust mask or respirator: grout and cement dust are not souvenirs.
- Hearing protection: multi-tools are small, not quiet.
Keep spares for matching
The best repair tool is a match. If you have leftover materials, stash them now so you can thank yourself later.
- Spare tiles: even a few can save you from a “closest match” hunt.
- Grout and caulk color info: write down the brand and color name.
- Tile spacers or wedges: if you reset a tile, keeping the joint consistent is half the battle.
Quick checklist
If you want a quick shopping list, here is the tight version. This covers most fast repairs without buying half the aisle.
- Carbide grout saw
- Oscillating multi-tool with grout blade and scraper blade
- Margin trowel
- Putty knife set (flexible and stiff)
- Utility knife + extra blades
- Caulk gun + siliconized acrylic grout caulk and 100% silicone
- Thinset mortar (small bag, correct type for your substrate)
- Matching grout + small rubber grout float
- Scratch kit: markers + wax fill sticks + felt pads
- Prep kit: vac, microfiber, sponge, alcohol, gloves
- Safety gear: eye protection + dust mask or respirator
- Spare tile + a handful of spacers or wedges
Common quick repairs
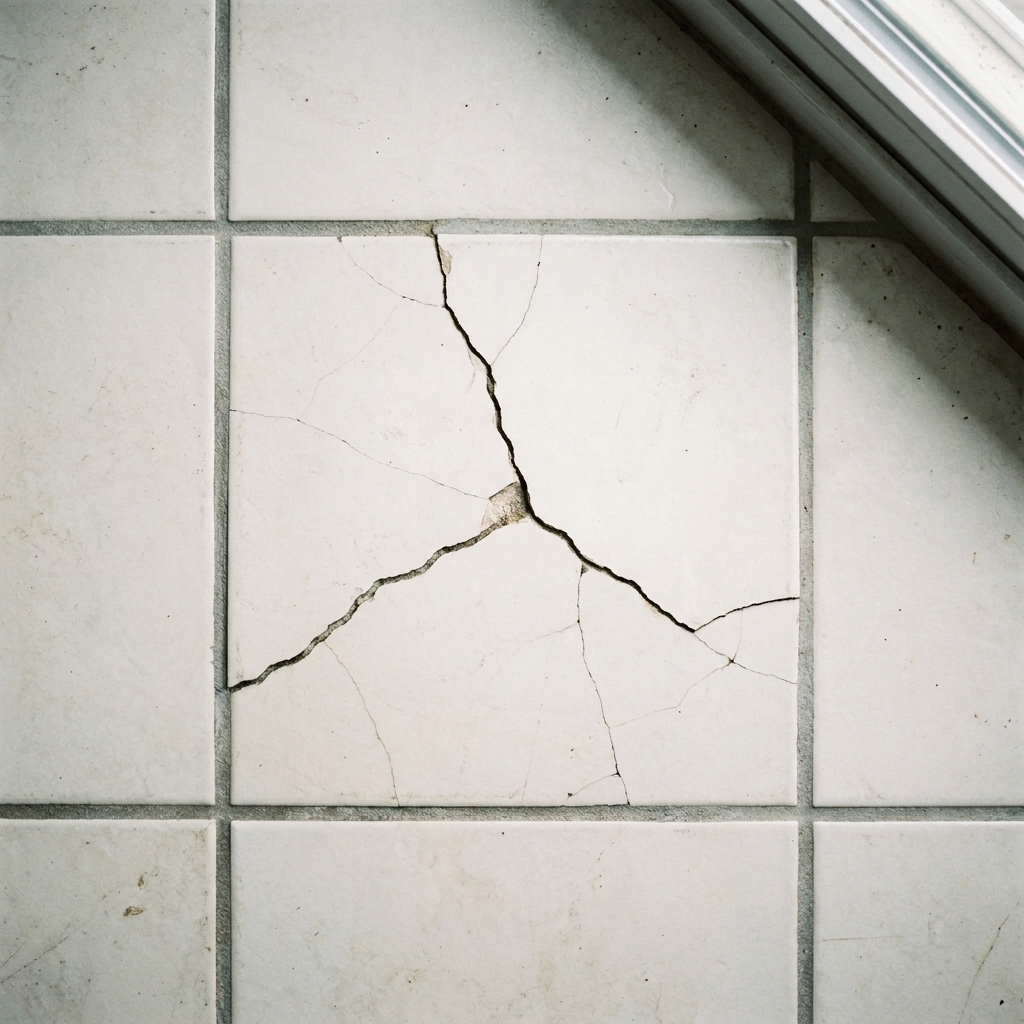
Loose tile that rocks or clicks
- Oscillating tool or putty knife (to remove the tile carefully)
- Margin trowel (to spread thinset)
- Thinset mortar
- Grout saw + grout (to re-grout the perimeter)
- Spacers or wedges (to keep the joint consistent)
Cracked grout line
- Carbide grout saw or oscillating tool with grout blade
- Vac + microfiber (prep)
- Grout + small float + sponge
Cracked shower corner joint
- Utility knife (to cut out old caulk)
- Alcohol or appropriate cleaner (prep)
- Caulk gun + 100% silicone for wet zones
Scratch on hardwood, laminate, or LVP
- Microfiber + gentle cleaner (spot test; do not soak seams)
- Color marker or wax fill stick
- Felt pads (prevention)
When to call a pro
I am all for DIY, but some flooring problems are smoke signals for bigger issues underneath.
- Multiple loose tiles in the same area, especially if the floor feels bouncy: could be subfloor movement or a failed underlayment.
- Recurring grout cracks that come back quickly: usually movement, not “bad grout.”
- Water damage under tile or around toilets and tubs: fix the leak first, then the floor.
- Hollow sounds everywhere on a tile floor: may indicate widespread bond failure.
Keep it small and ready
The best part of having these tools is not that you will become your own contractor overnight. It is that the next time a tile shifts or a grout line pops, you will handle it calmly, cleanly, and in one afternoon instead of letting it snowball into a bigger mess.
If you take one thing from me, let it be this: buy the tools that help you prep properly. The fancy repair products only work when the surface underneath is solid, clean, and ready to bond.