A step-by-step grout walkthrough for floor tile: picking grout, mixing it right, floating it tight, and cleaning haze without ruining fresh joints.
The Grout Nest
Updated October 17, 2026
Replace a Single Cracked Floor Tile
Learn how to remove one cracked ceramic or porcelain floor tile without chipping the tiles around it, then install a seamless replacement with fresh thinset and grout.

Ben Mitchell
Ben Mitchell is a former professional tile setter and passionate home renovator with over 12 years of experience in the flooring industry. After stepping away from commercial contracting, he founded Grout Nest to empower everyday homeowners to tackle their own flooring, tile, and backsplash projects with confidence. He believes that with the right tools, proper prep work, and a little patience, anyone can achieve a professional-grade finish.
A cracked floor tile has a special talent: it is small enough to seem like a “later” problem, but sharp enough to snag a sock and annoy you every single day. The good news is you can replace one ceramic or porcelain tile without tearing up the whole floor, as long as you slow down and treat the surrounding tiles like they are made of potato chips.
My mantra is still the same one my uncle drilled into me when I was a teenager mixing thinset in the driveway: prep work is 90% of the job. With this repair, “prep” mostly means protecting adjacent tiles, controlling dust, and removing material in the right order.
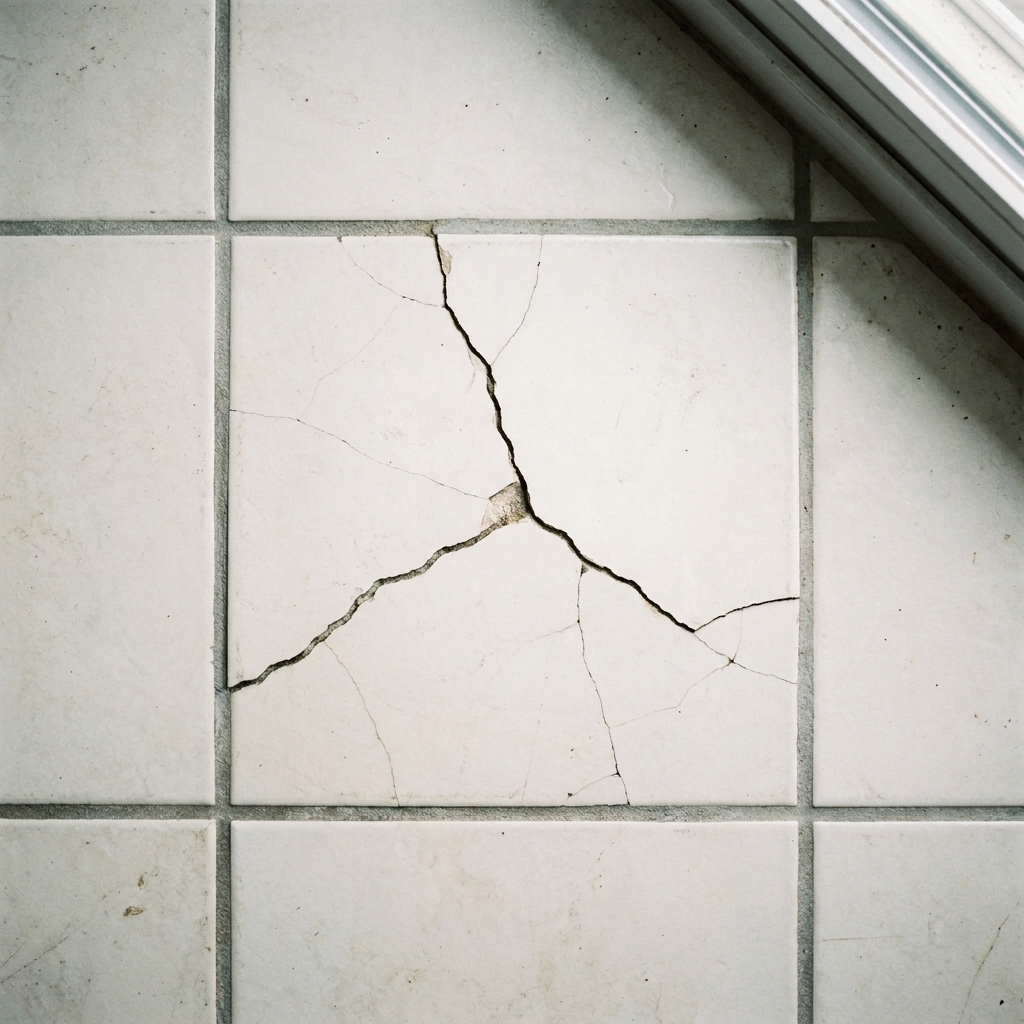
Before you start: make sure it is just the tile
If the tile cracked because the floor underneath is moving, a perfect replacement tile will usually crack again. Do these quick checks:
- Tap test: Tap the cracked tile and the tiles next to it with a screwdriver handle. A hollow sound can mean the tile is debonded or there are voids under it.
- Look for a pattern: Multiple cracks in a line often point to subfloor movement, a seam below, or a structural issue.
- Check grout: Crumbling grout or grout cracks that keep returning can indicate flexing.
If you suspect movement, you can still replace the tile, but consider addressing the underlying cause (subfloor stiffness, underlayment, uncoupling membrane, etc.) or the new one may not last.
Quick tile ID: Ceramic is usually a bit easier to drill and break. Porcelain is denser and harder, which mostly affects how patient you need to be in the demolition step.
Tools and materials
Must-haves
- Replacement tile (same size and thickness, ideally from the original batch)
- Grout removal tool (manual grout saw) or oscillating multi-tool with a grout blade
- Cold chisel (or masonry chisel) and a small hammer
- Safety glasses, gloves, and a dust mask or respirator
- Hearing protection (especially with an oscillating tool or grinder)
- Painter’s tape (blue tape) and cardboard or a drop cloth
- Shop vacuum (a HEPA vac is even better)
- Margin trowel or stiff putty knife
- Thinset mortar (match what is already there if you can)
- Notched trowel (often 1/4 x 1/4 inch for floor tile, but match your tile size and floor flatness)
- Grout (same type and color as existing)
- Grout float and sponge
Nice to have (makes it cleaner and easier)
- Rotary tool with a grout bit (for tight joints)
- Painter’s plastic to isolate dust if you are working indoors
- Small angle grinder with a diamond blade (only if needed and only with careful control)
- Tile leveling clips (optional for lippage control)
- Digital calipers (for verifying thickness match)
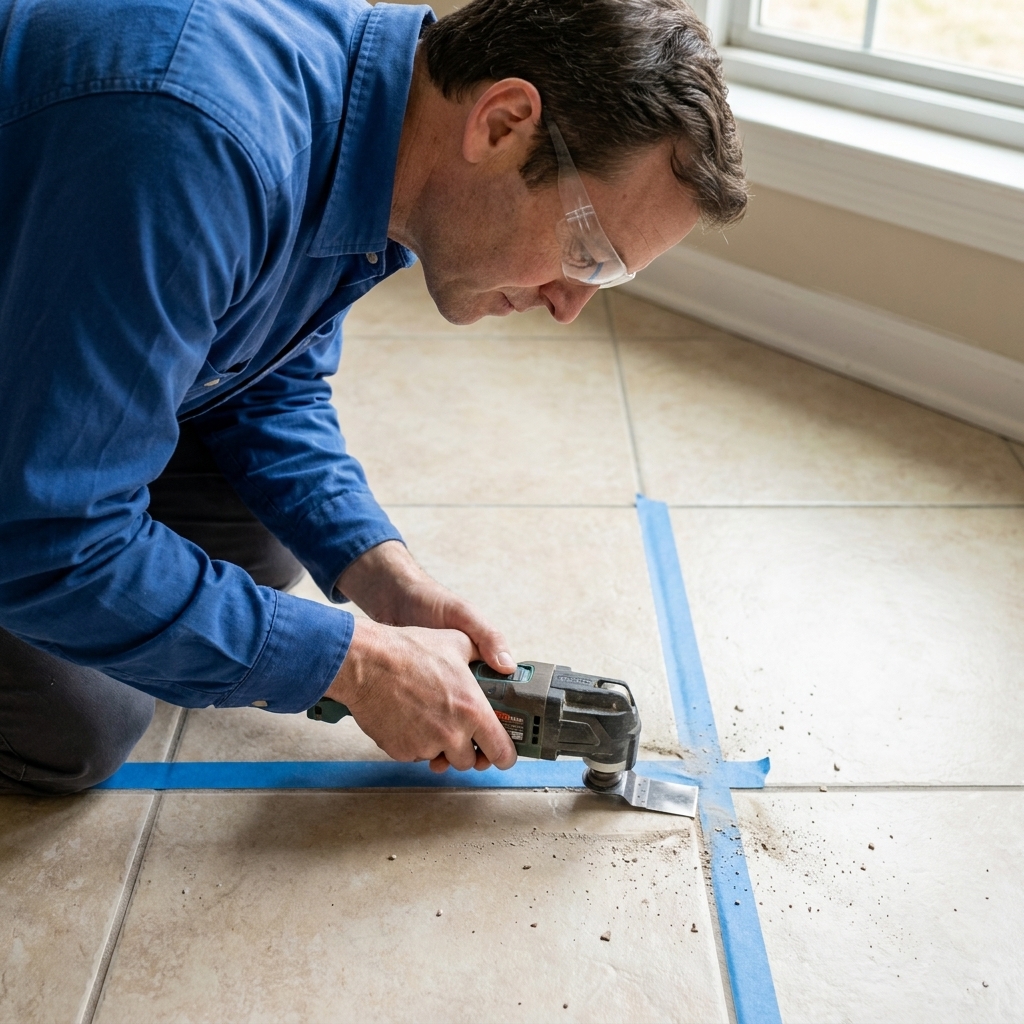
Step 1: protect the surrounding tiles
The surrounding tiles are not the enemy. Your tools are.
- Tape the edges: Put 2 layers of painter’s tape on the four tiles that touch the cracked tile. Run the tape right up to the grout joint. This helps prevent accidental chipping when tools slip.
- Dust control: Tile dust travels. Close nearby doors, cover vents, and put down a drop cloth. Keep a shop vac close. If you will be grinding, avoid dry grinding indoors when you can, and use containment plus a HEPA vac if you have it.
- Safety gear: Eye protection is non-negotiable. Tile shards are basically tiny razor blades with ambition.
Step 2: remove the grout around the broken tile
This is the step most DIYers rush, and it is also the step that saves the surrounding tile edges.
Goal: Clear the grout from the joint so the tile edges are free. In a perfect world you remove most of the grout depth, but in the real world you mainly need to break the bond at the tile edges so the tile can come out without prying against its neighbors.
How to do it
- Manual grout saw: Slow but safe. Great if you are nervous about power tools.
- Oscillating tool: Fast and effective. Use a grout blade, keep it centered in the joint, and let the tool do the work. Do not lean into the tile edges.
Tip from too many job sites: Vacuum the joint as you go. You can see what you are doing, and the blade runs cooler.
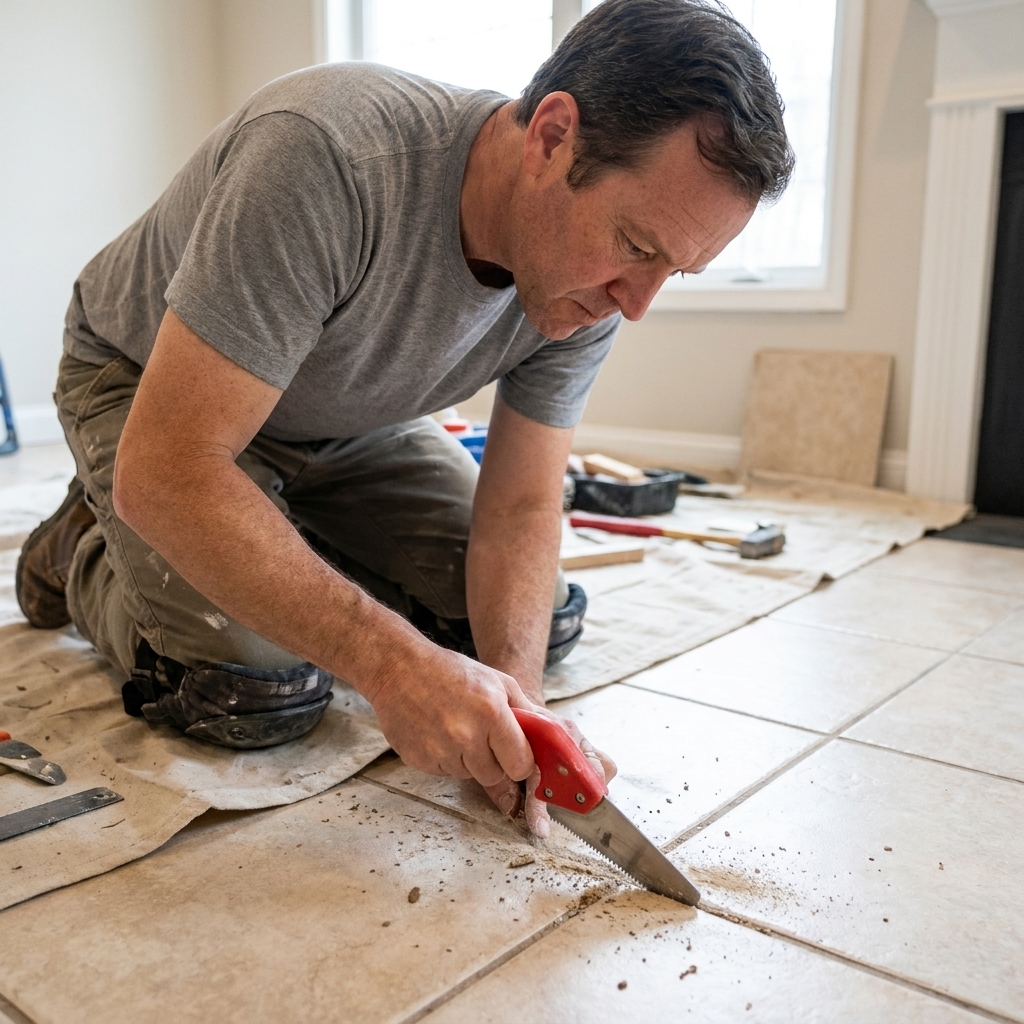
Step 3: break the tile inward
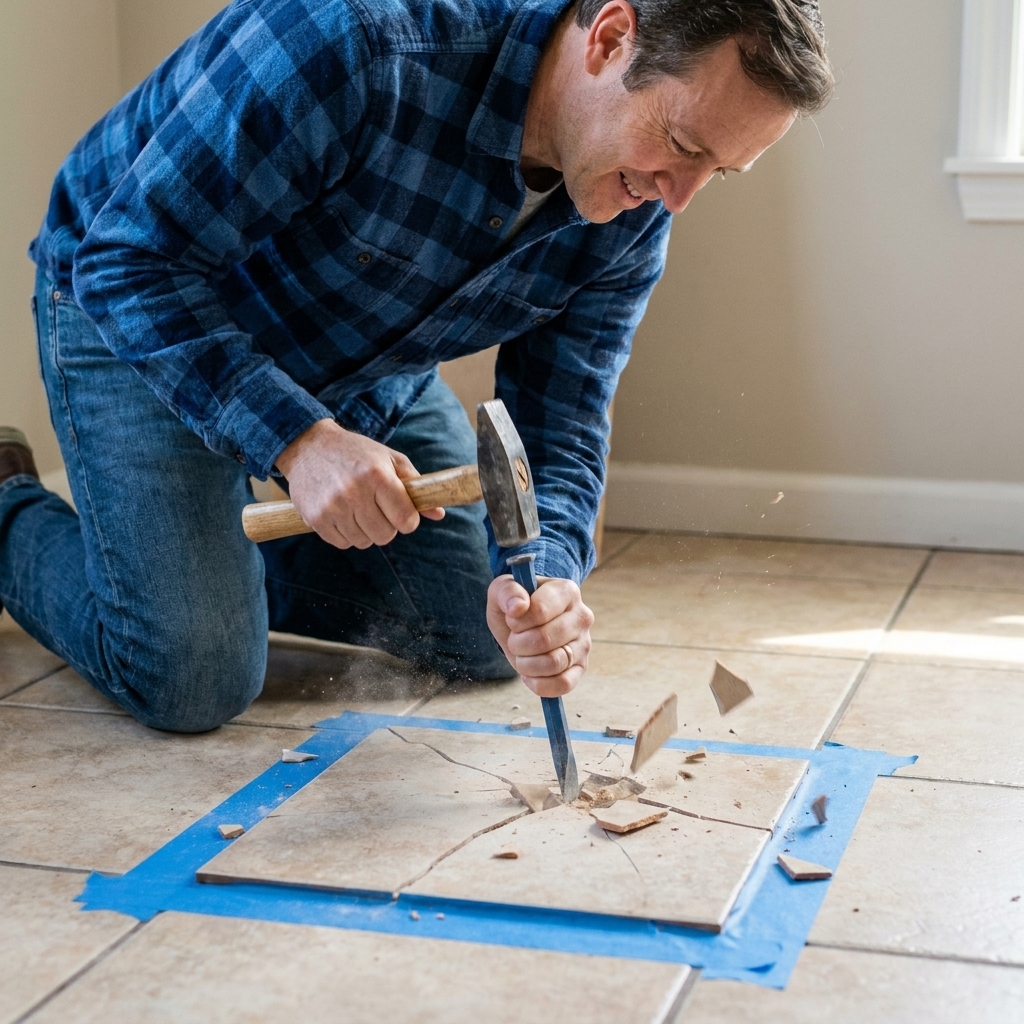
Once the grout is out of the way, you want the tile to collapse toward its center. Prying up from an edge is how you chip adjacent tiles.
Best method (controlled)
- Place a piece of tape over the cracked tile to help contain shards.
- Set a cold chisel near the center of the tile.
- Tap lightly with a hammer to create a small crater.
- Keep working from the center outward, breaking the tile into smaller pieces.
If your tile is porcelain, it may feel like you are trying to break a dinner plate made of spite. Smaller taps, more patience.
Step 4: lift out the pieces
As pieces loosen, lift them out with a margin trowel or stiff putty knife. Keep the tool angle low and aim the force toward the empty center, not toward the neighboring tiles.
Watch for sharp edges: Even small shards can slice a fingertip fast. Gloves help, but still handle pieces like broken glass.
Step 5: remove the old thinset
With the tile gone, you will see ridges or blobs of old thinset mortar. Your replacement will only sit flush if you create a flat, clean setting bed.
Your target depth
You need enough room for:
- Fresh thinset (compressed under the tile)
- The replacement tile to sit level with surrounding tiles
If you leave too much old thinset, your new tile will sit high. If you gouge too deep, you may have low spots and poor support.
Removal options
- Chisel and hammer: Use light taps and keep the chisel as flat as possible to avoid digging into the substrate.
- Oscillating tool with a scraper blade: Helpful for shaving down ridges.
- Angle grinder (advanced): Effective but risky and dusty. If you go this route, control is everything. Use containment and a HEPA vac, and avoid dry grinding indoors when possible.
Important: Do not damage an uncoupling membrane, cement board, or waterproofing if you have it. If you do nick it, patch it according to the manufacturer’s instructions before setting the new tile.
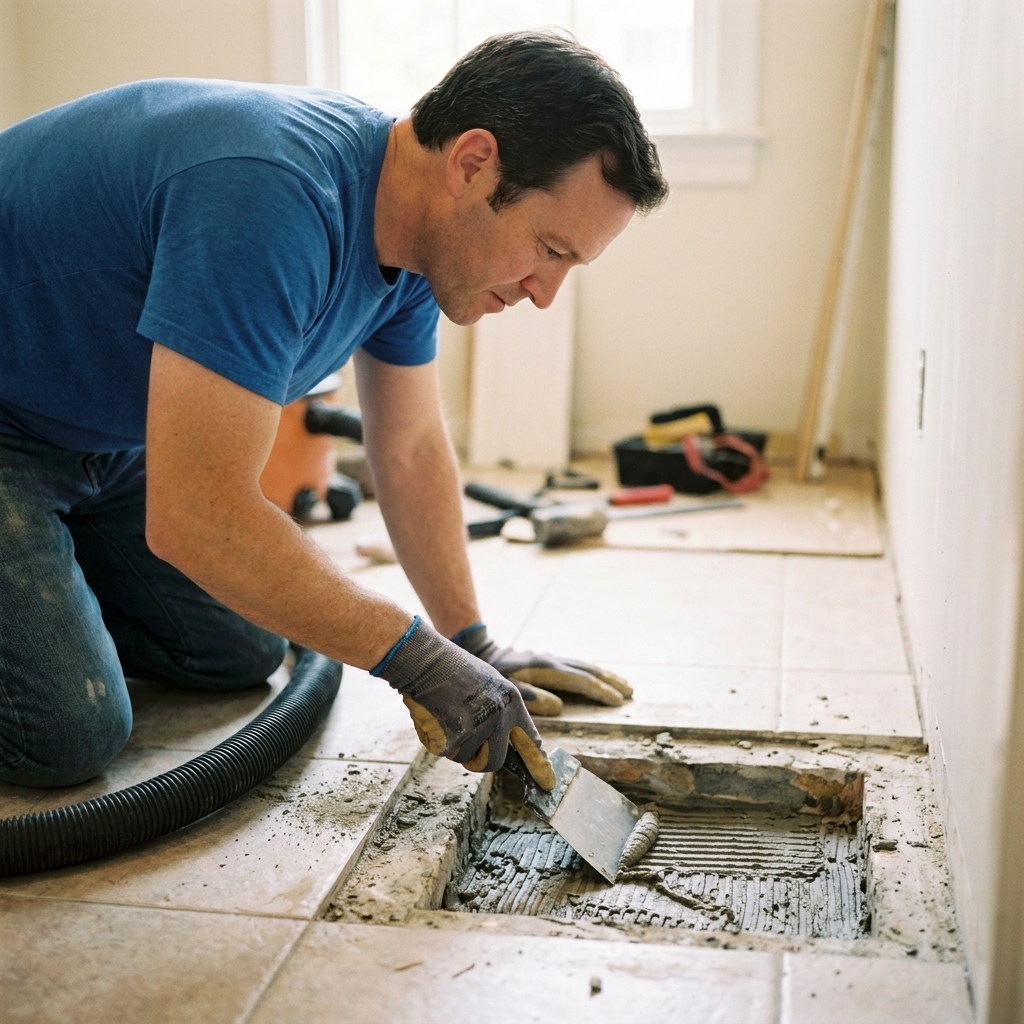
Step 6: test-fit the replacement tile
Dry fitting is the moment you catch problems while they are still easy.
- Check size: Even “same size” tiles can vary slightly across production runs.
- Check thickness: Thickness mismatch is a common reason a replacement sticks up or sits low.
- Check face height: Set the tile in the hole without thinset and see how it compares to neighboring tiles. It should sit slightly low now because thinset will lift it.
If the replacement is slightly smaller, you can usually hide that with grout, but you want the joint widths to look intentional, not like a missing tooth.
Step 7: set the tile
Use the thinset type appropriate for your installation. Porcelain often benefits from a polymer-modified mortar, but the “right” choice depends on your substrate and any membrane you have. Follow the tile and substrate or membrane manufacturer’s requirements, not just habit.
Setting steps
- Mix to the right consistency: Think creamy peanut butter. Not soupy. Not crumbly.
- Key in mortar: Use the flat side of your trowel to press a thin layer into the substrate. This improves bond.
- Comb thinset: Use your notched side to create consistent ridges.
- Back-butter if needed: For many floor tiles, a thin coat on the back helps achieve better coverage.
- Set and wiggle: Press the tile in and move it slightly back and forth to collapse the ridges.
- Tap to fine-tune: If you need tiny adjustments, use a rubber mallet or a beating block and gentle taps. The goal is flush, not crushed.
- Check level and lippage: Use a straightedge across neighboring tiles. Adjust while the thinset is fresh.
- Clean joints: Remove thinset squeeze-out before it hardens. A margin trowel, an old toothbrush, or a damp rag works well.
Coverage note: On a typical interior dry floor, aim for at least about 80 percent mortar coverage under the tile, with solid support at the edges and corners. In wet areas, exterior areas, or other tougher conditions, you are aiming closer to full coverage, around 95 percent. If you pull the tile up to check, you want broad transfer on the back, not just a few stripes.
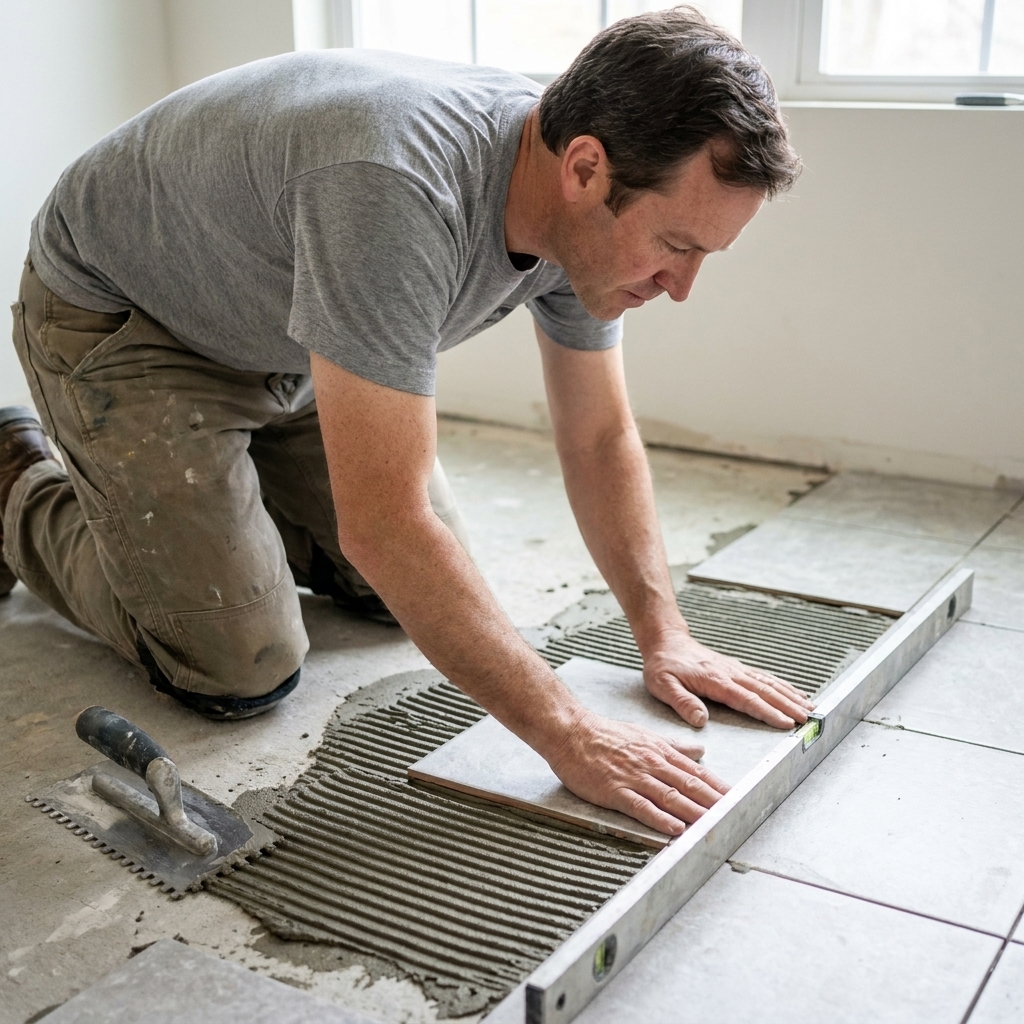
Step 8: let it cure
Read the thinset bag, but a common DIY-safe rule is wait at least 24 hours before grouting. Cooler temps and non-porous porcelain can slow curing. Rapid-set mortars can be ready sooner. When in doubt, wait.
Also, keep foot traffic off the repair. If this is in a hallway or kitchen, block it off. I have seen more “perfect” tile replacements ruined by one impatient trip to the fridge than I care to admit.
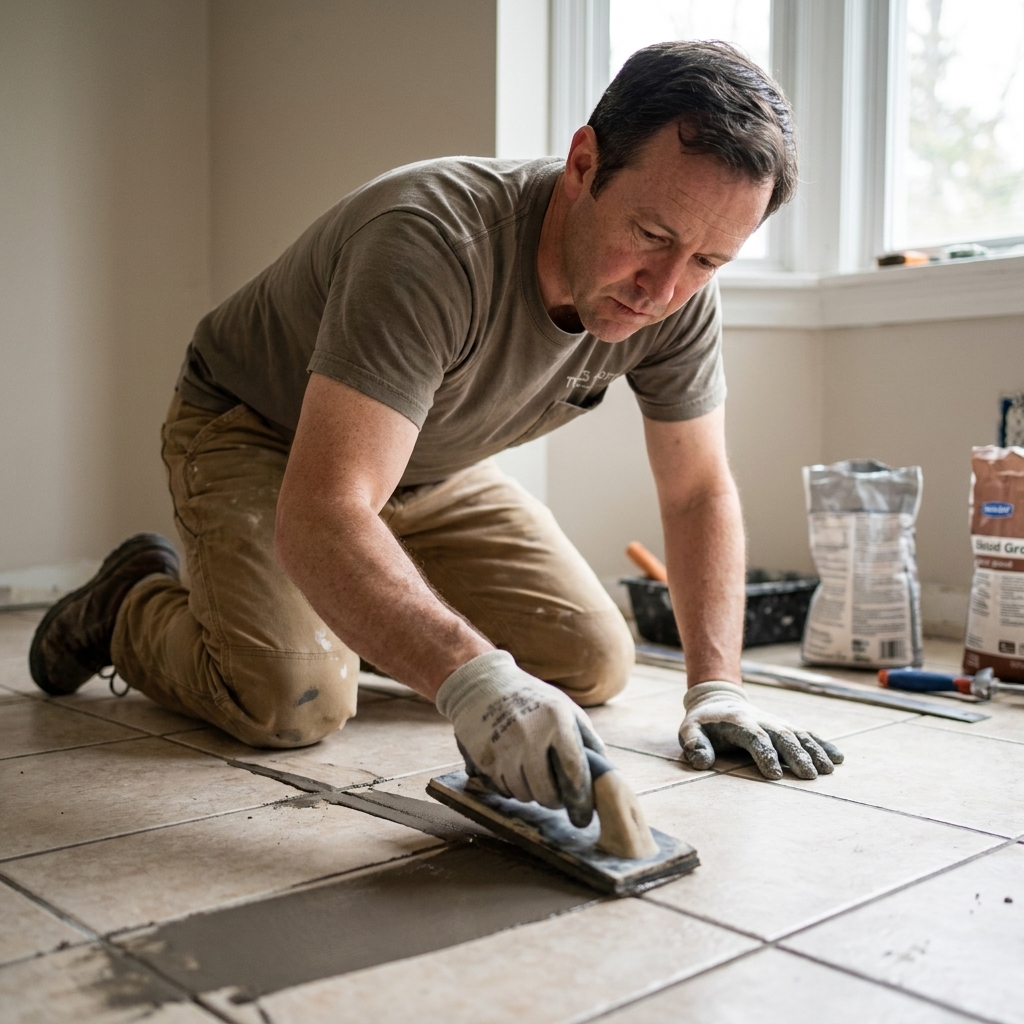
Step 9: grout to match
Matching existing grout is the part that tests your patience. Even the same grout color can look different depending on age, cleaning products, and how much water you use.
One more thing: If this joint is actually a movement joint (at the perimeter, where tile meets a tub, or where the floor changes planes), do not pack it with grout. Use a color-matched flexible sealant instead so the floor can move without cracking.
Grouting steps
- Mix grout according to instructions and let it slake if required.
- Pack grout firmly into the joints with a rubber float.
- Hold the float at an angle and scrape diagonally across joints to remove excess.
- After the grout firms up a bit (timing depends on product), wipe with a damp sponge using light pressure and clean water.
- Buff haze with a dry microfiber towel once it dulls.
Color-matching tip: Use as little extra water as possible when washing. Overwashing is a classic way to lighten grout color and make a patch stand out.
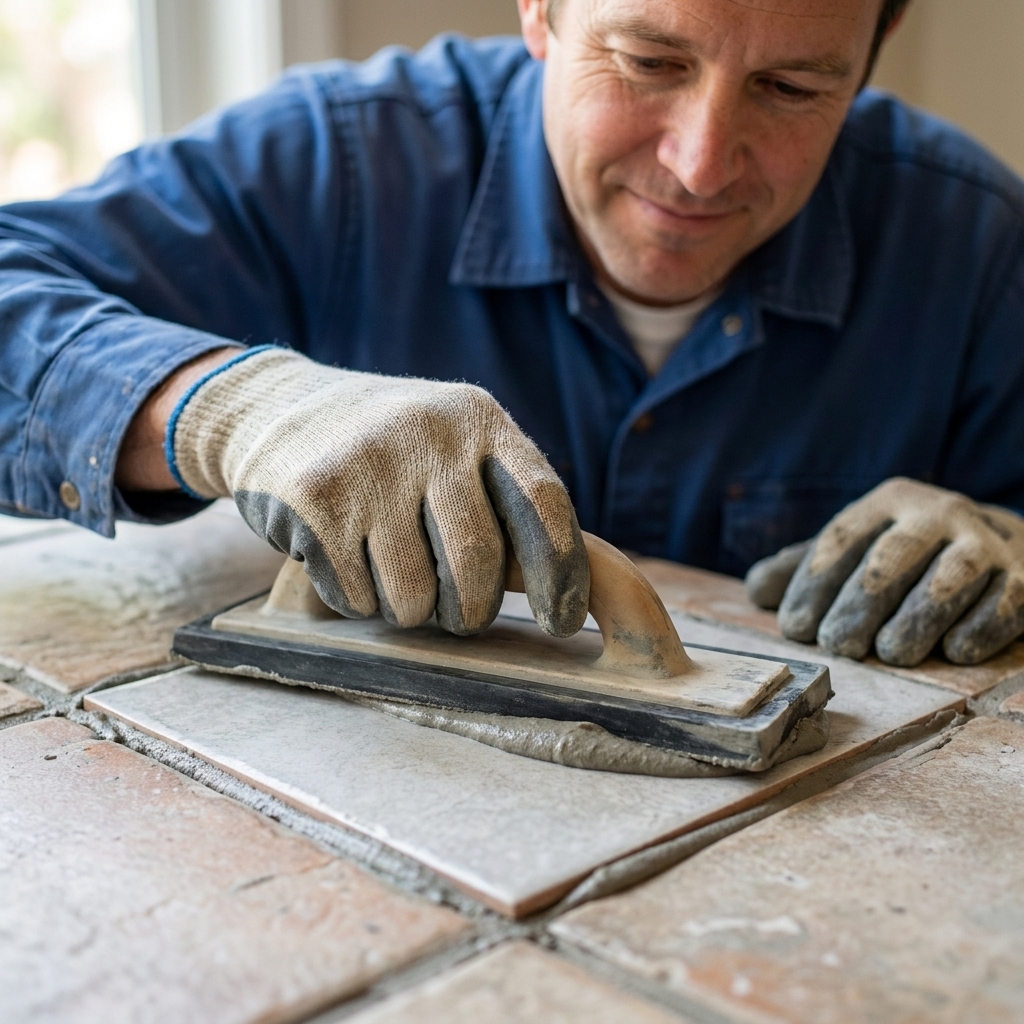
Step 10: seal if needed
Many cement-based grouts benefit from sealing after they cure. Some modern grouts and epoxy grouts do not need sealing. Check your grout product. If the surrounding floor grout was sealed in the past, sealing the repaired joints can help the color and stain resistance stay consistent.
Troubleshooting
The surrounding tile chips while I am removing grout
- Use more tape protection next time.
- Switch from a power tool to a manual grout saw for the last bit near the tile edge.
- Slow down and keep the blade centered. Most chips happen when the tool rides up onto the tile corner.
The replacement tile sits too high
- Too much thinset, or old thinset not removed flat enough.
- Pull the tile while the thinset is still fresh, scrape down the bed, then reset.
The replacement tile sits too low
- Not enough thinset, or you removed too much old mortar.
- Add a little more thinset and reset, or back-butter the tile more thoroughly.
The grout color does not match
- Grout may be aged or stained on the existing floor.
- Try a grout colorant on the repaired joints, or in some cases recolor a wider area for uniformity.
The tile cracks again
- Movement below the tile is likely. Investigate subfloor deflection, underlayment issues, or voids in thinset coverage.
My best advice for a seamless repair
- Use the exact replacement tile if you can. A leftover from the original install is gold. If you are buying a new one, bring a sample tile or take precise measurements.
- Spend extra time on grout removal. It is the difference between a clean extraction and a chipped neighbor.
- Keep your tools pointed inward. Every pry and tap should be aimed toward the empty center of the cavity.
- Do a dry fit and a straightedge check. A tile that is 1/32 inch proud will catch light and catch your toe. You will notice it forever.
FAQ
Can I replace a single tile without removing the grout?
Technically you can try, but it is one of those “possible” things that usually ends with chipped edges on the surrounding tiles. Removing the grout first gives the broken tile a clean boundary so it can come out without prying against its neighbors.
Do I need to remove all the old thinset?
You need to remove enough to create a flat bed so the new tile sits flush with the surrounding floor and has solid support. In practice, that usually means removing high ridges and loose material until you have consistent depth for fresh thinset.
How long before I can walk on the repaired tile?
Follow the thinset manufacturer’s instructions. Many standard mortars allow light foot traffic after about 24 hours, but rapid-set products may differ and cold conditions can push it longer. If it is a high-traffic spot, I prefer giving it extra time.
What if I do not have a matching replacement tile?
Check behind a toilet, under a fridge, or inside a closet for a tile you can steal, then put the “close match” in the hidden area. I have done this in my own house, and I am not ashamed. It is one of the cleanest ways to keep a visible floor looking consistent.