A step-by-step grout rescue plan: deep cleaning that works, when to regrout instead of scrubbing, how to recolor evenly, and sealing tips for long-lasting re...
The Grout Nest
Updated October 17, 2026
Sealing Natural Stone and Porous Tile
Learn how to tell if your stone or porous tile needs sealing, which sealer to buy, and how to apply it cleanly for long-lasting stain and moisture protection.

Ben Mitchell
Ben Mitchell is a former professional tile setter and passionate home renovator with over 12 years of experience in the flooring industry. After stepping away from commercial contracting, he founded Grout Nest to empower everyday homeowners to tackle their own flooring, tile, and backsplash projects with confidence. He believes that with the right tools, proper prep work, and a little patience, anyone can achieve a professional-grade finish.
If you have natural stone or a porous tile surface, sealing is not a “nice-to-have.” It is the difference between a floor that shrugs off spaghetti sauce and a floor that wears every spill like a tattoo. I have set a lot of tile in my life, and I can tell you the calls I got later were almost always the same two things: stains and “Why does this spot look darker?” Sealing is how you prevent both.
This guide walks you through (1) how to test if you actually need sealer, (2) how to choose the right type, and (3) the application method that gives you protection without leaving a sticky, blotchy mess.
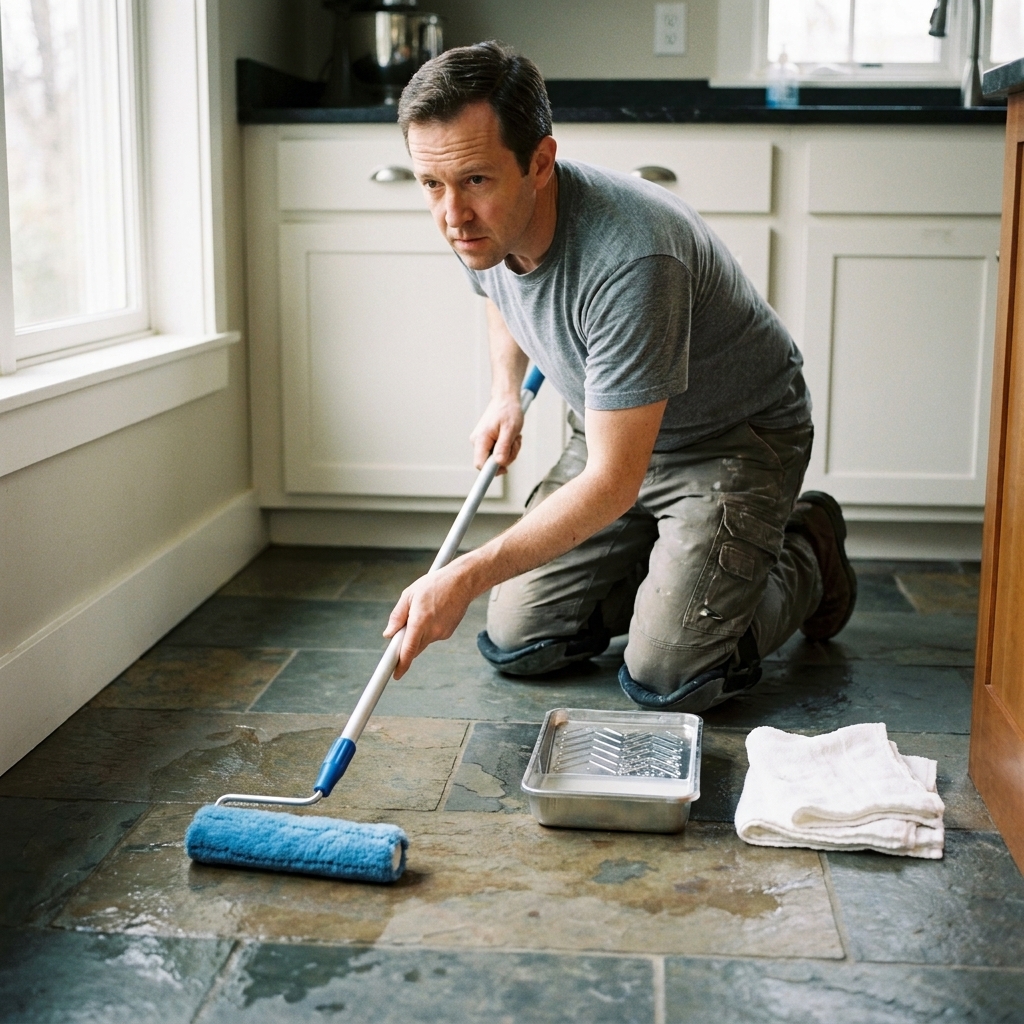
What sealing does and does not do
Sealing reduces absorption. On stone, unglazed tile, and cement-based grout, the pores act like tiny straws. A good sealer fills or lines those pores so liquids bead up longer, giving you time to wipe before a stain sets.
Sealing does not make a floor bulletproof. Acid can still etch many stones (especially marble, limestone, and travertine). A sealer helps with staining, not chemistry. Lemon juice can still dull polished marble even if it is sealed perfectly.
Sealing also does not stop wear. Traffic and grit can still dull polished stone over time. Think of sealer as a raincoat, not a suit of armor.
Sealing does not replace cleaning. Dirt is abrasive. If you grind grit into a sealed floor, the finish still wears down.
What usually needs sealing
In the real world, here is the simple rule: if it can absorb water, it can absorb stains.
Materials that often need sealing
- Natural stone: marble, limestone, travertine, slate, granite (some granites are dense, some are not), quartzite (varies)
- Porous tile: quarry tile, saltillo, terracotta, cement tile, and some unglazed or specialty-finish porcelains in staining-prone areas
- Grout: cementitious sanded and unsanded grout almost always benefits from sealing
Materials that usually do not need sealing
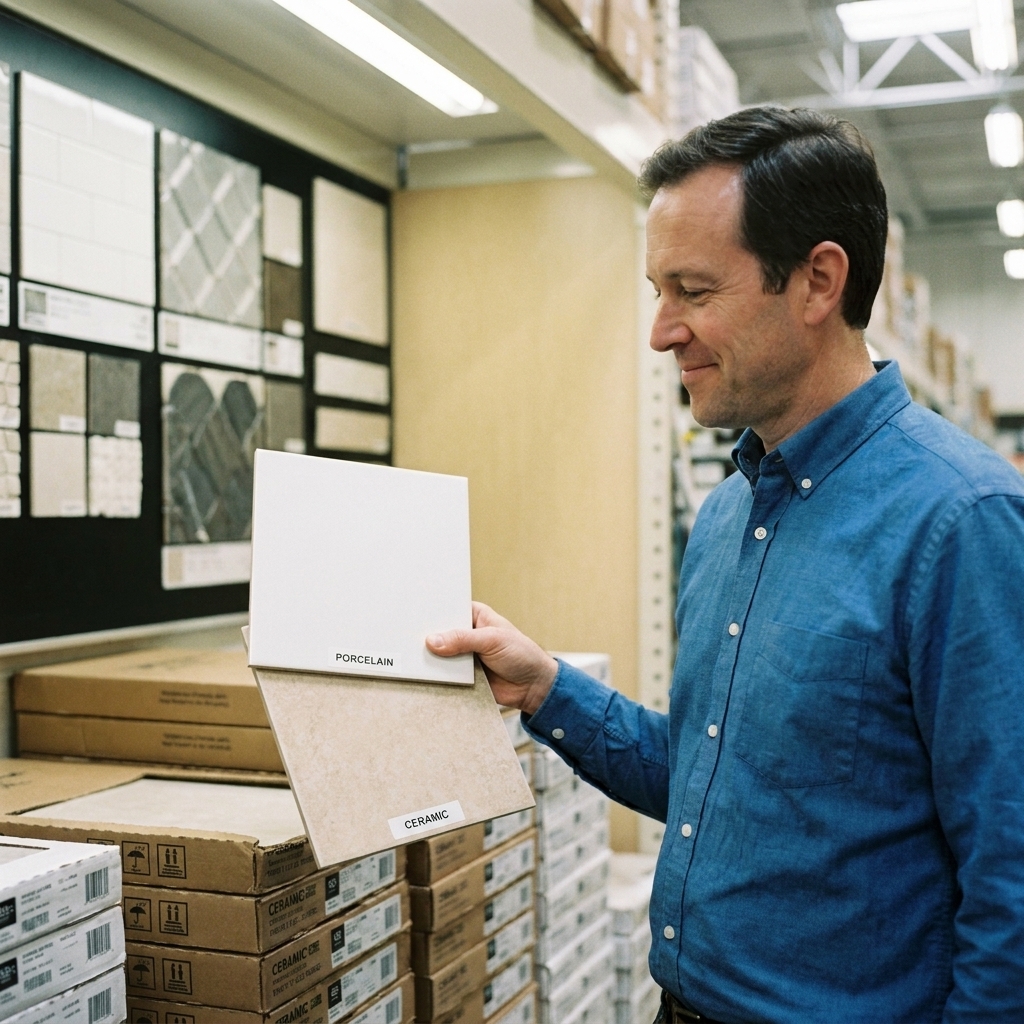
- Glazed ceramic and glazed porcelain tile (the glaze is the “sealer”)
- Epoxy grout (already stain resistant)
- Most glass tile
Quick caveat: Some stone comes from the factory with a pre-treatment. Sometimes it is a true sealer, sometimes it is more like a temporary handling or shipping treatment. Do not guess. Test.
The 60-second test
If you take only one thing from this article, make it this test. It saves money, prevents over-sealing, and stops you from buying the wrong product out of panic.
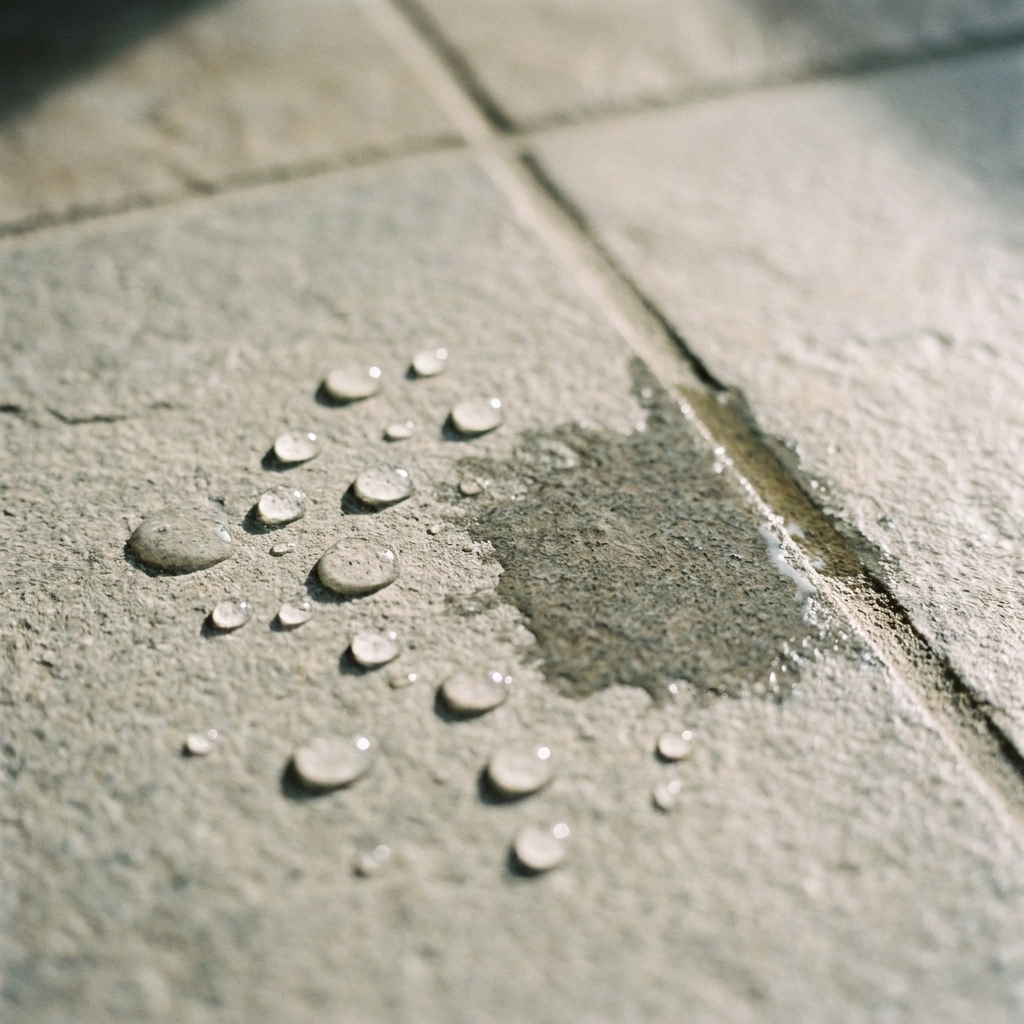
Water drop test
- Clean and dry the area. Pick a few spots: a traffic lane, near the sink, and a corner. Let them dry fully.
- Place a few drops of water (or a teaspoon puddle) on the surface.
- Watch for 5 to 10 minutes.
- Wipe and inspect.
How to read the results:
- If the water beads up and the surface looks unchanged, your sealer is likely still doing its job.
- If the water darkens the stone or grout within a minute or two, it is absorbing and you likely need sealer.
- If it darkens slowly (after 5 to 10 minutes), you might be due soon, especially in kitchens, entries, and showers.
Pro tip from someone who has learned the hard way: Test both tile or stone and grout. It is common for the tile to be fine while the grout is thirsty.
Choosing the right sealer
There are two big families of sealers. Pick the wrong one and you either get poor protection or you end up with a sticky film that attracts dirt like a magnet.
Penetrating (impregnating) sealers
This is the default choice for most floors. Penetrating sealers soak into the pores and repel water and oil from within, without changing the look much.
- Best for: natural stone, porous tile, grout, high-traffic floors
- Finish: usually “natural” or near-invisible
- Pros: durable, no surface film to scratch or peel
- Cons: does not add sheen; heavy staining agents still require quick wipe-up
Topical sealers and finishes
These sit on the surface and create a visible coating. Some are marketed as “wet look” or high gloss. They can be appropriate for certain rustic tiles, but I treat them like a specialized tool, not an everyday solution.
- Best for: saltillo, terracotta, some cement tile, and situations where a finish is desired
- Pros: can enhance color and sheen; can provide an additional wear layer
- Cons: can scratch, peel, or cloud; may require stripping and reapplication later; can get slippery when wet
Natural-look vs enhancing sealers
If you want the surface to look basically the same, stick with a natural-look penetrating sealer. If you want richer color and that “just-wet” tone, look for an enhancing sealer made for your material. Enhancers are not subtle on some stones, so always do a small test first.
Water-based vs solvent-based
This is where homeowners get stuck. Here is the practical breakdown:
- Water-based penetrating sealers: lower odor, easier cleanup, great for indoor projects and many stones. Solid choice for most DIYers.
- Solvent-based penetrating sealers: can penetrate very well and can offer strong oil resistance on some materials, but performance is product-dependent. They also smell stronger and require more ventilation and careful handling.
My rule of thumb: Prioritize the sealer’s rating for your surface and your risk. Kitchens are about oil and grease. Bathrooms are about water. If you are sealing indoors and you want a low-drama Saturday project, a quality water-based penetrating sealer rated for your material is usually the right start. If you are dealing with very porous stone, heavy cooking oil exposure, or a stubborn staining history, a solvent-based impregnator may be worth the extra ventilation and prep.
Match the sealer to the risk
Bathrooms often need water resistance. Kitchens need oil resistance. Look for a sealer that explicitly mentions oil and grease protection if you are sealing near a range, pantry, or dining area.
Safety basics
Read the label and treat it like it matters, because it does.
- Ventilate well, especially with solvent-based products.
- Avoid ignition sources if the label warns about flammability. Pilot lights, open flames, and sparks are not your friends during application.
- Wear gloves and keep kids and pets off the floor until it is fully cured.
- Handle rags properly. Some products require specific rag disposal steps. Follow the sealer manufacturer’s instructions.
Before you seal
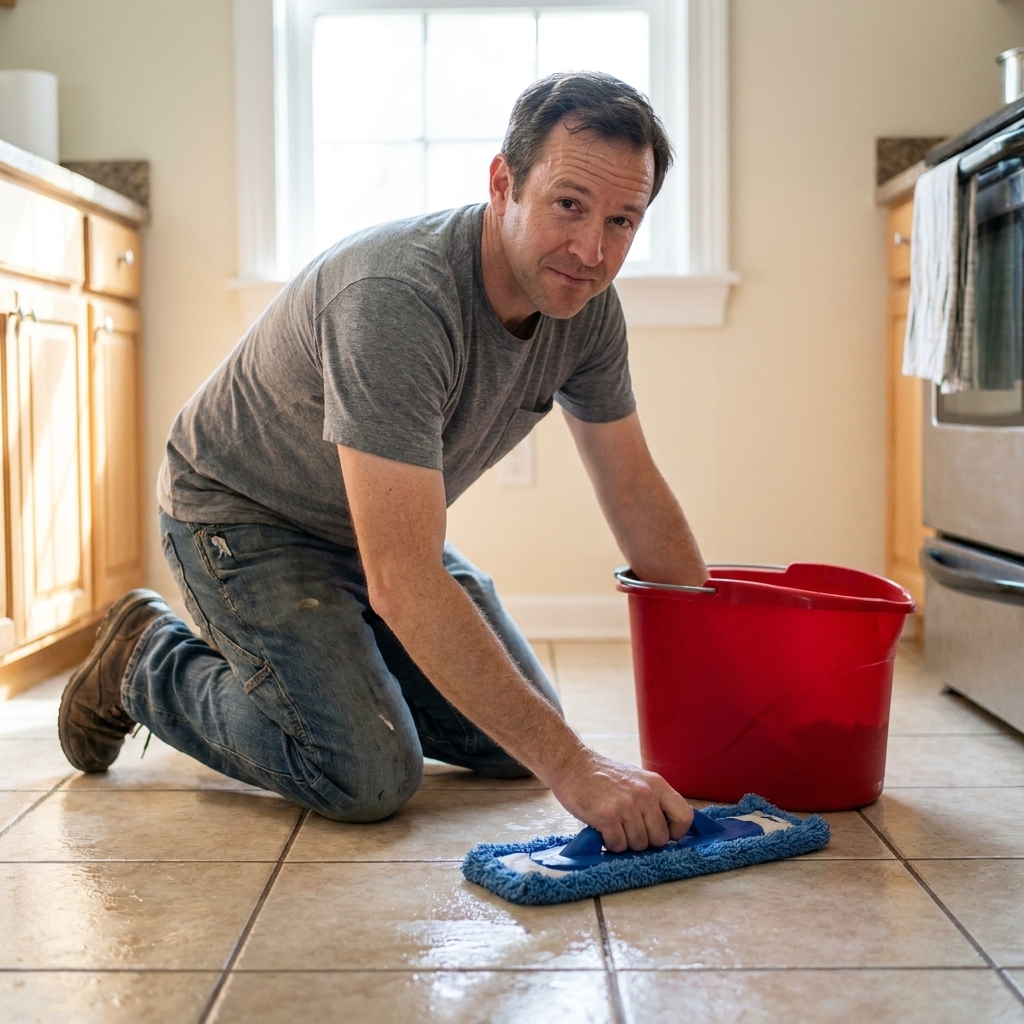
I know, I know. Prep work is not the fun part. It is also the part that keeps the sealer from turning into a smeary disaster.
1) Clean like you mean it
- Sweep and vacuum first. Grit acts like sandpaper.
- Mop with a pH-neutral cleaner appropriate for stone and tile.
- Avoid acidic cleaners on calcium-based stones (marble, limestone, travertine). They can etch.
2) Remove residues (if needed)
If your floor has wax, acrylic finish, or a soap film, a penetrating sealer may not soak in evenly. In that case you may need a product designed to remove coatings or buildup. When in doubt, test a small hidden area first and follow the cleaner’s label.
3) Let it dry fully
Sealer and trapped moisture do not get along. As a baseline:
- Floors: wait at least overnight after mopping.
- Showers and wet areas: give it longer, often 24 to 48 hours with good ventilation.
If you seal over damp stone or grout, you can lock in dark blotches that take days (or weeks) to even out.
How to apply penetrating sealer
Penetrating sealer should not be treated like paint. The goal is saturation, dwell time, then thorough removal of excess.
Tools you will want
- Sealer (rated for your specific stone or tile)
- Microfiber applicator pad or soft cloth
- Small paint tray or pour spout
- Clean white towels (a lot of them)
- Nitrile gloves
- Timer or phone alarm
Step-by-step
- Work in small zones (about 10 to 20 square feet). This keeps you from missing the wipe-off window.
- Apply generously with the applicator pad, keeping the surface evenly wet. On thirsty stone, you may need to add more to keep it from drying out.
- Let it dwell per the label, commonly 3 to 10 minutes. The surface should look wet during dwell time, not dry and patchy.
- Reapply to dry spots during dwell time if the stone drinks it up immediately.
- Buff off all excess with clean towels before it dries on the surface. Turn towels often. When in doubt, buff more. Sticky haze is almost always leftover sealer.
- Second coat (if recommended): Many sealers allow a second coat while the first is still within a certain time window. Follow the label, and repeat the same apply, dwell, buff process.
Cure time
Most sealers need time to reach full performance. Light foot traffic is often okay after a few hours, but water exposure and heavy cleaning should wait longer. Follow the product instructions. If you seal a kitchen floor and then mop it hard two hours later, do not be surprised when the stain resistance is underwhelming.
How to apply topical sealer
If you are sealing saltillo, terracotta, or another highly porous rustic tile, a topical system can make sense. Just understand you are signing up for a finish that may need maintenance down the road.
- Apply thin coats. Thick coats are where you get bubbles, cloudy spots, and peeling.
- Use the recommended applicator (often a microfiber pad or finish mop) and keep a wet edge.
- Respect dry times between coats. Rushing is how you trap moisture and create haze.
- Keep it clean during curing. Dust and pet hair will become permanent roommates.
Compatibility caution: Topical “wet look” coatings can get slippery and can look uneven on some polished stones. In continuously wet areas like showers, topical coatings can fail if they are not specifically designed for that environment. If your goal is stain resistance on a normal stone floor, a penetrating sealer is usually the better, lower-maintenance path.
Grout sealing
Grout is basically a sponge that lives between your tiles. Sealing it is one of the cheapest ways to keep your floor looking “new” longer.
Two approaches
- Seal everything at once: If you are using a penetrating sealer, you can usually apply it over the tile or stone and grout together (as long as your surface is compatible). You still buff the surface clean after dwell time.
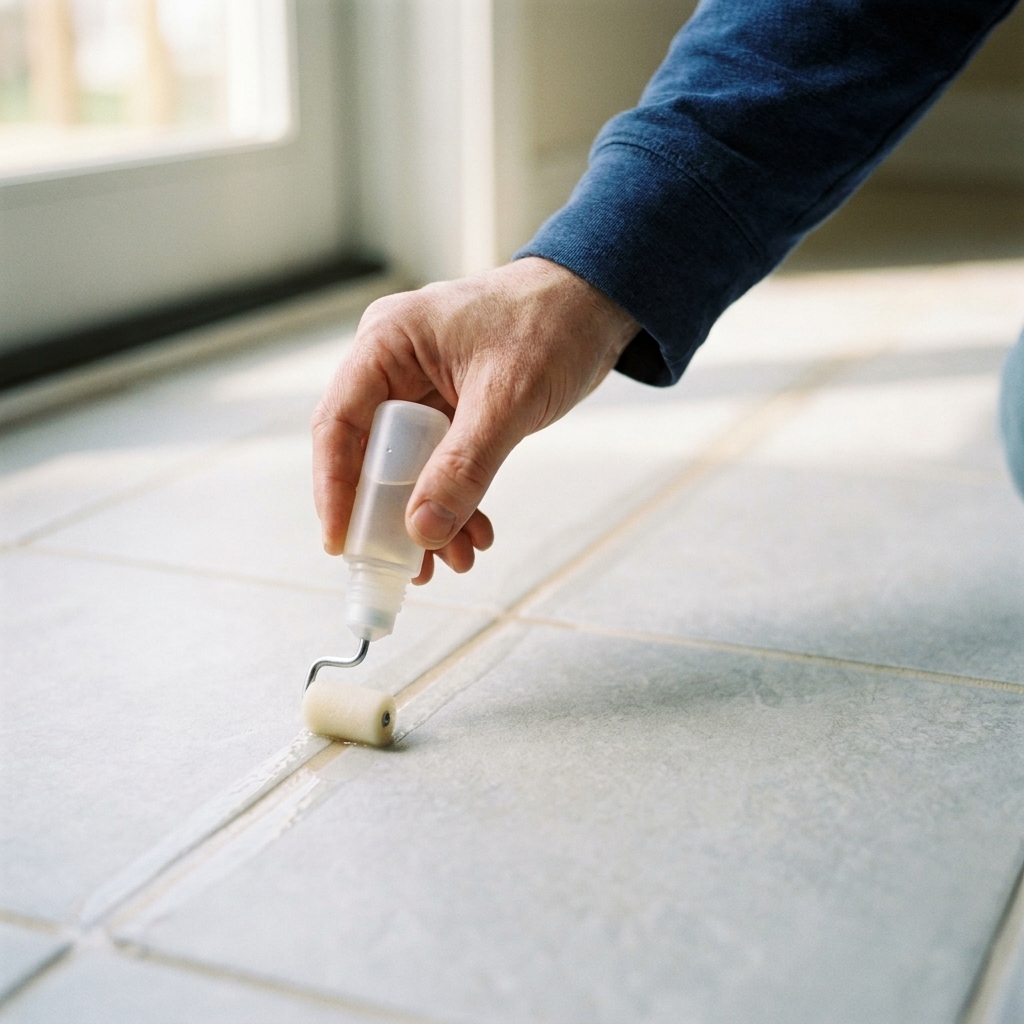
- Grout-only application: Use a small roller bottle or brush applicator to target grout lines, then immediately wipe any sealer that gets on the tile (especially on textured or matte tile that can haze).
Timing note: New cement grout must cure before sealing. Many products are commonly ready in the 48 to 72 hour range, but cure-to-seal varies a lot by grout type and conditions. Some need longer, and some rapid-setting grouts can be ready sooner. Check your grout manufacturer’s instructions, not just the sealer label.
Common mistakes
1) Leaving excess sealer on the surface
This is the number one cause of sticky floors and dull haze. Penetrating sealer belongs in the material, not on it. Always buff thoroughly before it dries.
2) Sealing dirty or soapy tile
If there is residue, you can lock it in. Your “stain” might just be yesterday’s cleaner. Clean first, rinse if appropriate, then dry completely.
3) Using the wrong cleaner on stone
Acidic cleaners can etch marble, limestone, and travertine. Sealer will not prevent etching. Stick with pH-neutral products for routine cleaning.
4) Expecting sealer to fix existing stains
Sealer is preventative. If you already have dark oil spots or rust discoloration, address that first with the right stone-safe poultice or cleaner, then seal.
5) Over-sealing
More is not always better. If the stone is already saturated, extra sealer can dry sticky and uneven.
How often to reseal
The honest answer: it depends on the material, the sealer quality, and your household. A busy kitchen with dogs and teenagers is not the same environment as a guest bath no one uses.
Instead of relying on a calendar, rely on testing.
- Test yearly in high-use areas (kitchen, entry, shower).
- Reseal when the water drop test shows absorption within a few minutes.
Some premium penetrating sealers can last several years on dense stone. Soft, porous materials may need attention more often. The test tells the truth.
FAQ
Will sealing change the color of my stone?
Most penetrating sealers are designed to look natural, but some stones darken slightly when sealed. If you want a richer tone, look for an “enhancing” sealer made for your material. Always test in a closet or behind a toilet first.
Can I seal over a previously sealed floor?
Yes, if the existing sealer is wearing out and the surface can absorb again. If water still beads strongly, adding more sealer often just increases the risk of haze. Test first.
What if I already have sealer haze?
Light haze is often excess sealer left on the surface. Some manufacturers recommend re-wetting the area with a small amount of the same sealer, then buffing aggressively with clean towels to lift the residue. That method is product-specific, so check the label and test a small area first. If that does not work, you may need a sealer remover compatible with your stone. Test in a hidden area before going big.
Is sealing safe for pets and kids?
Once cured, yes. During application, ventilate well and keep pets and kids off the area. Solvent-based products require extra ventilation and caution. Follow the label and let it cure fully before normal use.
Sealing checklist
- Do a water drop test on both tile or stone and grout.
- Choose a penetrating sealer for most floors, topical only when you truly want a finish.
- Decide early if you want natural-look or enhancing.
- Clean with a pH-neutral cleaner, then dry completely.
- Apply in small sections, keep it wet for dwell time, then buff off all excess.
- Wait for full cure before heavy cleaning or soaking the surface.
- Re-test periodically instead of guessing by the calendar.
If you take it slow and treat buffing like part of the job (not an optional step), sealing is one of those DIY wins that pays you back every time you wipe up a spill and nothing happens. That is the kind of boring victory I love.