A step-by-step homeowner guide to checking flatness, fixing low and high spots, and using patch or self-leveling underlayment on plywood so your tile or hard...
The Grout Nest
Updated October 17, 2026
Self-Leveling Compound for Uneven Subfloors
Learn how to prep, prime, dam, mix, and pour self-leveling compound so your subfloor is flat enough for large-format tile or rigid core plank. Tools, safety, and common mistakes.

Ben Mitchell
Ben Mitchell is a former professional tile setter and passionate home renovator with over 12 years of experience in the flooring industry. After stepping away from commercial contracting, he founded Grout Nest to empower everyday homeowners to tackle their own flooring, tile, and backsplash projects with confidence. He believes that with the right tools, proper prep work, and a little patience, anyone can achieve a professional-grade finish.
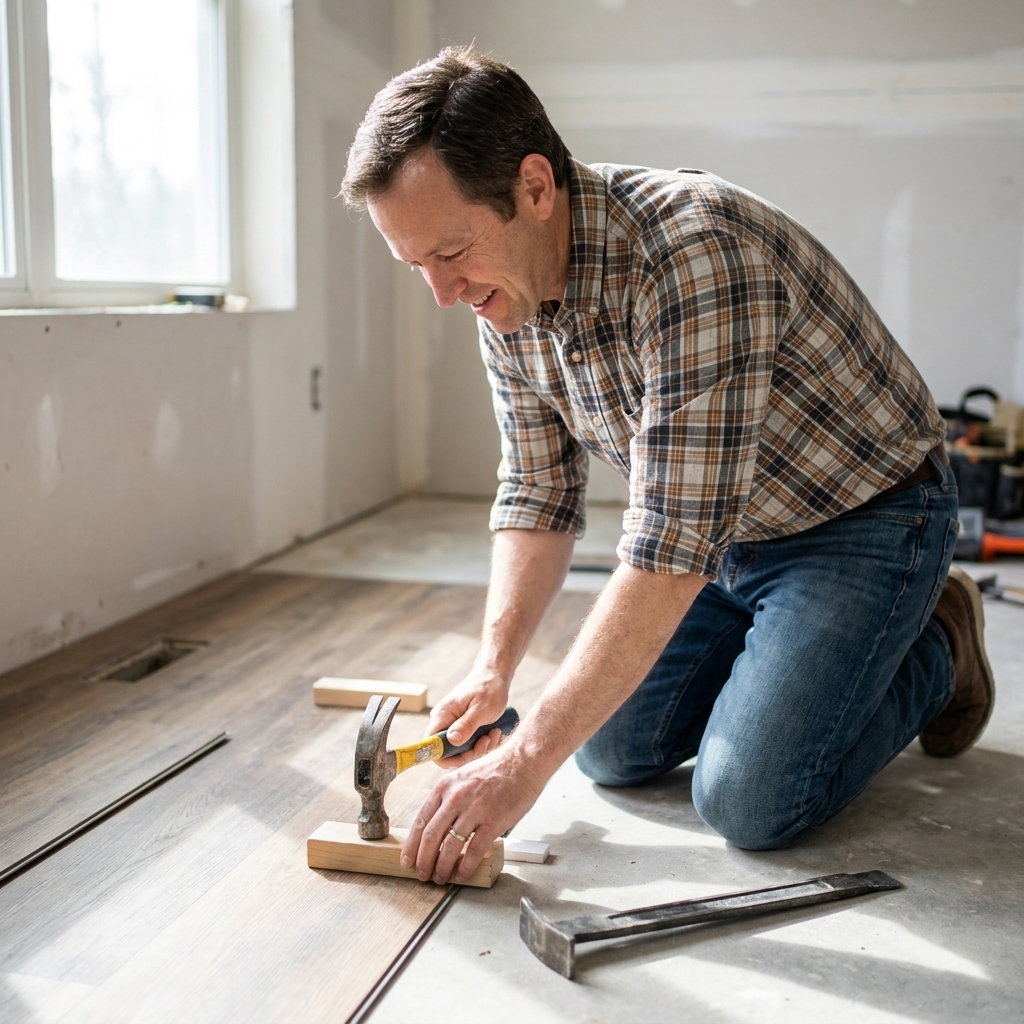
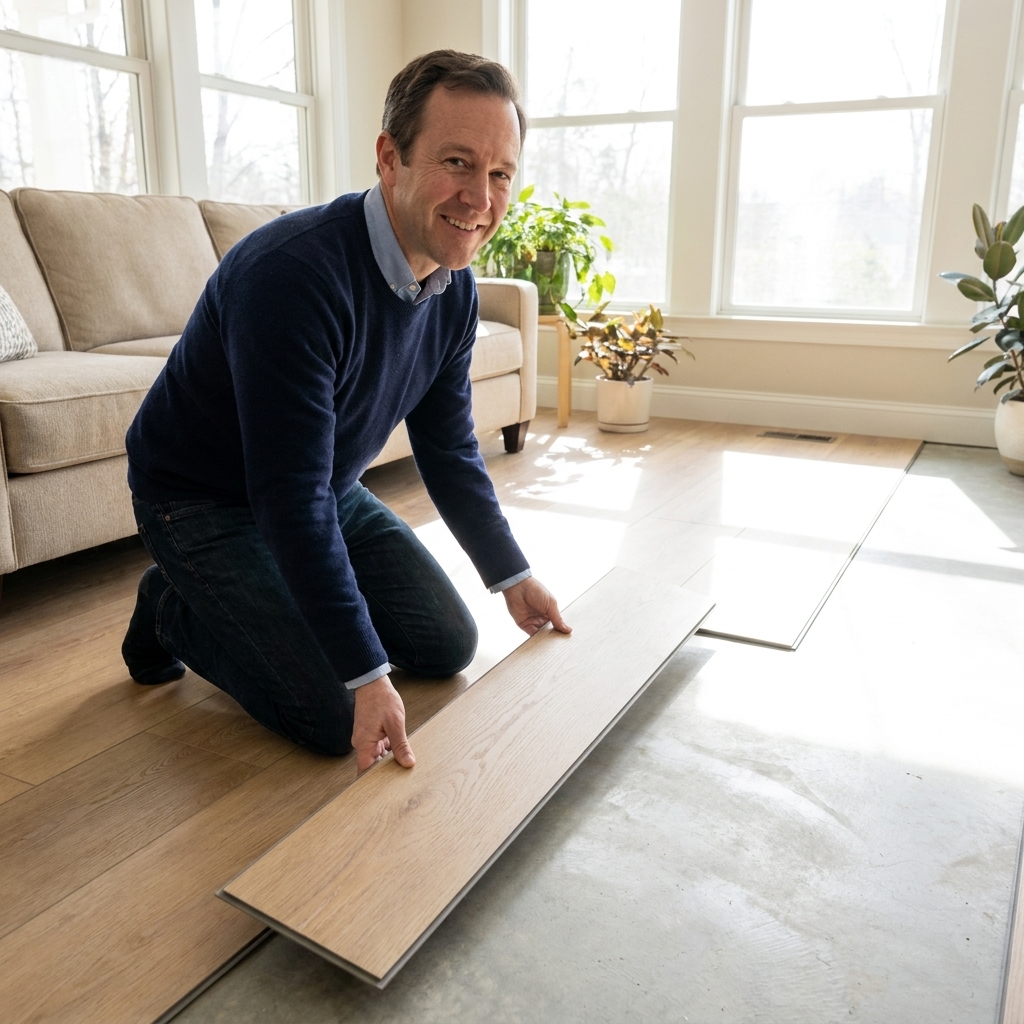
If you have ever tried to click rigid core planks together on a floor that looks “mostly fine,” you already know the punchline: gaps, bounce, broken locking edges, and that one plank that squeaks like it is doing stand-up comedy. Large-format tile is even less forgiving. You can hide a lot with a 3x6 subway tile. A 12x24 or 24x48? That tile will broadcast every dip and hump like a megaphone.
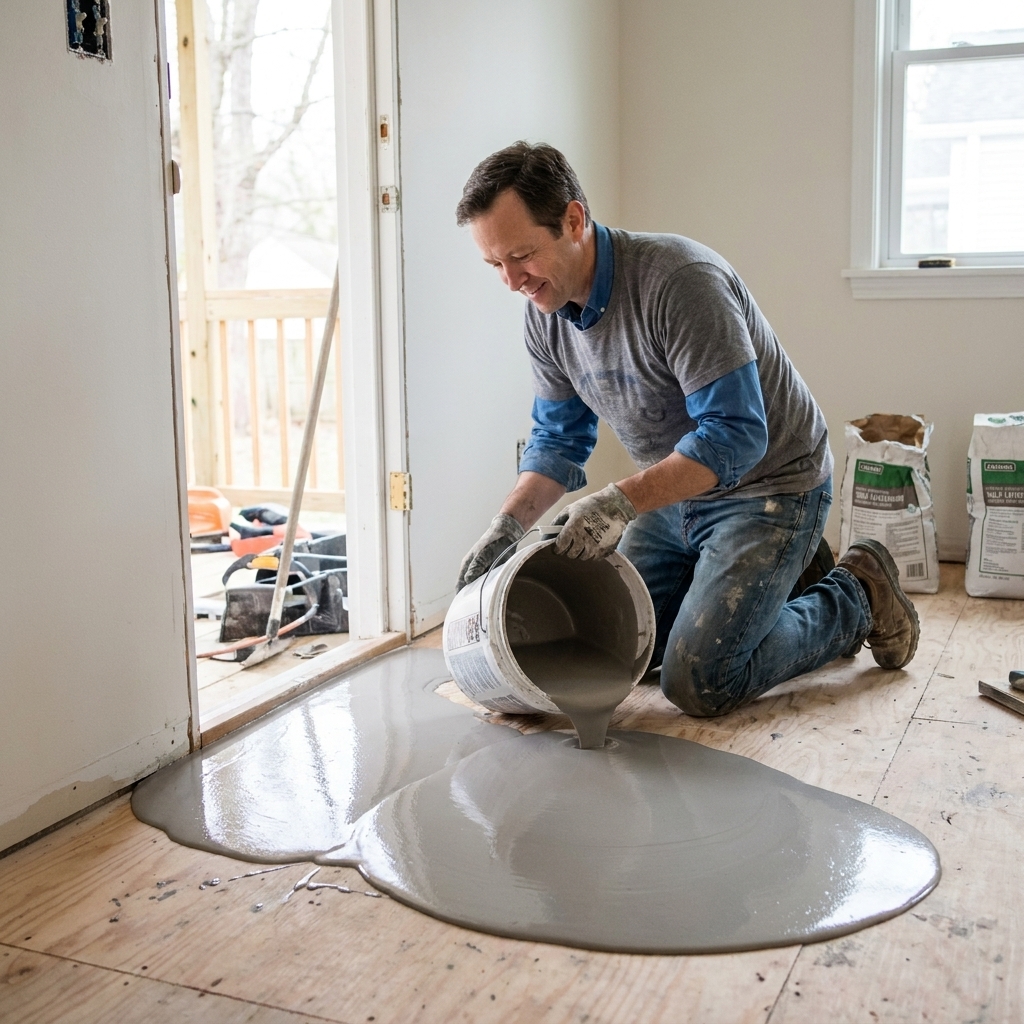
Self-leveling underlayment (SLU) is one of the fastest ways to turn an uneven subfloor into something flat enough for modern floors. The trick is that it only “self-levels” when you do the unglamorous stuff right: prep, priming, dams, mixing, and a pour plan. Prep work is 90% of the job, and SLU is the poster child for that mantra.
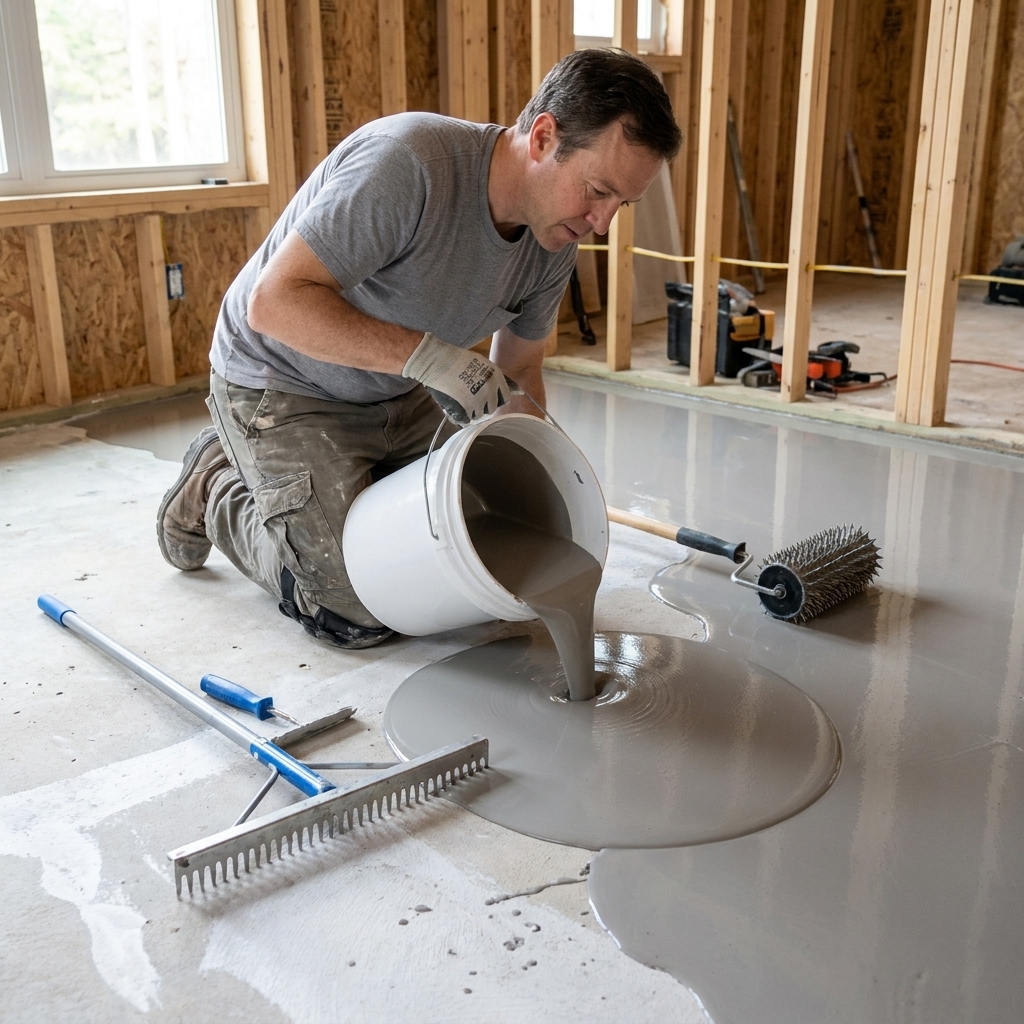
When SLU makes sense
I use SLU when I need flat, not just “good enough.” That usually means:
- Large-format tile (especially 12x24 and up) where lippage becomes a constant battle.
- Rigid core LVP/LVT that needs a tight flatness tolerance for the click system.
- Radiant heat mats where I want a smooth encapsulated surface.
- Transitions where I must hit a specific finished height and cannot keep feathering patch forever.
SLU is not magic for structural issues. If your subfloor is flexing, delaminated, water damaged, or improperly fastened, leveling compound just gives you a flatter version of the same problem.
Flat vs level
Homeowners understandably say “level,” but most floor coverings care about flatness. A bathroom floor can be perfectly level and still be wavy. It can also be flat and not level (tilted slightly) and many floors will be fine.
Targets vary by product and spec, but these are common industry guidelines:
- Large-format tile: a widely used guideline (ANSI A108.02) is no more than 1/8 inch variation in 10 feet and 1/16 inch in 2 feet for tiles with at least one edge 15 inches or longer.
- Rigid core planks: many manufacturers call for something in the neighborhood of 3/16 inch in 10 feet, but it is also common to see 1/8 inch in 6 feet or similar. Your install instructions win.
The only way to know where you stand is to measure.
Tools that help
You can absolutely pour SLU with basic tools, but the right setup turns it from panic to predictable.
Measuring and layout
- 10-foot straightedge or a long level (used as a straightedge).
- 2-foot level for quick checks and spot troubleshooting.
- Chalk line to mark high and low areas and pour boundaries.
- Permanent marker for writing depth notes right on the floor.
Prep and sealing
- Shop vacuum with a clean filter. Dust is the silent SLU killer.
- Scraper and razor blades for paint drips, drywall mud, and old adhesive blobs.
- Angle grinder with a diamond cup wheel (for concrete highs) and a HEPA vac if possible.
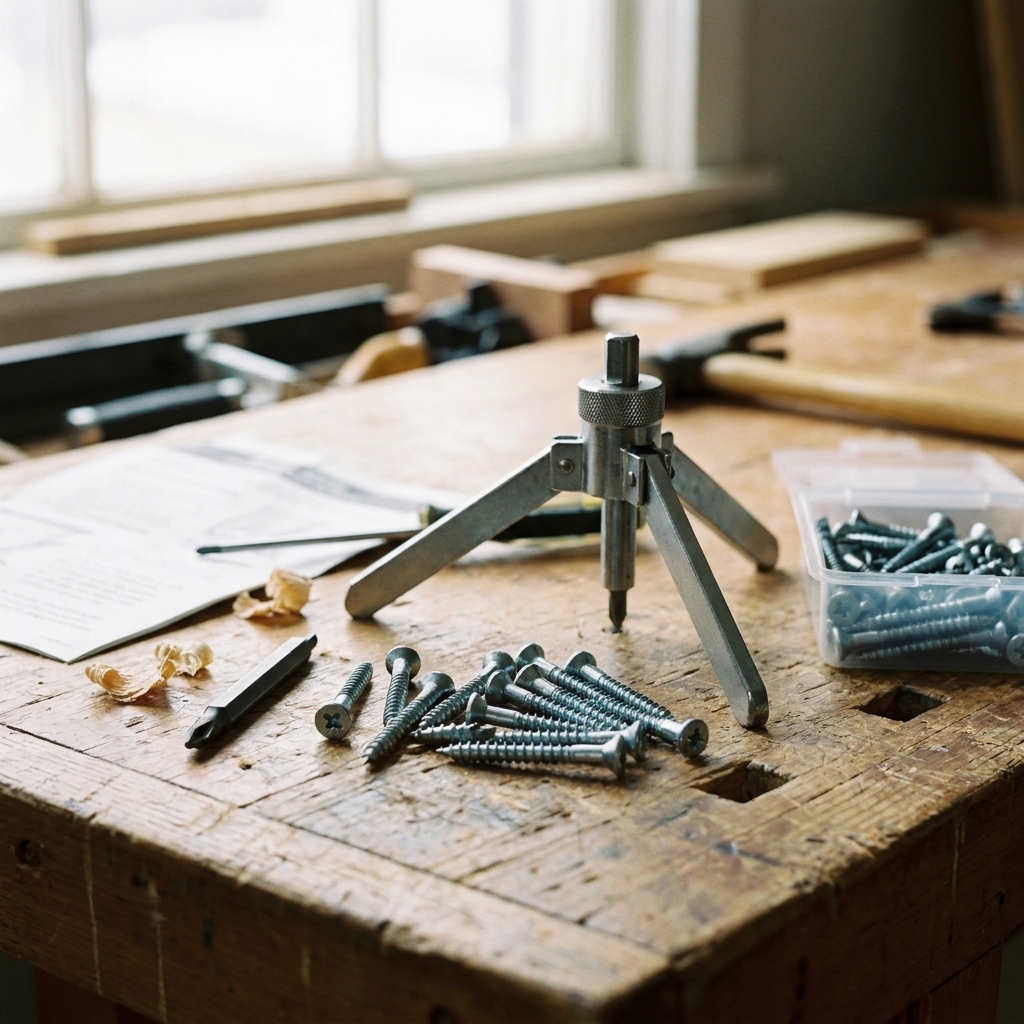
- Drill/driver and subfloor screws (for wood) to eliminate squeaks and movement.
- Foam sill seal or perimeter isolation foam for expansion and damming edges.
- Caulk (acrylic or silicone) to seal cracks, seams, and perimeter gaps so the SLU does not leak away.
Priming and pouring
- Manufacturer primer matched to your SLU and substrate.
- 3/8 inch nap roller and brush for primer edges.
- Mixing paddle rated for cement products (not a paint paddle).
- 1/2 inch drill (corded is best). SLU is thick, and it demands torque.
- Graduated buckets or a way to measure water precisely.
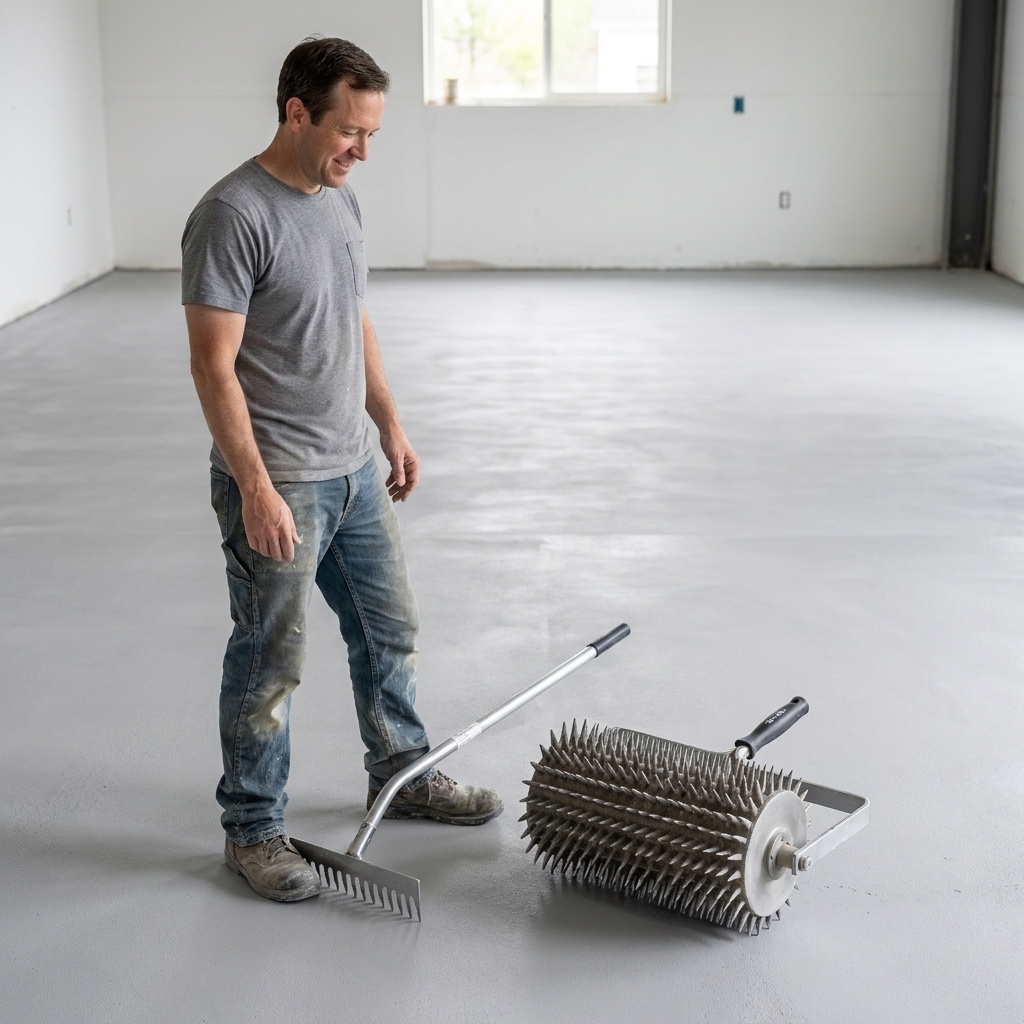
- Gauge rake (my favorite) for controlling thickness.
- Smoother for blending edges and pushing material where it needs to go.
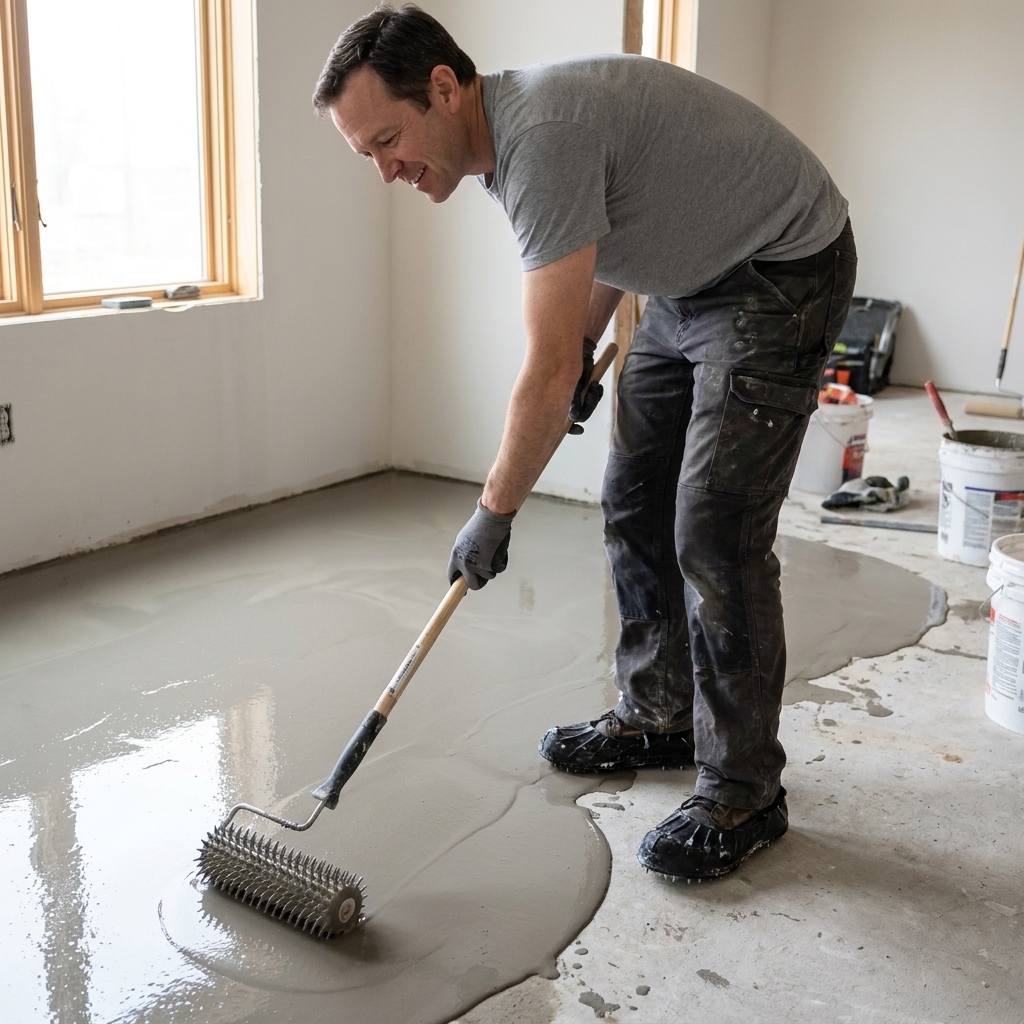
- Spiked roller to release trapped air and help flow.
- Spiked shoes if you need to walk in the pour. Optional, but confidence-inspiring.
Safety and jobsite reality
This stuff is not dangerous in a dramatic way. It is dangerous in the “I skipped PPE and now I regret everything” way.
- Grinding concrete: silica dust is serious. Use a respirator and dust control, ideally a HEPA vac on the grinder.
- Skin and eyes: cement products are caustic. Gloves and eye protection are not optional if you enjoy having hands.
- Protect adjacent finishes: SLU splatter is forever. Mask door casings, cover vents, and keep a wet rag handy for fresh drips.
Subfloor basics first
Before you think about bags and buckets, make sure the floor system is suitable for what you are installing.
- Tile needs stiffness: the floor structure must meet deflection requirements (often L/360 for ceramic, and stiffer for stone). SLU does not fix a bouncy floor.
- Wood needs thickness: follow your SLU and floor covering requirements for subfloor thickness and fastening. SLU is not a substitute for underlayment-grade plywood or structural repairs.
- Know your limits: every SLU has a minimum and maximum thickness per lift. If you need more than the maximum lift, plan on multiple pours with re-priming as required by the technical data sheet.
Prep before the first bag
Most SLU failures are not mixing failures. They are prep failures. Here is the checklist I run every time.
1) Make the floor solid
Wood subfloor: walk it slowly and listen. Any squeak or bounce is a warning. Add screws into joists, tighten loose panels, and replace damaged sections. SLU does not like movement.
Concrete: check for hollow sounding areas, crumbling patches, or old adhesive that is not bonded. Grind or remove what is loose. Your SLU can only bond as well as what it is sitting on.
2) Mark highs and lows
Use your straightedge and mark:
- High spots with an H and a circle.
- Low spots with an L and a depth estimate (like “1/4”).
- Feather zones where you need to blend into adjacent rooms.
If you have one nasty hump, grinding that down often saves you multiple bags of SLU. Leveling compound is expensive. Dust and noise are annoying, but they are cheaper.
3) Clean like you mean it
Vacuum thoroughly. Then vacuum again. Primer needs a clean, dust-free surface to bond properly. If you can write your name in the dust, your SLU will find a way to delaminate right where you least want it.
4) Seal gaps so the floor does not drink your pour
SLU is a liquid for the first few minutes. It will run under base plates, through subfloor seams, and into heat vents like it has a personal grudge.
- Caulk along the perimeter where subfloor meets drywall or sole plates.
- Seal large knots, cracks, and seams in plywood.
- Block HVAC openings and any holes around plumbing penetrations.
5) Decide: full pour or spot pour?
Spot-pouring low areas can work, especially under rigid core planks, but it is harder to get a truly flat plane when the floor is generally wavy. If you have lots of shallow dips, a broader pour is often easier than playing whack-a-mole with patch.
Priming matters
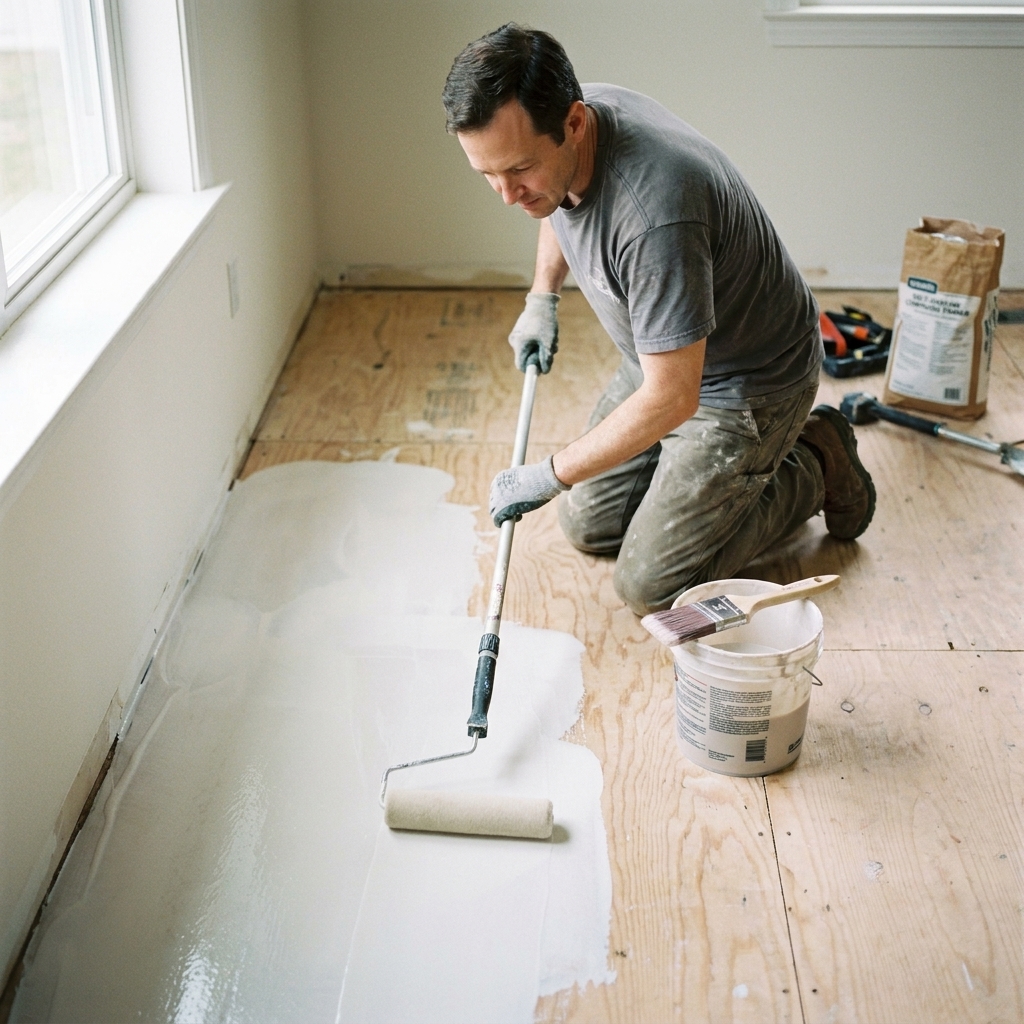
For most SLUs, primer is required. It does three big things:
- Improves bond between SLU and the substrate.
- Controls suction so the substrate does not rob water from the mix and cause weak, crusty areas.
- Reduces pinholes and bubbles that come from air escaping the substrate.
Primer tips
- Use the primer made for your SLU. Do not mix brands unless the manufacturer explicitly allows it.
- Follow dilution rules exactly if they call for water.
- Roll it evenly. No puddles, no dry stripes.
- Respect dry time and recoat windows. Some primers want to be tacky, others want to be fully dry. If you wait too long, you may need to re-prime.
- Second coat when required, especially on porous concrete or rough plywood.
Dams and edges
Before you mix anything, stand in the doorway and imagine your SLU behaving like pancake batter with ambition. If it can escape, it will.
Where you need dams
- Doorways where you are not leveling the next room.
- Floor registers and returns.
- Stair openings and landings.
- Toilet flanges and plumbing penetrations (mask and dam carefully).
Dam materials that work
- Foam sill seal or weatherstrip foam at perimeters.
- Scrap lumber wrapped in tape (so it releases) at doorways.
- Rigid foam board cut to fit odd gaps.
Seal dams to the floor so liquid cannot sneak underneath. Caulk and hot glue are common options for dams and perimeters, but keep them out of areas where you need SLU to bond directly to the substrate. If you skip sealing, you will learn a new DIY emotion: watching $40 worth of mixed underlayment disappear under a wall in real time.
Mixing: measure it
SLU is engineered to perform at a specific water ratio. More water can make it flow nicer for about 30 seconds, and then punish you later with weaker material, powdery surfaces, and cracking. Less water makes it stiff, which leads to ridges, cold joints, and trapped air.
My mixing routine
- Stage everything: bags opened, water measured, drill plugged in, rake and roller ready.
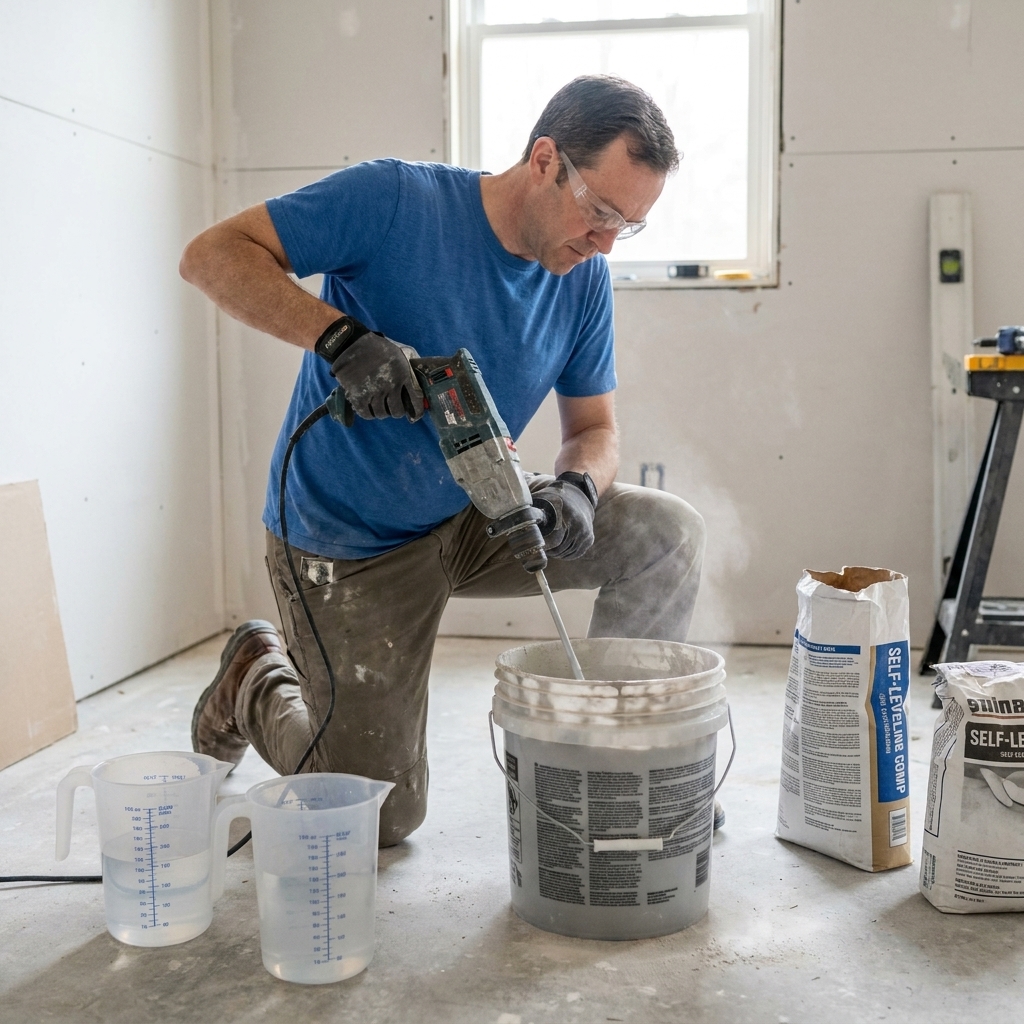
- Measure water precisely for each bag. Do not eyeball it.
- Water first, powder second unless the bag instructs otherwise.
- Mix for the full time on the instructions, usually a couple minutes.
- Let it slake if required, then remix briefly.
- Do not mix a monster batch that you cannot place fast enough. SLU has a working time, and it is shorter than your optimism.
For bigger rooms: two people
If you are pouring more than a small closet, two people makes this dramatically easier:
- Person 1 mixes continuously.
- Person 2 pours and moves material with the gauge rake and smoother.
Pouring techniques
Here is the part everyone fixates on, and yes, it matters. But it only works if the earlier steps were done well.
1) Work toward your exit
Start at the farthest corner and work toward your exit. This sounds obvious until you are standing in a fresh pour wondering if spiked shoes were really optional.
2) Pour in ribbons
I like to pour in a controlled ribbon and immediately spread it with a gauge rake to your target thickness. Random bucket dumps create humps that you spend the next five minutes fighting.
3) Keep a wet edge
SLU does not like cold joints. The goal is continuous flow where each new bucket blends into the previous before it starts to set.
4) Set thickness with a gauge rake
A gauge rake is the difference between “I poured some leveler” and “I created a flat plane.” Set the rake to your desired depth, then pull it gently. You are not scrubbing. You are guiding.
5) Spiked roll for air
Roll lightly after spreading. The spiked roller helps pop bubbles and encourages flow. It is not a snow shovel. If you are using it to relocate material, you are already behind.
6) Feather transitions while workable
At transitions or where you end a pour, use a smoother to thin the edge so you do not create a speed bump for your flooring. If you need a true feather-to-zero edge, many manufacturers prefer a separate patching compound for that last bit.
Thickness and planning
Each SLU product lists coverage per bag at a specific thickness (often 1/8 inch or 1/4 inch). Use the bag math, then add a safety margin. I would rather return one unopened bag than stop mid-pour to sprint to the store with primer on my elbows.
Quick planning approach
- Measure the room square footage.
- Estimate average thickness needed (based on your low spots, not your hopes).
- Calculate bags using manufacturer coverage charts.
- Add 10 to 20 percent buffer for real-world waste and feathering.
If the floor has one deep crater, consider pre-filling that area with a patch or doing a targeted pour first, then a broader pour later. Check product rules for multiple lifts, maximum lift per pour, and whether re-priming is required between layers.
Curing and timing
Dry-to-the-touch is not the same as cured. Most SLUs can be walked on carefully after a few hours, but installing tile, membranes, or floating floors should follow the product timeline.
What affects cure time
- Room temperature and humidity
- Pour thickness
- Air movement
- Substrate temperature (cold concrete slows everything down)
Temperature matters
Most products specify an ambient and substrate temperature range (often somewhere around 50 to 90°F). Stay inside the range, and avoid pouring over a cold slab without reading the technical data sheet. Also avoid blasting heat directly at the pour, which can dry the surface too fast and contribute to cracking.
Radiant heat notes
SLU and heat mats can be a great combo, but you have to play by the system rules.
- Use primers and SLUs approved for radiant heat.
- Follow minimum thickness requirements over the cables or mats.
- Shut the heat off for the window the manufacturer specifies before and after the pour. Pouring over a warm floor can shorten working time and cause problems.
After it cures
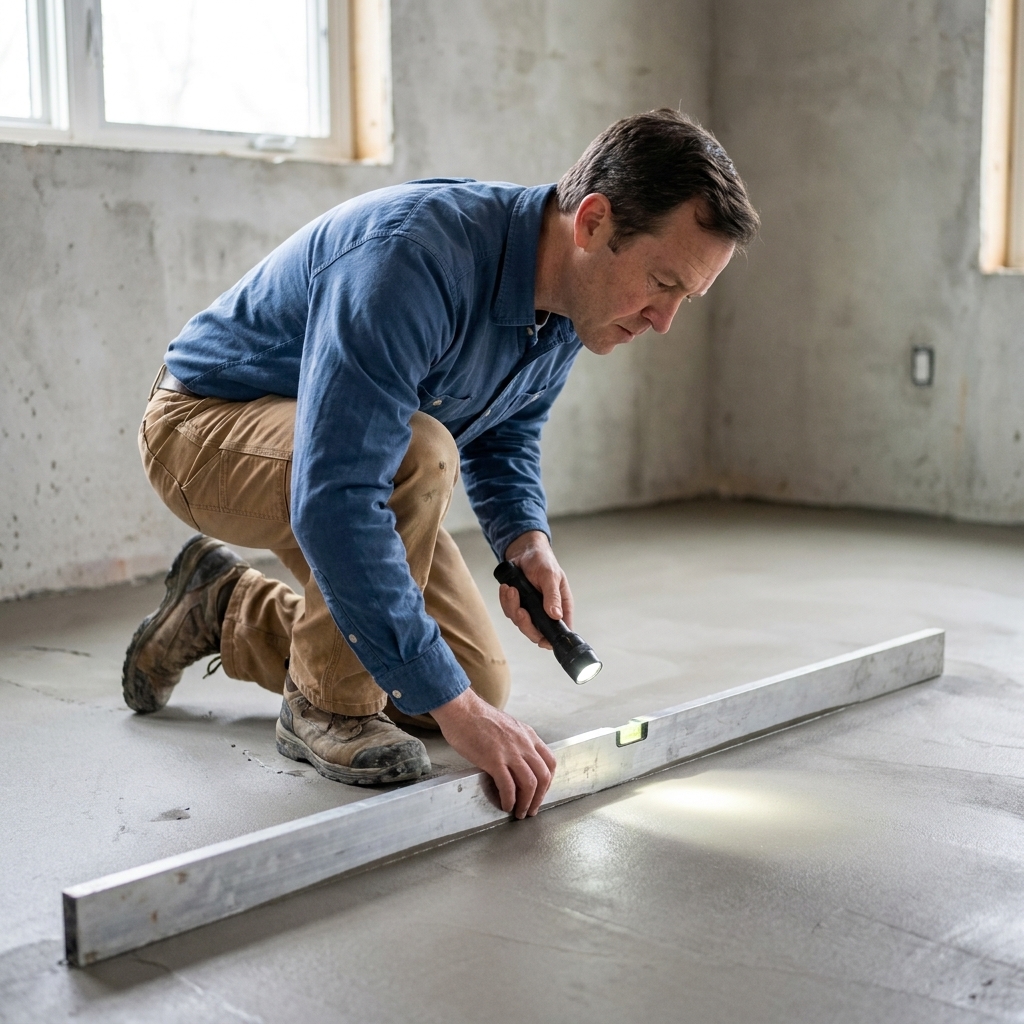
Once it is cured, re-check with your straightedge. You are looking for:
- Ridges at pour boundaries
- Birdbaths that did not fill
- High islands from dumping too much in one spot
How to fix issues
- Minor ridges: scrape or lightly grind, then vacuum.
- Small low spots: use a compatible patch or a skim of SLU (re-prime if the manufacturer requires it).
- Significant humps: grind them down. Do not try to bury a hump with more product unless you enjoy buying more bags.
Common mistakes
- Skipping primer: leads to pinholes, bubbles, weak bond, and dusty surfaces.
- Not sealing edges: material leaks away and leaves thin spots.
- Overwatering: looks great while wet, performs terribly later.
- Mixing with the wrong paddle: clumps and inconsistent flow.
- Taking too long between buckets: creates cold joints and ridges.
- Pouring over movement: wood subfloors that flex will crack your SLU.
- Ignoring high spots: grinding a hump is often the smartest “leveling” you can do.
- Breaking thickness rules: too thin, too thick in one lift, or poured outside temperature limits can all bite you.
Ben’s rule: If you are feeling rushed, you are under-prepped. Lay out the tools, pre-measure water, build your dams, and do a dry run walking your pour path. The pour should feel boring. Boring is good.
FAQ
Can I pour SLU over plywood?
Often yes, but only if the product is approved for wood substrates and you follow the manufacturer’s system. That usually includes proper subfloor thickness, tight fastening, primer, and a minimum pour thickness. Some systems also require reinforcement, depending on the product and the floor.
Do I need metal lath?
Sometimes, especially over wood. Some modern SLUs are rated for plywood without lath when used with the correct primer and minimum thickness. Others still call for lath, and some requirements depend on joist spacing and floor stiffness. The bag and technical data sheet win every argument here.
How thin can I feather SLU?
Many SLUs do not like being feathered to zero. For feather edges, manufacturers often recommend a patching compound designed for feathering. You can still blend SLU edges, but do not count on a razor-thin edge being durable unless your product explicitly allows it.
Can I install tile directly over SLU?
In many cases, yes after proper curing, but you may still use an uncoupling membrane depending on tile size, substrate, and movement risk. Also confirm your thinset is compatible with the SLU surface. Some SLUs want light sanding, cleaning, or priming before certain mortars or adhesives.
Why did my SLU crack?
Common causes include subfloor movement, pouring outside the product’s minimum or maximum thickness rules, overwatering, rapid drying, or pouring over a dirty or improperly primed surface. Hairline shrinkage cracking can be normal with some products, but wide cracks or hollow sounding areas point to a bigger issue.
A simple first pour plan
If you are new to SLU, keep it manageable:
- Start with a smaller room (laundry, closet, small bath) before tackling the whole main floor.
- Do all prep and dams the day before.
- Buy or borrow a gauge rake and spiked roller.
- Measure water for each bag ahead of time.
- Have a helper if you are pouring more than one or two bags.
When you nail it, it is deeply satisfying. The next day you run a straightedge across the floor and it just behaves. No rocking. No daylight under the edge. That is the moment you realize why pros love SLU and why we also respect it a little.