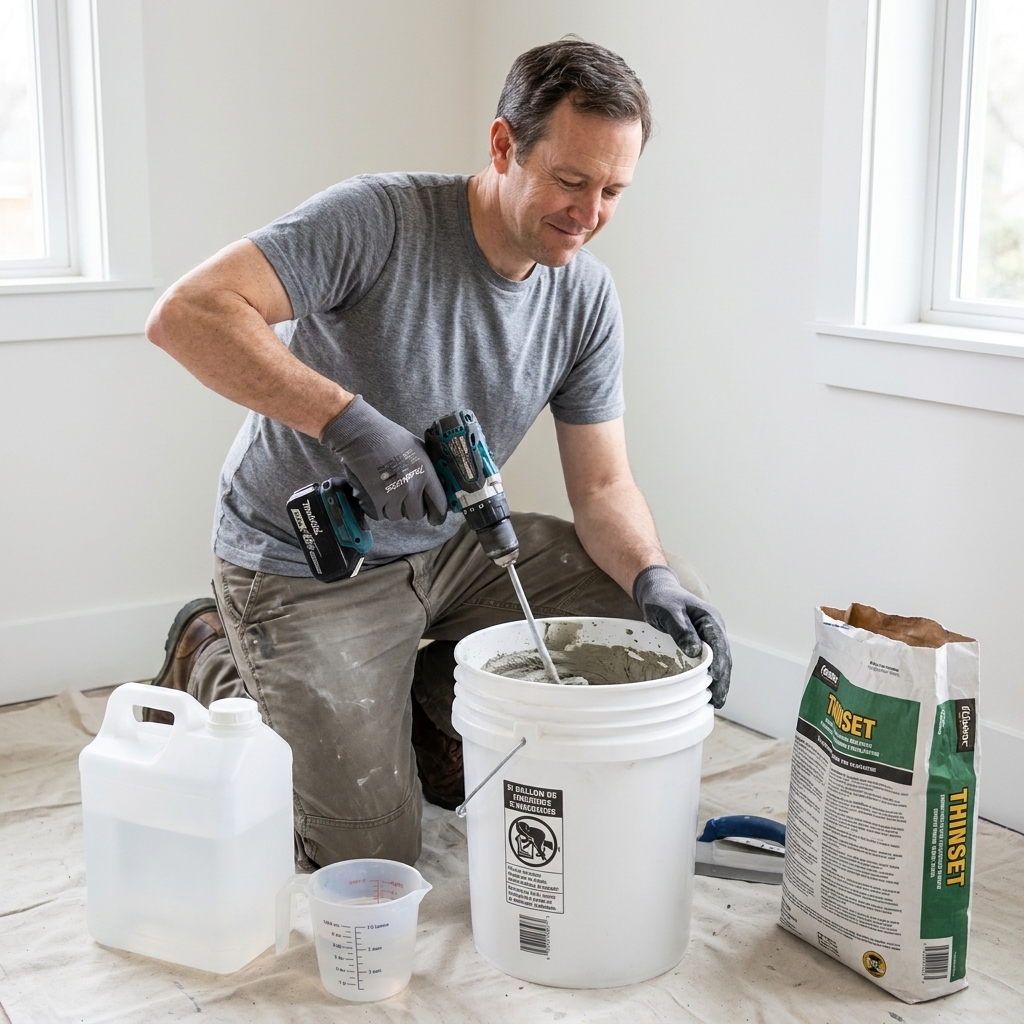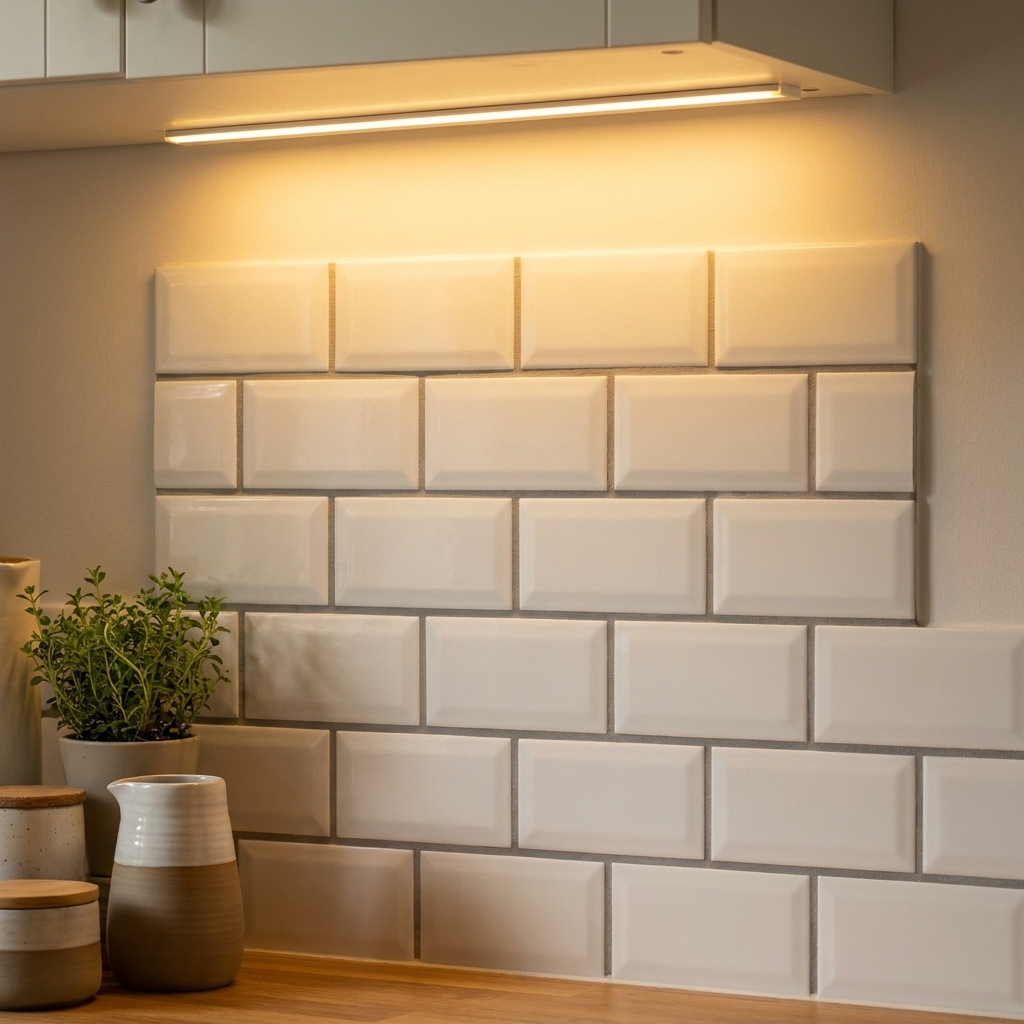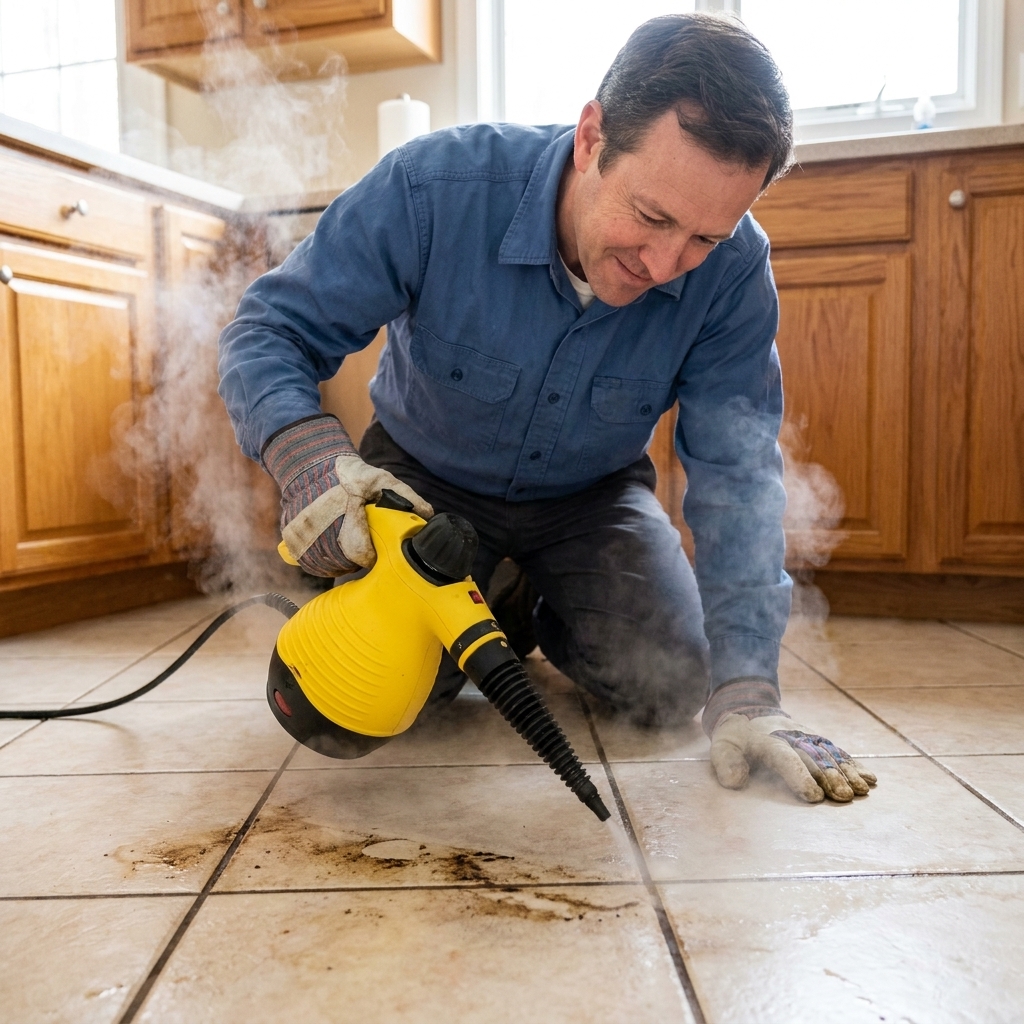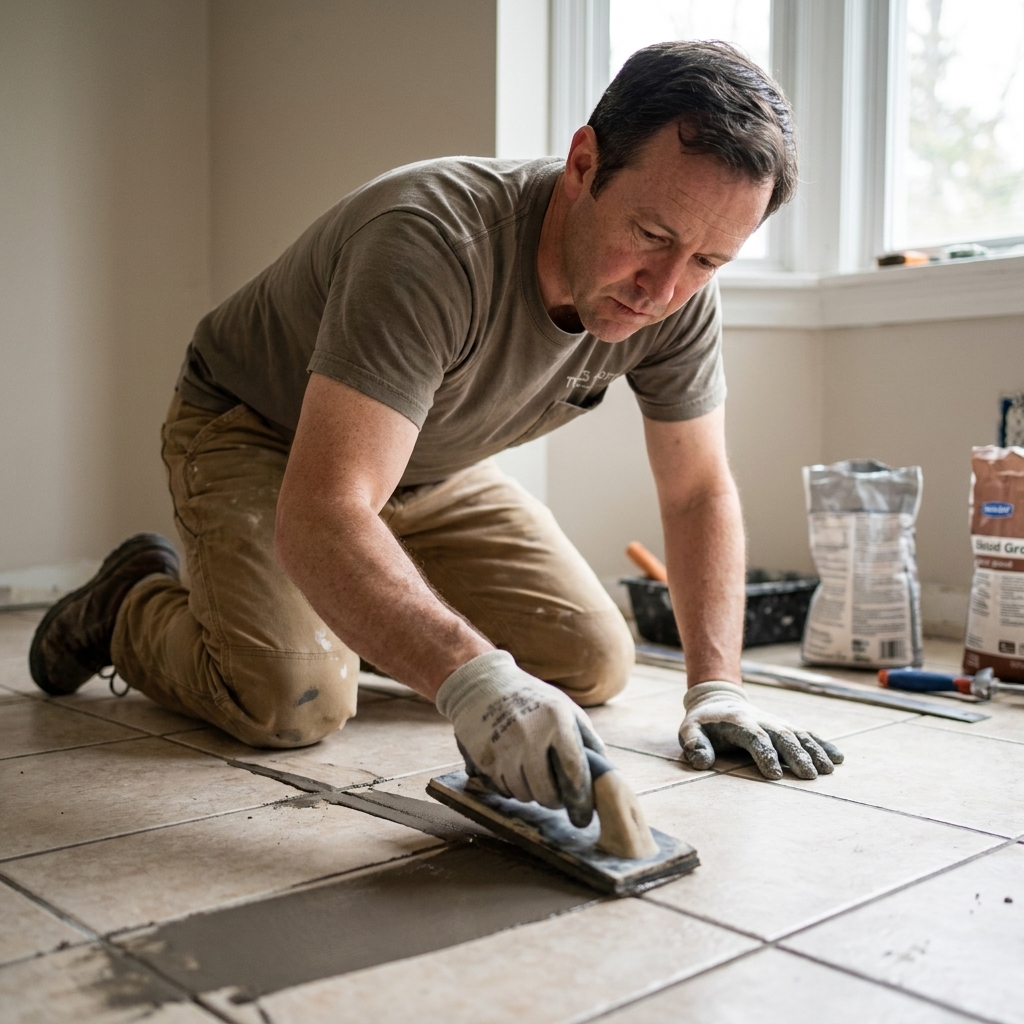
A step-by-step grout walkthrough for floor tile: picking grout, mixing it right, floating it tight, and cleaning haze without ruining fresh joints.
The Grout Nest
Updated October 17, 2026
How to Use a Grout Float Like a Pro
Learn how to use a grout float with the right angle and pressure, pack joints fully, and wipe in stages to get smooth grout lines and reduce haze.

Ben Mitchell
Ben Mitchell is a former professional tile setter and passionate home renovator with over 12 years of experience in the flooring industry. After stepping away from commercial contracting, he founded Grout Nest to empower everyday homeowners to tackle their own flooring, tile, and backsplash projects with confidence. He believes that with the right tools, proper prep work, and a little patience, anyone can achieve a professional-grade finish.
If grout has ever humbled you, you are in good company. I have set tile for a living, and I still remember a backsplash job early in my career where I “wiped to perfection” and came back the next day to a cloudy, chalky haze that laughed at my ego. The fix was not a magic cleaner. It was technique, timing, and a grout float used the right way.
This guide is all about the physical mechanics: how to hold the float, how to force grout into the joints (not just smear it over the top), and how to wipe so you get clean, smooth lines without washing out your work.
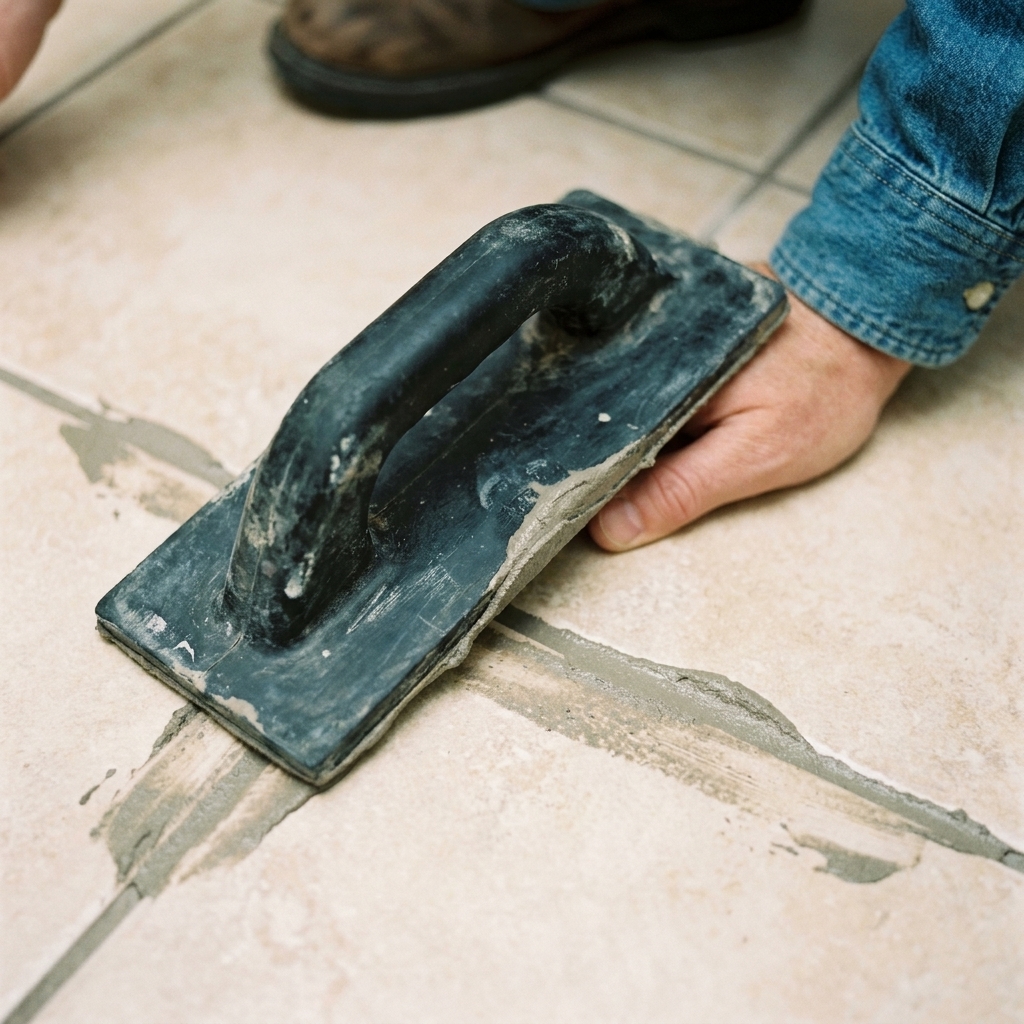
What the float is doing
A grout float is not a trowel and it is not a squeegee. Done right, it does three jobs:
- Packs the joints so the grout fills the full depth, not just the top edge.
- Scrapes the tile faces so you are not leaving a thick film that turns into haze.
- Shapes the surface just enough so your sponge work is light and controlled.
If you treat it like a spreader and rely on the sponge to “make it look good,” you usually end up with low joints, pinholes, and haze. If you treat it like a packing tool first, everything gets easier.
Tools that help
You can grout with a bargain float and a single sponge, but it is like painting with a crusty brush. Here is what I keep on hand for haze-free results:
- Rubber grout float (firm for floors, slightly softer is nice on walls).
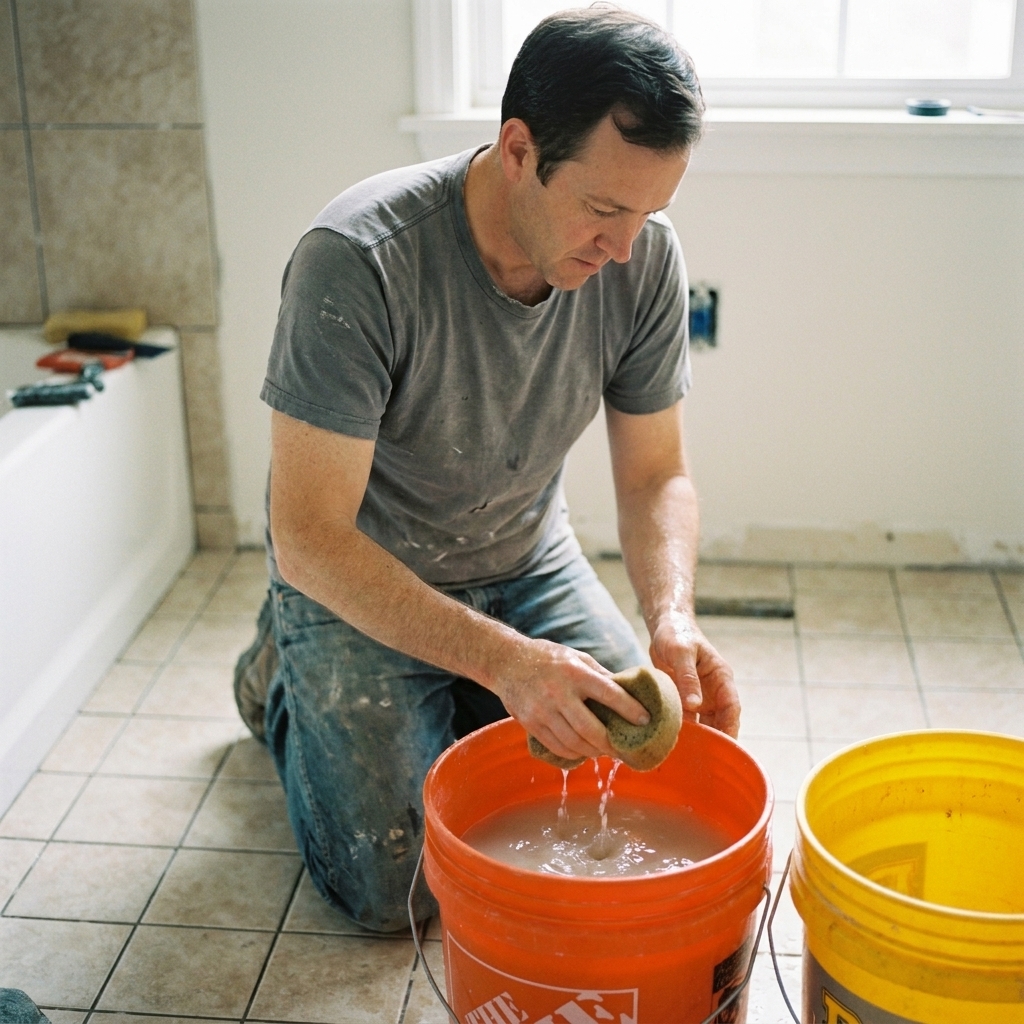
- Two buckets of clean water: one for the first dirty rinse, one for a final rinse.
- Two grout sponges (rotate them so one can be rinsed while the other is in use).
- Microfiber towels for the final buff.
- Nylon scrub pad (white is safest) for stubborn film during final wipe.
- Margin trowel for mixing and scooping grout out of the bucket.
Prep that prevents haze
Clean, consistent joints
Grout haze often starts before you even mix grout. If thinset is proud in the joints, your float cannot pack grout to a consistent depth. Scrape joints to a uniform depth and vacuum the dust. I know it is boring. It is also the difference between crisp lines and patchy, blotchy grout.
Protect what needs protecting
- Porous stone tile (marble, travertine, limestone): consider a grout release or a compatible sealer before grouting, if the manufacturer recommends it.
- Textured tile: plan on extra float scraping and lighter sponge work to avoid packing grout into texture.
- Movement joints: corners and changes of plane generally get a flexible sealant (not grout) to handle movement. Follow the tile and grout manufacturer guidance and common industry standards for your installation.
Mix grout the right way
Follow the bag. Then pay attention to feel. For many cement-based grouts, you are aiming for a peanut-butter consistency: workable, but not soupy. If it is runny, you increase the risk of color variation, weaker joints, and haze. If it is too stiff, you can leave voids and pinholes.
Let cement grout slake if the manufacturer calls for it, then remix. Skipping slake is a classic “why does this grout feel weird?” moment.
Quick note on grout types: epoxy, urethane, and premixed “ready-to-use” grouts do not follow the same feel, timing, or cleanup rules as cement grout. With those, the label is the law. Use the float and wash method they specify, and do not freestyle the water or wait times.
Float technique
Step 1: Work small
Scoop grout onto the face of the float with a margin trowel. Work a manageable area, especially on your first few projects.
My rule: 10 to 20 square feet on floors, or a few square feet on walls. If you spread grout over half the room, you will spend your wipe fighting set-up times instead of controlling the finish.
Step 2: Pack at about 45 degrees
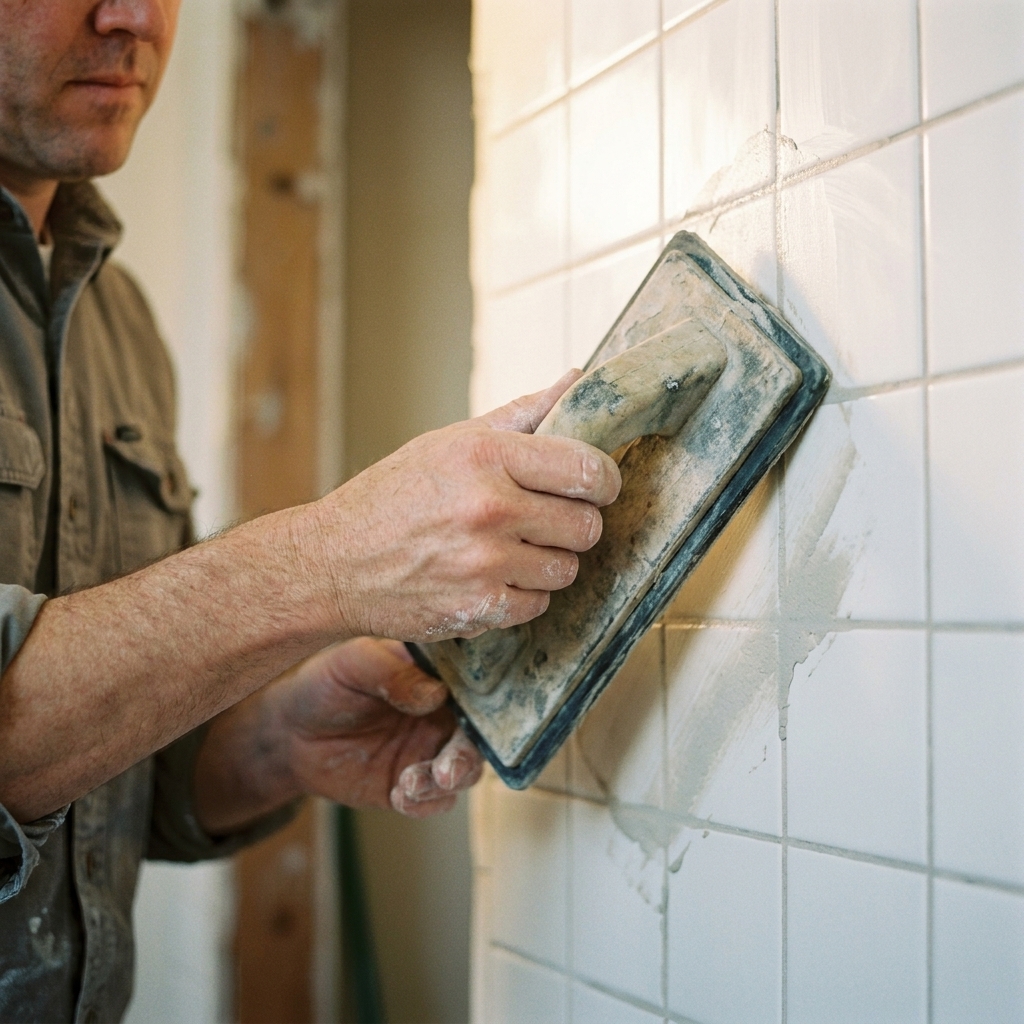
Hold the float at roughly 45 degrees to the tile surface. Then push grout across the joints diagonally (not parallel to the lines). Working diagonally keeps you from digging grout back out of the joint.
Use real pressure. You are trying to force grout down and in, not butter the top.
- Direction: diagonal.
- Pressure: firm enough that you hear the float “squeegee” against tile.
- Goal: joints are full, no dark shadows, no visible voids.
Step 3: Cross-hatch to fill everything
After your first diagonal passes, change direction and do another set of diagonal passes the other way. I call it “cross-hatching.” This helps fill tiny low spots and prevents pinholes that show up after the sponge.
If you see a joint that looks low, do not assume the sponge will fix it. Hit it again with the float while everything is fresh.
Step 4: Scrape excess at 70 to 90 degrees
Once the joints are packed, your next job is to leave less grout on the tile faces. Tilt the float more upright, closer to 70 to 90 degrees, and scrape diagonally across the tile to shear off excess.
This one move is the biggest haze-prevention trick I can give you. Less grout film on the tile means less to clean later, and less cement left behind to dry into a fog.
- About 45 degrees: pack.
- About 70 to 90 degrees: scrape and clean the tile surface.
Wiping and timing
Your sponge is for shaping and cleaning, not for excavating. If you start wiping too early, you wash the joints low and pull cement and pigment to the surface, which can increase haze. Too late, and you are scrubbing concrete off your tile.
When to start wiping
Use a simple touch test. Lightly drag a fingertip across a grout line. You want it to feel firming up and not smear like frosting. On many cement grouts this is often in the 10 to 20 minute range, but temperature, humidity, tile type, and mix stiffness can push it way shorter or longer. The touch test is the real rule.
First wipe: shape the joints
- Wring the sponge out hard. It should be damp, not dripping.
- Wipe diagonally across joints with light pressure.
- Use one or two passes, then flip to a clean side.
- Rinse frequently using the two-bucket method to keep dirty water out of your “clean” rinse.
After the first wipe, you should still see a light, uniform film on the tile. That is fine. You are shaping and removing the heavy stuff.
Second wipe: clean the tile faces
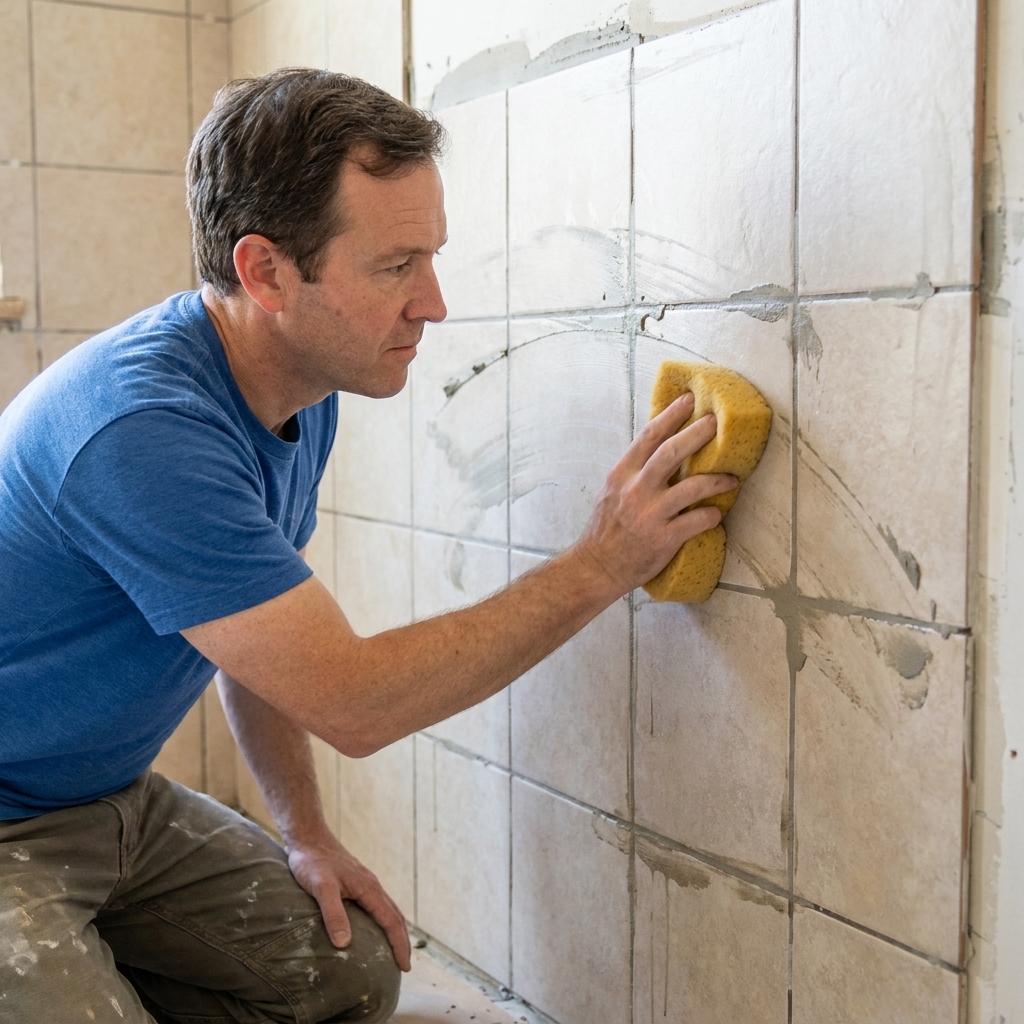
Wait a few minutes, then do a second wipe with fresh water. This pass is gentler and more about cleaning the tile faces while keeping the joints intact.
Key detail: do not overwork one spot. If you keep rubbing the same tiles, you are basically painting grout water over the surface. That dried film is haze.
Final buff: dry first
Once the surface is dry enough that it looks slightly dull, buff with a clean microfiber towel. This picks up the last dusty residue without adding more water.
On textured tile, a white nylon pad can help, but go easy. If you can scratch it with a pad, you can scratch it with grit. Keep everything clean.
Angle and pressure cheat sheet
- Float angle for packing: about 45 degrees.
- Float angle for scraping excess: 70 to 90 degrees.
- Direction: diagonal for float work and for wiping.
- Pressure: firm to pack, moderate to scrape, light for sponge.
- Sponge moisture: damp and wrung out hard.
Common mistakes
1) “My joints look low after wiping”
Cause: wiping too soon, sponge too wet, or not packing joints firmly enough.
Fix: pack harder with the float, scrape more excess off the tile before wiping, wait a bit longer before the first wipe, and wring the sponge like you mean it.
2) “I have pinholes or tiny craters”
Cause: joints not fully packed, grout too stiff, or over-scraping with the float before the joint is full.
Fix: cross-hatch your float passes, push grout diagonally with firm pressure, and remix to the right consistency. For small areas, you can often refill immediately and re-wipe.
3) “Grout keeps pulling out”
Cause: working parallel to the joints, or using the float too upright during the packing stage.
Fix: work diagonally, and keep the float nearer to 45 degrees until joints are truly full.
4) “I’m getting stubborn haze”
Cause: leaving too much grout on the tile faces, using dirty wash water, or over-wiping with a wet sponge. Porous or textured tile can also hold residue.
Fix: scrape more aggressively with the float after packing, keep rinse water clean, and finish with a dry microfiber buff.
If haze remains after the grout has set per the manufacturer, step up your approach in this order:
- Dry microfiber buff (often all it takes).
- Lightly damp microfiber with clean water, then dry buff again.
- Manufacturer-approved haze remover matched to your grout and tile type, tested in an inconspicuous spot.
Avoid grabbing random acids as a first move. Acid can damage natural stone, and it is not appropriate for every grout type.
Special cases
Walls
On walls, gravity works against you. Mix grout slightly stiffer (within spec), load smaller amounts, and pack upward on a diagonal. Scrape excess early so it does not slump.
Small joints
For tight joints, a float with a crisp edge helps. The technique stays the same, but you will use slightly more pressure and more cross-hatching to fully pack the joint.
Textured or matte tile
This is where haze likes to hide. Your best defense is to remove as much as possible with the float before any sponge touches the tile. Keep wipe water clean and do not flood the surface.
After grouting
Protect the work while it cures
Fresh grout is not fully cured grout. Keep foot traffic, showers, and aggressive cleaning off it until the grout manufacturer says it is ready. If you are working on a floor, it can be worth staging the job so you always have a clean exit and you are not tiptoeing across green grout.
Sealing (when it applies)
Some cement grouts benefit from a sealer, and some modern grouts do not require it. Seal only if the grout manufacturer recommends it, and only after the grout has cured.
Quick FAQ
Do I really need 45 degrees?
You do not need a protractor, but yes, roughly 45 degrees matters because it balances packing pressure with control. Too flat and you just smear. Too upright and you can pull grout back out.
How hard should I press?
Hard enough to pack the joint fully and hear the float drag over the tile. If your wrists are doing all the work, shift your body and use your forearms and shoulders. Firm and steady beats frantic and forceful.
Should I wipe in circles?
Mostly straight, diagonal passes. Circles can overwork the grout and leave uneven joints. If you need a small circular motion on textured tile, keep it light and finish with a clean diagonal pass.
Can I grout the whole room at once?
You can, but I would not. Work in sections so you control set time and wipe windows. Consistency is what makes floors look professional.
Final tip
If you remember one thing, make it this: pack hard at about 45 degrees, then scrape clean before the sponge ever shows up. The float is where crisp, full joints are made. The sponge is just there to shape and clean up.
And if you do end up with a little haze, do not panic. Most of the time it is fixable. The goal is to stack the odds in your favor so your grout lines dry smooth, full, and clean the first time.