A practical, DIY-focused breakdown of LVP versus laminate, including waterproof claims, wear layers, subfloor prep, comfort, and where each option makes the ...
The Grout Nest
Updated October 17, 2026
Repair Water Damage and Bubbling in Laminate Flooring
Learn how to assess laminate water damage, dry the subfloor correctly, and replace swollen planks without tearing out the whole floor.

Ben Mitchell
Ben Mitchell is a former professional tile setter and passionate home renovator with over 12 years of experience in the flooring industry. After stepping away from commercial contracting, he founded Grout Nest to empower everyday homeowners to tackle their own flooring, tile, and backsplash projects with confidence. He believes that with the right tools, proper prep work, and a little patience, anyone can achieve a professional-grade finish.
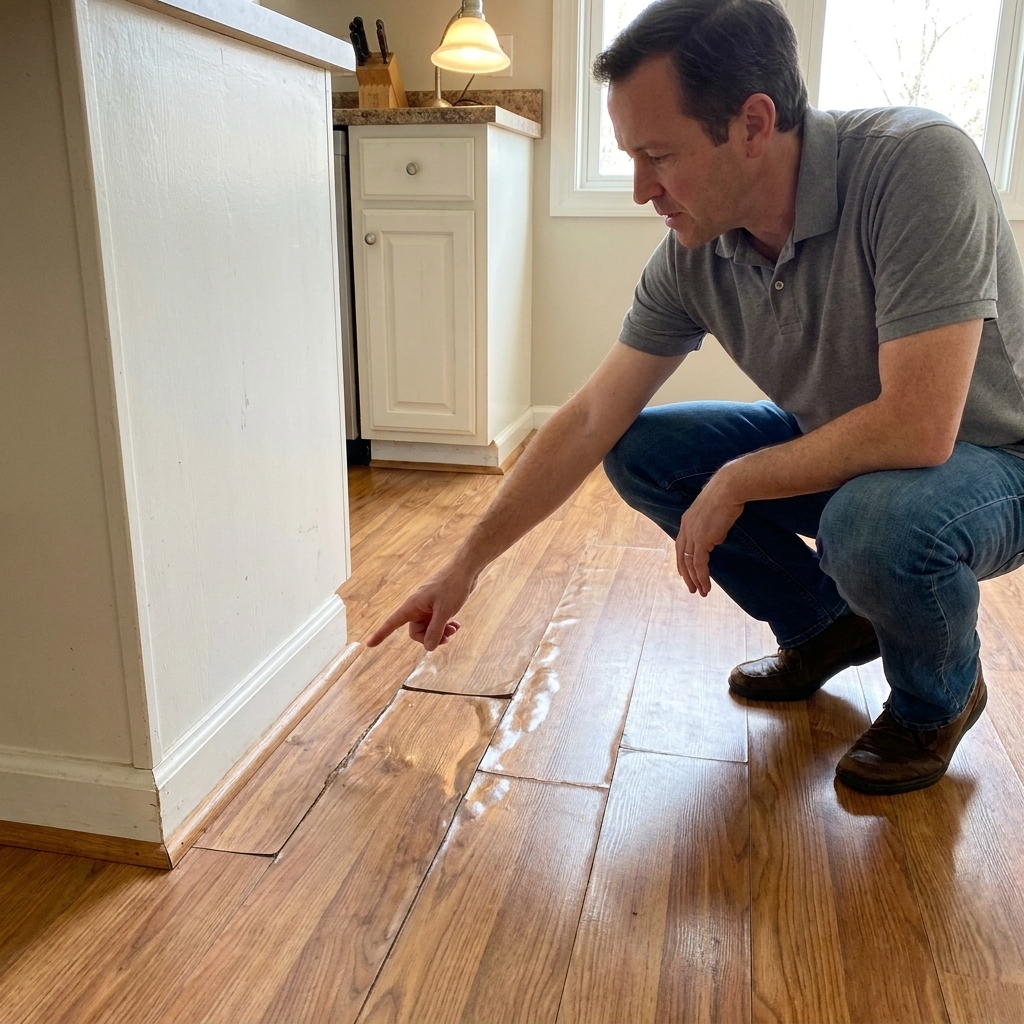
If you have laminate that suddenly feels puffy, sounds crunchy, or looks like it has a blister, it is usually telling you one thing: moisture got where it should not. The good news is you do not always need a full floor replacement. If the spill was caught early, the damage is isolated, and the subfloor is still solid, you can often dry things out and swap a few planks with results that look surprisingly clean.
I spent years setting floors commercially, and I still think laminate water damage is one of the most fixable problems for DIYers, as long as you are honest about what you are seeing and you do the unglamorous part first: drying and prep. Prep work is 90% of the job, and water damage repair is basically prep work with a fan.
Before you start
- Clear the area: Move furniture and rugs so you can work without dragging grit across the surface.
- Pop registers carefully: Floor vents can hide swollen edges and give you a peek at the underlayment.
- Figure out the install direction: Laminate unclicks easiest in reverse of how it was laid. Look at end joints to see which direction rows were assembled.
- Know what trim you can leave: In many rooms you can remove quarter round and leave baseboards, but if the baseboard is heavily caulked, expect some touch-up.
- If the leak is big, document it: For dishwasher supply line failures or hidden leaks, photos and notes are helpful for insurance and for any mitigation company you bring in.
Stop the moisture
Before you touch a single plank, make sure the moisture source is truly handled. Otherwise you are just reinstalling laminate onto a problem that will come right back.
- Dishwasher, fridge, sink, toilet, tub: Pull the toe-kick or access panel and look for slow leaks. Check supply lines, shutoffs, drain traps, and the dishwasher inlet.
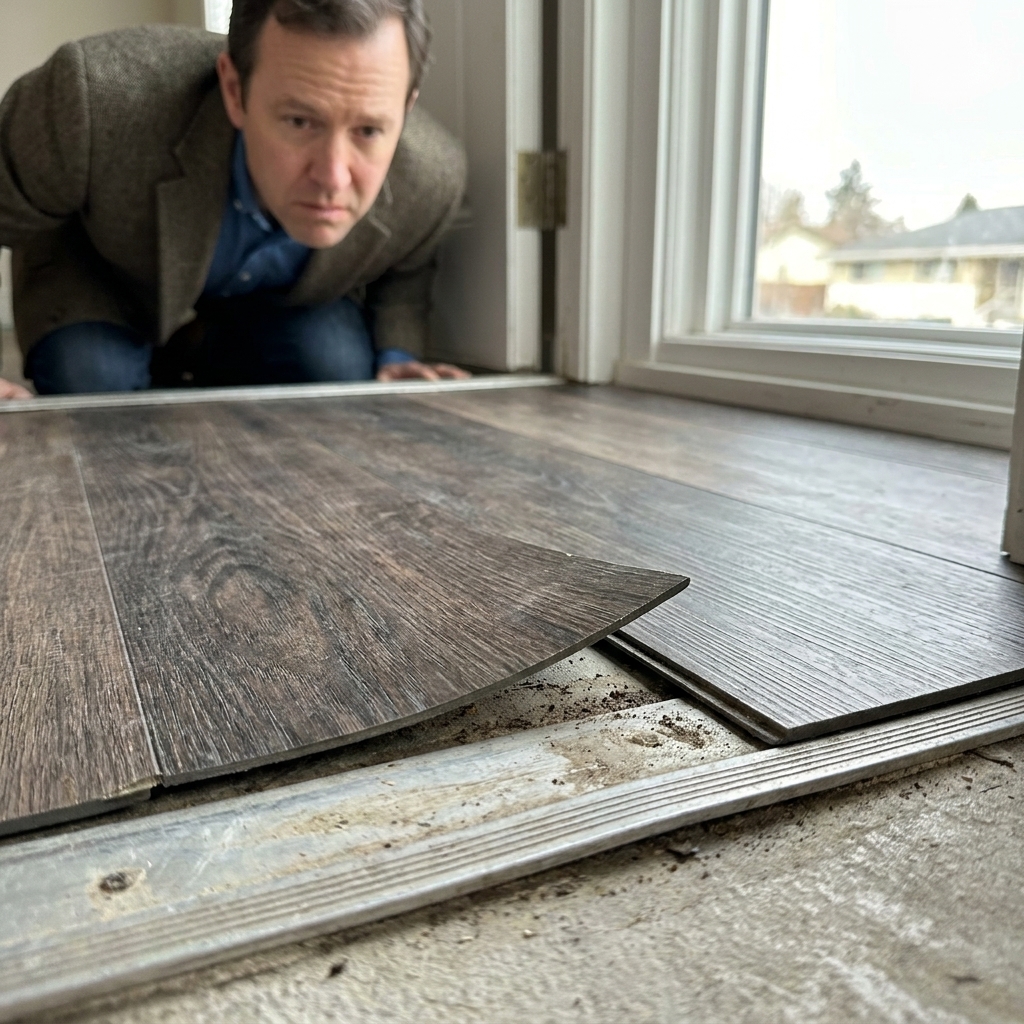
- Exterior door or sliding door: Look for a torn threshold seal, clogged weep holes, or water tracking under the sill after rain.
- Wet mop habits: Laminate does not like “clean” that includes standing water. Switch to a damp microfiber method and a laminate-safe cleaner.
- Humid basement or slab: If this is a chronic moisture issue, minor repairs will not hold up without addressing vapor. You may need a dehumidifier, improved drainage, or a different flooring system.
If you cannot confidently identify the source, pause and find it. The repair is the easy part. The repeat leak is what ruins floors.
Assess the severity
Laminate fails in a few predictable ways. Your job is to figure out whether you are dealing with a surface issue, an isolated plank issue, or a subfloor issue.
Signs you can usually fix
- Bubbling or slight tenting limited to a small area (a few planks).
- Edges are swollen but the board is not crumbling or flaking apart.
- No musty odor and no visible mold when you peek under baseboard or a vent.
- Subfloor feels firm with no spongy give when you step near the damage.
Red flags
- Widespread buckling across a room or along a long wall.
- Swelling that returns after drying. That usually means the core is compromised or moisture is still present.
- Soft subfloor or black staining that suggests rot or mold.
- Contaminated water: If the water involved toilet waste or sewer backup (black water), this is not a dry it out and move on situation. Remove and disinfect properly and replace affected materials. A clean supply line leak at a toilet is a different story, but it still needs thorough drying.
Here is my simple rule: if the subfloor is damaged, the laminate is not the main problem. Fix the structure first, then rebuild the floor properly.
Tools and materials
- Box fan and, ideally, a dehumidifier
- Oscillating multi-tool or jamb saw (helpful for baseboards and door jambs)
- Pry bar, putty knife, and a small trim puller
- Tapping block, pull bar, spacers
- Utility knife, straightedge
- Moisture meter (pin or pinless). Optional, but it takes the guessing out.
- Replacement laminate planks (matching brand and line if possible)
- Underlayment (only if yours tears, is soaked, or smells musty)
- Painter’s tape and bags for fasteners
If you do not have extra planks, check:
- Closet floors (sometimes the same laminate was installed there and you can harvest boards)
- Leftover boxes in the garage or attic
- The original order invoice to match product name and thickness
Mixing laminate lines is the fastest route to uneven locking joints and lippage. Thickness and click profile matter.
One warranty note: Some laminate has an attached pad or requires a specific underlayment to meet sound and moisture specs. Follow the manufacturer’s requirements so you do not create a failure or void a warranty.
Dry it out
If the laminate is bubbled, the core has likely absorbed water. Those particular planks may never flatten back to normal. But drying still matters because it protects the subfloor and helps prevent odor and mold.
Step 1: Get airflow to the wet zone
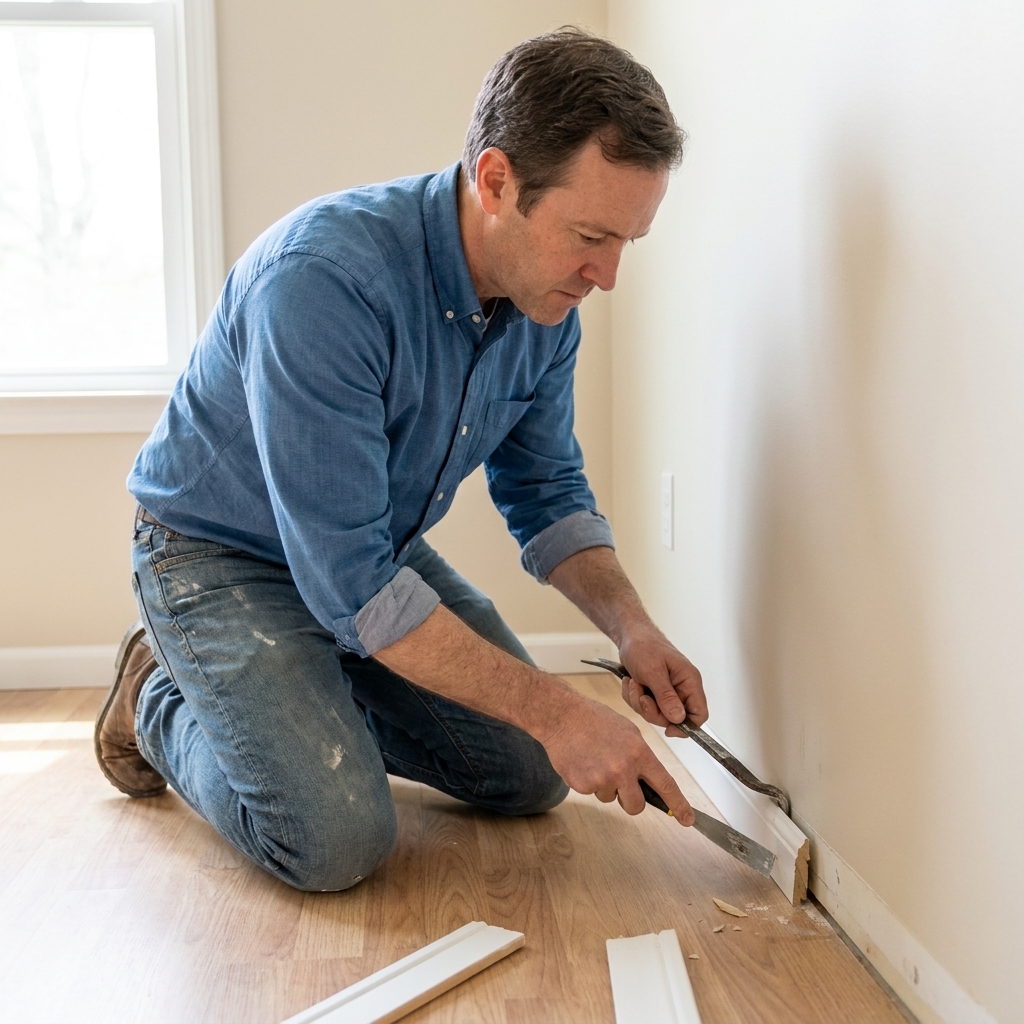
If the water event is recent and the boards are only slightly raised, start by removing any quarter round or shoe molding along the closest wall. That creates a small air path at the expansion gap and sometimes helps moisture escape.
If the water was significant or you suspect moisture is trapped under the underlayment, plan on pulling boards until you can expose the wet underlayment and subfloor.
Step 2: Remove planks to expose wet underlayment
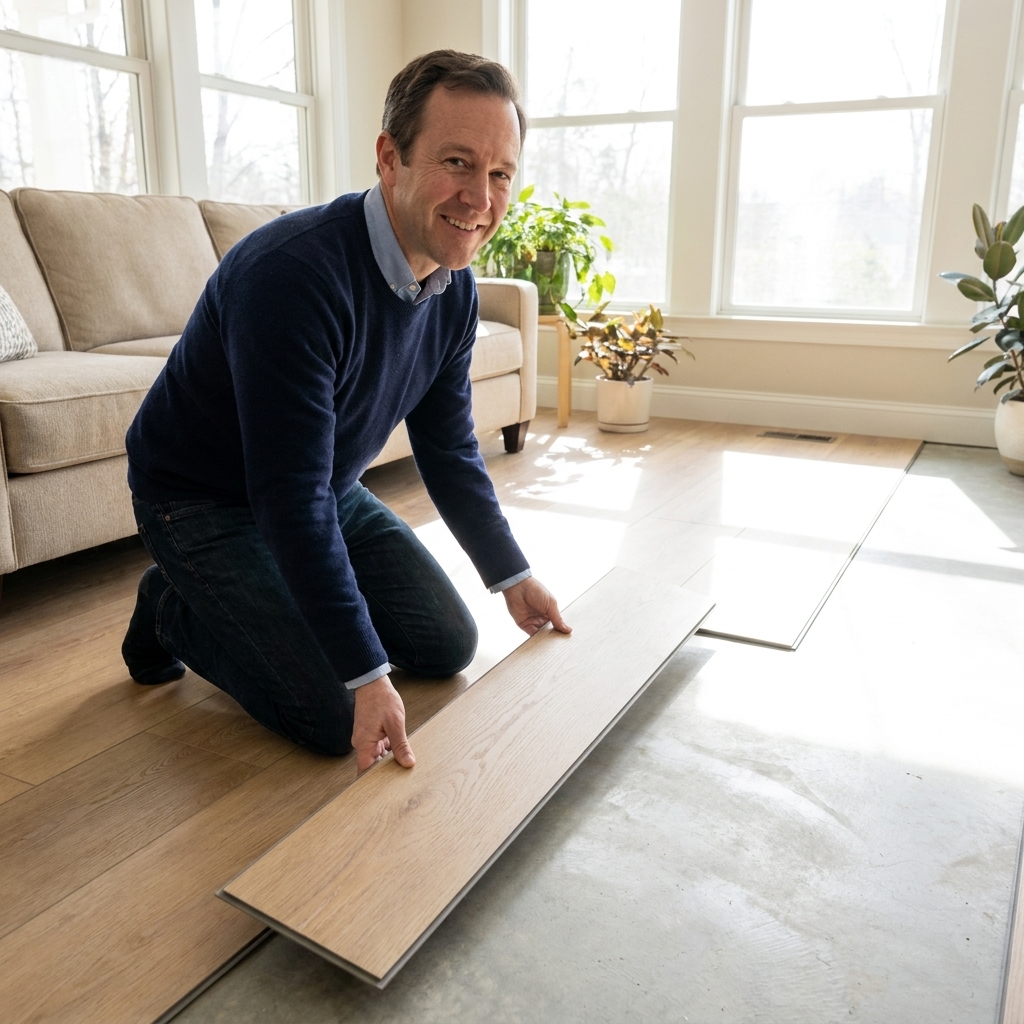
Laminate is a floating floor. That is good news. Most of the time, the cleanest repair is to unclick planks back from the nearest wall until you reach the damaged area.
- Remove baseboard or, more commonly, quarter round.
- Pull the first row carefully. Work in reverse of the install direction.
- Stack planks in order as you remove them. I like making small piles and labeling them by row with painter’s tape so reassembly is painless.
If you cannot access from a nearby wall without pulling a lot of flooring, skip ahead to the section on surgical plank replacement. It is doable, just a little fussier.
Step 3: Dry the subfloor until it is truly dry
Peel back and discard any underlayment that is soaked, delaminated, or smells musty. Then dry the subfloor aggressively:
- Run a fan across the exposed area, not straight down into it.
- Run a dehumidifier in the room with doors closed if possible.
- If the subfloor is plywood or OSB, give it time. A looks dry surface can still be wet below.
Moisture meter target: You want the wet area to be close to the surrounding baseline. In many homes, wood subfloors often land somewhere around the high single digits to mid teens for moisture content depending on climate and season, but your best number is whatever the rest of your subfloor is reading. Also note: pin meters and pinless meters can read differently, and OSB can behave differently than plywood. The goal is consistency, not chasing a magic percentage.
Reality check: If you reinstall laminate over a damp subfloor, you are building a little science experiment. The floor might look fine for a week, then the boards swell again and you are right back here.
Fix pinched floors
Not every bubble is from a big spill. Sometimes laminate tents because it cannot expand.
Check expansion gaps
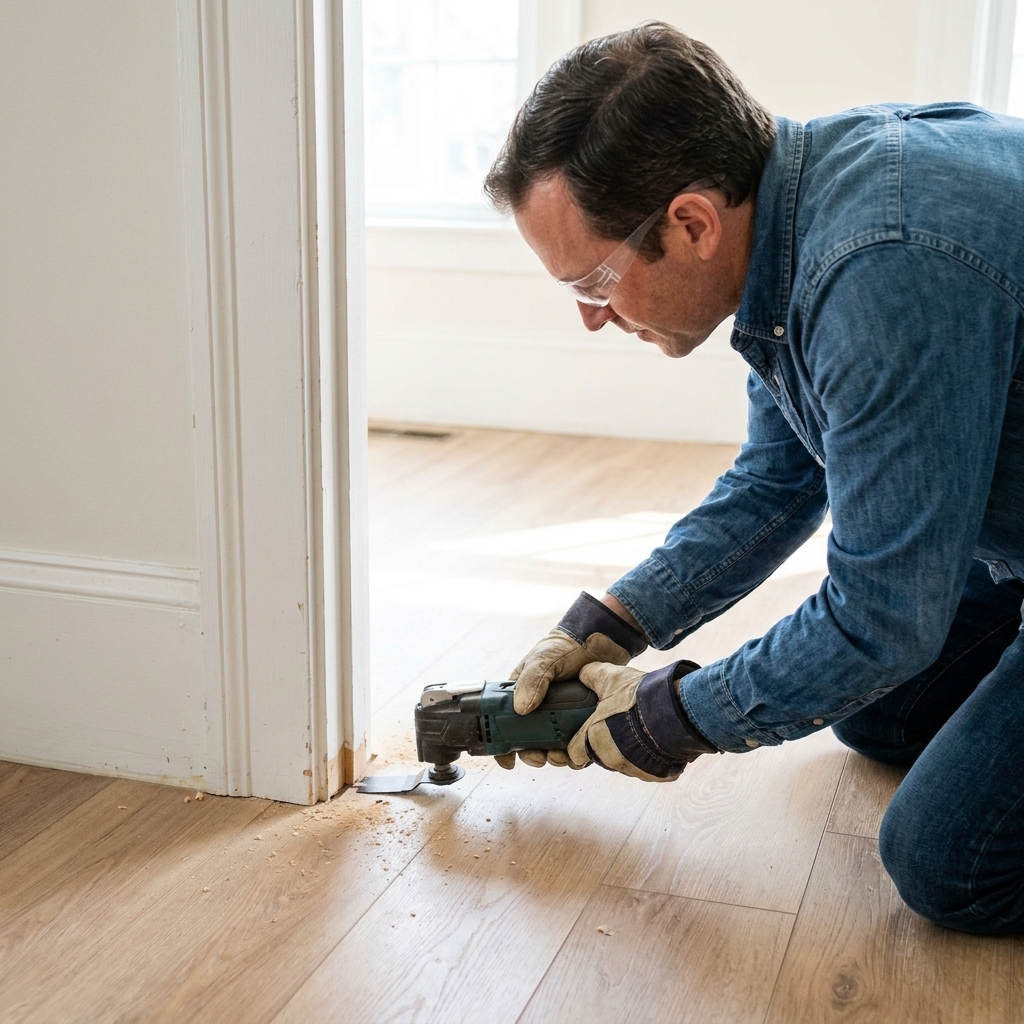
Laminate needs room to move around the perimeter. If the floor is tight to the drywall, cabinets, or a metal threshold, seasonal expansion can cause buckling that looks like water damage.
- Look along the wall where the bubble peaks. Remove trim and check for a visible gap.
- If boards are jammed, trim them back slightly with an oscillating multi-tool or pull them and recut.
Check door jambs and transitions
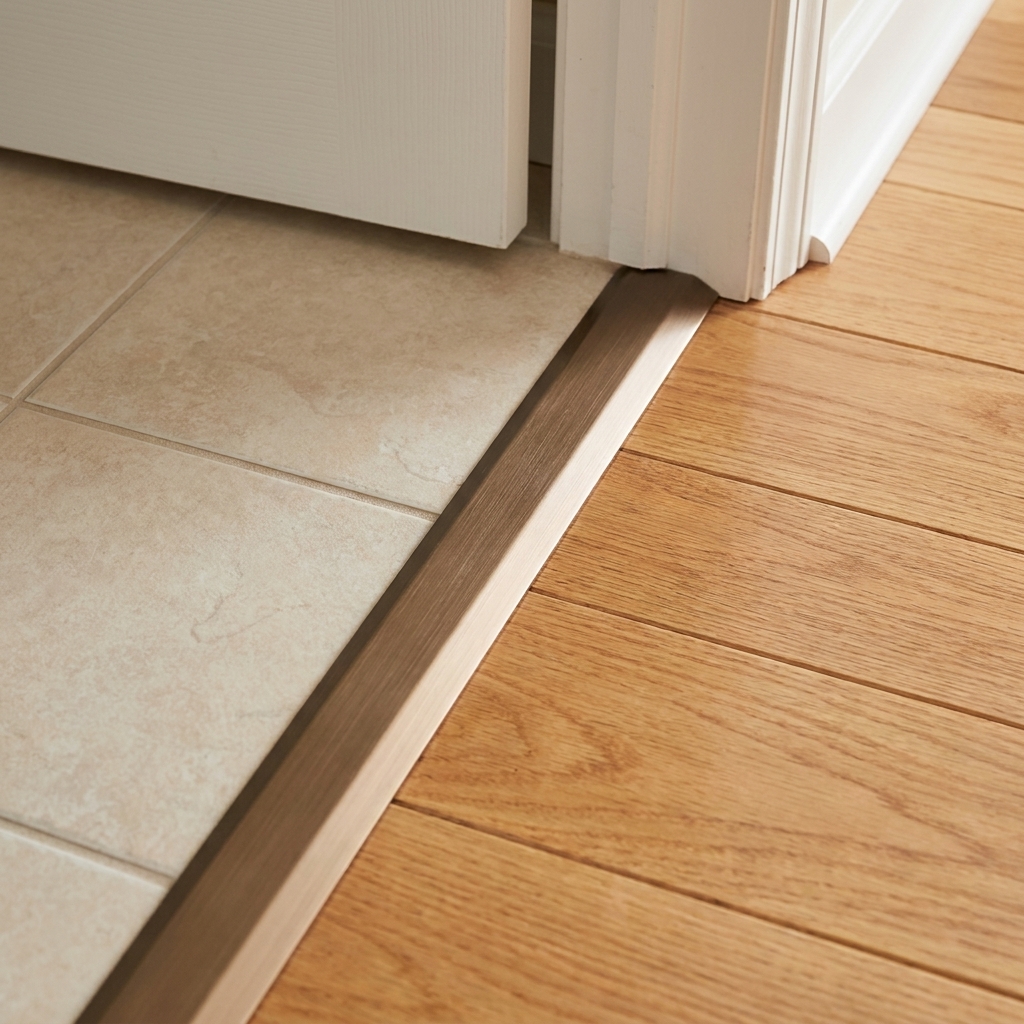
Door jambs sometimes get installed down onto the laminate, pinning it. Transition strips can also trap the floor if they were nailed through the laminate instead of into the subfloor beside it. Many systems use a track that is fastened to the subfloor, with the transition snapping into the track so the floating floor can still move.
Option A: Unclick and replace
This is my preferred method because it preserves the factory click joints.
Step-by-step
- 1) Remove trim: Quarter round first, then baseboard if needed. Use a trim puller to avoid shredding drywall.
- 2) Unclick boards: Lift the long edge to disengage, then slide to free the short edge. Work slowly to avoid snapping tongues.
- 3) Remove damaged boards: Set aside. Swollen boards usually do not go back in nicely, so do not fight them.
- 4) Replace underlayment: Patch missing sections with the same thickness and type, if your floor uses a separate pad. Tape seams if your system calls for taped seams.
- 5) Install new planks: Click them in, maintaining the stagger pattern. Use a tapping block gently.
- 6) Reinstall trim: Nail trim to the wall, not the floor. The laminate must remain floating.
If a replacement plank feels like it almost clicks but will not seat, stop and check for debris in the groove or a slightly swollen neighboring plank edge. Clean the joint and try again.
Option B: Replace one plank
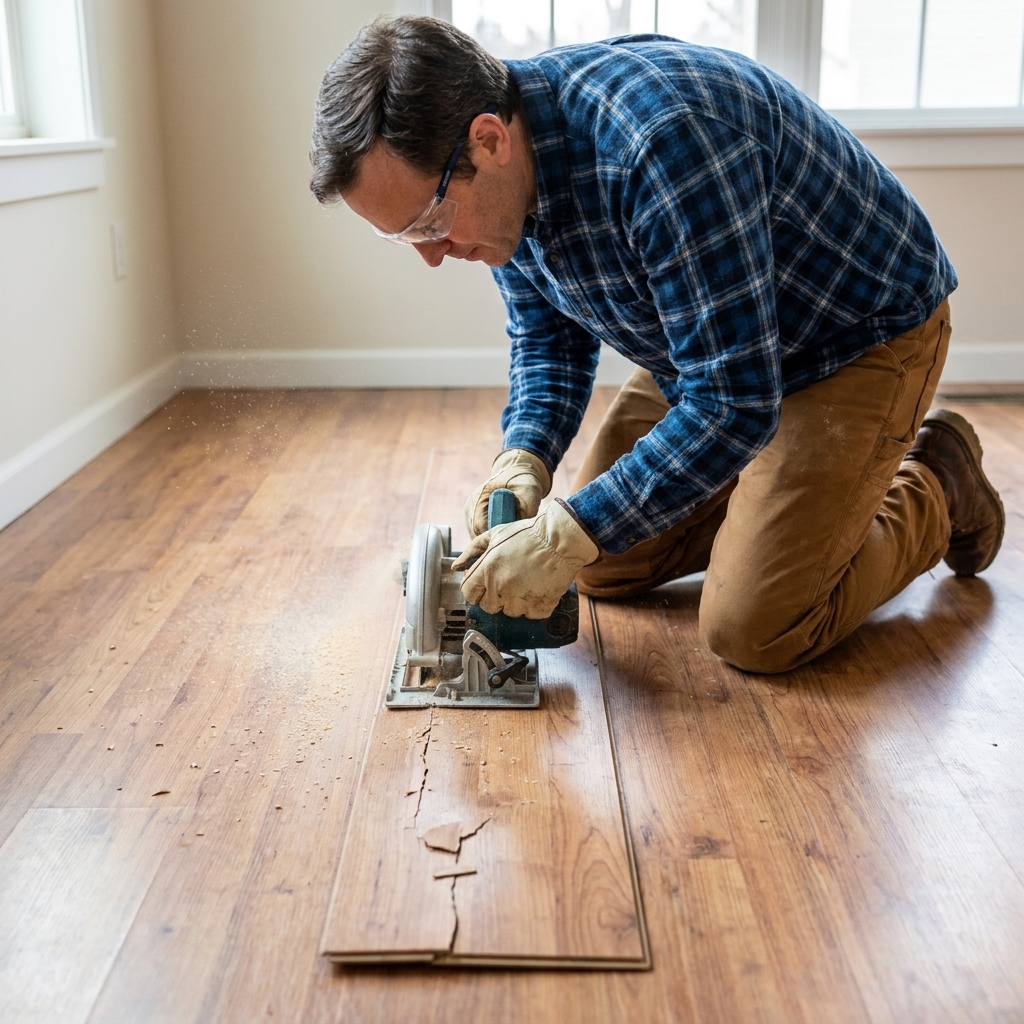
Sometimes the nearest wall is 18 rows away and you are not interested in pulling half the room apart. You can replace a plank in place by cutting it out and dropping in a new one. This works best for isolated damage, and it is also the method most people use when there is fixed cabinetry nearby.
Important: This technique sacrifices the mechanical lock on at least one edge. You will rely on glue at the joint, so be patient and precise.
Safety first
Wear eye and ear protection. Set blade depth carefully so you do not cut the subfloor. If you have radiant heat, plumbing, or wiring below, do not guess. Confirm what is under the floor before you cut.
How to do it
- 1) Mark the cut: Outline the damaged plank. Plan to cut inside the plank perimeter by about 1/2 inch so you do not nick adjacent boards.
- 2) Set blade depth: Use a circular saw set just deep enough to cut the laminate, not the subfloor. Test on a scrap if you have one.
- 3) Cut and remove: Make two lengthwise cuts and two diagonal cuts toward corners, then pry out the center pieces. Remove the remaining edges carefully with a chisel or oscillating tool.
- 4) Prep the replacement plank: Trim off the lower lip of the groove on the sides you need to drop in. Dry fit until it sits flush.
- 5) Glue the joints: Apply a thin bead of laminate or flooring glue to the groove. Set the plank in place and press firmly.
- 6) Weight it: Place a flat board and a stack of books for a few hours (or per glue instructions). Wipe squeeze-out immediately with a damp cloth.
If it looks better after drying
Minor edge swell sometimes relaxes a bit after drying, especially if water exposure was short. But laminate’s fiber core is like a sponge that never quite forgets.
Here is how I decide:
- If the seam is still proud and catches socks or reflects light as a ridge, replace the plank. It will be a dirt magnet and it can chip.
- If the click joint is compromised (you can see a gap that opens when you walk), replace it.
- If it is purely cosmetic and in a low-visibility area, you can live with it, but keep an eye on it for new swelling.
Subfloor checks
Check for mold and odor
If you see fuzzy growth, dark spotting that spreads beyond the spill zone, or you get a persistent musty smell, do not just cover it back up. Clean and remediate properly, and replace any compromised underlayment. If the mold is extensive, bring in a pro. Your floor is not worth your lungs.
Check for subfloor swell
OSB and particleboard are especially prone to swelling at seams. Run a straightedge across the area. If you feel a ridge at a subfloor seam, you may need to sand it flat after it fully dries. Do not sand wet wood. It gums up and you do not actually fix the hump.
Check fasteners and squeaks
After drying, tighten the subfloor if needed. A few well-placed screws into joists can eliminate squeaks before you close everything up. Just make sure you are not trapping plumbing or electrical below.
Prevent it next time
- Use mats wisely: Put a waterproof tray mat under pet bowls and a low-profile mat by exterior doors. Avoid thick rubber-backed mats that can trap moisture long-term.
- Upgrade supply lines: Braided stainless lines for sinks, toilets, and washing machines are cheap insurance.
- Keep humidity in check: In damp climates or basements, a dehumidifier protects floors more than any waterproof label does.
- Clean with restraint: A damp microfiber mop, not a soaking wet one. If you can wring water out, you used too much.
FAQ
Can I fix laminate bubbling without replacing planks?
Sometimes you can if the bubbling is from the floor being pinched (no expansion gap) or from a very brief moisture event. If the plank edges are swollen and the surface is crowned, replacement is usually the only true fix.
How long should I dry the subfloor before reinstalling?
There is no perfect clock because conditions vary. Dry until moisture readings are close to the surrounding subfloor, and the area is completely dry to the touch with no cool, damp feel. In a typical small spill with quick response, that might be 24 to 72 hours. Bigger leaks can take longer.
Do I need to replace the underlayment?
If it was soaked, compressed, moldy, or tearing when you lift planks, yes. Underlayment is cheap compared to doing the repair twice. If your laminate has an attached pad, follow the manufacturer’s repair guidance so you do not create soft spots or uneven seams.
What if my laminate is labeled waterproof?
Many waterproof laminates resist top-down spills for a limited time, but standing water can still find seams, and moisture from below is a different problem entirely. Treat the symptoms the same: stop the source, dry thoroughly, and replace compromised boards.
Will my replacement planks match?
If you have leftovers from the original install, usually yes. If you buy new later, dye lots and wear can create slight differences. Pulling boards from a closet for the repair area and putting the new boards in the closet is a classic trick.
When to call a pro
I love DIY, but I love not wasting your weekends even more. Bring in help if:
- The subfloor is soft, crumbling, or visibly rotted.
- You suspect a long-term leak inside a wall or under a slab.
- There is sewage or other contaminated water involved.
- The buckling spans a large area and you cannot find the cause.
For the typical dishwasher drip you noticed late or a dog bowl splash zone, you can absolutely handle this with patience, careful disassembly, and thorough drying. Take your time, keep your planks organized, and remember: the floor is floating. Let it float.