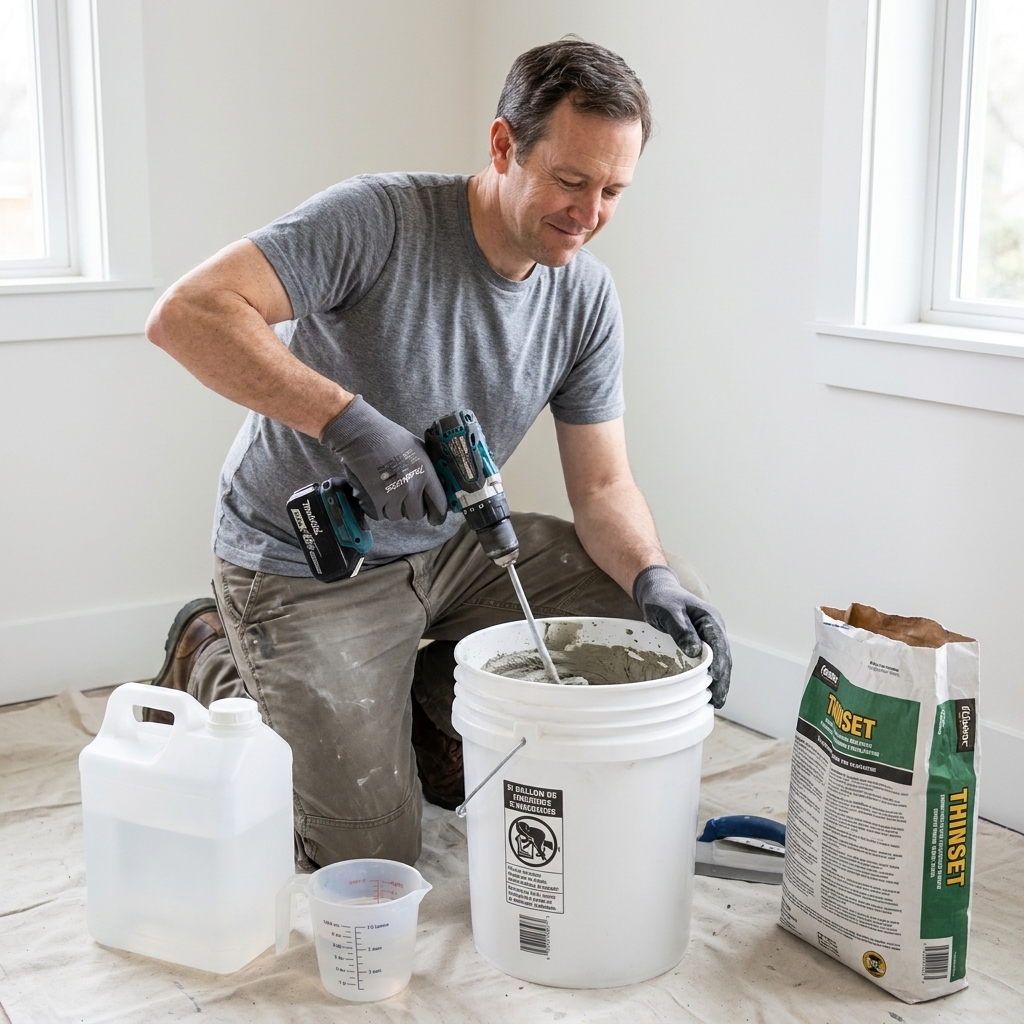
Step-by-step mixing instructions for cement-based thinset and grout using a paddle and drill, plus pro techniques to keep it workable longer and easy to spread.
The Grout Nest
Updated October 17, 2026
Tile Trowel Sizes Explained
Square-notch, U-notch, or V-notch? Learn how to choose the right trowel size for your tile so you get proper thinset coverage, fewer hollow spots, and a flatter install.

Ben Mitchell
Ben Mitchell is a former professional tile setter and passionate home renovator with over 12 years of experience in the flooring industry. After stepping away from commercial contracting, he founded Grout Nest to empower everyday homeowners to tackle their own flooring, tile, and backsplash projects with confidence. He believes that with the right tools, proper prep work, and a little patience, anyone can achieve a professional-grade finish.
If I had a dollar for every time I heard “I grabbed a 1/4 inch trowel because that’s what the store had,” I could buy enough thinset to tile my whole 1970s fixer-upper again. Trowel size is one of those boring details that decides whether your tile job feels rock solid for decades or starts sounding hollow after one winter.
This guide is here to make trowels simple. You’ll learn what square-notch, U-notch, and V-notch really do, which sizes match common tile dimensions, and how to verify coverage so you are not guessing. Because my mantra still holds: prep work is 90% of the job, and yes, picking the right notch counts as prep.
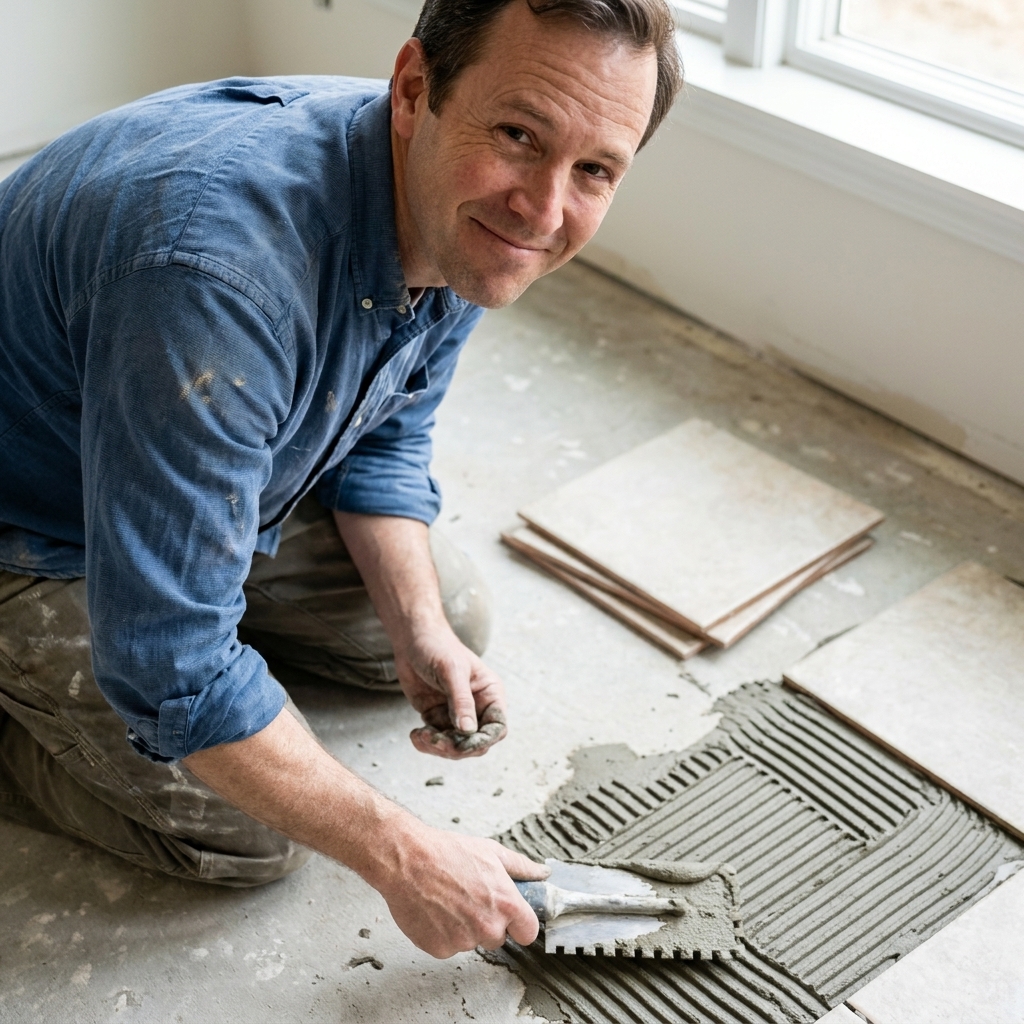
What trowel size controls
Your notch choice determines how much mortar (thinset) is left on the surface after you comb it. More mortar can help you:
- Get proper coverage (especially important on floors and wet areas).
- Make up small surface irregularities in the substrate and tile backs.
- Prevent voids that can lead to cracked tile or loose corners.
But bigger is not automatically better. Too much mortar can cause:
- Excess squeeze-out into grout joints (future-you will hate scraping it out).
- Lippage (one tile edge sitting higher than the next).
- Tiles sinking or shifting as you work.
The goal is simple: enough mortar to fully support the tile with the correct coverage, without turning your joints into a thinset parking lot.
Notch types
Square-notch trowels
This is the workhorse for most tile installs. Square notches leave tall, blocky ridges that collapse well under typical tile pressure and give predictable coverage.
- Best for: Most floor tile, most wall tile, porcelain, ceramic, many natural stone installs.
- Why DIYers like them: They are forgiving. You can usually “dial in” coverage with your technique.
U-notch trowels
U-notches leave rounded ridges. They can collapse smoothly and often help when you want good coverage without quite as much mortar buildup as a comparable square notch. (Notch geometry varies by brand, so the coverage check still wins the argument.)
- Best for: Large format wall tile, some floors, tiles with shallow lug patterns, and situations where you want a touch less mortar buildup.
- Reality check: Plenty of pros use square-notch for almost everything. U-notch is helpful, not mandatory.
V-notch trowels
V-notches leave smaller, sharper ridges. These are usually for thinner materials or small mosaics where a bigger notch would ooze up between joints.
- Best for: Mosaics (especially tight grout joints), small wall tile, and certain adhesive applications.
- Common DIY win: You avoid spending the afternoon digging thinset out of 1/8 inch mosaic joints with a utility knife. Ask me how I know.

Coverage targets
The “right” trowel is the one that helps you hit industry coverage guidance after the tile is pressed in and ridges are collapsed. Per common ANSI A108 and TCNA recommendations (and always defer to your mortar and tile manufacturer requirements):
- Dry interior walls: typically aim for at least 80% coverage.
- Floors, showers, exterior, and wet areas: aim for at least 95% coverage.
- Natural stone: treat it like a high-coverage install. Stone does not forgive voids.
Important: Coverage is not just “thinset touched the tile.” You want continuous support with no large voids, especially at corners and edges. A common spec you will hear is no voids larger than about 2 square inches in required-coverage areas, and you especially do not want empty corners.
If you remember one thing: pull up a tile early and check coverage. Guessing is how DIY tile jobs get haunted.
Trowel size chart
Thinset brand, substrate flatness, tile warpage, and tile back texture all change the answer. Use this as a set of starting points, then prove it with a coverage check.
Small wall tile and mosaics
- Mosaics (1x1 to 2x2) on mesh: 3/16 x 5/32 V-notch or 1/8 x 1/8 square-notch
- 3x6 subway tile (flat walls): 1/4 x 1/4 square-notch (or 1/4 x 3/16 V-notch if joints are tight and squeeze-out is a concern). Wall flatness and tile-back patterns can push this up or down.
- 4x4 wall tile: 1/4 x 1/4 square-notch
Mid-size tile
- 6x6 to 8x8: 1/4 x 1/4 square-notch
- 12x12: 1/4 x 3/8 square-notch (often great on floors)
- 12x24 on walls (flat, plumb substrate): 1/4 x 3/8 square-notch or a comparable U-notch
Large format tile
- Large format floors (15x15, 18x18): 1/2 x 1/2 square-notch is common, especially if you are chasing 95% coverage
- 12x24 floors (very common): 1/2 x 1/2 square-notch is a very common starting point, but on a truly flat floor some installers can hit coverage with 1/4 x 3/8 plus back-buttering. The tile and the coverage check decide.
- 24x24 and bigger: 1/2 x 1/2 square-notch or larger, plus careful substrate flattening and consistent back-buttering
Quick sanity check: If you set a tile and you are getting full collapse with great coverage but thinset is blasting up into every joint, your notch is likely too big or your angle and pressure are too aggressive.
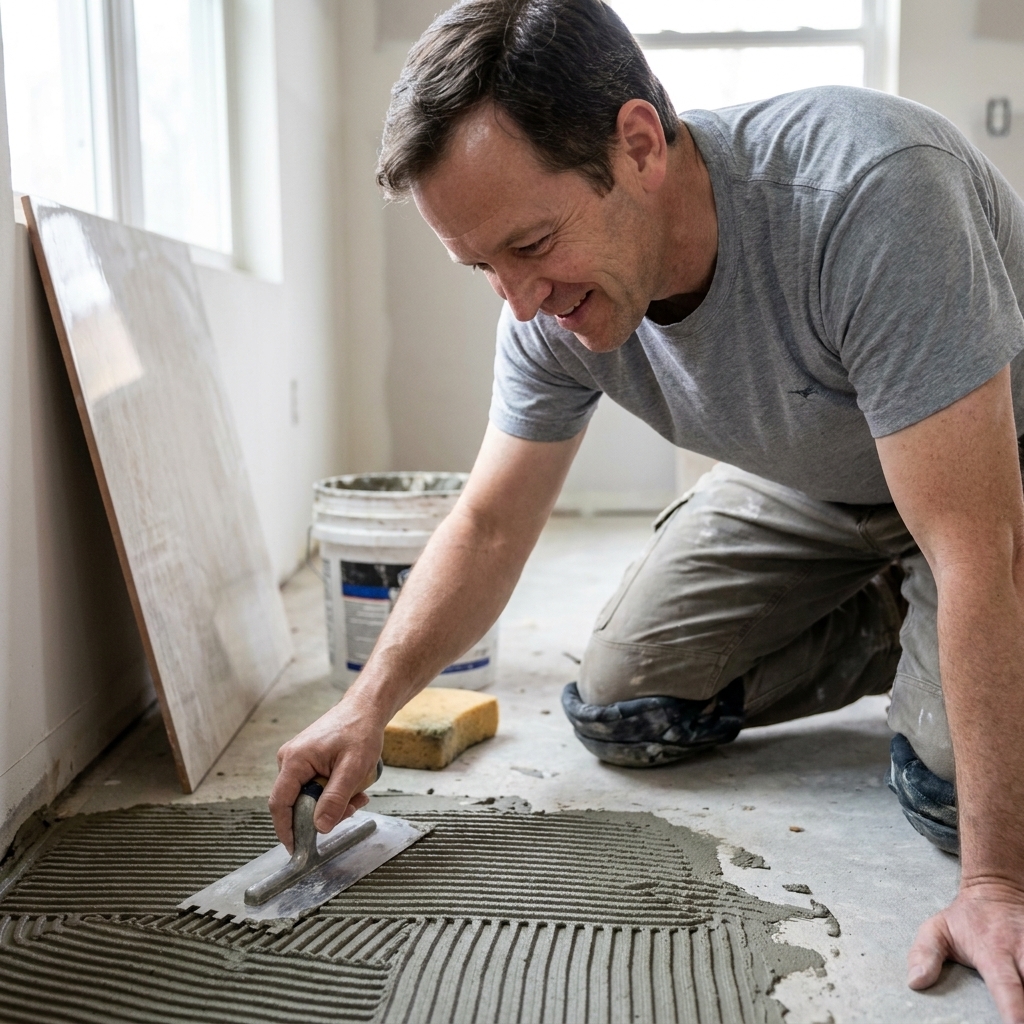
What changes your choice
1) How flat your substrate is
Tile does not bend to hide a wavy floor. If your floor has dips or your wall has a belly, you either flatten it first (best) or you end up trying to “fix” it with more thinset (risky).
Rule I live by: choose the trowel for coverage, not for leveling. If you need leveling, flatten the surface with patch, self-leveler, or proper wall prep.
2) Tile back texture and warpage
Some porcelain has deep grooves on the back that need more mortar to fill. Some large format tiles have slight warpage, especially on long planks. Both can push you toward a larger notch and back-buttering.
3) Mortar and technique
Thinset consistency and trowel angle matter more than most people realize. A 1/4 x 3/8 trowel held at a low angle leaves way less mortar than the same trowel held near vertical.
- More mortar: steeper trowel angle, firmer pressure, slower combing.
- Less mortar: lower trowel angle, lighter pressure.
Quick mortar note: Modified vs unmodified, and what you can use over membranes, depends on the substrate and the manufacturer. Do not freestyle this part. Match the mortar to your tile, your surface, and the product instructions. For large format tile, use a mortar rated for it when required.
One more reality check: Tile leveling systems can help manage lippage, but they do not replace a flat substrate or proper coverage. They clamp tile faces, not air pockets.
How to confirm your notch
This is the part that separates “looks good” from “stays good.” Do this within the first few tiles.
Step 1: Burn in, then comb
Key in a thin layer of mortar into the substrate with the flat side of your trowel, then comb with the notched side. When you comb, do it in straight, parallel lines, not swirls. Keeping ridges directional makes it easier for air to escape when you bed the tile.
Step 2: Set and slide
Set the tile, then move it slightly perpendicular to the ridges (a small wiggle or slide). That collapses ridges and boosts coverage.
Step 3: Pull one tile
Lift it and look at both surfaces.
- Good: ridges are flattened, coverage is continuous, corners are supported.
- Not enough: you still see distinct ridges and lots of bare spots.
- Too much: thinset floods joints and leaves thick buildup everywhere.
Step 4: Adjust
- If coverage is low: increase notch size, increase trowel angle, or back-butter.
- If coverage is high but messy: reduce notch size, lower your trowel angle, or ease up pressure.
I would rather you “waste” 5 minutes pulling up a tile now than waste a whole weekend fixing hollow spots later.
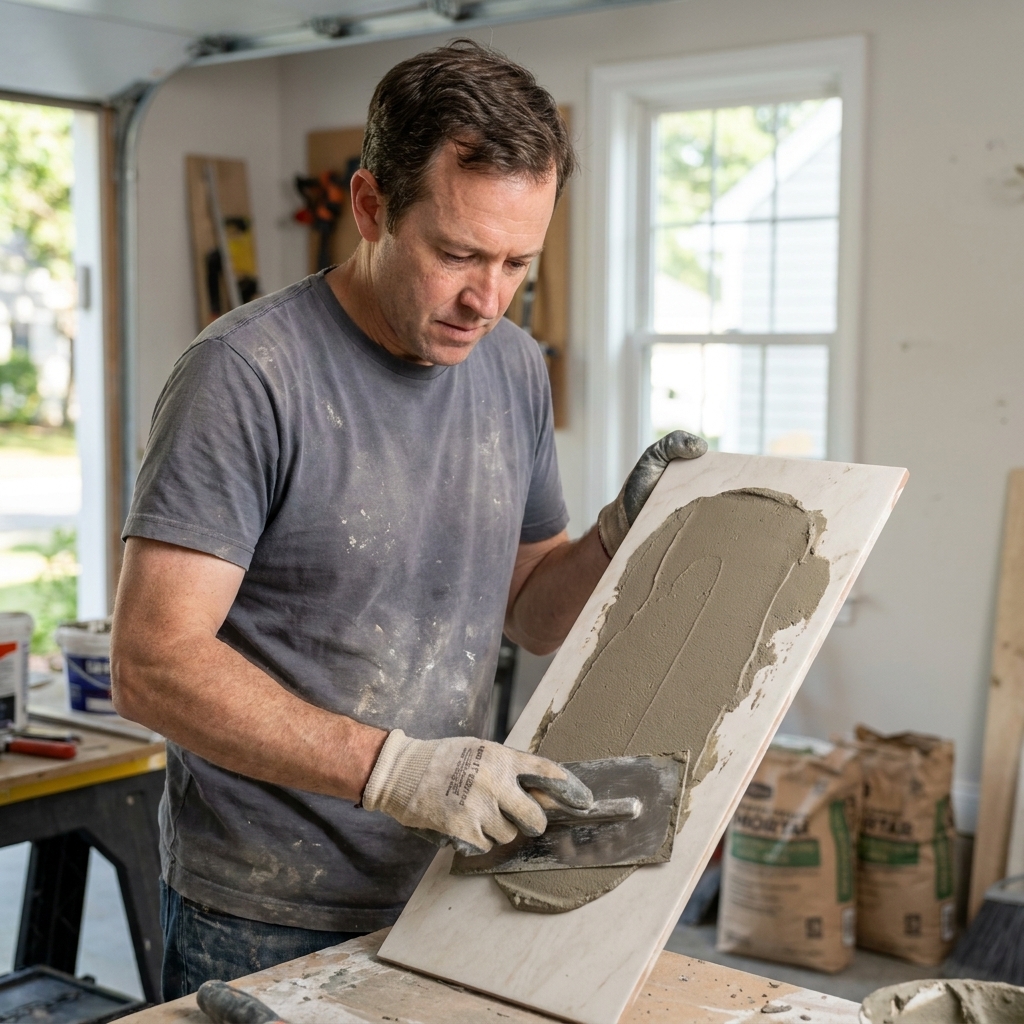
Back-buttering
Back-buttering means keying a thin layer of thinset into the back of the tile with the flat side of your trowel. You are not building a big blob. You are filling texture and improving bond.
Back-butter when:
- You are installing large format tile.
- You need 95% coverage (floors, showers, wet areas).
- The tile has deep patterns on the back.
- You pulled a test tile and saw voids, especially at edges and corners.
Back-buttering does not replace picking the right notch. Think of it as insurance: it helps the mortar grab the tile and fill the tile’s texture while your notched ridges handle the bulk of the bedding.
Common mistakes
Using a tiny notch to avoid mess
Yes, small notches reduce squeeze-out. They also reduce coverage. If you are tiling a floor or shower, you need support more than you need cleanliness. You can always clean joints. You cannot easily fix widespread voids under set tile.
Using a huge notch to “fix” an uneven floor
This is how lippage happens. Flatten first, then tile.
Skipping burn-in
Before you notch, use the flat side of your trowel to burn in a thin layer of mortar into the substrate. It improves bond and helps ridges stand up consistently.
Swirling ridges
Swirls make it harder to bed tile consistently and vent air as you press the tile in. Straight, parallel ridges are easier to collapse and easier to check.
Letting thinset skin over
If the mortar surface starts to dry before tile goes down, you lose bond. Work smaller areas, especially in warm or windy conditions.
My quick picks
- Mosaics: 3/16 x 5/32 V-notch
- Subway tile on a flat wall: 1/4 x 1/4 square-notch
- 12x12 floors: 1/4 x 3/8 square-notch
- 12x24 floors: start with 1/2 x 1/2 square-notch, then confirm coverage; back-butter as needed
- Shower walls (typical tile): usually 1/4 x 1/4 or 1/4 x 3/8 square-notch depending on tile size and wall flatness
If you are between sizes, I usually start with the smaller notch and do a coverage check. If coverage is low, I step up a notch size. That beats cleaning thinset out of every joint for the next two hours.
FAQ
What does “1/4 x 3/8 x 1/4” mean?
On many square-notch trowels, those numbers describe the notch width x depth x spacing. More depth usually means more mortar left behind, but brands vary. Use the numbers as a clue, not a guarantee, and confirm with a coverage check.
Can I use the same trowel for wall and floor tile?
Sometimes, yes. But floors usually need higher coverage and often larger notch sizes than walls. Also, large format floor tile commonly benefits from a 1/2 inch square-notch and back-buttering, which is overkill for many wall installs.
Do I need a special trowel for large format tile?
You do not need a “special” trowel, but you usually need a larger notch, a flatter substrate, and back-buttering. Also, choose a mortar rated for large format tile when appropriate, and follow the substrate or membrane manufacturer requirements.
Why are my grout joints full of thinset?
Common causes: notch too large, trowel held too steep, too much pressure while beating tiles in, or mortar mixed too loose. Try lowering your trowel angle, reducing pressure, or stepping down one notch size after verifying coverage is still adequate.
Is U-notch better than square-notch?
Not universally. U-notch can collapse smoothly and sometimes helps control mortar volume, but notch geometry varies and the real judge is coverage. If you are unsure, square-notch is the safest default for most DIY work.
Bottom line
Choosing the right trowel is not about memorizing a magic chart. It’s about using a sensible starting point, then proving it with a quick coverage check. Pick the notch that gives you the coverage you need, keep your ridges straight, back-butter when the situation calls for it, and you will end up with tile that feels like it grew there.
If Barnaby could stop trying to autograph fresh thinset with his paws, I’d call that a perfect day in the workshop. Until then, I’ll settle for perfect coverage.