A careful, step-by-step method to extract a broken floor tile, clean out old thinset, and set a new tile flush without damaging the neighbors.
The Grout Nest
Updated October 17, 2026
Tools and Techniques for Removing Old Tile and Thinset
Learn how to remove old tile and stubborn thinset without damaging your concrete slab or wood subfloor. Tool picks, safety gear, dust control, and step-by-step demo techniques for DIYers.

Ben Mitchell
Ben Mitchell is a former professional tile setter and passionate home renovator with over 12 years of experience in the flooring industry. After stepping away from commercial contracting, he founded Grout Nest to empower everyday homeowners to tackle their own flooring, tile, and backsplash projects with confidence. He believes that with the right tools, proper prep work, and a little patience, anyone can achieve a professional-grade finish.
If you have ever tried tearing out tile with the wrong tool, you already know the feeling: ten minutes of progress, two hours of regret, and one mystery gouge you swear wasn’t there before. Tile demolition is loud, dusty, and oddly satisfying, but it is also a place where it is easy to damage the surface you are trying to save.
The goal is simple: remove tile and thinset cleanly while leaving your concrete slab or wood subfloor flat and intact. That means picking the right tool for the job, keeping your angles shallow (think 10 to 20 degrees, not straight down), and knowing when to switch from brute force to finesse.
Safety and prep
Before you swing anything, set yourself up to win. Tile demo is basically a dust and shrapnel generator, and thinset dust is not something you want in your lungs.
- Respirator: N95 minimum, better if you have a half-mask respirator with P100 filters.
- Eye protection: sealed safety goggles beat basic glasses when chips start flying.
- Hearing protection: rotary hammers are loud enough to make “just a few minutes” a bad decision.
- Gloves and kneepads: you will thank yourself by hour one.
- Dust control: tape plastic over doorways, cover vents, and keep a shop vac running. If you have a vac with a HEPA filter, use it.
Last prep step that saves floors: remove baseboards and quarter round, then score caulk lines with a utility knife so you do not peel paint or drywall paper as you pry.
Tools that actually help
You can remove tile with a hammer and a prayer, but if you want to protect the substrate and your sanity, use tools designed to shear tile loose instead of punching through everything.
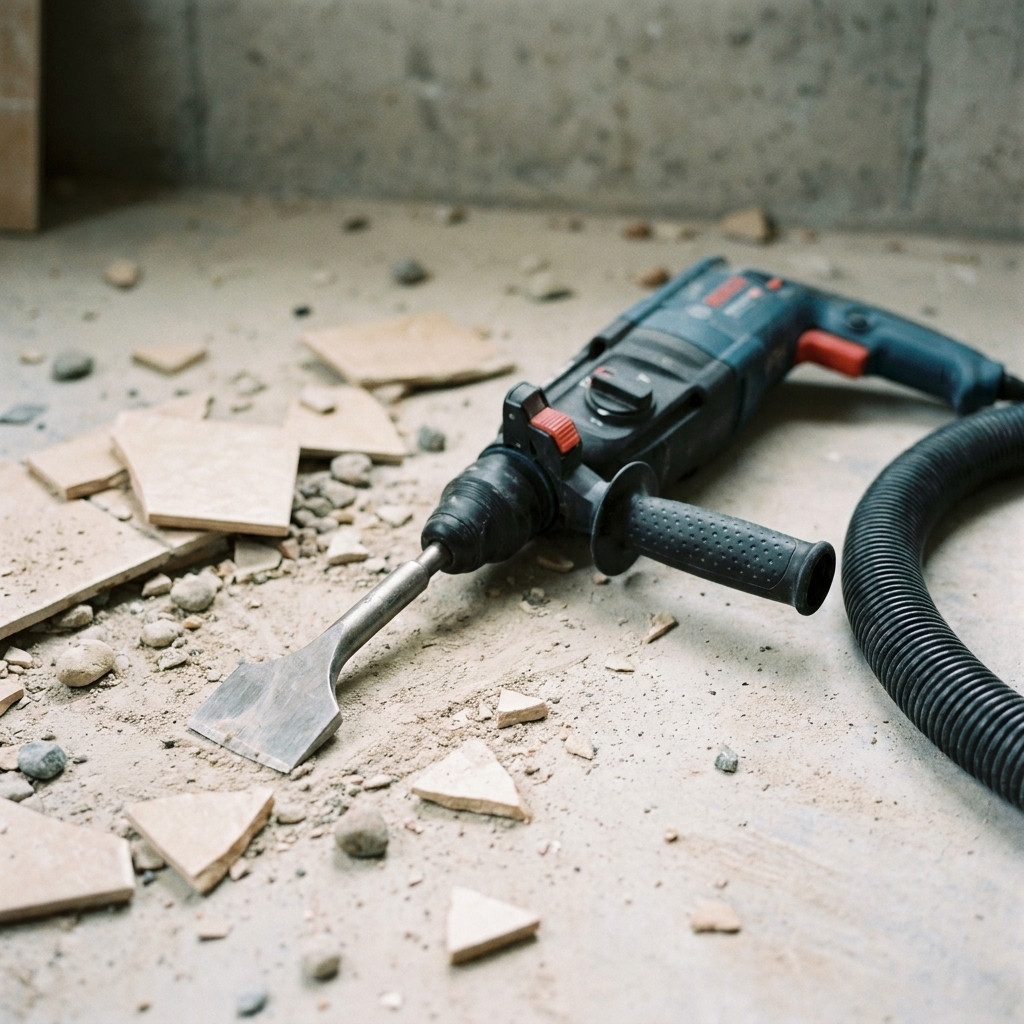
- Rotary hammer (SDS-plus) with a wide tile chisel: the workhorse for lifting tile on slab and stubborn installs. Use a wide, flat chisel for popping tile and a narrower chisel for tight edges.
- Long-handled floor scraper: great for tiles that are already loose, and for peeling thinset ridges without digging craters.
- Cold chisel and 2 to 3 lb hand sledge: for tight spots, edges, and when power tools feel too aggressive.
- Oscillating multi-tool: for cutting grout lines, undercutting door jambs, and freeing tiles near cabinets without collateral damage.
- Pry bar: useful, but it is also a subfloor-wrecking machine if you lever against the wrong spot. Use it gently, and only when you have an edge.
- Angle grinder with a diamond cup wheel (concrete only): the fastest way to flatten thinset on a slab, and the fastest way to fill a house with dust if you do not use a shroud and vacuum.
Step-by-step: remove the tile
1) Find a starting point
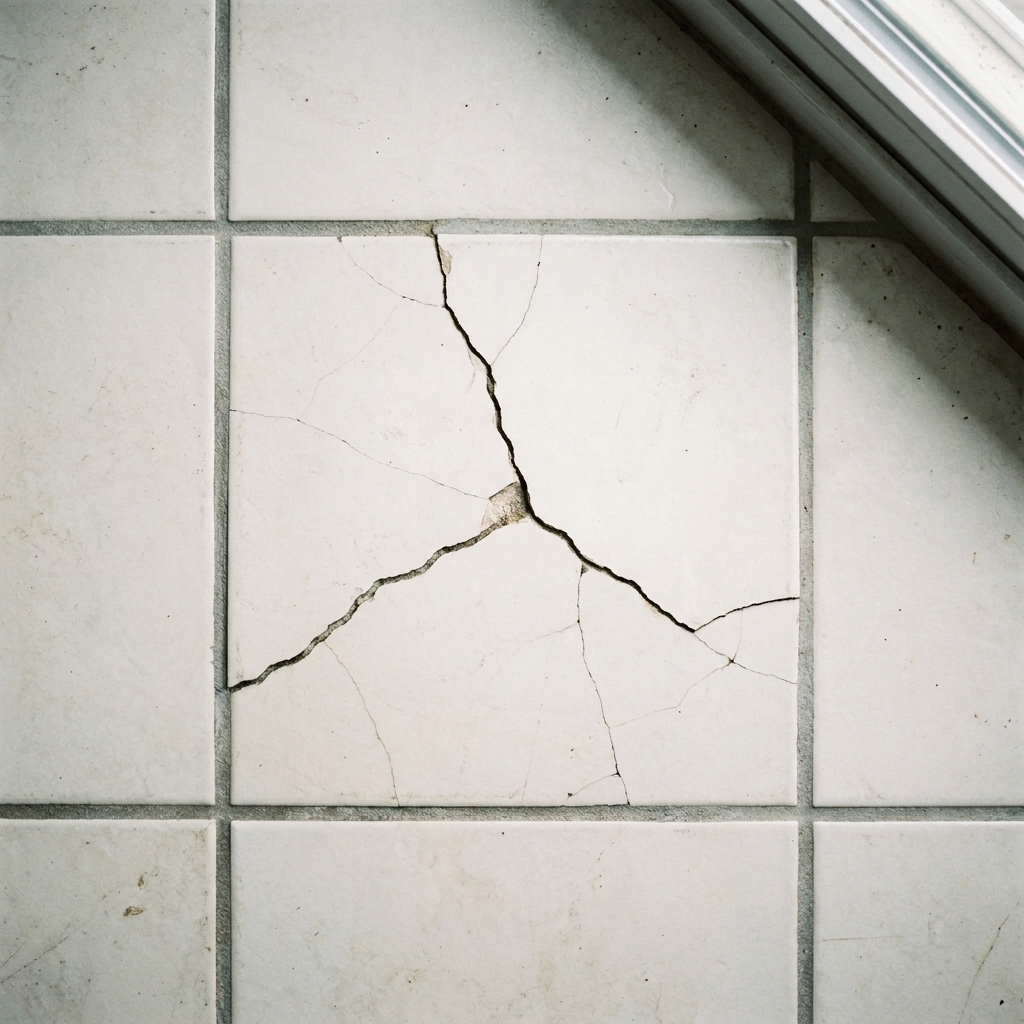
Look for a doorway transition, a floor register, a broken tile, or any exposed edge. If everything is locked in, sacrifice one tile in an inconspicuous spot. Score the grout around it with an oscillating tool, then break the tile with a hammer and chisel and clear a handhold.
2) Pop tiles with a shallow angle
Whether you are using a rotary hammer or a hand chisel, the idea is the same: get under the tile and shear it off. Keep the bit low and almost parallel to the floor. If you point down, you will chip concrete, chew plywood, or delaminate cement board.
Work in small sections. Clear debris as you go so you are not kneeling on sharp shards, and so you can see what the substrate is doing under the surface.
3) Watch what is coming up with the tile
This is your early warning system.
- Tile pops off cleanly: you are in the sweet spot. Keep going.
- Chunks of concrete come up: your angle is too steep, your bit is too narrow, or the slab has a weak top layer. Back off and switch to a wider blade or a scraper.
- Plywood splinters or layers peel: stop and reassess. You may be on a wood subfloor with an underlayment that is coming apart. Slow down, use hand tools, and avoid prying against the wood.
Step-by-step: remove thinset without wrecking the floor
After the tile is gone, you are not done. New flooring wants flat, not “mostly flat with some heroic ridges.” Pick the thinset removal method based on what is underneath.
Concrete slab
- Start with a floor scraper: shave off ridges and high spots. Keep the blade sharp and the angle low.
- For stubborn thinset: use the rotary hammer with a wide, flat chisel and skim the surface. Think of it like shaving, not chiseling.
- For full flattening: an angle grinder with a diamond cup wheel and a dust shroud connected to a vacuum is the fastest route. Take light passes and keep moving so you do not dig a low spot.
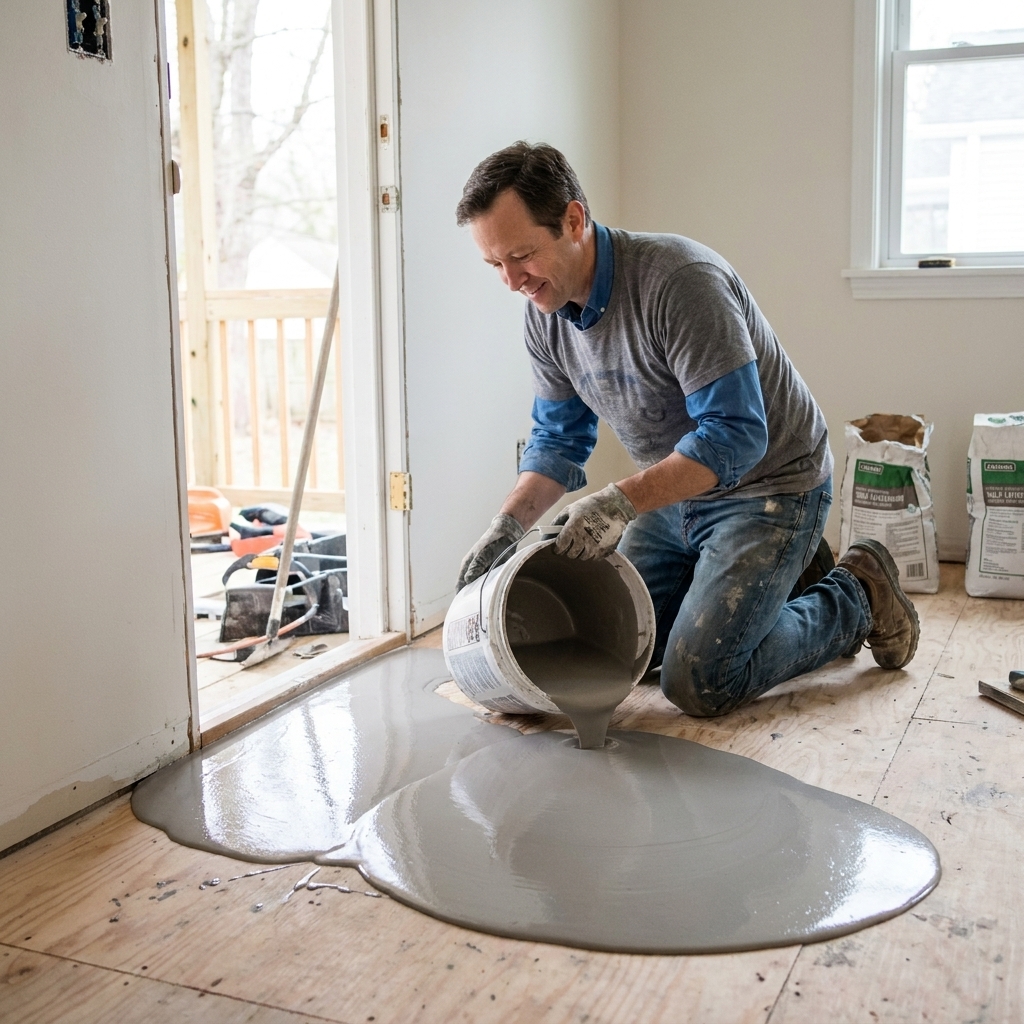
If you end up with small divots in the slab, do not panic. You can fill shallow imperfections later with a patching compound or a self-leveling underlayment, depending on what flooring is going down.
Wood subfloor
Wood is less forgiving than concrete. You are trying to remove thinset and underlayment remnants without gouging or delaminating the subfloor.
- Use a long-handled scraper first: it is slower than power tools, but it is much safer for wood.
- Go gentle with power: if you use a rotary hammer at all, keep it on a low setting with a very wide blade and stop the second you see wood fibers lifting.
- If thinset is bonded to cement board: consider removing the cement board layer instead of trying to grind it clean. Trying to “save” damaged cement board often wastes time and leaves a worse surface.
Dust control that makes a real difference
- Vacuum as you go: thinset dust is easiest to manage when it is not ankle-deep.
- Use a shroud when grinding: grinding without one turns your room into a dust globe.
- Wet methods with caution: a lightly misted surface can reduce dust on concrete, but avoid soaking. On wood subfloors, skip water entirely.
- Seal the work zone: plastic at doorways and covered vents keeps the rest of the house livable.
Quick do and don’t list
- Do keep the chisel low and wide to protect the substrate.
- Do switch tools when the floor starts taking damage.
- Do check flatness as you go with a straightedge so you catch high spots early.
- Don’t pry hard against plywood or you will buy yourself a subfloor repair.
- Don’t grind concrete without dust collection unless you enjoy cleaning dust from places dust should never be.
Tile removal is part tool choice, part technique, and part knowing when to slow down. Get under the tile, keep the angle shallow, and treat thinset like a flattening job, not a demolition contest.