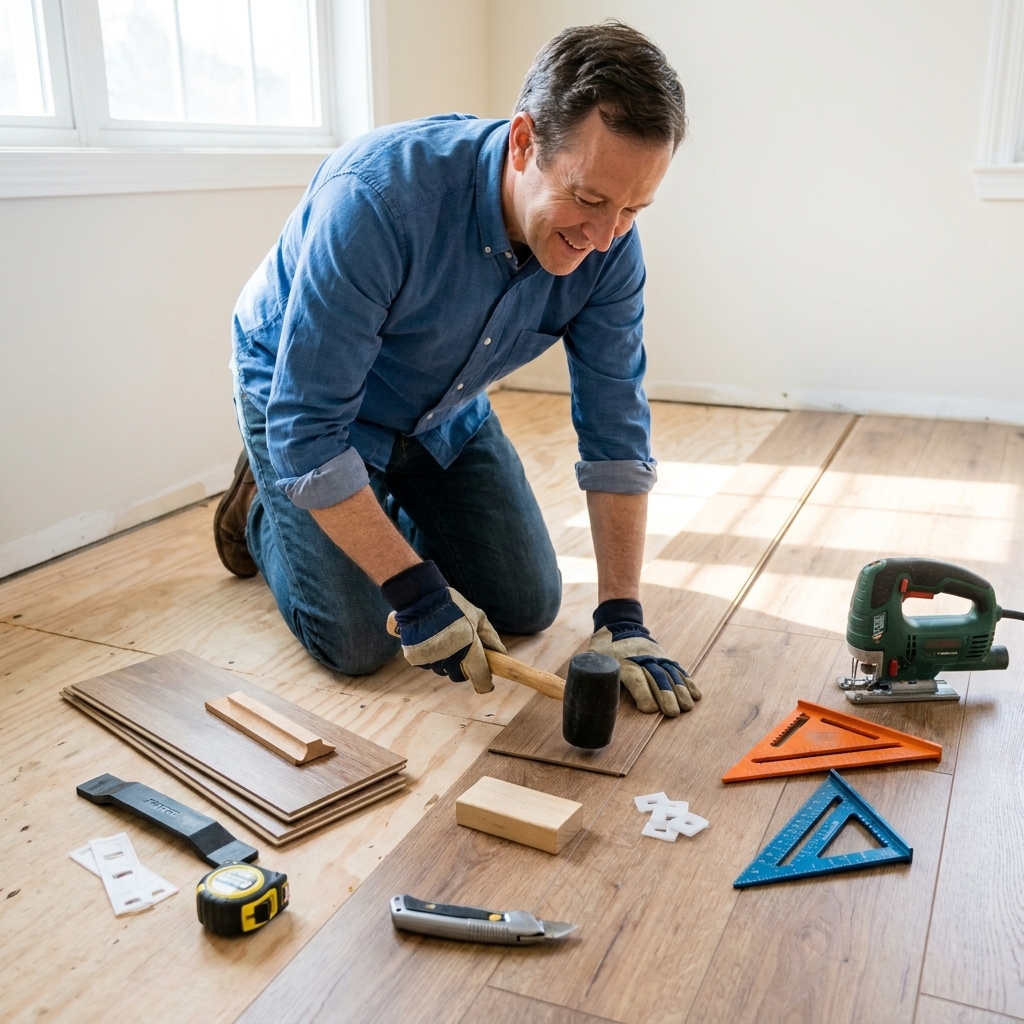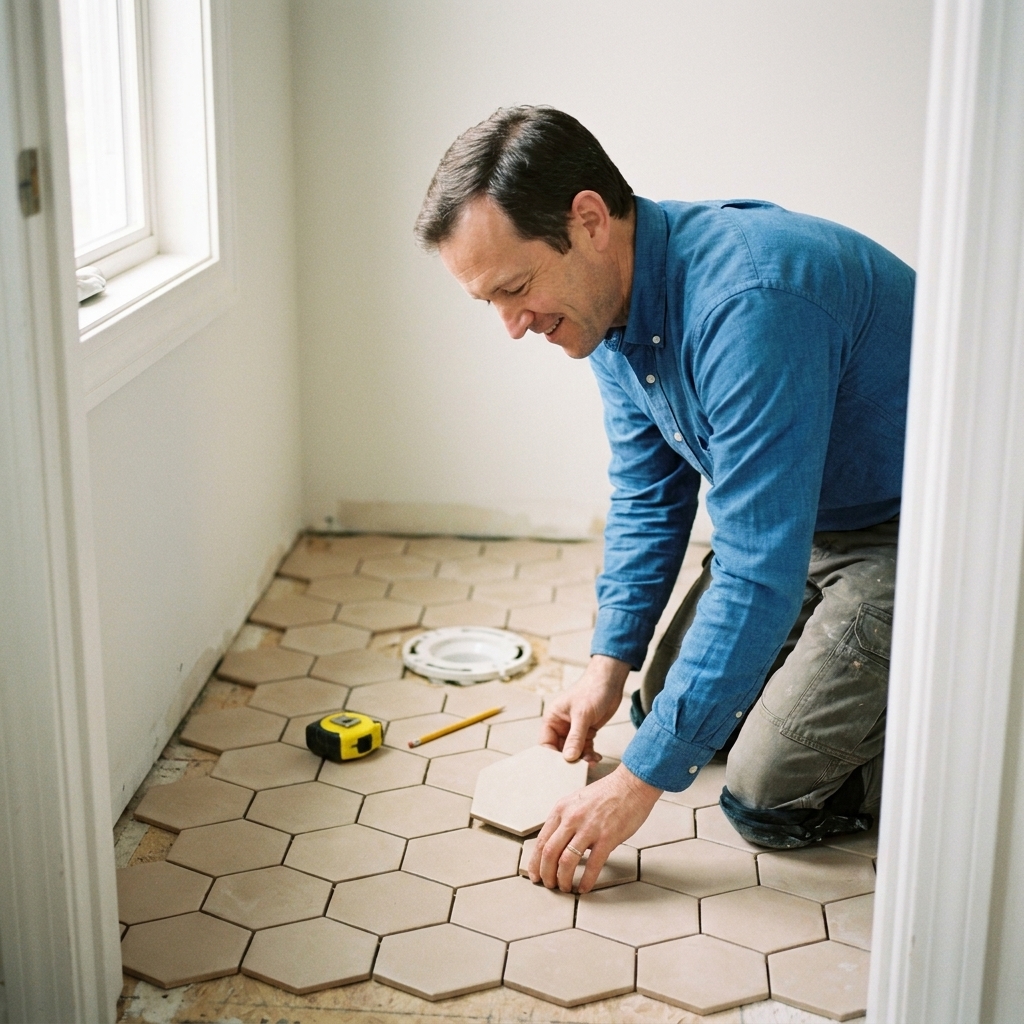
A tile setter’s short list of must-have DIY tile tools, with practical tips on when and how to use each one for straighter lines, flatter surfaces, and few...
The Grout Nest
Updated October 17, 2026
Advanced Cuts Around Vents, Pipes, and Toilets
Learn pro templating tricks and the right tools to cut tile and flooring planks cleanly around vents, pipes, and toilet flanges using jigsaws, angle grinders, and diamond hole saws.

Ben Mitchell
Ben Mitchell is a former professional tile setter and passionate home renovator with over 12 years of experience in the flooring industry. After stepping away from commercial contracting, he founded Grout Nest to empower everyday homeowners to tackle their own flooring, tile, and backsplash projects with confidence. He believes that with the right tools, proper prep work, and a little patience, anyone can achieve a professional-grade finish.
There are two kinds of DIY floors: the ones that look great in the wide shot, and the ones that still look great when you kneel down next to the toilet and stare at the cut line like a sleep-deprived raccoon.
Vents, pipes, and toilets are where “pretty good” turns into “why does this look like it was chewed?” The good news is you do not need supernatural talent. You need three things: accurate templating, the right tool for the material, and the patience to sneak up on the line. Most of the job is prep, and obstacle cuts are the part everyone notices.
The pro mindset: template first
If you take one thing from this article, let it be this: don’t “measure and hope” around obstacles. Template the shape, transfer it cleanly, then cut in a controlled way.
Templating tools that work
- Painter’s tape template: Great for vents and odd shapes. Build the outline on the floor with overlapping tape, then peel it up as one piece and stick it to your tile or plank.
- Cardboard or cereal-box template: My favorite for toilets and pipe clusters. Stiff enough to hold shape, easy to trim with scissors.
- Scribing compass: Useful when you need an even gap around something that is not perfectly centered or square.
- Contour gauge: Handy for baseboard curves and irregular trim, less useful for perfect circles like pipes.
- Profile/shape duplicator + straightedge: Good for vent boots that are not perfectly square to your layout.
Transfer tricks for cleaner lines
- Blue tape on the cut face of tile (or on the finished face of LVP/laminate) can help reduce chipping and gives you a surface you can draw on clearly.
- Mark the waste area with a few X’s so you do not cut the wrong side. Everyone does it once. I did it more than once.
- Account for expansion gaps on floating floors. Tight is good, pinched is bad.
- Measure from finished references: If you are still mid-remodel, be honest about what is “finished.” Drywall, underlayment, and wall tile thickness can all change your reference points if they are not installed yet.
Vents and registers
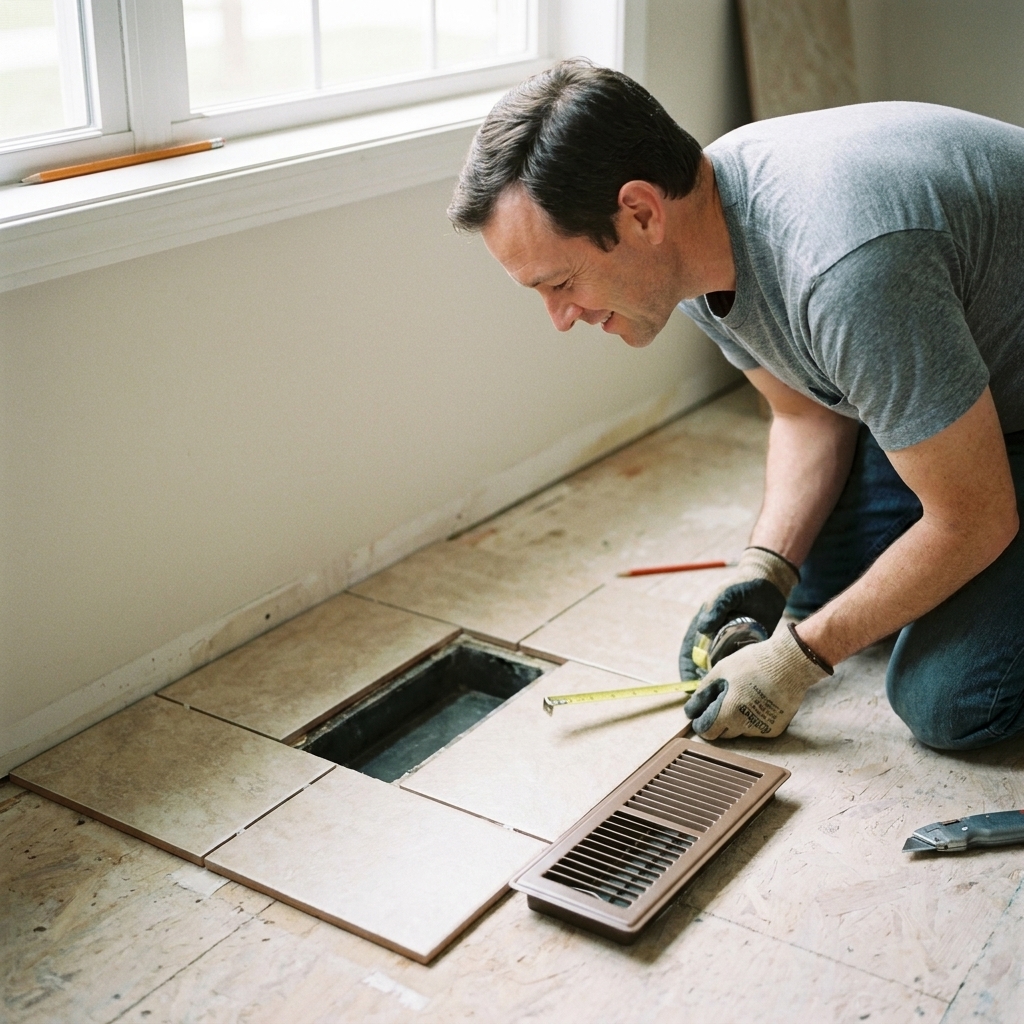
Vents are usually rectangular, which sounds easy until you realize your vent boot is not perfectly square, the subfloor hole is oversized, and your register cover has a lip that hides a lot. That’s a gift. Let the cover do its job.
Best approach: slightly oversize
For most vent covers, you can leave a clean, even reveal under the flange. Aim for an opening that is slightly larger than the duct hole but safely under the register trim. Do not get carried away: you still want solid bearing around the opening so the flooring is supported and does not flex at the edges.
Step-by-step: tape template
- Dry-fit the plank or tile in its final position.
- Build a tape template around the vent opening right on the floor. Overlap tape pieces so the template stays together.
- Peel up the tape frame and stick it to your workpiece in the exact orientation. Add alignment marks (like an arrow pointing “toward wall”).
- Trace the inner opening and double-check you are inside the register cover footprint.
- Cut slightly inside your line and test fit. You can always shave more.
Tool picks by material
- LVP/laminate: jigsaw (fine-tooth blade) or oscillating multi-tool for notches.
- Ceramic/porcelain tile: angle grinder with a diamond blade for the corners and straight runs, or a wet saw for straight sides plus grinder for the last bit.
- Natural stone: wet saw for straights, grinder for finishing. Go slow to avoid edge blowout.
Pipes: clean circles
Pipes are where DIYers tend to either (1) cut a huge ugly U-shape, or (2) try to nibble a circle with five thousand micro cuts until the tile cracks at the last second. The clean path is usually a diamond hole saw for tile, and a hole saw or jigsaw for planks.
Rule 1: find the center
Measure to the center of the pipe from two fixed reference points (usually the finished wall and the edge of the previous row). Transfer those two measurements onto your tile or plank and cross them. Where the lines cross is your hole center.
Tile + diamond hole saw
This is the cleanest way to make a round hole through tile.
- Use the right bit: diamond hole saw sized for your pipe plus clearance. For a 1/2 inch copper stub-out, you typically want more than 1/2 inch. You need room for movement and escutcheons.
- Keep it cool: drill with water. A shallow dam of plumber’s putty or a sponge works.
- Start at an angle: tip the drill slightly to let the bit bite, then level out once it has a groove. This prevents skating.
- Go slow, light pressure: let diamonds grind. Pushing hard overheats and kills bits fast.
- Electric + water reality check: plug into a GFCI protected outlet, keep connections off the wet area, and manage your water so it cools the bit without turning your drill into a science experiment.
Pipe near the edge: keyhole cut
If the pipe center lands too close to the edge of the tile, you may need a keyhole shape (a circle that opens to the edge). Two common methods:
- Drill + relief cut: drill the round hole first, then cut a straight slot to the nearest edge with an angle grinder.
- Angle grinder only: plunge cut a series of small arcs and connect them. This takes practice and is easier to mess up.
My go-to: Drill the hole first whenever you can. A drilled circle looks intentional. A freehand grinder circle looks like a grinder circle.
LVP/laminate around pipes
- Hole saw makes the cleanest circle.
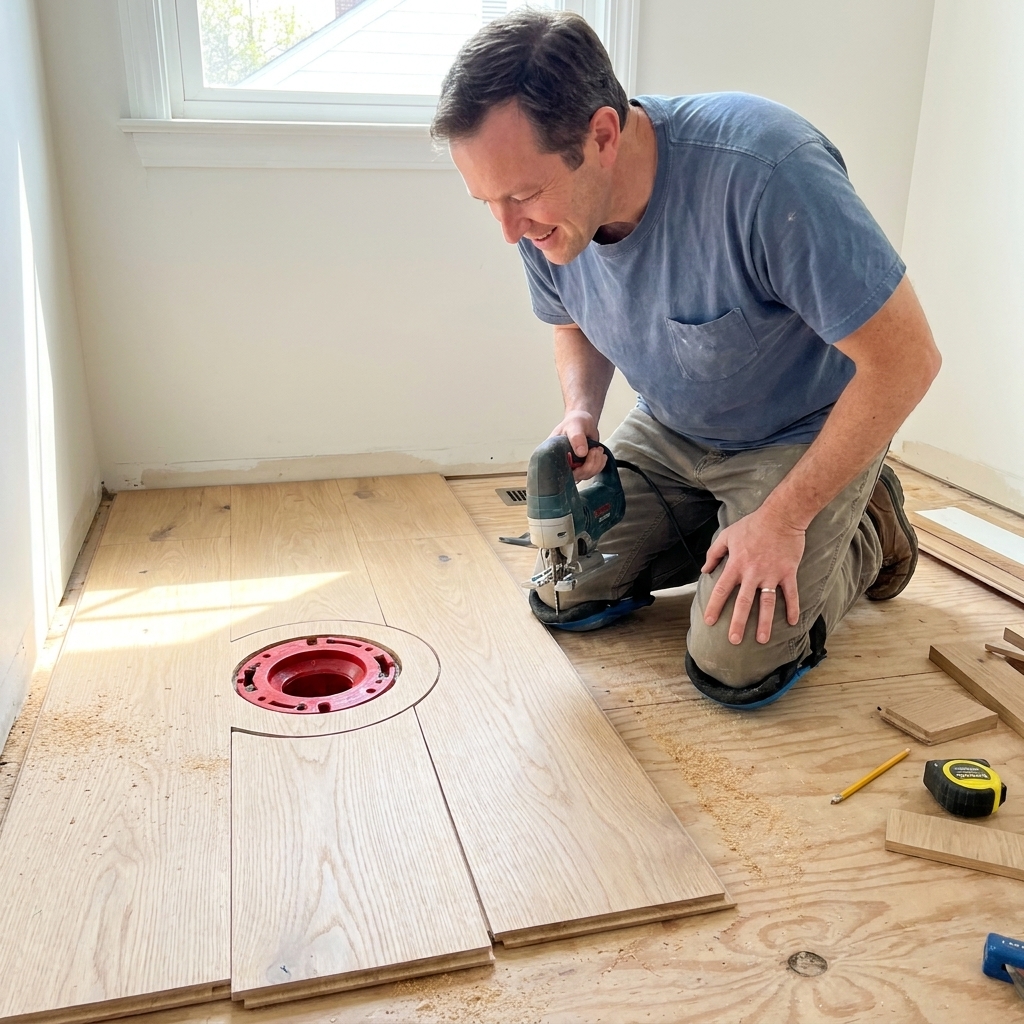
- Split plank method (common behind toilets and near walls): drill the hole, then cut the plank in half through the hole center, install both halves, and glue the seam together if your system allows and the manufacturer permits it. The escutcheon covers the cut.
- Expansion gap still matters: leave the manufacturer-recommended clearance around penetrations so the floor can move.

Toilets: flange cuts
The toilet area is the one spot where I see hardworking DIYers lose their confidence. The flange is round, the walls are never square, and you are working in a tight room where every cut feels like it matters more. It does. But it is still doable.
What needs to be covered
Your goal is not to hug the flange like a tailored suit. Your goal is to install flooring that is properly supported and looks clean once the toilet base is set.
- Tile floors: the toilet typically sits on top of the tile. The cut edge will be hidden by the toilet base, but you still want a smooth curve without huge gaps. (Separate topic, but worth saying once: many plumbing standards want the flange to end up at the right height relative to the finished floor. If your flange is too low or too high, that is a flange-height problem, not a flooring-cut problem.)
- Floating floors (LVP/laminate): the big goal is to avoid trapping a floor that is designed to expand and contract. Many manufacturers and inspectors prefer cutting the floating floor around the flange area so the toilet is not pinning the field of the floor. Some products allow toilets set on top if expansion and fastening requirements are met. Your installation manual wins. Follow it, and do not let the toilet become an accidental anchor point.
My method: template + split
- Make a cardboard template of the flange area. Trim slowly until it drops in place cleanly with the gap you want.
- Transfer the template onto your tile or plank with the correct orientation marks.
- Plan for seams: if you can avoid a tiny sliver behind the toilet, do it. Shift your layout if necessary.
- For planks, consider a clean split seam behind the toilet where it will be least visible, then glue that seam if your system allows it.
Cutting tile around the flange
Usually you are making a large radius curve. Two reliable approaches:
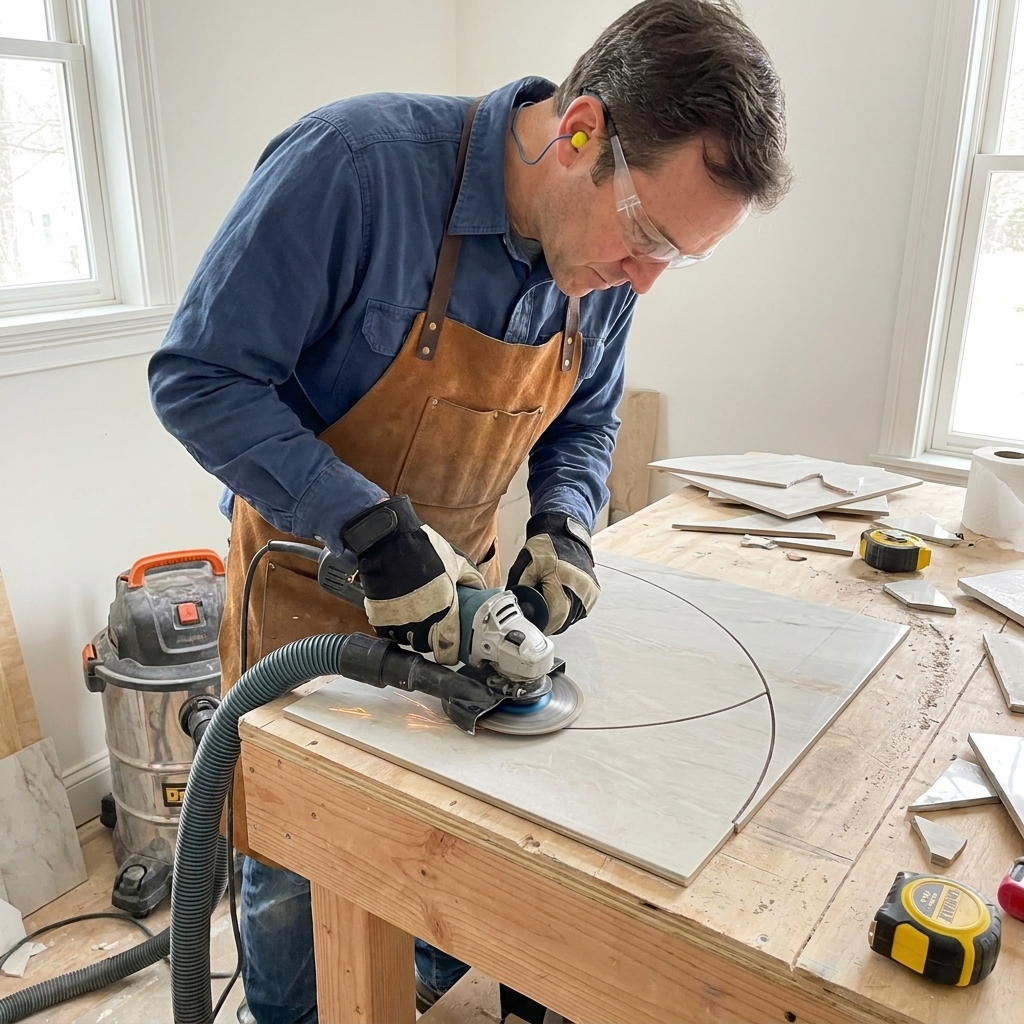
- Angle grinder connect-the-dots: mark the arc, then make short relief cuts up to the line every 1/2 inch or so. Snap off the fingers with tile nippers and clean the curve with the grinder.
- Hole saw + grinder: if the flange opening is small enough and your tile piece allows, drill a large hole, then open it to the edge with the grinder (keyhole method).
After cutting, ease the sharp edge with a rubbing stone or diamond hand pad. That 30 seconds makes the cut look intentional and helps prevent a tiny chip from turning into a bigger crack later. If the cut edge will be visible somewhere else in the room, plan your layout so factory edges land where the eye goes first, and cut edges land where trim or caulk will cover them.
Cleaner and safer cuts
Jigsaw
- Blade choice: fine-tooth for laminate, specialty blades for LVP, and carbide-grit blades for some cement board or soft stone. For tile, a jigsaw is not my first pick unless you have the right blade and very controlled conditions.
- Support the workpiece: vibration is what makes edges ragged.
- Cut from the right face: for laminate, cut from the underside when possible to reduce top-face chipping. For LVP, follow manufacturer tips since wear layers vary.
- Drill a starter hole for inside cutouts, then follow your line slowly.
Angle grinder + diamond blade
- Use a continuous rim diamond blade for cleaner cuts on porcelain and ceramic.
- Score first, then deepen: a light scoring pass reduces edge chipping.
- Relief cuts let you remove waste without forcing the blade sideways.
- Dust control: tile dust is no joke. Cutting dry can kick up silica. Use a vacuum shroud if you have one and wear proper respiratory protection.
- Eye and hearing protection: grinders are loud and they throw grit. Protect the parts you want to keep.
Diamond hole saws
- Keep it wet: water extends bit life and improves cut quality.
- Low RPM, light pressure: you are grinding, not drilling like wood.
- Secure the tile: clamp it to a sacrificial board so it does not spin or chatter.
- Finish gently: as the bit breaks through, reduce pressure to avoid chipping the backside.
Templating shortcuts
Painter’s tape skin
This is my go-to when a vent boot is crooked or a pipe is slightly out of square with the wall.
- Lay strips of tape over the obstacle area on the floor, overlapping them like shingles.
- Press firmly so the tape bonds to itself.
- Trace the obstacle outline on the tape.
- Peel up the whole tape skin and stick it to your workpiece.
Underside rubbing
When you cannot see the obstacle well, you can sometimes flip the piece over, set it in place, and transfer a line from below. One simple way: put painter’s tape on the underside where the pipe will hit, slide the piece into position, then rub a pencil sideways along the pipe so it leaves a mark on the tape. Just be careful not to scratch finished surfaces or bend a stub-out.
Story stick
If you have multiple pipe penetrations in a row, make a “story stick” from a scrap strip and mark consistent offsets. It reduces math errors and keeps things uniform.
Common mistakes
- Cutting to the exact pipe diameter: leave clearance. Pipes move a little, floors move a little, and you need room for escutcheons.
- Forgetting the undercut: door jambs and casing should be undercut so tile or planks slide underneath, which looks cleaner than caulk mountains.
- Trying to save a bad cut with caulk: caulk is for a small, consistent gap. It cannot make a wavy cut look straight.
- Not test fitting: dry-fit early. Sneak up on the line with small adjustments.
- Leaving unsupported edges: if you cut a notch that creates a skinny bridge or a little island with no support under it, it is crack bait, especially in tile. Adjust the layout, add proper underlayment support, or change the cut strategy.
- Rushing the last 5%: the final smoothing pass with a rubbing stone, file, or sandpaper is what separates DIY from “how did you do that?”
Quick FAQ
How big should the gap be around a pipe for LVP?
Follow your flooring manufacturer’s expansion requirements. In practice, you typically need a visible clearance that will be covered by an escutcheon. When in doubt, give the floor room to move and cover it neatly.
Do I cut tile tight to the toilet flange?
No. The flange itself is not your beauty line. Make a clean curve that will be covered by the toilet base, and ensure the tile is properly supported and does not interfere with flange fasteners.
What’s the cleanest way to cut a circle in porcelain tile?
A diamond hole saw with water, drilled slowly with light pressure. It is the most repeatable way to get a round hole without chips.
Can I use a jigsaw on tile?
Sometimes, with the right blade and a steady setup, but it is not my first choice for porcelain. For most DIYers, an angle grinder with a diamond blade or a hole saw is more predictable.
Final pep talk
If you feel nervous, good. That means you still care about the line. Make the template, mark clearly, cut slightly conservative, and test fit. The pros are not braver than you. We just learned the hard way that slow and boring beats fast and chipped every single time.
And if Barnaby trots in right after you finish, keep him off the fresh work. Ask me how I know.