A practical, no-fluff comparison of wet saws and manual snap cutters so you can choose the right tool for your tile, your layout, and your budget.
The Grout Nest
Updated October 17, 2026
Tool Maintenance 101: Clean and Preserve Tiling Gear
Keep your tiling and flooring tools working like new. Learn how to remove hardened thinset from trowels, dress dull wet saw blades, and extend the life of your DIY gear.

Ben Mitchell
Ben Mitchell is a former professional tile setter and passionate home renovator with over 12 years of experience in the flooring industry. After stepping away from commercial contracting, he founded Grout Nest to empower everyday homeowners to tackle their own flooring, tile, and backsplash projects with confidence. He believes that with the right tools, proper prep work, and a little patience, anyone can achieve a professional-grade finish.
If you have ever tried to comb thinset with a trowel that looks like a peanut brittle bar, you already know the truth: dirty tools do not just look bad, they work poorly. They leave inconsistent ridges, edges chewed up, and they turn a simple Saturday backsplash into a full-on stress event.
I grew up around tradesmen who treated tools like extensions of their hands. Then I had my own DIY phase where I absolutely did not. I once “stored” a margin trowel in a bucket of rinse water for a week. The rust bloom was impressive. The lesson stuck.
This is Tool Maintenance 101 for tile and flooring gear: what to clean, how to clean it safely, and the small habits that keep expensive tools running for years.
The golden rule: clean before it cures
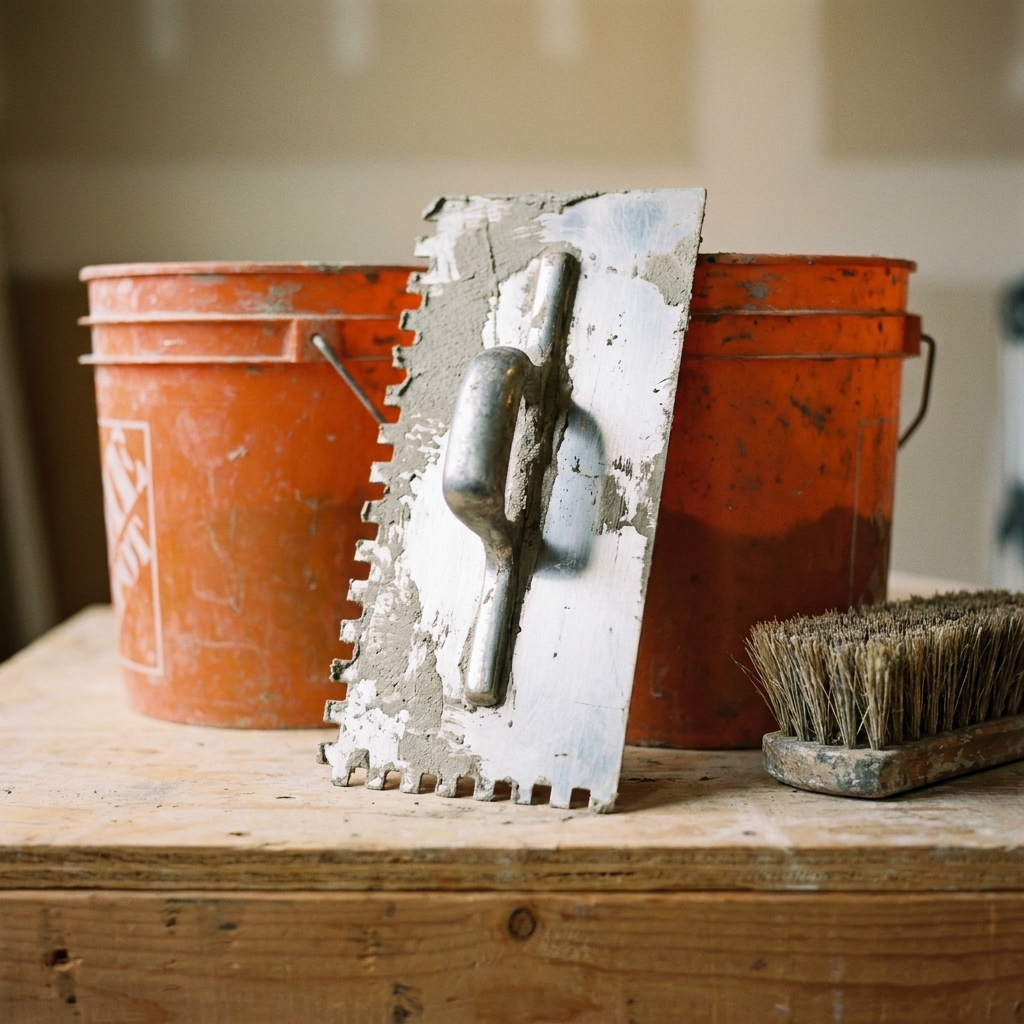
Thinset, grout, and patch compounds are easiest to remove in a narrow window. Once they cure, your options shift from “wipe and rinse” to “chip and scrape.” The best maintenance habit is a two-minute cleanup at the end of each session.
My end-of-day two-minute routine
- Scrape into a trash bag first. Knock excess mortar or grout off tools with a margin trowel or putty knife before you ever hit water.
- Rinse in a dedicated bucket. Do not rinse into a sink. Cement products settle and can clog plumbing.
- Scrub while damp. A stiff nylon brush and warm water beat heroic scraping later.
- Dry metal tools. A quick towel dry prevents flash rust, especially on cheaper carbon steel items.
If you do nothing else, do this: never put tools away wet and never store them with a skin of mortar on them “for tomorrow.” Tomorrow becomes next weekend. Ask me how I know.
Remove hardened thinset from tools
Hardened thinset happens. Sometimes you are working around dinner, kids, and the dog trying to step on fresh mortar. When you come back and it is cured, you can still rescue the tool without destroying it.
What not to do
- Avoid acids on tools, especially muriatic acid. Acid-based cleaners can accelerate corrosion and damage finishes. If you use any acid-based product for cement residue, follow the manufacturer’s directions, protect your skin and eyes, and rinse and neutralize thoroughly.
- Do not grind the notches. A grinder can change notch geometry fast, and that changes mortar coverage on the floor or wall.
- Do not pry with the tool handle. You can loosen rivets or crack plastic handles.
Method 1: soak and scrape
This is my go-to when a trowel has a crust, but I still want to keep the edges crisp.
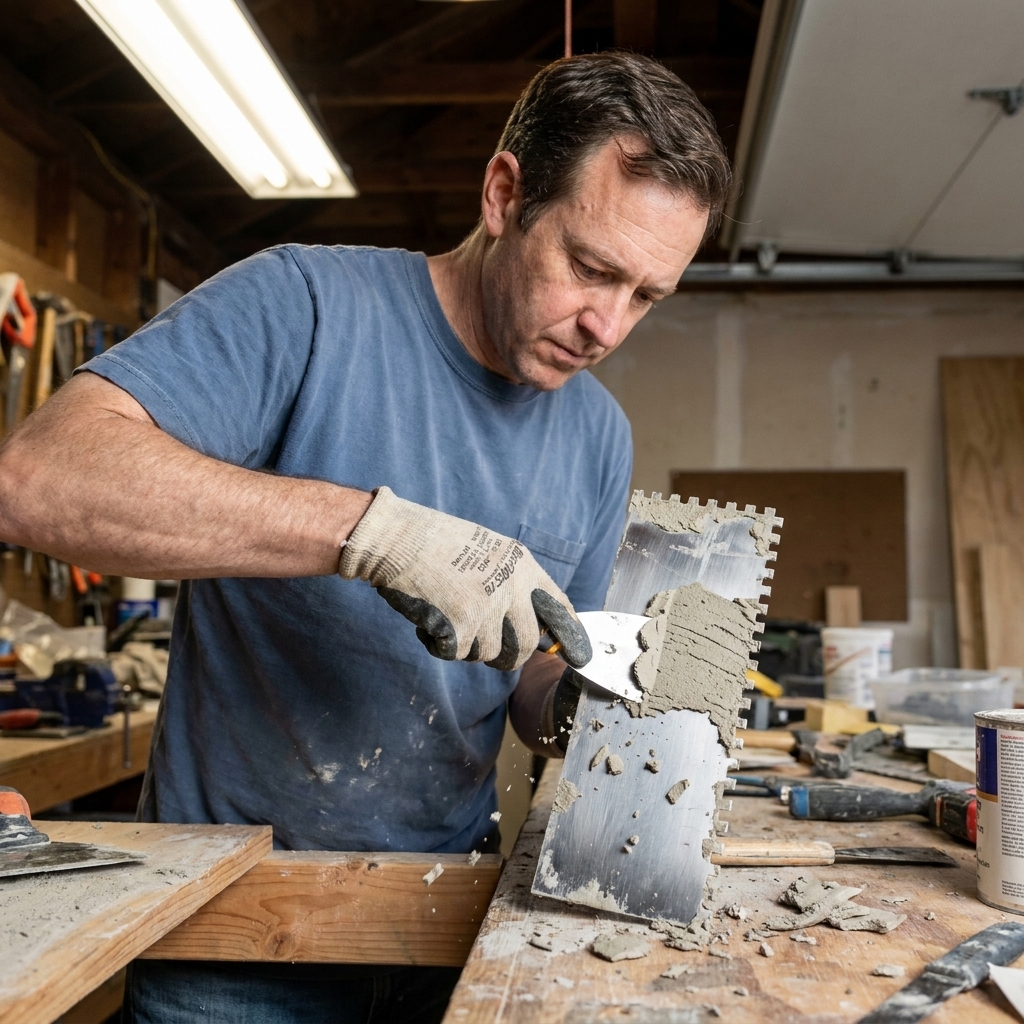
- Step 1: Soak in warm water. Put the blade in a shallow tray or bucket of warm water for 20 to 60 minutes. Fully cured thinset will not dissolve, but soaking helps loosen fines and weakens the bond at the surface so you can scrape without gouging.
- Step 2: Scrape with a plastic putty knife. Start gentle. Plastic keeps you from gouging the steel.
- Step 3: Use a razor scraper carefully. If plastic is not cutting it, a sharp razor scraper at a low angle will lift thinset cleanly. Keep your fingers out of the line of fire.
- Step 4: Brush the notches. A stiff nylon brush helps clear the corners of notches.
- Step 5: Rinse and dry. Towel dry immediately.
When thinset is rock hard
Some thinsets cure like they have a personal vendetta. If soaking does not work, you need controlled force.
Use a carbide scraper
A small carbide paint scraper or carbide grout removal tool can shave down stubborn mortar without needing a grinder. Work slowly and keep the scraper flat to the blade so you do not dig tracks.
Tap, do not smash
If thinset is built up in lumps, you can lightly tap the blade against a scrap 2x4 to fracture the mortar, or use a rubber mallet on the back of the blade while it is supported on wood. Skip the concrete step and skip the handle. The goal is to crack mortar off, not bend the trowel or break a handle. Wear eye protection, because chips do fly.
Restore the working edge
If your trowel edge got dinged, dress it gently with a fine metal file or a sharpening stone. You are not trying to sharpen like a knife. You are just removing burrs so the trowel glides and the notch pattern stays consistent.
Dress a wet saw blade
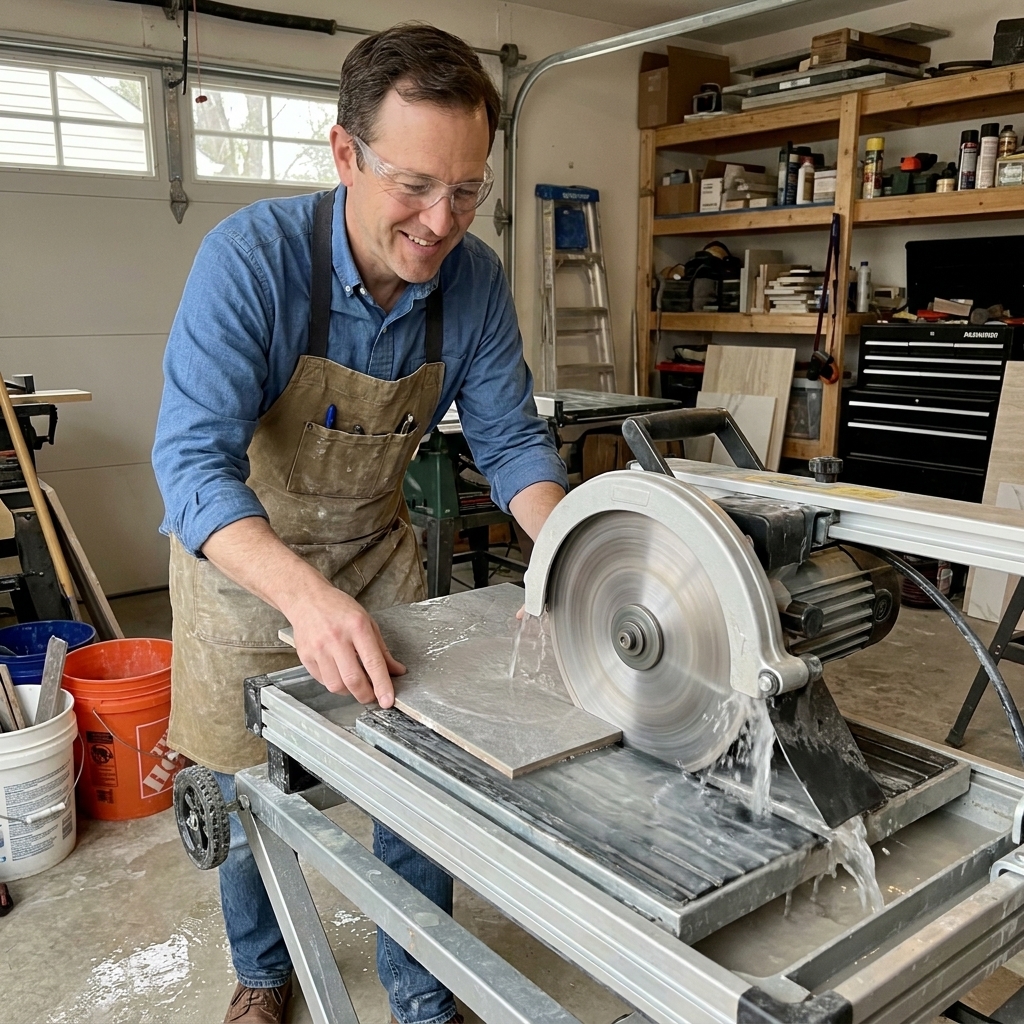
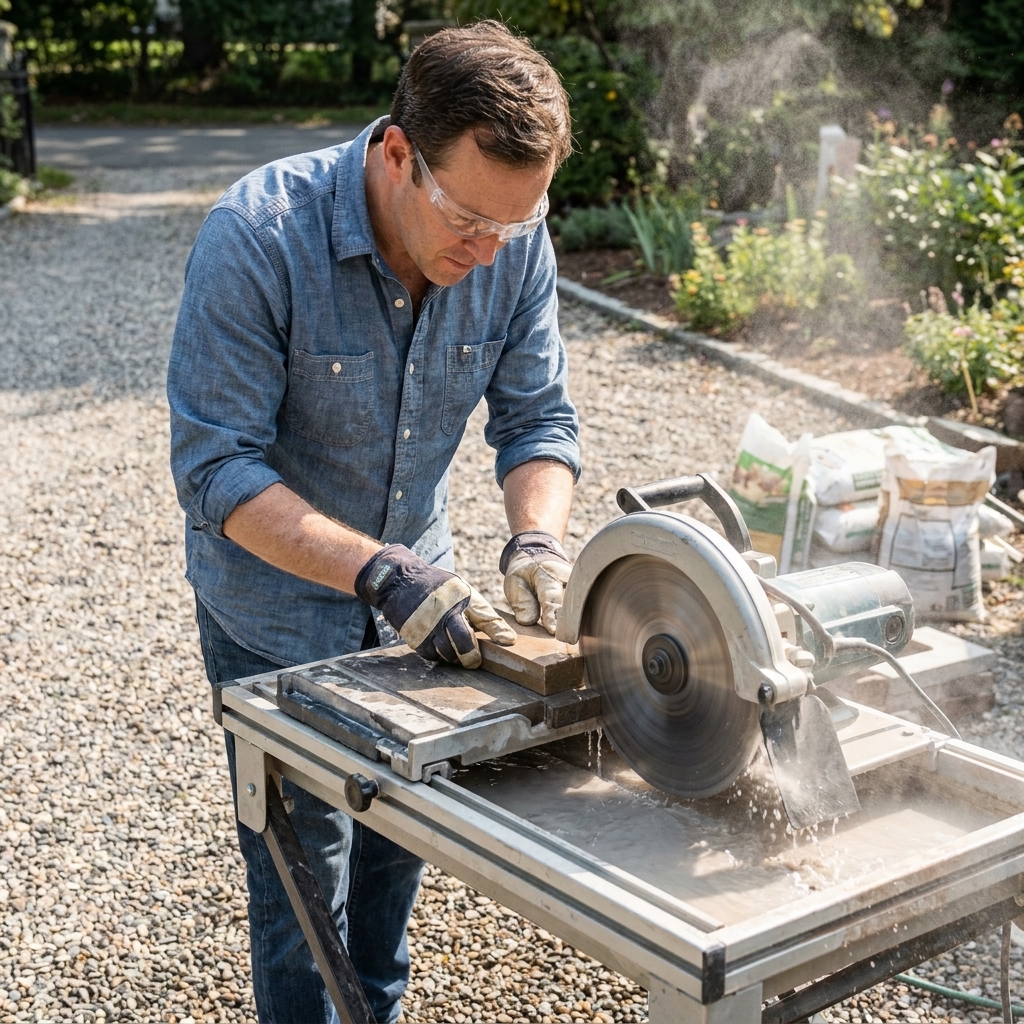
DIYers often assume a wet saw blade “gets dull” like a knife. Diamond blades are different. The diamonds wear and the metal bond can glaze over. Dressing exposes fresh diamonds so the blade cuts cooler and cleaner.
Signs your blade needs dressing
- Cutting feels slow even with light pressure
- Blade wanders or wants to deflect
- Chipping gets worse on porcelain
- You smell overheating or see steam beyond normal water spray
How to dress it safely
You can buy a dressing stone, but you do not have to. A soft abrasive material works too.
- Step 1: Check water flow. Before blaming the blade, make sure the pump is clean and water is hitting both sides of the rim.
- Step 2: Use a dressing stone or a soft red clay brick. Avoid very hard bricks or pavers that do not shed abrasive material.
- Step 3: Make 5 to 10 slow passes. Turn the saw on and cut into the dressing material with very light pressure. Let the blade do the work.
- Step 4: Test cut on scrap. If cutting improves and chipping reduces, you are back in business.
Wet saw blade: fix or replace
Dressing helps when a blade is glazed, not when it is damaged.
Replace the blade if you see these
- Missing segments or visible cracks in the rim
- Warping or wobble you can see while spinning
- Severe undercutting of the core, meaning the steel body right behind the rim is eroded so it looks “eaten away” or necked down. This can make a blade unsafe and unstable.
- Persistent chipping even with good technique and proper water flow
One more thing: match the blade to the material. A cheap “general purpose” blade can be miserable on hard porcelain. Sometimes the maintenance move is simply buying the right blade and saving your patience.
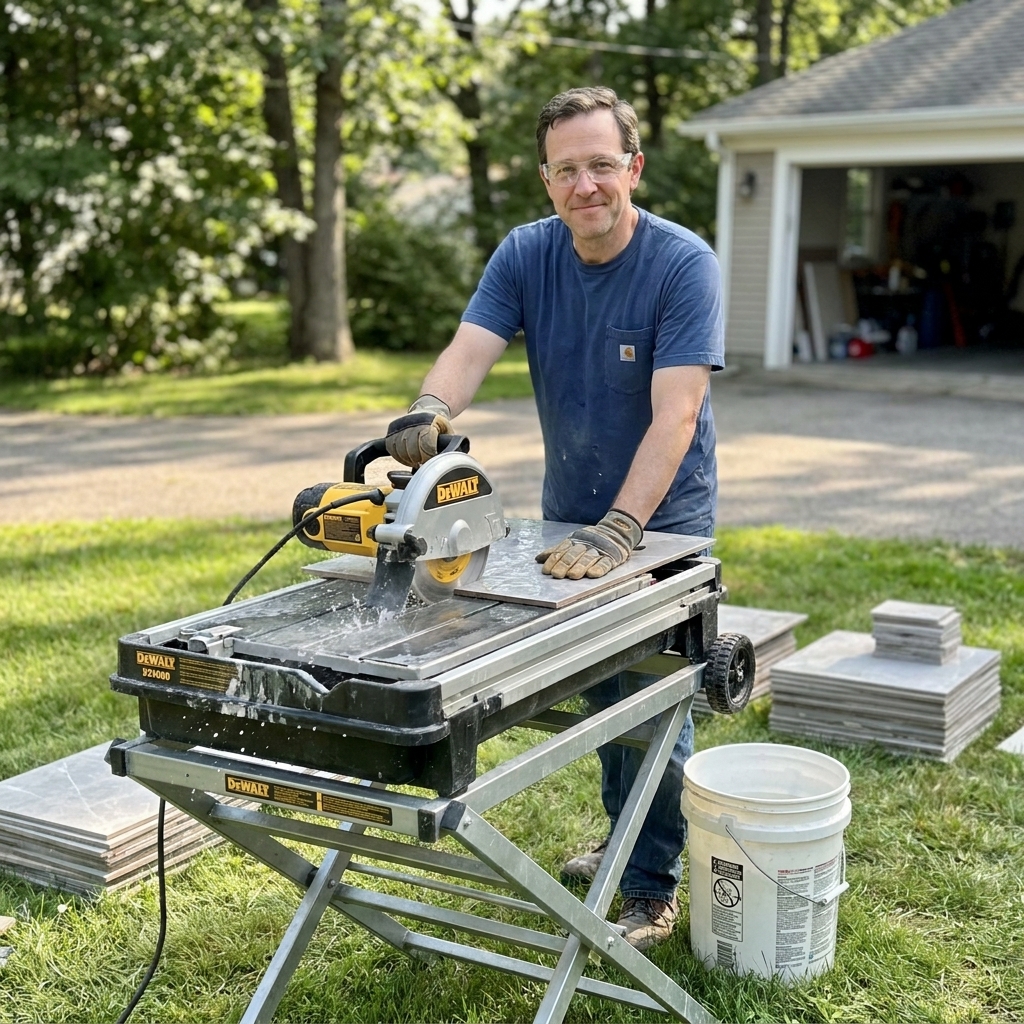
Keep a wet saw running well
The blade is only half the story. Most wet saw misery comes from gritty water and sticky rails.
Clean the pump every session
- Unplug the saw.
- Remove the pump and pop the cover.
- Rinse out grit and thinset sand.
- Check the intake screen and hose for clogs.
If your pump is grinding like it swallowed aquarium gravel, it is not “fine.” It is on its way out.
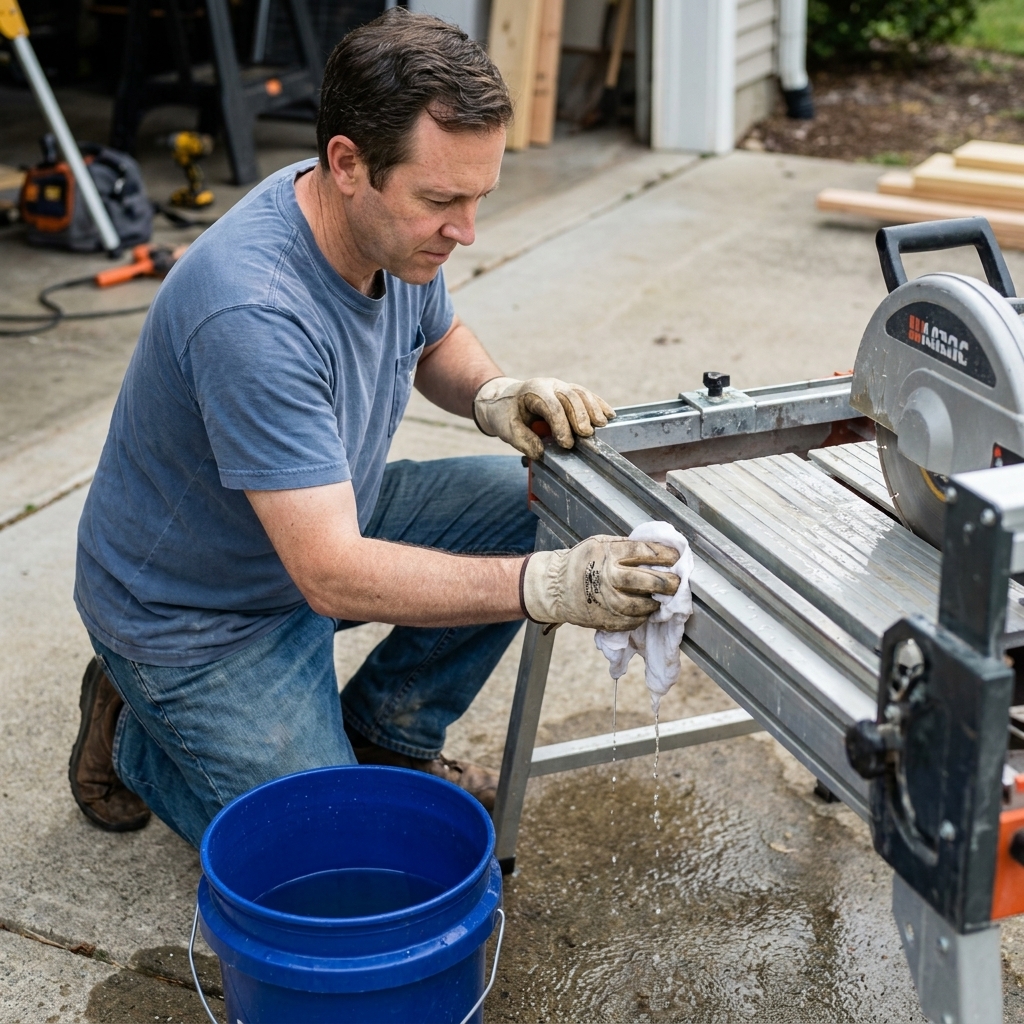
Flush the tray and wipe the rails
Dump sludge into a bucket and let solids settle. Pour off clear water and trash the settled sludge as construction waste. Do not dump slurry in a storm drain, in your yard, or anywhere it can harden where it does not belong.
Wipe rails clean, then apply a light coat of silicone spray or a dry PTFE lubricant to sliding surfaces. Avoid oily lubricants that attract grit like a magnet, and check your saw manual because some manufacturers are picky about what you use near plastics and rollers.
Also: keep water where it belongs. Do not hose down the motor, switch, or electrical parts. Wipe those areas with a damp rag instead.
Hand tools that last
Trowels and knives
- Choose stainless when you can. Stainless costs more, but it resists rust and cleans easier.
- Hang them. Tossing trowels in a bucket dulls edges and bends corners.
- Light oil for long storage. If you will not use a carbon steel tool for months, wipe a whisper-thin coat of light oil on the blade, then store it dry.
Grout floats and sponges
Grout dries fast and it loves to live in the pores of rubber floats. Rinse often during use, then scrub the float with warm water and a nylon brush at the end of the day. Do not go at the edge with a razor. A nicked float edge can leave tracks in fresh grout.
For sponges, rinse until the water runs clear, squeeze them dry, and store them where they can actually air out. If a sponge gets stiff, torn, or permanently gritty, replace it. A bad sponge makes grout cleanup harder and can haze tile.
Mixing paddles
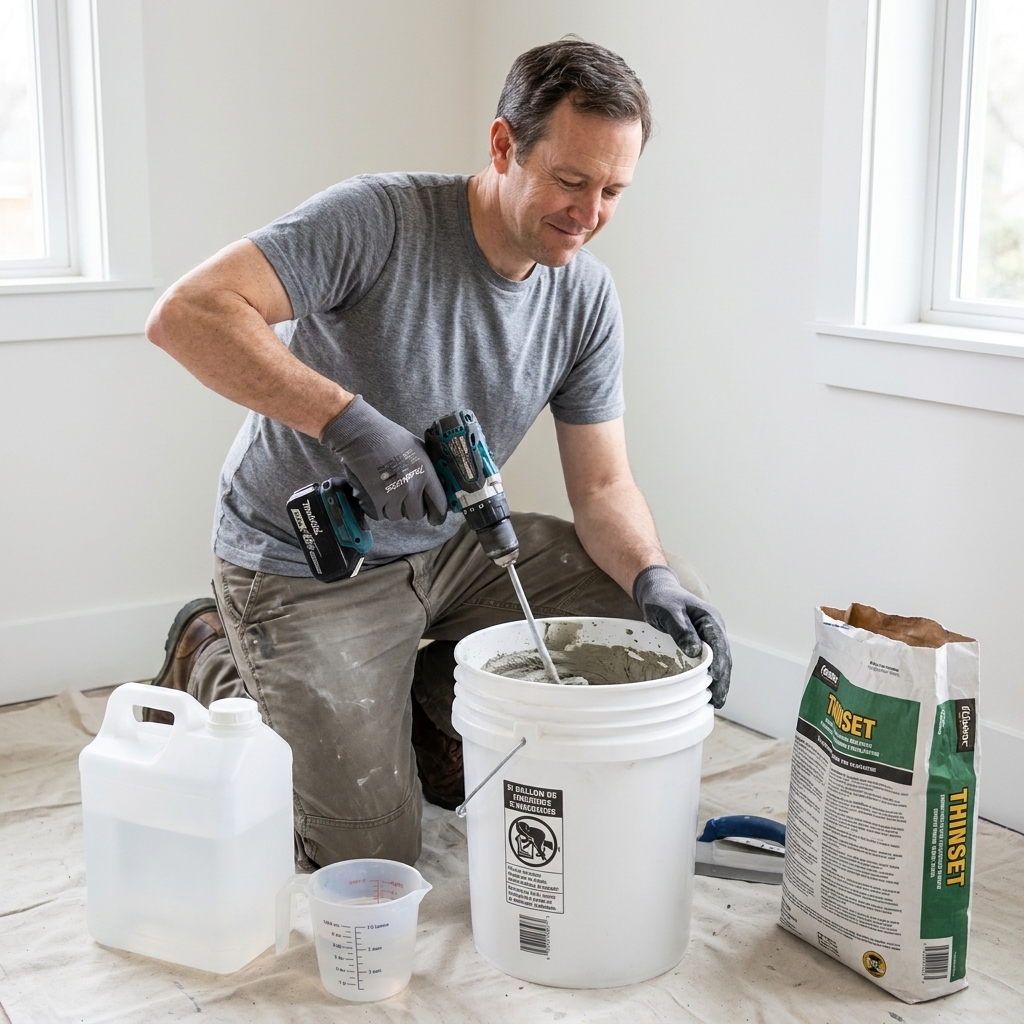
Thinset left on a paddle turns it into a lumpy club that splatters and whips air into your mix. Rinse immediately after mixing and spin the paddle briefly in a bucket of clean water to flush the shaft and corners. Dry it before storage to prevent rust on the chuck area.
Buckets and wash tools
- Never peel half-cured thinset into drains. Let it harden in the bucket, then flex the bucket to release it into the trash.
- Keep grout sponges flat. Store them so they can dry fully. A sealed toolbox turns them into mildew bricks.
Flooring tools basics
Tile is not the only place tools get abused. Flooring tools die young when grit and adhesive build up.
LVP cutters
- Brush out debris. Vinyl crumbs in the hinge area make cuts inconsistent.
- Wipe the fence and bed. A little dust can hold a plank crooked and create a tapered cut.
- Check fasteners. Loose bolts create play, and play equals bad seams.
Oscillating tools and jamb saws
For undercutting door jambs, keep blades sharp and clean pitch buildup with a blade cleaner. A dull blade overheats and melts wood resin onto the teeth, which makes it even duller. It is a rude cycle.
Tapping blocks and pull bars
If the lip on your tapping block is mushroomed or chewed up, retire it. A damaged block transfers force poorly and can crush the tongue on click-lock planks. Same with pull bars that get bent. They start slipping and you end up launching a knuckle into a baseboard. Again, ask me how I know.
Rust prevention and storage
Your garage is basically a humidity experiment. The best tool care is simple storage that keeps metal dry and keeps edges protected.
My no-fancy storage rules
- Dry before you store. Always.
- Separate clean from dirty. One bin for ready-to-go tools, one for “needs cleaning.” This prevents the classic “everything is sticky” toolbox.
- Protect sharp edges. Even a scrap of cardboard and painter’s tape over a trowel edge prevents dings.
- Use silica packs. Toss a few desiccant packs into your tool tote if your area is humid.
- Do not store wet saws with water in them. Empty and dry the tray and bucket. Stagnant water grows funk and corrodes parts.
Quick safety notes
- Unplug tools before cleaning, adjusting, or changing blades.
- Wear eye protection when scraping thinset, tapping off mortar, or dressing blades. Little chips fly.
- Wear gloves when handling razor scrapers and sharp tile edges.
- Dispose of slurry responsibly. Let solids settle and throw them away as construction waste. Do not wash cement products into drains.
Tool care checklist
- After each session: scrape, rinse, scrub, dry
- Weekly during a project: clean wet saw pump and tray, wipe rails, check water flow
- When cuts slow down: dress the wet saw blade, then test cut
- Before long storage: dry everything, light oil on carbon steel, store off the floor
If you treat tool maintenance like part of the job instead of an optional chore, your tools will pay you back with cleaner cuts, straighter lines, and fewer “why is this suddenly harder than yesterday?” moments. And that is the kind of boring reliability I love.