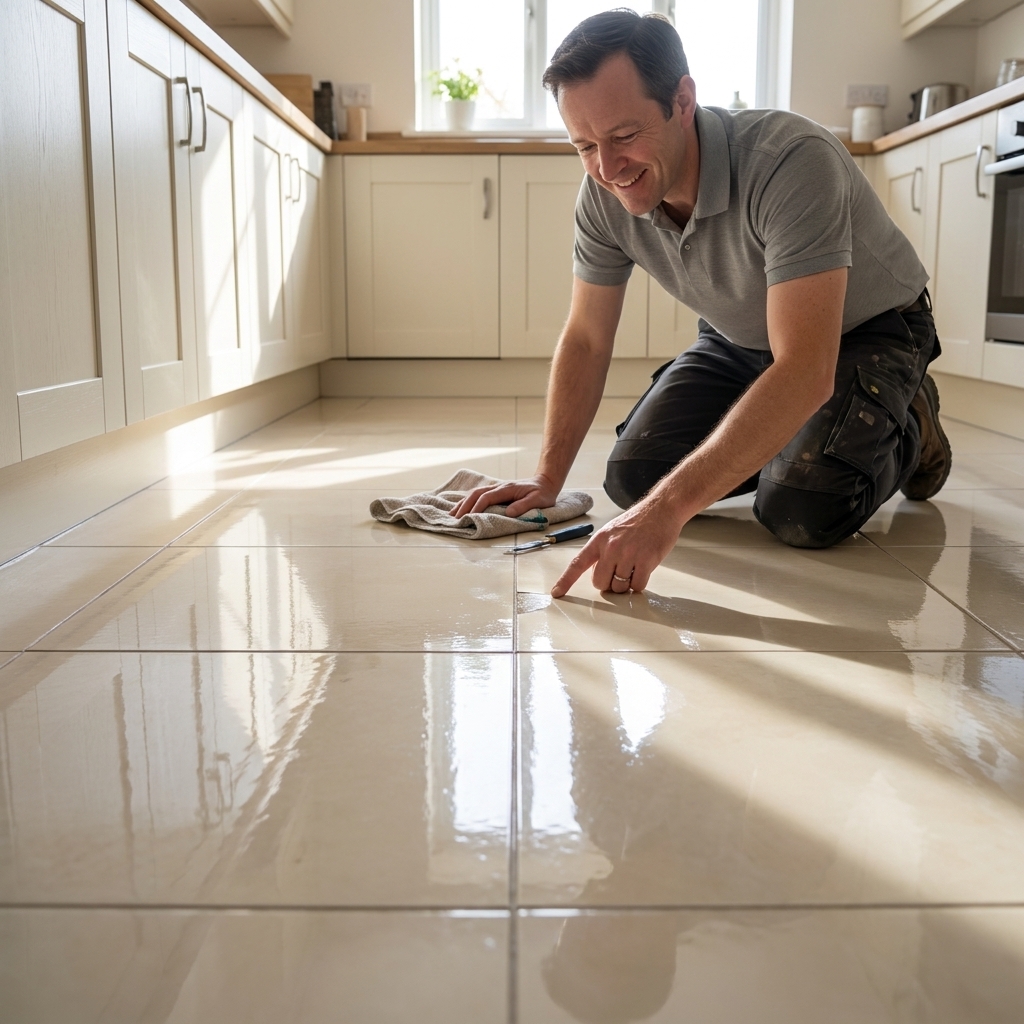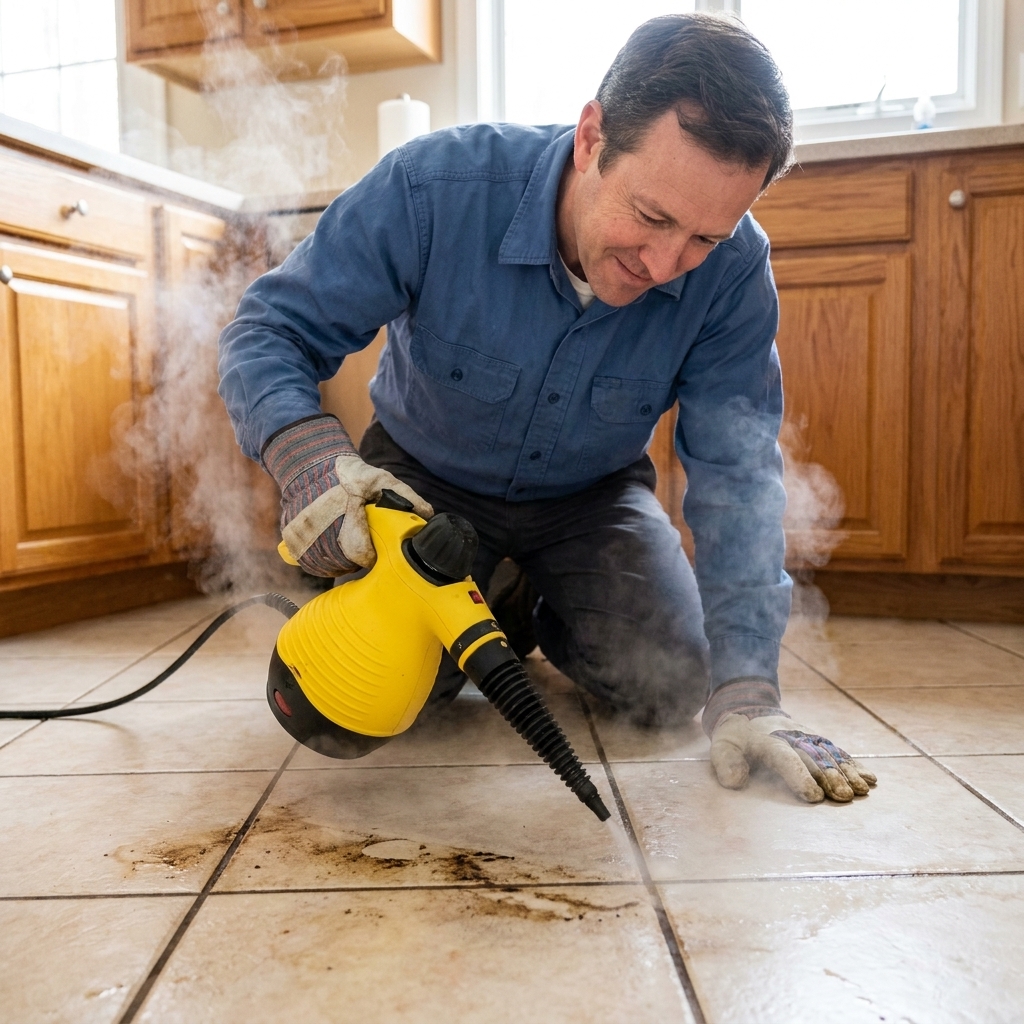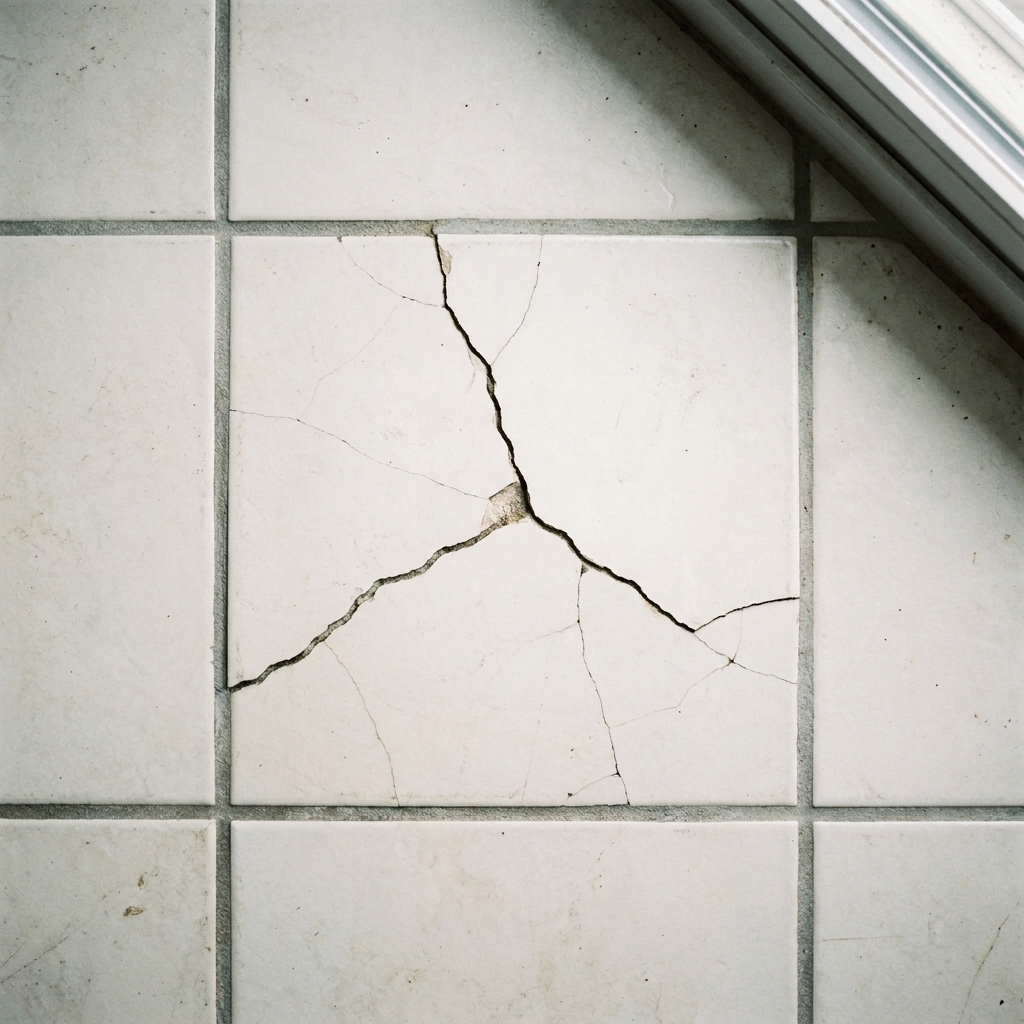
A careful, step-by-step method to extract a broken floor tile, clean out old thinset, and set a new tile flush without damaging the neighbors.
The Grout Nest
Updated October 17, 2026
Patch Chips and Small Cracks in Porcelain and Ceramic Tile
Fix small chips and some surface-only cracks in porcelain or ceramic tile with epoxy fillers, repair kits, and color-matching tricks. Step-by-step prep, fill, sand, and sheen-match for a clean blend.

Ben Mitchell
Ben Mitchell is a former professional tile setter and passionate home renovator with over 12 years of experience in the flooring industry. After stepping away from commercial contracting, he founded Grout Nest to empower everyday homeowners to tackle their own flooring, tile, and backsplash projects with confidence. He believes that with the right tools, proper prep work, and a little patience, anyone can achieve a professional-grade finish.
I have set a lot of tile in my life, and I have chipped my fair share too. Sometimes it is a dropped cast-iron skillet. Sometimes it is a moving dolly wheel that finds the one weak corner in the whole kitchen. The good news is that small chips and some surface-only cracks in porcelain and ceramic tile are usually repairable in a way that is hard to spot unless you are on hands and knees with a flashlight.
This article is about the repairs that make sense for most homeowners: epoxy fillers, porcelain repair kits, and a few contractor-grade color tricks that help the patch disappear into the glaze. I will also tell you when to stop patching and just replace the tile, because the best repair is the one that lasts.
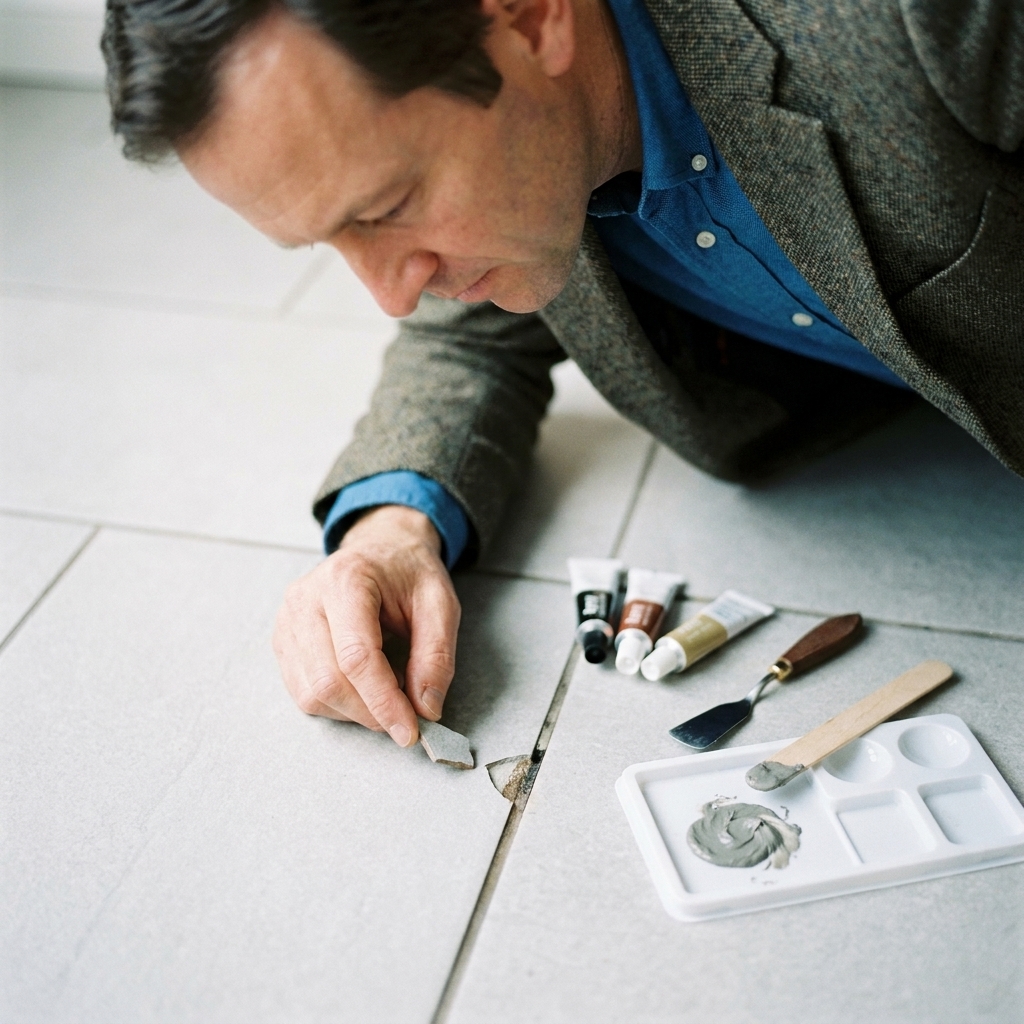
First: porcelain vs ceramic
Porcelain and ceramic both have a hard glazed surface, but they behave a little differently when damaged.
- Glazed ceramic: Usually has a softer body under the glaze. Chips can look tan, red, or white underneath. Repairs can blend well, but the color contrast can be dramatic if you do not tint the fill.
- Glazed porcelain: Denser body. Many porcelain tiles are color-bodied or close to it, so chips can be less contrasty. But porcelain and the glaze on top of it are very non-porous, so cleaning and scuffing for a mechanical bond matter more than most people expect.
- Through-body porcelain: The color or pattern runs deeper. Small chips can be less noticeable, and repairs often need more attention to sheen than to color.
Bottom line: both are patchable when the damage is shallow. Deep cracks that move underfoot are a different story.
Patch or replace
I love a neat repair, but I like durable floors more. Patch it when:
- The damage is small (roughly the size of a pencil eraser or smaller for chips, or hairline cracks that do not flex).
- The tile is solid and does not sound hollow around the damage.
- The crack is not traveling across multiple tiles.
- You want it to look good, not survive a forklift.
Replace the tile when:
- The crack is widening or you can feel movement when you step on it.
- The tile is loose, hollow-sounding, or the grout is breaking around it.
- The crack runs from one edge to the other and you see lippage changes or the surface is starting to lift.
- It is in a shower floor or constantly wet area and the damage is deep enough to expose the body and hold water.
If you have spare tiles from the original install, replacement is often the cleanest “like it never happened” fix. If you do not, a careful patch can still be a win.
Tools and materials
You can do a solid chip repair with a small kit, but quality matters here. The cheap stuff can yellow, shrink, or cure soft.
My go-to options
- Two-part epoxy filler (clear or white base). Look for a non-shrinking, sandable epoxy.
- Porcelain and ceramic repair kit (often includes filler plus tint colors and a clear top coat). These are convenient for beginners.
- Color tints: universal colorants, pigment pastes, or the tint set included in the kit.
- Mixing surface (scrap tile, plastic lid, or painter’s tape on cardboard) and a mixing stick or toothpicks.
- Razor scraper and plastic putty knife.
- Fine sandpaper: 400, 600, 1000, 1500 grit wet dry.
- Denatured alcohol or acetone for cleaning (use ventilation and follow the label).
- Painter’s tape to mask grout joints and edges.
Nice-to-haves for a near-invisible blend
- Gloss control: clear epoxy top coat or a kit clear coat for matching sheen.
- Micro brushes (tiny disposable detail brushes) for tinting veining or specks.
- Magnifying glasses if your eyes are not 19 anymore (mine are not).

Prep work
My old mantra is still true: prep work is 90% of the job. Epoxy is strong, but it cannot bond to dirt, soap film, floor wax, or loose glaze.
Step 1: Clean it well
- Wash the tile with a degreasing cleaner, rinse well, and let it dry.
- Wipe the chip or crack area with denatured alcohol or acetone on a lint-free rag to remove residue. Use good ventilation, and spot-test in an inconspicuous area if you are near stained grout, sealed grout, caulk, or finished trim. Do not flood the grout if it is unsealed and you are using a hot solvent.
Step 2: Remove anything loose
- Use a razor scraper to flick out loose fragments and any hanging glaze.
- If the chip has sharp edges, lightly knock down the jagged bits so your fill is not perched on a razor-thin lip.
Step 3: Give it bite
For super glossy glazed tile, I like to scuff the inside of the chip very lightly with 400 grit. You are not sanding the whole tile, just dulling the damaged pocket so the epoxy has mechanical grip.
Step 4: Mask for clean lines
Run painter’s tape along grout joints and edges near the damage. This is one of those tiny efforts that saves a lot of cleanup later.
Method 1: Epoxy for chips
If you want one method that works for most small chips, this is it.
1) Mix a small batch
Two-part epoxy has a working time, and it goes fast in a warm room. Mix a pea-sized amount. If you need more, mix more. Do not mix a golf ball and then panic.
2) Color match before you fill
Here is the trick: match the tile color when the epoxy is cured, not when it is wet. Many epoxies darken slightly as they cure.
- Start with the closest base (white, off-white, gray).
- Add tint in tiny touches using a toothpick. You can always add more, but you cannot un-add it.
- If your tile has specks, you can plan to add those after the base fill sets, or do a two-tone fill in layers.
Pro tip: Make a thumbnail-sized test blob on your mixing surface and let it firm up before you commit to the final mix. Gentle warmth can help some products set faster, but do not cook it. Too much heat can shorten working time, skin the surface, or shift the look. When in doubt, follow the product directions.
3) Pack the chip, do not smear it
Use a toothpick or plastic putty knife to press epoxy down into the chip. You want to push out air and make sure it contacts the sides.
- Overfill slightly (think a hair proud of the tile surface).
- Keep epoxy out of grout joints if possible. Masking helps, but neat application helps more.
4) Shape it while it is green
When epoxy starts to firm up but is not rock hard yet, you can shave it gently with a razor scraper held almost flat. This reduces sanding later and helps keep the repair flush.
5) Let it cure fully
Read your product label. Many epoxies are sandable in a few hours, but reach full hardness later. If you sand too early, you can tear or gum it.
Method 2: Repair kits
Porcelain repair kits are basically a guided epoxy system. They usually include a filler, tint colors, and sometimes a clear top coat to mimic the glaze sheen.
How to use a kit without making it obvious
- Mix in good light. Daylight near a window beats yellow overhead bulbs every time.
- Match undertone first (warm vs cool). A “perfect” gray that is the wrong undertone will always look wrong.
- Work in thin layers for deep chips. Layering reduces trapped air and lets you adjust color as you build.
- Use the clear coat sparingly. Too much can look like a glossy dot on a satin tile.
Kits are especially handy for bright whites, almond tones, and those slightly creamy ceramics that never match plain white epoxy.
Method 3: Hairline cracks
Not all cracks are equal. A surface craze line in the glaze is cosmetic. A structural crack usually means movement, impact, or a void under the tile.
For tiny, non-moving surface cracks
- Clean thoroughly and wipe with alcohol.
- Work a very thin epoxy or kit filler into the crack using a gloved finger or a plastic card.
- Wipe off excess immediately, leaving filler only in the crack.
- After cure, lightly polish with 1000 to 1500 grit if needed to blend the sheen.
If the crack catches a fingernail
Stop and reassess. A crack that opens up, shows a height change, or returns after filling usually needs tile replacement and a look at the substrate. Patching over movement is like painting over a leaking roof.
Make it disappear
This is the part that takes your repair from “fixed” to “I cannot find it anymore”.
Match the sheen
Tiles vary from matte to glossy. Your patch can be the right color and still scream “repair” if the sheen is off.
- Too dull: a thin clear coat from the kit, or a tiny amount of clear epoxy top coat feathered at the edges.
- Too shiny: knock it down with very light wet sanding using 1500 grit, then rinse and dry.
Clear nail polish can work in a pinch on a wall tile or a low-wear spot, but on floors it is usually a short-term cosmetic fix and it can yellow or wear off. For high-traffic floors, I stick with the kit top coat or a compatible clear epoxy.
Fake specks and veining
For salt-and-pepper porcelain or stone-look ceramic:
- Fill with the base color first.
- After it starts to set, use a pin or micro brush to dab in tiny darker specks.
- Seal with a whisper-thin clear coat only if needed to match gloss.
Feather the edge
A hard edge is visible. A feathered transition is not. When you do your final sanding, focus pressure on the patch itself and ease off as you reach the tile surface. You are trying to blend, not create a flat spot around the repair.
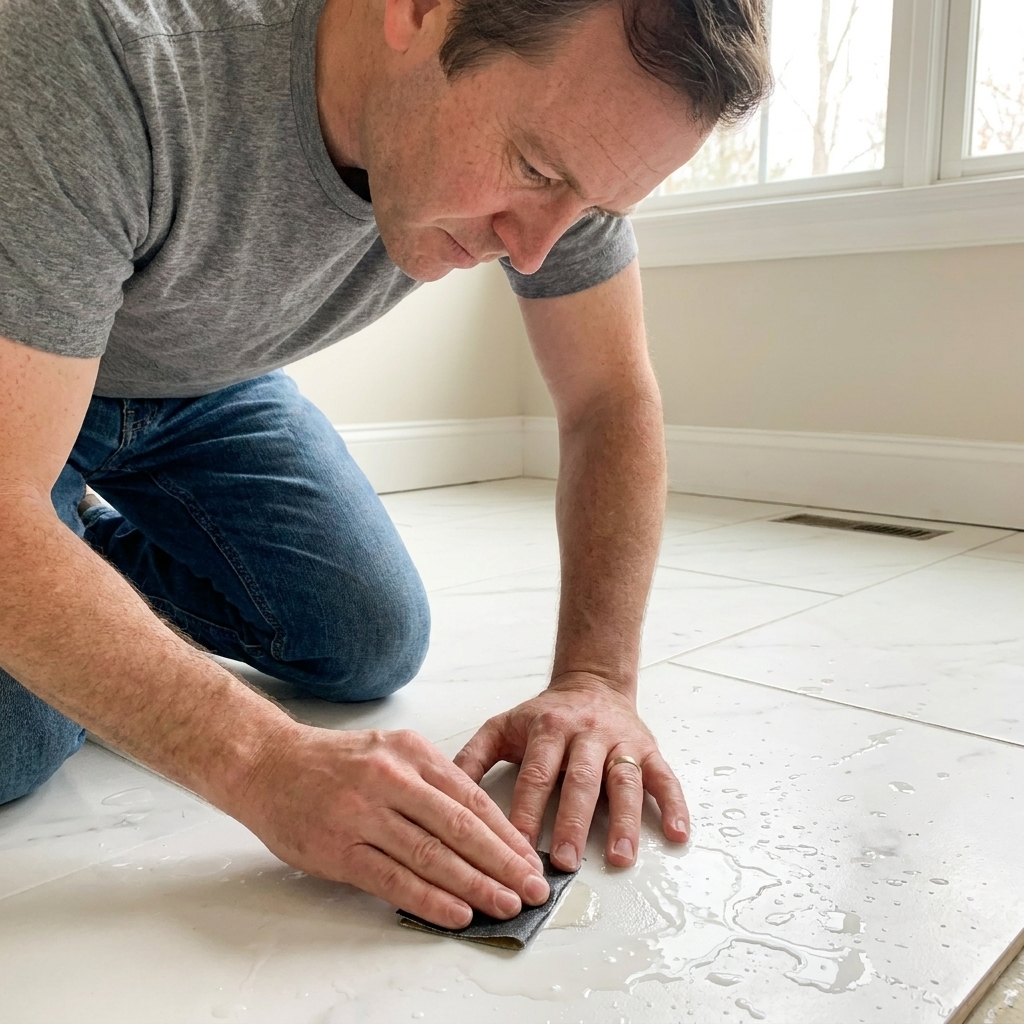
Sanding and polishing
This is where DIY repairs go sideways. Porcelain and ceramic glaze can scratch, and some scratches only show when the sun hits at the wrong angle.
My sanding routine
- Start only if you need to: if you shaped it well while green, you may only need minimal sanding.
- Use wet dry sandpaper and keep it damp.
- Use a small backing like a rubber sanding block, a wine cork, or a folded scrap so you do not finger-gouge the patch.
- Begin at 600 grit for a proud patch. If it is barely proud, start at 1000.
- Work up to 1500 grit to refine the finish.
- Wipe dry often and check in raking light (hold a flashlight low across the tile).
If you accidentally scuff the surrounding glaze, do not panic. Sometimes stepping up grits and polishing with a soft cloth will reduce it enough that it vanishes under normal lighting.
Grout chips too
Tile chips and grout damage often happen together, especially at corners. If the grout right next to the chip is missing, repair the tile first, then touch up grout second. Otherwise you risk smearing epoxy into fresh grout or cracking your grout patch while sanding the tile repair.
For tiny grout touch-ups, a matching sanded or unsanded grout repair product works, or you can mix a tablespoon of grout and pack it in. Just keep it off the face of the tile.
Quick safety notes
Epoxy and solvents are normal DIY products, but treat them like the real chemicals they are.
- Wear gloves and eye protection.
- Ventilate the area, especially with acetone or denatured alcohol.
- Do not mix and toss epoxy rags into a pile on the counter. Lay them flat to cure, then dispose of them according to the product label.
If it keeps happening
If you are seeing multiple cracks, recurring grout breakage, or a lot of hollow-sounding tiles, the chip is not the real problem. Common culprits are voids under the tile (thinset coverage issues), a flexy subfloor, or movement at transitions. A patch can still improve the look, but it will not stop a moving floor from making new cracks.
Textured and slip-resistant tile
One expectation check: chips in textured or anti-slip tile are harder to hide because the texture is part of what your eye catches. You can often match the color, but matching the texture is another level. On a prominent walkway or a shower floor where traction matters, replacement is often the smarter call.
Common mistakes
- Skipping cleaning: Soap film is an epoxy release agent in disguise.
- Over-tinting: Most people go too dark. Sneak up on color slowly.
- Filling flush immediately: Slight overfill is your friend. Shrinkage and sanding happen.
- Sanding too aggressively: You will scratch the glaze around the repair and create a bigger eyesore.
- Trying to patch movement: If the tile is loose or the substrate is flexing, the crack will win eventually.
FAQ
Will epoxy repairs yellow over time?
Some can, especially clear epoxies exposed to UV. For indoor floors, yellowing is usually minimal, but it is product-dependent. If you are repairing a bright white tile in a sunny spot, choose a kit or epoxy marketed as non-yellowing and do a small test cure.
Can I use super glue for a small chip?
I do not recommend it for filling chips. Super glue is brittle, hard to color match, and can leave a shiny halo. Epoxy is thicker, sandable, and more controllable.
Do I need to seal the repair?
Most epoxy repairs do not need sealing. What you might need is a sheen-matching top coat so the patch blends with the tile glaze. Use whatever your kit recommends, or a very thin clear coat compatible with the filler.
Can I patch a chip on a shower wall tile?
Yes, if it is a small surface chip and the tile is sound. Focus on thorough cleaning, complete curing, and a smooth finish so water does not hang up on the repair. If the chip is deep and exposes porous body that stays wet, replacement is safer.
What about a shower floor tile?
I am more cautious there. Shower floors stay wet, see more movement, and often have texture for traction. A repair can create a slick spot or a dirt-catching divot if it is not perfectly flush. For anything more than a tiny surface nick, replacement is usually the better long-term fix.
Final check
Before you declare victory, check the repair under three conditions:
- Overhead room light
- Daylight from a window
- Raking light from a flashlight held low
If it passes all three, you have the kind of repair that even picky tile setters have to squint to find. And if it does not, you are usually one round of tiny tint adjustment or sheen correction away from getting there.